電子工作『USB Bomber』の紹介
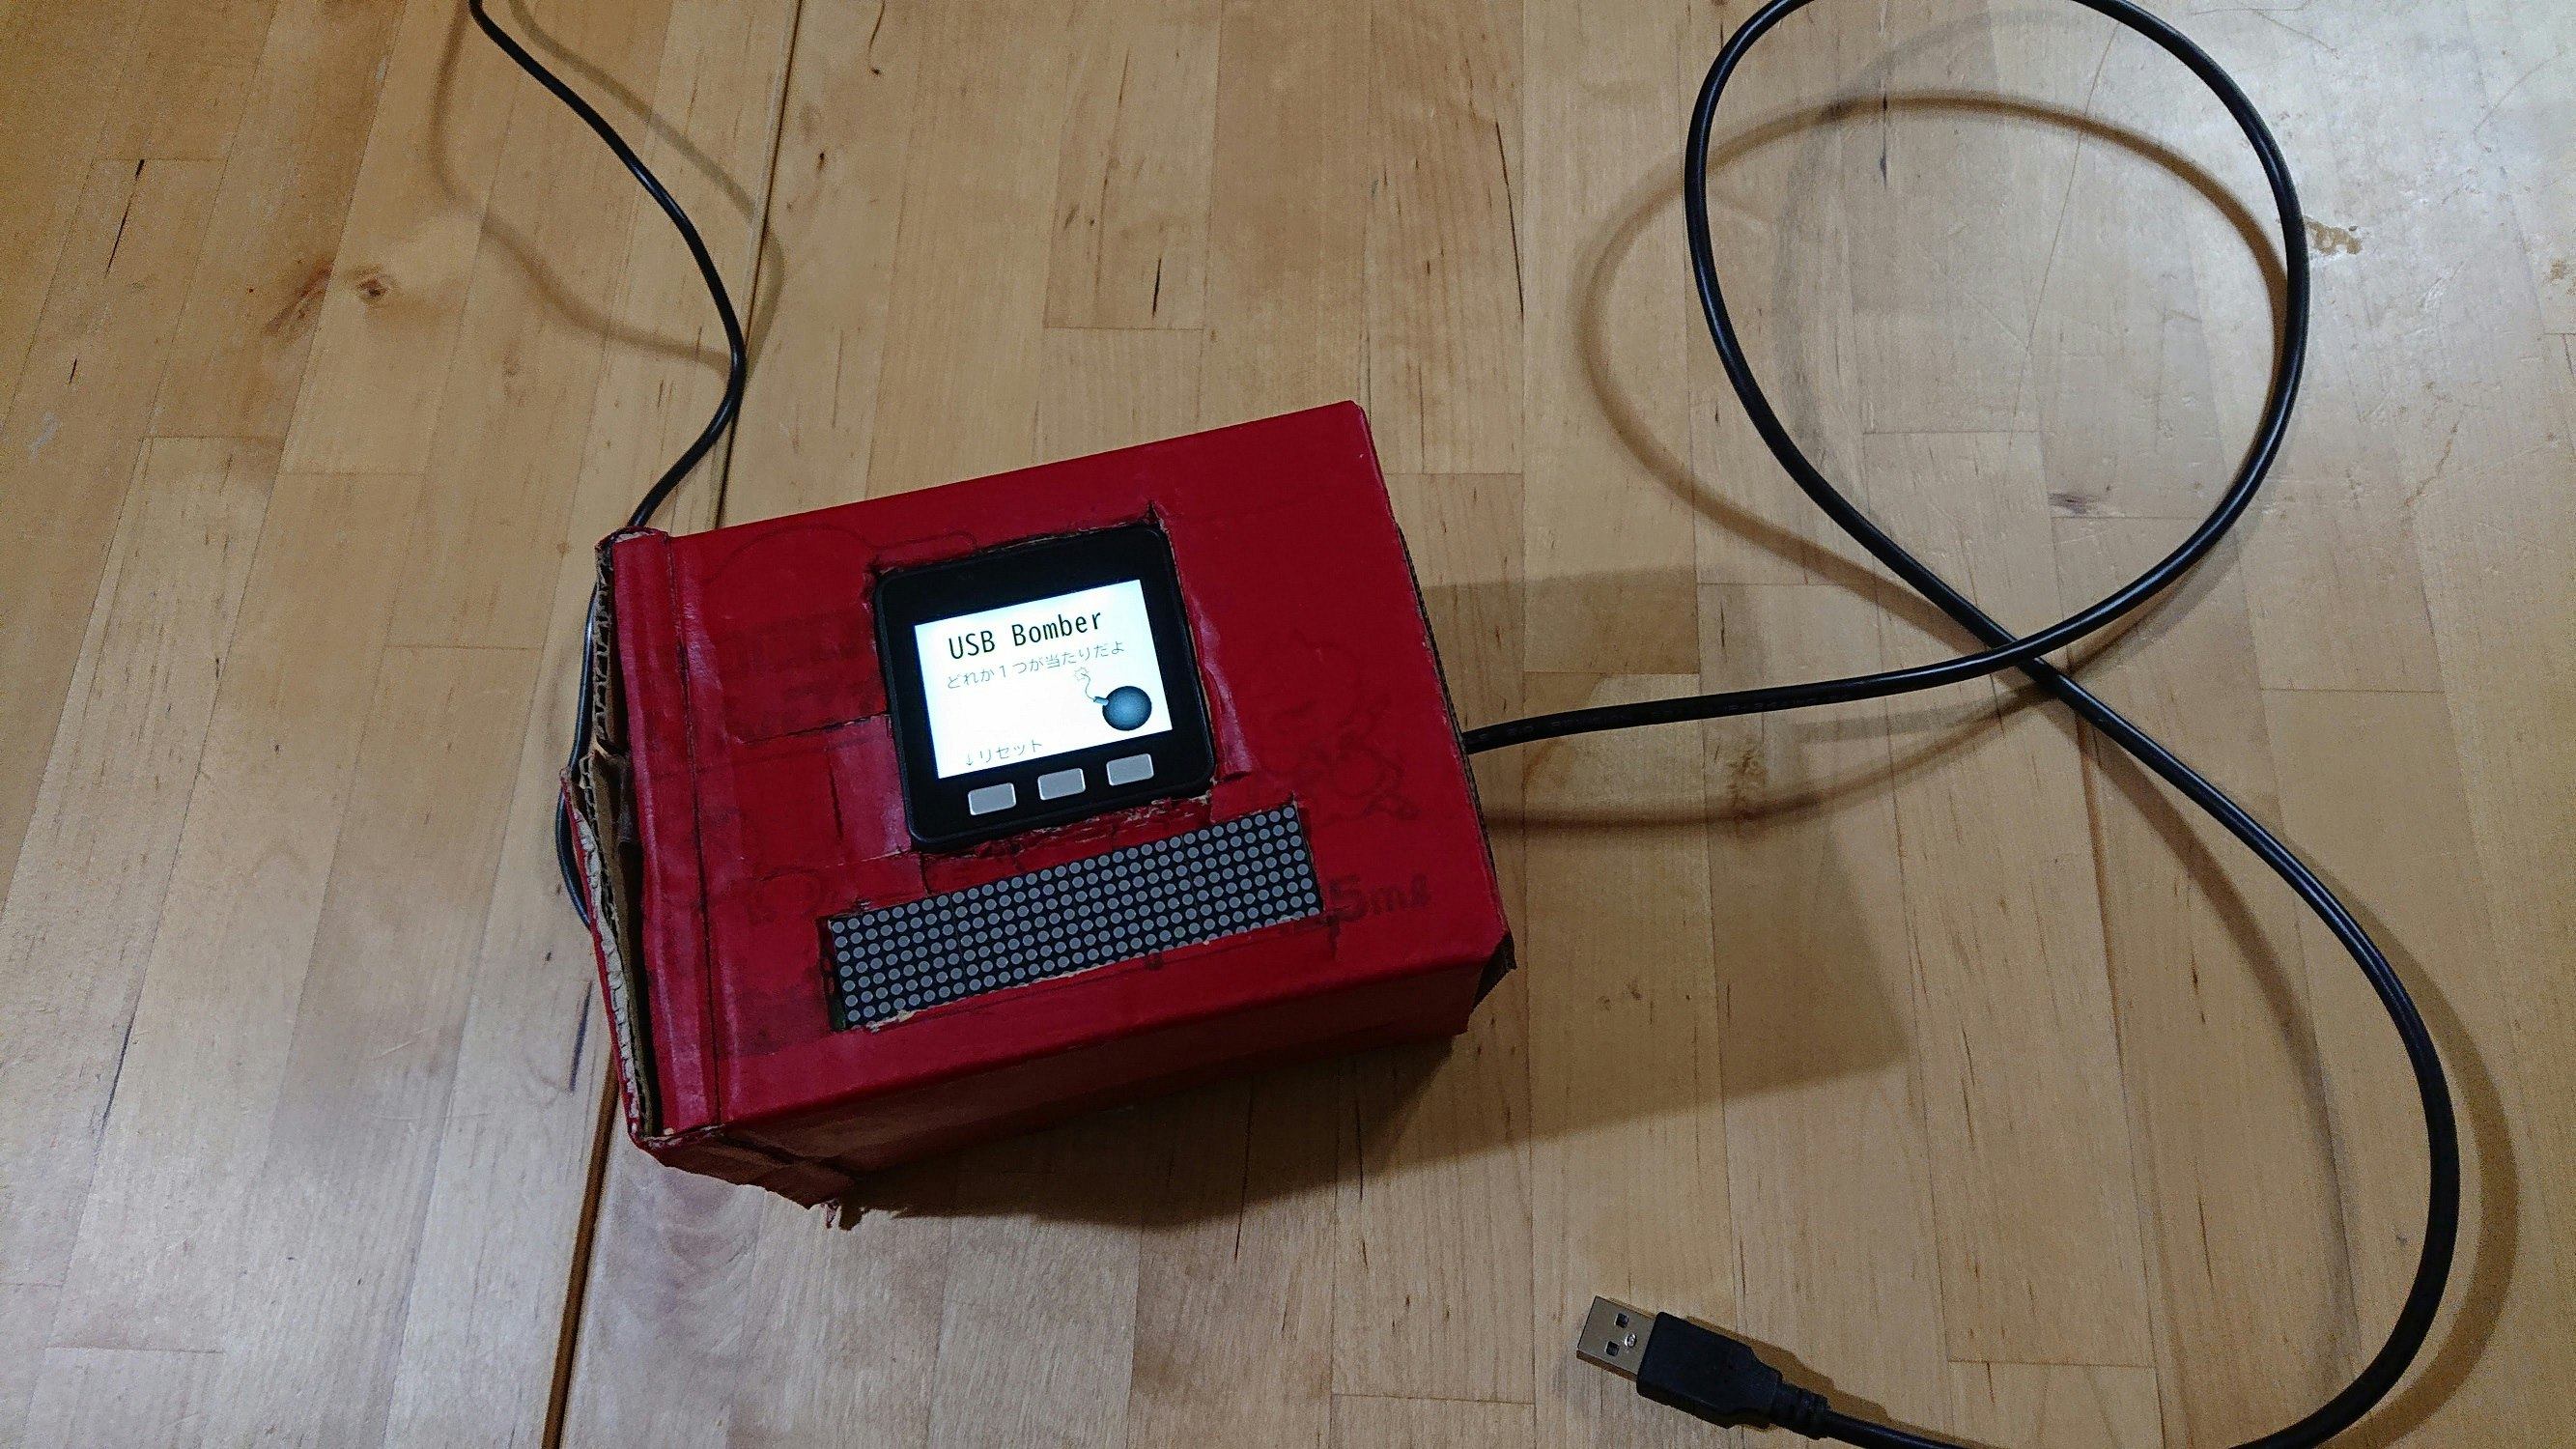
M5Stackで電子工作しました。
USBポート4つのうち、どれか1つにUSBケーブルを差し込みます。
当たりポートだったら当たりの表示・音となり、はずれのときははずれ表示になります。
当たりポートは起動のたびにランダムで設定されるほか、M5StackのAボタンを押しても当たりポートをランダム値で変更できます。

M5Stackに表示する画面

また、当たりの時はピンポン音、はずれのときは爆発のボカーン音が鳴るようにしました。
準備
材料は以下。
- USB typeA コネクター(メス)× 4個
- USB typeB コネクター(メス)× 1個
- M5Stack Basic × 1個
- MINI LED BADGE × 1個
- USBケーブル(Aオス-Bオス)
- はんだ・すずめっき線
- ジャンパワイヤ × 5本
- 段ボール
配線とはんだづけ
初心者のためはんだ付けの下手さ何卒ご了承ください。。
今回USBコネクターは通電させるためだけに使うので、4ピンあるなかでどれが通電するかをテスターで確かめました。
一番左のピンが通電することがわかり、4つのコネクタそれぞれ最も左のピンをすずめっき線ではんだ付けして配線しました。
あと赤い丸で囲った部分に抵抗をつなげていましたが、プルアップで実装するとこれは不要ということがわかり後で外しています。
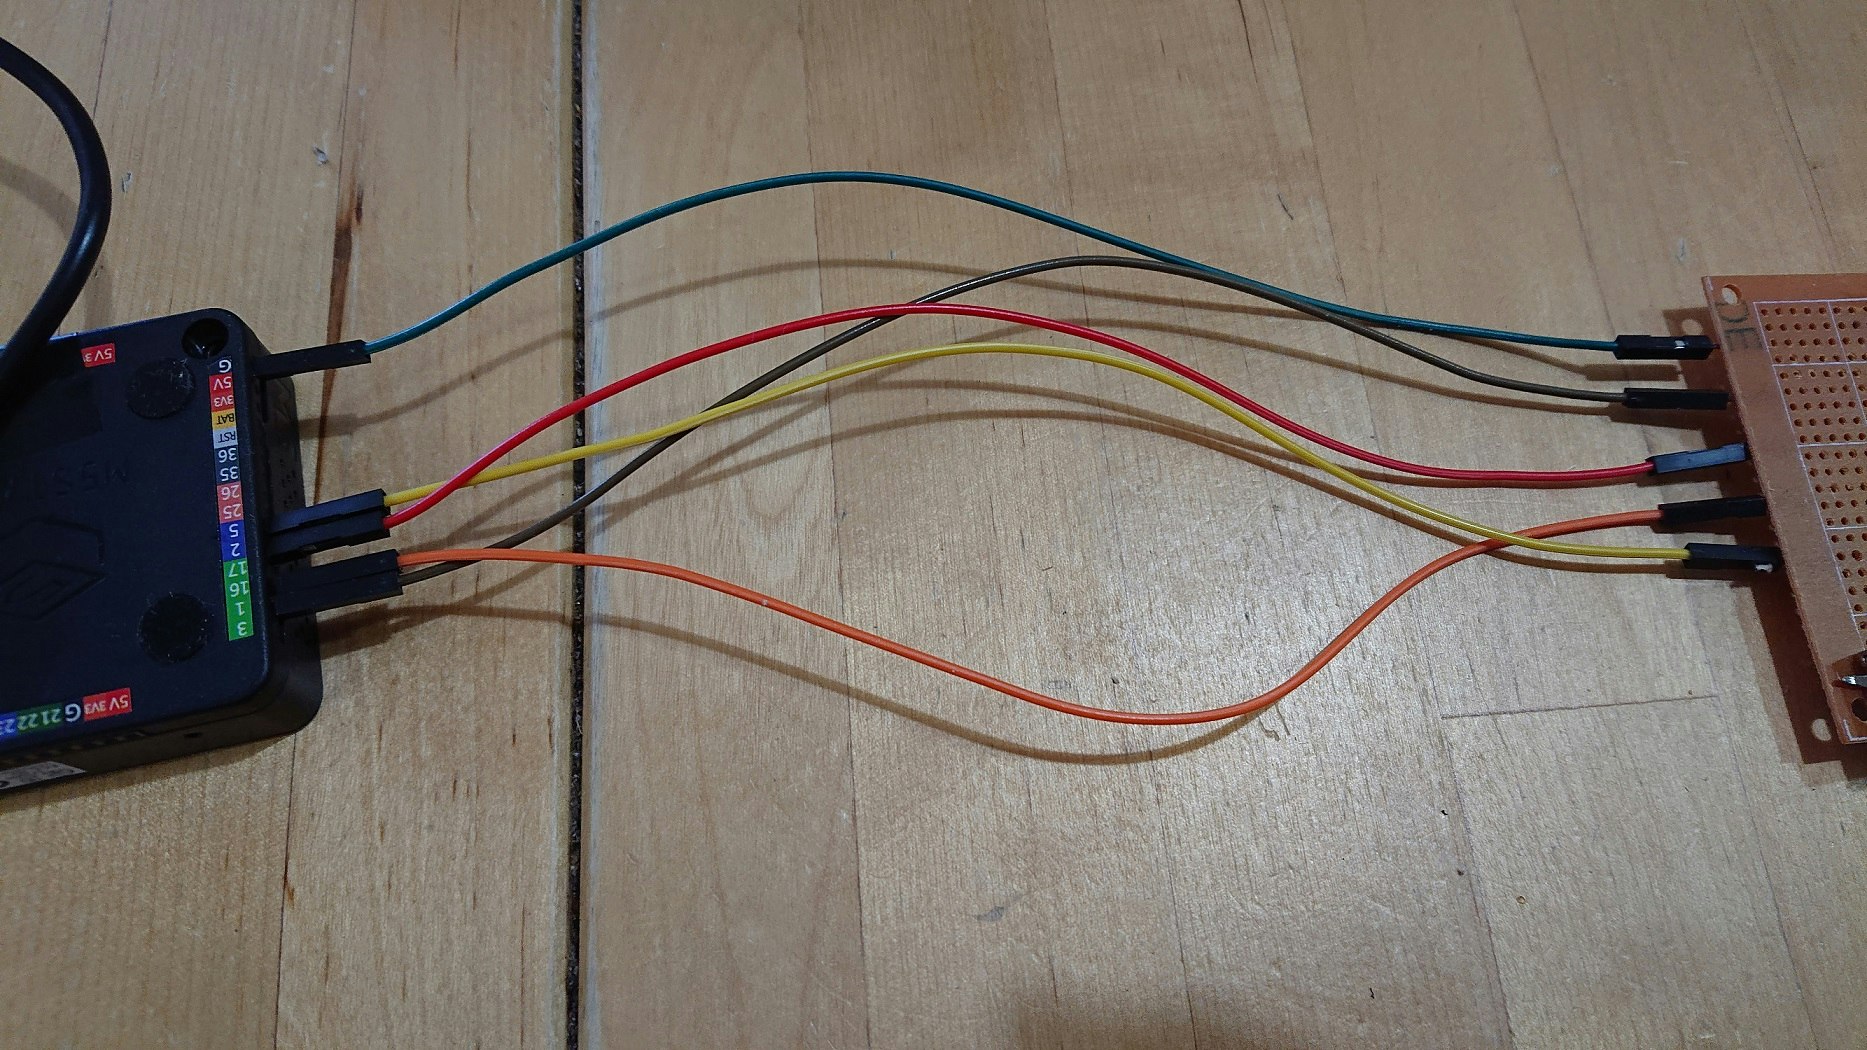
USB TypeBコネクタに繋がっているワイヤをGNDにつないで、ほかをG1、G2、G16、G5につなぎます。
これで、どこかにUSBケーブルが刺さるとどれかのピンがdigitalRead(ピン番号)=LOWになるのでどこに刺さったか判断することができます。
プログラム
# include <M5Stack.h>  // M5Stackを使用する場合

// LED BADGE用
# include <Adafruit_GFX.h>
# include <Adafruit_LEDBackpack.h>
# include "misakiUTF16.h"  // 日本語フォント

// サウンド用
# include "AudioFileSourceSD.h"
# include "AudioFileSourceID3.h"
# include "AudioGeneratorMP3.h"
# include "AudioOutputI2S.h"

// LED BADGE用
Adafruit_8x16matrix matrix = Adafruit_8x16matrix();
Adafruit_8x16matrix matrix1 = Adafruit_8x16matrix();

// サウンド用
AudioGeneratorMP3 *mp3;
AudioFileSourceSD *file;
AudioOutputI2S *out;
AudioFileSourceID3 *id3;

const int buttonON = LOW;    // ボタンが押されているとピンの値はLOW
const int buttonOFF = HIGH;  // ボタンが押されていないとピンの値はHIGH

const int buttonPin1 = 1;     // 1番目のピン
const int buttonPin2 = 2;     // 2番目のピン
const int buttonPin3 = 16;    // 3番目のピン
const int buttonPin4 = 5;     // 4番目のピン

int hitNumber;         // 当たり番号

void playMP3(char *filename){
  file = new AudioFileSourceSD(filename);
  id3 = new AudioFileSourceID3(file);
  out = new AudioOutputI2S(0, 1); // Output to builtInDAC
  out->SetOutputModeMono(true);
  out->SetGain(2.0);
  mp3 = new AudioGeneratorMP3();
  mp3->begin(id3, out);
  while(mp3->isRunning()) {
    if (!mp3->loop()) mp3->stop();
  }
}

void setup() {
  M5.begin();
  Serial.begin(115200);
  M5.Power.begin();

  // LED BADGE用:I2C初期化
  Wire.begin(21, 22, 1000);  // M5Stack Grove G21: SDA, G22: SCL

  // MINI LED BADGE初期化
  matrix.begin(0x71);
  matrix1.begin(0x70);
  matrix.setBrightness(0);
  matrix1.setBrightness(0);
  matrix.setTextWrap(false);
  matrix1.setTextWrap(false);
  matrix.setTextColor(LED_ON);
  matrix1.setTextColor(LED_ON);
  matrix.setRotation(1);
  matrix1.setRotation(1);

  // pinModeの設定
  pinMode(buttonPin1, INPUT_PULLUP);
  pinMode(buttonPin2, INPUT_PULLUP);
  pinMode(buttonPin3, INPUT_PULLUP);
  pinMode(buttonPin4, INPUT_PULLUP);

  // 当たりが何番かを決める
  decideHitNumber();

  // スタンバイ状態画像
  M5.Lcd.drawJpgFile(SD, "/usb_bomb_standby.jpg");
}

// 当たりが何番かをランダムで決める
void decideHitNumber(){
  randomSeed(micros());     // ランダムシード値はmicro()を指定
  hitNumber = random(1, 5); // 1から4の乱数を生成
  Serial.print("hitNumber =");
  Serial.println(hitNumber);
}

void loop() {
    M5.update();

    if (M5.BtnC.wasPressed()){
      Serial.println("BtnC.wasPressed");
      if(M5.Power.canControl()) {
        Serial.println("powerOFF");
        // M5Stackを終了する
        M5.Power.powerOFF();

      }
    }else if (M5.BtnA.wasPressed()){
      // Aボタンが押されたとき:リセット処理
      decideHitNumber();
      playMP3("/decision1.mp3");

    }else{
      // どこに刺さっているか確認
      int buttonState1 = digitalRead(buttonPin1);
      int buttonState2 = digitalRead(buttonPin2);
      int buttonState3 = digitalRead(buttonPin3);
      int buttonState4 = digitalRead(buttonPin4);

      if (buttonState1 != buttonON &&
          buttonState2 != buttonON &&
          buttonState3 != buttonON &&
          buttonState4 != buttonON){
        // どこにも刺さっていない
        M5.Lcd.drawJpgFile(SD, "/usb_bomb_standby.jpg");
        ClearLEDMatrix();

       }else if ((hitNumber == 1 && buttonState1 == buttonON) ||
                 (hitNumber == 2 && buttonState2 == buttonON) ||
                 (hitNumber == 3 && buttonState3 == buttonON) ||
                 (hitNumber == 4 && buttonState4 == buttonON)){
        // 当たりに刺さっている
        Serial.println("当たりに刺さってる");
        M5.Lcd.drawJpgFile(SD, "/usb_bomb_atari.jpg");
        playMP3("/correct1.mp3");
        OKLEDMatrix();

      }else{
        // はずれに刺さっている
        Serial.println("はずれに刺さってる");
        M5.Lcd.drawJpgFile(SD, "/usb_bomb_hazure.jpg");
        playMP3("/bomb1.mp3");
        NGLEDMatrix();
      }
  }
}

void ClearLEDMatrix(){
  uint8_t buf[8];
  char *str="";
  char *ptr = str;
  uint16_t n = 0;
  int8_t x = -15;

  matrix.clear();
  matrix1.clear();
  matrix.setCursor(x,0);
  matrix1.setCursor(x+16,0);
  while(*ptr){
    ptr = getFontData(buf,ptr,true);
    if(!ptr)
      break;
    matrix.drawBitmap(x+n,0,buf,8,8,1);
    matrix1.drawBitmap(x+16+n,0,buf,8,8,1);
    n+=8;
  }
  matrix.writeDisplay();
  matrix1.writeDisplay();
  delay(20);
}

void NGLEDMatrix(){
  uint8_t buf[8];
  char *str="残念!またチャレンジしてね";
  for (int8_t x=17; x>=-125; x--) {
    char *ptr = str;
    uint16_t n = 0;
    matrix.clear();
    matrix1.clear();
    matrix.setCursor(x,0);
    matrix1.setCursor(x+16,0);
    while(*ptr){
      ptr = getFontData(buf,ptr,true);
      if(!ptr)
        break;
      matrix.drawBitmap(x+n,0,buf,8,8,1);
      matrix1.drawBitmap(x+16+n,0,buf,8,8,1);
      n+=8;
    }
    matrix.writeDisplay();
    matrix1.writeDisplay();
    //delay(20);
  }
}

void OKLEDMatrix(){
  uint8_t buf[8];
  char *str="";

  for (int8_t i=0; i<=1; i++){
    int8_t x = -15;

    //点滅表示させる
    if (i==0){
      str="★☆★☆";
    }else{
      str="";
    }

    char *ptr = str;
    uint16_t n = 0;
    matrix.clear();
    matrix1.clear();
    matrix.setCursor(x,0);
    matrix1.setCursor(x+16,0);

    while(*ptr){
      ptr = getFontData(buf,ptr,true);
      if(!ptr)
        break;
      matrix.drawBitmap(x+n,0,buf,8,8,1);
      matrix1.drawBitmap(x+16+n,0,buf,8,8,1);
      n+=8;
    }

    matrix.writeDisplay();
    matrix1.writeDisplay();

    delay(1000);
  }
}
M5Stackの配置上物理的に電源ボタンが押せないようになってしまったので、Cボタンを押したときに終了させたくてM5.Power.powerOFF();と書いたのですが、なぜか再起動してしまいます。
注意
USBの規格に沿って作成したものではありません!
ほかの機器と誤って接続してしまったりしたらやばいかもしれません。。
さいごに
筐体のことを書いてませんでしたが、段ボールで作成、アクリル絵の具で塗りました。
基板はUSBケーブルの抜き差しでずれないように、ねじで止めています。
あたりまえですが強度はいまいちです。今後3Dプリンタで作れたらと考えています。
本当は、最初『USB危機一髪』として何かを飛び出させたかったですが飛び出せるほどの威力のあるソレノイドも持ってないしそれは要検討ということにして、M5Stackの画面とLEDバッヂによる表示で実装しました。

