はじめに
Luma AIを使って生成した3Dモデルを
Blenderで加工して、Unityへインポートするまでの手順です。
なおBlenderもUnityもチュートリアルを触ったくらいの知識なので、不要な手順があるかもしれません。。
Luma AIからBlenderへ
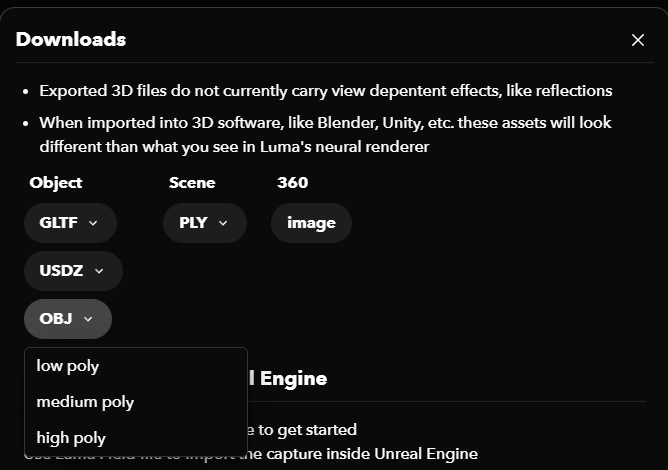
1.Luma AIにて生成された3Dモデルをobjの形式でファイル出力
2.Blenderを起動して初期オブジェクトを消しておく

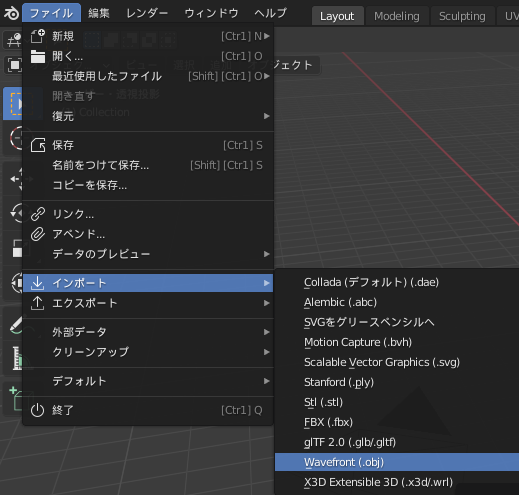
3.ファイルタブのインポートから、objをクリックして、Luma AIから出力したファイルを選択

4.インポートが完了したら、モードをスカルプトモードへ変更する

5.左のツールからボックストリムを選択。

6.インポートしたオブジェクトの不要な部分をドラッグで切り取る
この時、範囲選択した場所に色のついた箱が作成された場合は削除する

7.不要な部分の削除が完了したら、ファイルタブのエクスポートからobjクリックする

8.パスモードをコピーに変更してエクスポートする(テクスチャをエクスポートするため)

BlenderからUnityへ
1.Unityを起動して、3Dモデルを追加したいプロジェクトを開く

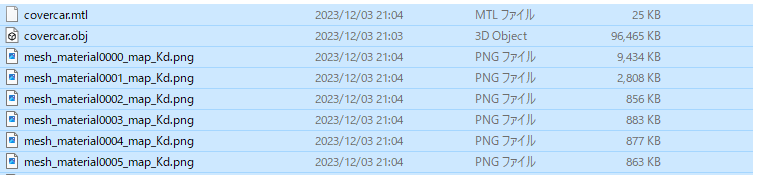
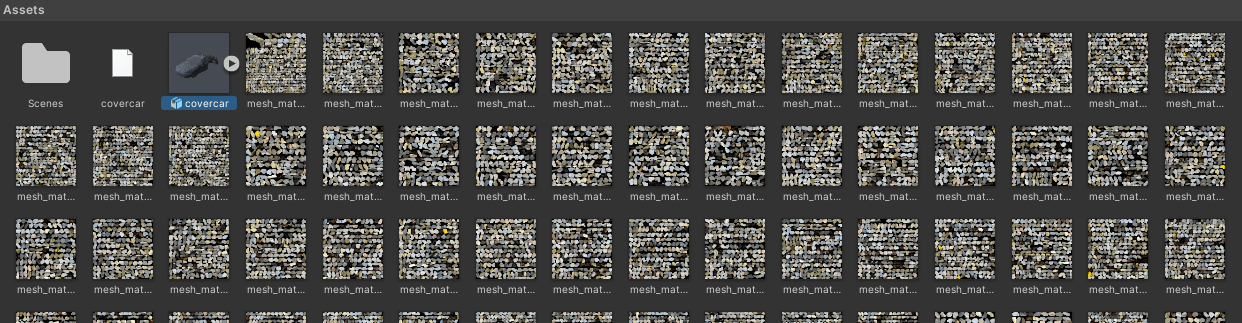
2.Blenderでエクスポートした objファイル、mtlファイル、pngファイルをすべて
ドラッグアンドドロップで、UnityのAssetsへ追加する
追加したオブジェクトを選択して表示されるInspectorでGenerate Collidersにチェックを入れておくと衝突判定が生まれる

3.Unityへのインポート完成

そのままの設定ではオブジェクトにRigitdbodyを設定しても地面をすり抜けてしまうため、追加したオブジェクト(default)を選択して、コンポーネントのMesh ColliderのCovexプロパティにチェックを入れる。


参考記事
Blenderのインポート手順はすでに実施されている方の記事を参考にさせていただきました。
・https://qiita.com/Kenty1003/items/59c9305f70bd998dc75d