DMM.com Advent Calendar 2019 17日目の記事です。
DMMの動画配信におけるインフラを担当しています @sinnershiki です。
去年のDMM.comアドベントカレンダーではStackStorm入門的な話をしましたが、今年は9月にリリースされたCentOS8について紹介できたらと思います。
大きな変更点の概要
CentOS 8 と CentOS 7 の違い、yum やミドルウェアにも要注意
上記でも紹介されているようにミドルウェア的な変更点は下記の3つが有名どころかと思います。
- yum -> dnf
- ntp -> chrony
- iptables -> nftables
ただ、実際に使ってみた際の差分はこれだけでは分からないので、OSインストールから試したいと思います。
あと、個人的に気になっているpythonのデフォルトが2系から3系に変わったことについてもちょっと記載できればと思います。
環境
今回は、いろいろな環境で遊んでみたいと思うので適当なサーバにOSを入れるところから始めつつ、vagrantのbento/centos-8イメージも併用して遊んでみたいと思います。
環境1
そのへんに余ってた適当なサーバ
環境2
vagrant
Vagrant.configure("2") do |config|
  config.vm.box = "bento/centos-8"
end
インストール
OSインストールは適当なサーバにやってみました。別にVMでもよかったんですが、余っていたので。
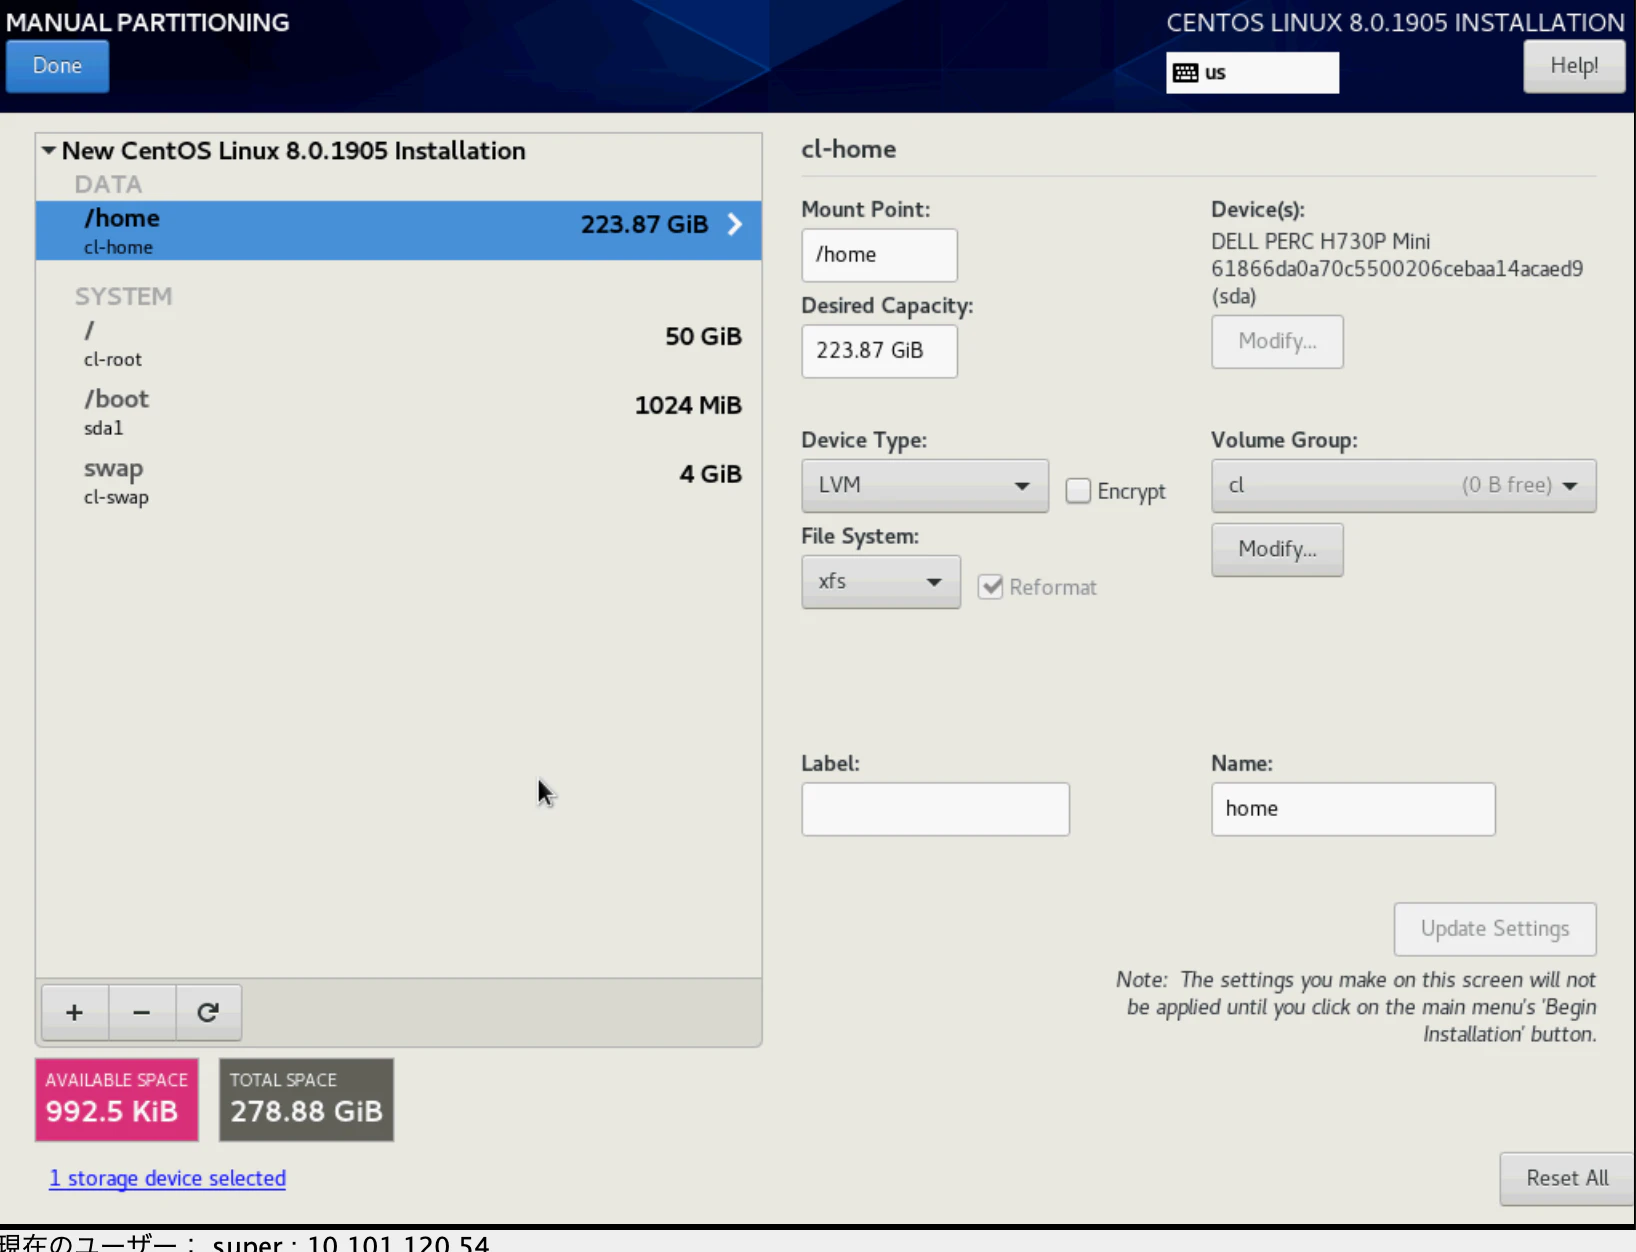
大きな変更はなく、Softwareインストール部分の選択がそこそこ変わってたかなー?ぐらいでした。


disk割当自動生成も大きな変更なしでした
ちなみに、Softwareの選択項目が大きく変わったことでどこにnetwork-scriptがあるのか分からない状態になり、何も調べずに入れるとnetwork-scriptが入ってない状態のサーバが上がってきました。
本格的にちゃんとNetworkManagerを運用しないといけないのかなあという機運になりますね。
% systemctl status network
Unit network.service could not be found.
dnf
ここから先は基本的にvagrant環境でごにょごにょしたいと思います。
yumの代替え品で、yumがpython2系で動いていたのに対してdnfはpython3系で動いています。ただ、yumコマンドは変わらず使えます。というのも、dnfのエイリアスになっているようです。
なので、通常使う分にもyumと比較してもそこまで大きく使い方の変化はないように感じました。
下記は試しにdnfでtmux入れたときのコマンドです。
[root@vm01 ~]# which dnf
/usr/bin/dnf
[root@vm01 ~]# which yum
/usr/bin/yum
[root@vm01 ~]# ls -la /usr/bin/yum
lrwxrwxrwx. 1 root root 5 May 13  2019 /usr/bin/yum -> dnf-3
[root@vm01 ~]# dnf search tmux
Last metadata expiration check: 0:00:22 ago on Sun 15 Dec 2019 01:35:52 PM UTC.
============================ Name Exactly Matched: tmux =============================
tmux.x86_64 : A terminal multiplexer
tmux.i686 : A terminal multiplexer
tmux.x86_64 : A terminal multiplexer
[root@vm01 ~]# dnf install -y tmux
Datadog, Inc.                                         23 kB/s | 2.5 kB     00:00
CentOS-8 - AppStream                                 1.4 MB/s | 6.3 MB     00:04
CentOS-8 - Base                                      1.7 MB/s | 7.9 MB     00:04
CentOS-8 - Extras                                    791  B/s | 2.1 kB     00:02
Dependencies resolved.
=====================================================================================
 Package          Arch               Version                Repository          Size
=====================================================================================
Installing:
 tmux             x86_64             2.7-1.el8              BaseOS             317 k

Transaction Summary
=====================================================================================
Install  1 Package

Total download size: 317 k
Installed size: 781 k
Downloading Packages:
tmux-2.7-1.el8.x86_64.rpm                            285 kB/s | 317 kB     00:01
-------------------------------------------------------------------------------------
Total                                                119 kB/s | 317 kB     00:02
Running transaction check
Transaction check succeeded.
Running transaction test
Transaction test succeeded.
Running transaction
  Preparing        :                                                             1/1
  Installing       : tmux-2.7-1.el8.x86_64                                       1/1
  Running scriptlet: tmux-2.7-1.el8.x86_64                                       1/1
  Verifying        : tmux-2.7-1.el8.x86_64                                       1/1

Installed:
  tmux-2.7-1.el8.x86_64

Complete!
[root@vm01 ~]# dnf list --installed | grep tmux
tmux.x86_64                          2.7-1.el8                             @BaseOS
dnfへのリポジトリの追加について
基本的に /etc/yum.repo.d/*.repo を読んでくれるみたいです。ここもyumと差分ないですね。/etc/dnf/dnf.confに記載してても読み込んでくれるとのことでした。
リポジトリ設定は通常yum.repo.dで行われ、優先順位もyum.repo.dの方が高いとのことだったで、repoファイルの扱いはyum変わらない感じですね。
これ、dnfが浸透したあとはどうするんでしょうね?
下記はCentOSのepelリポジトリを追加した様子です。相変わらずepel-releaseをインストールすれば入るのでdnfになっても変わらないですね。
[root@vm01 ~]# dnf install epel-release
Last metadata expiration check: 0:12:21 ago on Sun 15 Dec 2019 01:35:52 PM UTC.
Dependencies resolved.
=====================================================================================
 Package                Arch             Version              Repository        Size
=====================================================================================
Installing:
 epel-release           noarch           8-5.el8              extras            22 k

Transaction Summary
=====================================================================================
Install  1 Package

Total download size: 22 k
Installed size: 30 k
Is this ok [y/N]: y
Downloading Packages:
epel-release-8-5.el8.noarch.rpm                       21 kB/s |  22 kB     00:01
-------------------------------------------------------------------------------------
Total                                                9.5 kB/s |  22 kB     00:02
Running transaction check
Transaction check succeeded.
Running transaction test
Transaction test succeeded.
Running transaction
  Preparing        :                                                             1/1
  Installing       : epel-release-8-5.el8.noarch                                 1/1
  Running scriptlet: epel-release-8-5.el8.noarch                                 1/1
  Verifying        : epel-release-8-5.el8.noarch                                 1/1

Installed:
  epel-release-8-5.el8.noarch

Complete!
[root@vm01 ~]# ls -la /etc/yum.repos.d/epel.repo
-rw-r--r--. 1 root root 1206 Aug  6 18:17 /etc/yum.repos.d/epel.repo
[root@vm01 ~]# cat /etc/yum.repos.d/epel.repo
[epel]
name=Extra Packages for Enterprise Linux $releasever - $basearch
# baseurl=https://download.fedoraproject.org/pub/epel/$releasever/Everything/$basearch
metalink=https://mirrors.fedoraproject.org/metalink?repo=epel-$releasever&arch=$basearch&infra=$infra&content=$contentdir
failovermethod=priority
enabled=1
gpgcheck=1
gpgkey=file:///etc/pki/rpm-gpg/RPM-GPG-KEY-EPEL-$releasever

[epel-debuginfo]
name=Extra Packages for Enterprise Linux $releasever - $basearch - Debug
# baseurl=https://download.fedoraproject.org/pub/epel/$releasever/Everything/$basearch/debug
metalink=https://mirrors.fedoraproject.org/metalink?repo=epel-debug-$releasever&arch=$basearch&infra=$infra&content=$contentdir
failovermethod=priority
enabled=0
gpgkey=file:///etc/pki/rpm-gpg/RPM-GPG-KEY-EPEL-$releasever
gpgcheck=1

[epel-source]
name=Extra Packages for Enterprise Linux $releasever - $basearch - Source
# baseurl=https://download.fedoraproject.org/pub/epel/$releasever/Everything/SRPMS
metalink=https://mirrors.fedoraproject.org/metalink?repo=epel-source-$releasever&arch=$basearch&infra=$infra&content=$contentdir
failovermethod=priority
enabled=0
gpgkey=file:///etc/pki/rpm-gpg/RPM-GPG-KEY-EPEL-$releasever
gpgcheck=1
iptables
最初にも記載したとおりiptablesからnftablesに入れ替わってます。firewalldの裏側もiptablesからnftablesに変わっていますが、firewalldを運用する上では別に困るところはなさそうでした。
加えて、iptablesが全く使えなくなったわけではなく、実はインストールすれば使えるようですね。
というわけで、運用を今すぐ変えたくない場合は延命はできそうです。それがいいかどうかは怪しいところですが・・・。
[root@vm01 ~]# dnf install -y  iptables-services
Last metadata expiration check: 1:20:15 ago on Mon 16 Dec 2019 01:11:06 AM UTC.
Dependencies resolved.
=====================================================================================
 Package                  Arch          Version                  Repository     Size
=====================================================================================
Installing:
 iptables-services        x86_64        1.8.2-9.el8_0.1          BaseOS         58 k

Transaction Summary
=====================================================================================
Install  1 Package

Total download size: 58 k
Installed size: 20 k
Downloading Packages:
iptables-services-1.8.2-9.el8_0.1.x86_64.rpm         691 kB/s |  58 kB     00:00
-------------------------------------------------------------------------------------
Total                                                 42 kB/s |  58 kB     00:01
Running transaction check
Transaction check succeeded.
Running transaction test
Transaction test succeeded.
Running transaction
  Preparing        :                                                             1/1
  Installing       : iptables-services-1.8.2-9.el8_0.1.x86_64                    1/1
  Running scriptlet: iptables-services-1.8.2-9.el8_0.1.x86_64                    1/1
  Verifying        : iptables-services-1.8.2-9.el8_0.1.x86_64                    1/1

Installed:
  iptables-services-1.8.2-9.el8_0.1.x86_64

Complete!
[root@vm01 ~]# systemctl stop firewalld nftables
[root@vm01 ~]# systemctl disable firewalld nftables
[root@vm01 ~]# systemctl enable iptables
Created symlink /etc/systemd/system/basic.target.wants/iptables.service → /usr/lib/systemd/system/iptables.service.
[root@vm01 ~]# systemctl start iptables
[root@vm01 ~]# iptables -nL
Chain INPUT (policy ACCEPT)
target     prot opt source               destination
ACCEPT     all  --  0.0.0.0/0            0.0.0.0/0            state RELATED,ESTABLISHED
ACCEPT     icmp --  0.0.0.0/0            0.0.0.0/0
ACCEPT     all  --  0.0.0.0/0            0.0.0.0/0
ACCEPT     tcp  --  0.0.0.0/0            0.0.0.0/0            state NEW tcp dpt:22
REJECT     all  --  0.0.0.0/0            0.0.0.0/0            reject-with icmp-host-prohibited

Chain FORWARD (policy ACCEPT)
target     prot opt source               destination
REJECT     all  --  0.0.0.0/0            0.0.0.0/0            reject-with icmp-host-prohibited

Chain OUTPUT (policy ACCEPT)
target     prot opt source               destination
python
今までCentOSはyumがpythonで動いていたこともあって、デフォルトでpythonが入っていてpythonコマンドが使えました。
[root@localhost ~]# cat /etc/redhat-release
CentOS Linux release 7.5.1804 (Core)
[root@localhost ~]# python -V
Python 2.7.5
しかし、CentOS8では実はデフォルトでpythonコマンドにパスが通っていないです。dnfでは利用しているはずなので、存在はしているのでその場所を探ってみましょう。
[root@vm01 ~]# cat /etc/redhat-release
CentOS Linux release 8.0.1905 (Core)
[root@vm01 ~]# python -V
-bash: python: command not found
[root@vm01 ~]# head /usr/bin/dnf
# !/usr/libexec/platform-python
# The dnf executable script.
#
# Copyright (C) 2012-2016 Red Hat, Inc.
#
# This copyrighted material is made available to anyone wishing to use,
# modify, copy, or redistribute it subject to the terms and conditions of
# the GNU General Public License v.2, or (at your option) any later version.
# This program is distributed in the hope that it will be useful, but WITHOUT
# ANY WARRANTY expressed or implied, including the implied warranties of
[root@vm01 ~]# ls -la /usr/libexec/platform-python
lrwxrwxrwx. 1 root root 20 Oct  7 18:00 /usr/libexec/platform-python -> ./platform-python3.6
[root@vm01 ~]# /usr/libexec/platform-python -V
Python 3.6.8
とまあこんな感じで/usr/libexec/platform-pythonにpythonがいることがわかりました。これ、実は一部のソフトウェアに影響があってansibleの2.7系まではこれの影響でデフォルトでは動かないです。
ansible 2.8.0からは、ChangeLogにもあるようにデフォルトのpythonがないとその場所を探す仕様が入ったようです。
% ansible -i inventory all -m ping
vm01 | SUCCESS => {
    "ansible_facts": {
        "discovered_interpreter_python": "/usr/libexec/platform-python"
    },
    "changed": false,
    "ping": "pong"
}
CentOS8に対してansible2.7系以下を動かす場合は ansible_python_interpreter というパラメータを指定してあげるといいです。
% ansible --version
ansible 2.7.10
  ansible python module location = /opt/rh/python27/root/usr/lib/python2.7/site-packages/ansible
  executable location = /opt/rh/python27/root/usr/bin/ansible
  python version = 2.7.13 (default, Apr 12 2017, 06:53:51) [GCC 4.4.7 20120313 (Red Hat 4.4.7-18)]
% ansible -i inventory all -m shell -a "cat /etc/redhat-release" -kK
SSH password:
SUDO password[defaults to SSH password]:
server | FAILED! => {
    "changed": false,
    "module_stderr": "Shared connection to xxx.xxx.xxx.xxx closed.\r\n",
    "module_stdout": "/bin/sh: /usr/bin/python: No such file or directory\r\n",
    "msg": "The module failed to execute correctly, you probably need to set the interpreter.\nSee stdout/stderr for the exact error",
    "rc": 127
}
% ansible -i inventory all -m shell -a "cat /etc/redhat-release" -kK --extra-vars='ansible_python_interpreter=/usr/libexec/platform-python'
SSH password:
SUDO password[defaults to SSH password]:
server | CHANGED | rc=0 >>
CentOS Linux release 8.0.1905 (Core)
まとめ
本当はリリース時に検証したときにdatadogが動かなかったりした問題を片付けるか原因まで探るみたいなことをしたかったんですが、さすがにリリースから2ヶ月も経つとしっかり対応されてました。
というわけで、現状かなり使える環境になってきたと思いますので、そろそろ本格的にCentOS8を使い始めても問題はないかと思います。
CentOS7はまだ使えますが、CentOS6のEOL1は迫ってますし、新しいOSを使っていきたいですね。
-
CentOS6のEOLは、November 30th, 2020 ↩