身内からGoogle Home miniをいただき、子どものおもちゃとして活躍する日々でしたが、Qiitaを巡ってると
「GoogleHomeとSlackを連携させてみた」
https://qiita.com/otera05/items/c9b0e290695c4d67da74
が紹介されていたので、これは!ということでGoogle HomeからSlackに投稿するまでをうちの家庭にも取り入れてみました。
が、いろいろとつまずいた点があったので情報を共有したいと思います。
※ちなみにうちの家族の連絡もSlackになっています。
参考にさせていただいた @otera05 さんのページがわかりやすいので、ここではざっくりとした流れとつまずいた点をメインに書いていきたいと思います。
1. Slack の設定
SlackのカスタムインテグレーションからBotsを追加してAPIトークンを取得しておきます。
追加したbotをSlackの投稿したいチャンネルに追加しておきます。

2. Dialogflowの設定
新しいAgentを生成しIntentsとFulfillmentの設定を行います。
2-1. Intents
Default Fallback Intent と Default Welcome Intent がデフォルトで生成されます。
Default Fallback Intent は基本的には利用しないのでそのままでかまいません。
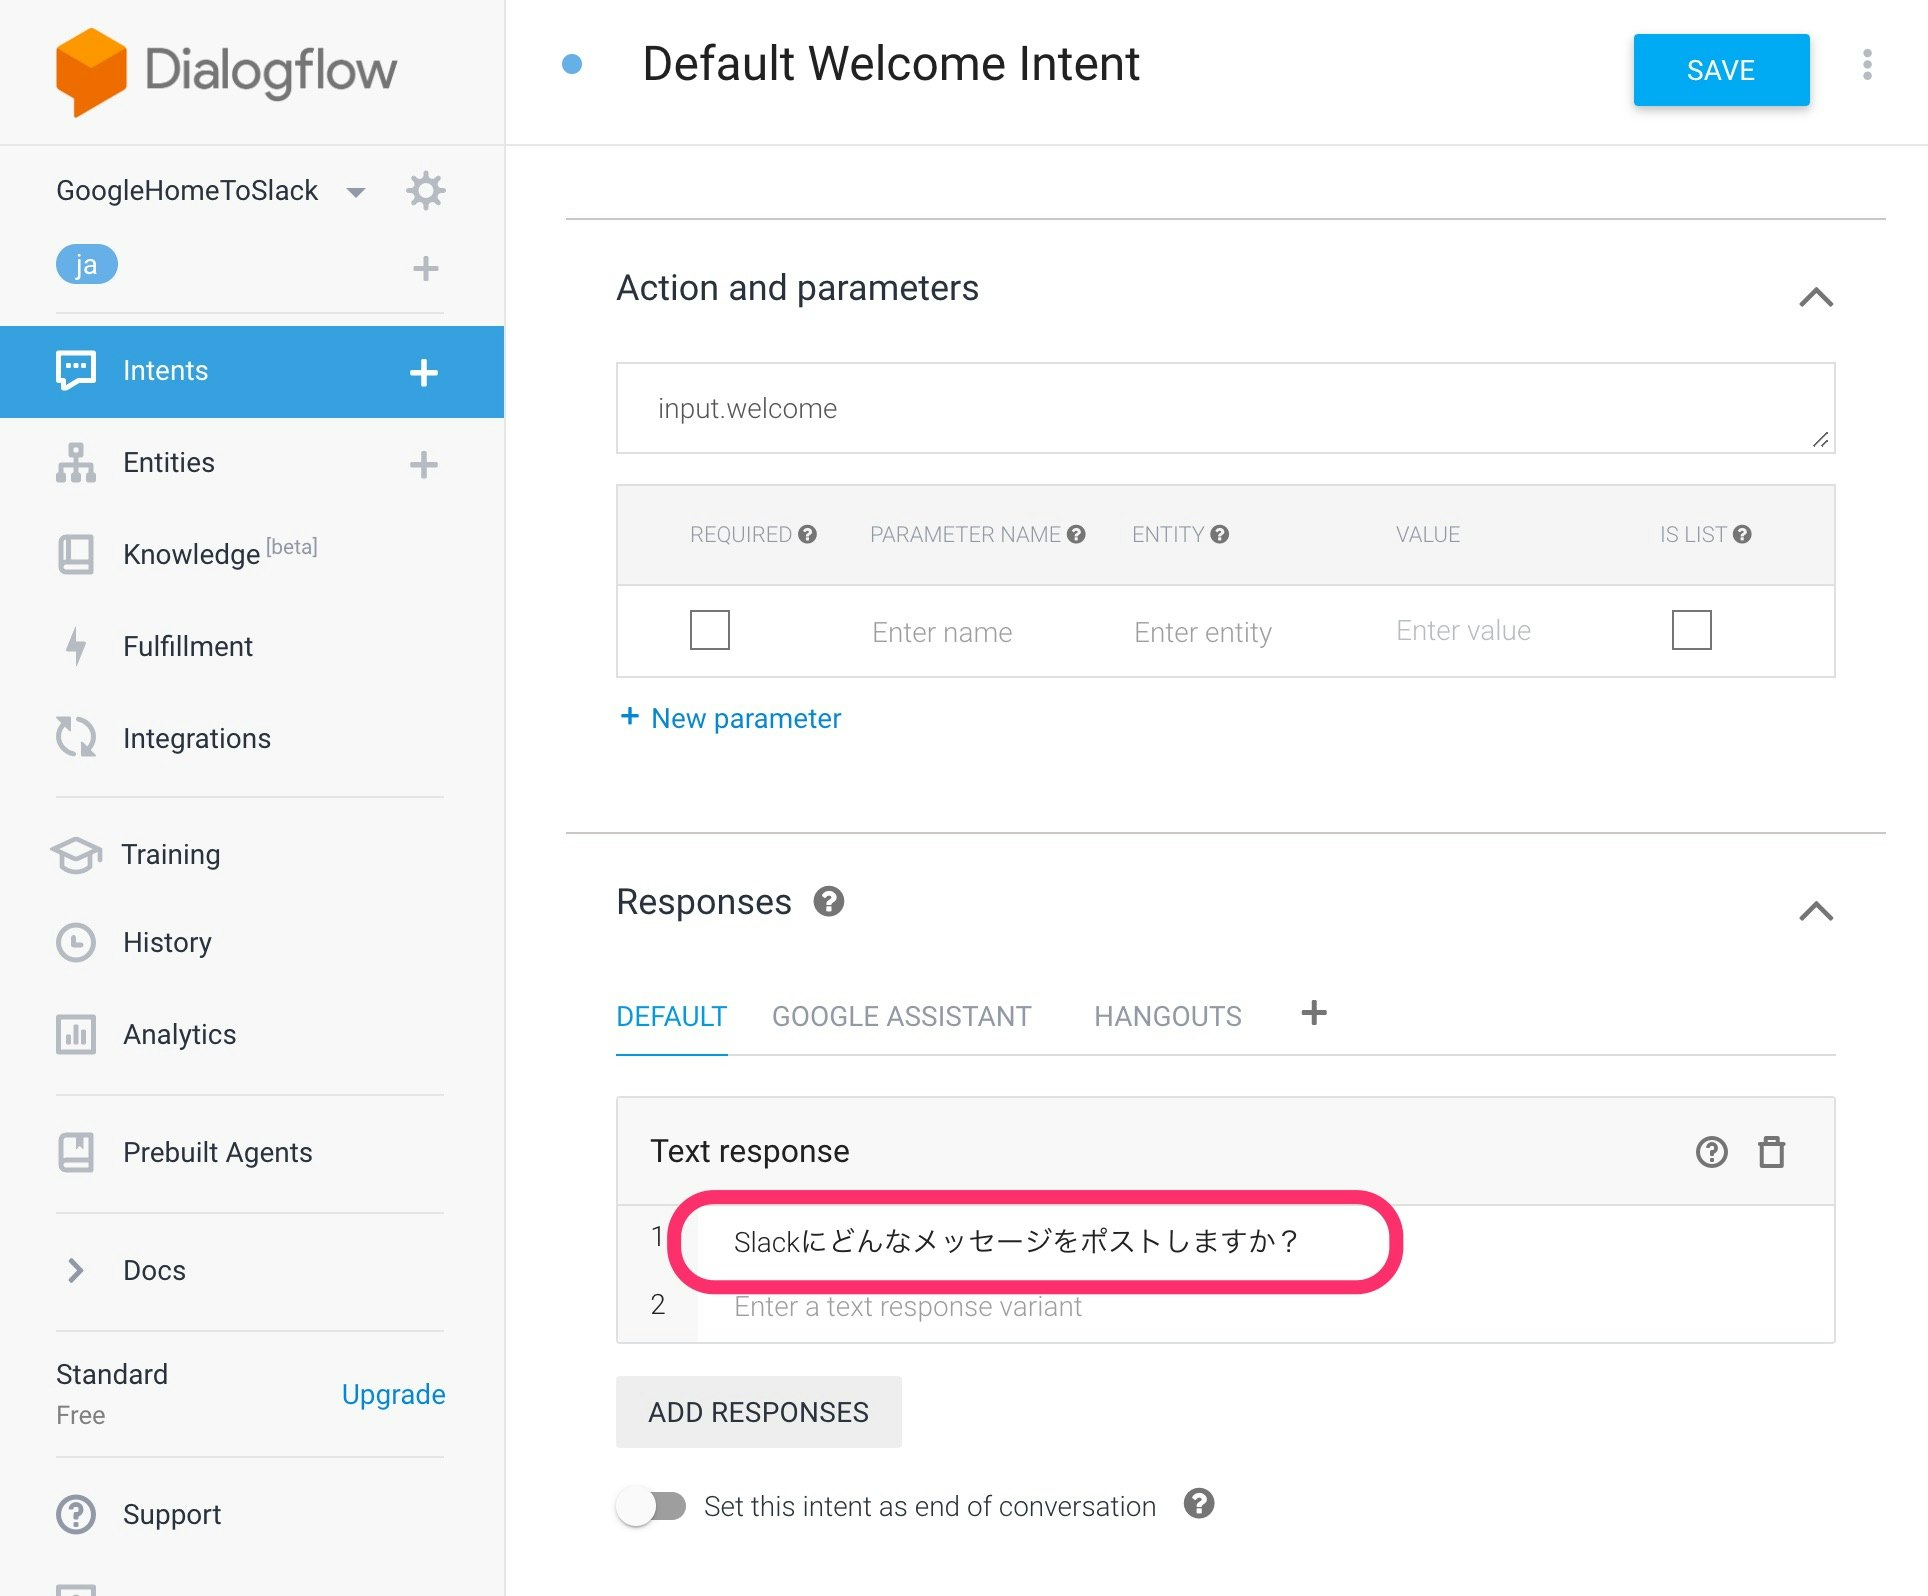
Default Welcome Intentの設定
Default Welcome Intent では起動したときの言葉を設定します。
Response に Slackにどんなメッセージをポストしますか? を設定します。

Slackへのポスト用のIntentを追加
Slack Posted という名前をつけてIntentを追加します。
Training phrases に こんにちは (パラメータ取得用なので何でもいいです)を入力します。
こんにちは をドラッグで全選択するとパラメータ入力用のウインドウが開くので @sys.any:any を選択します。

Action on parameters にパラメータが追加されます。

Fulfillment の Enable webhook call for this intent にチェックを入れます。
Responses への入力は必要ありません。

2-2. Fulfillment
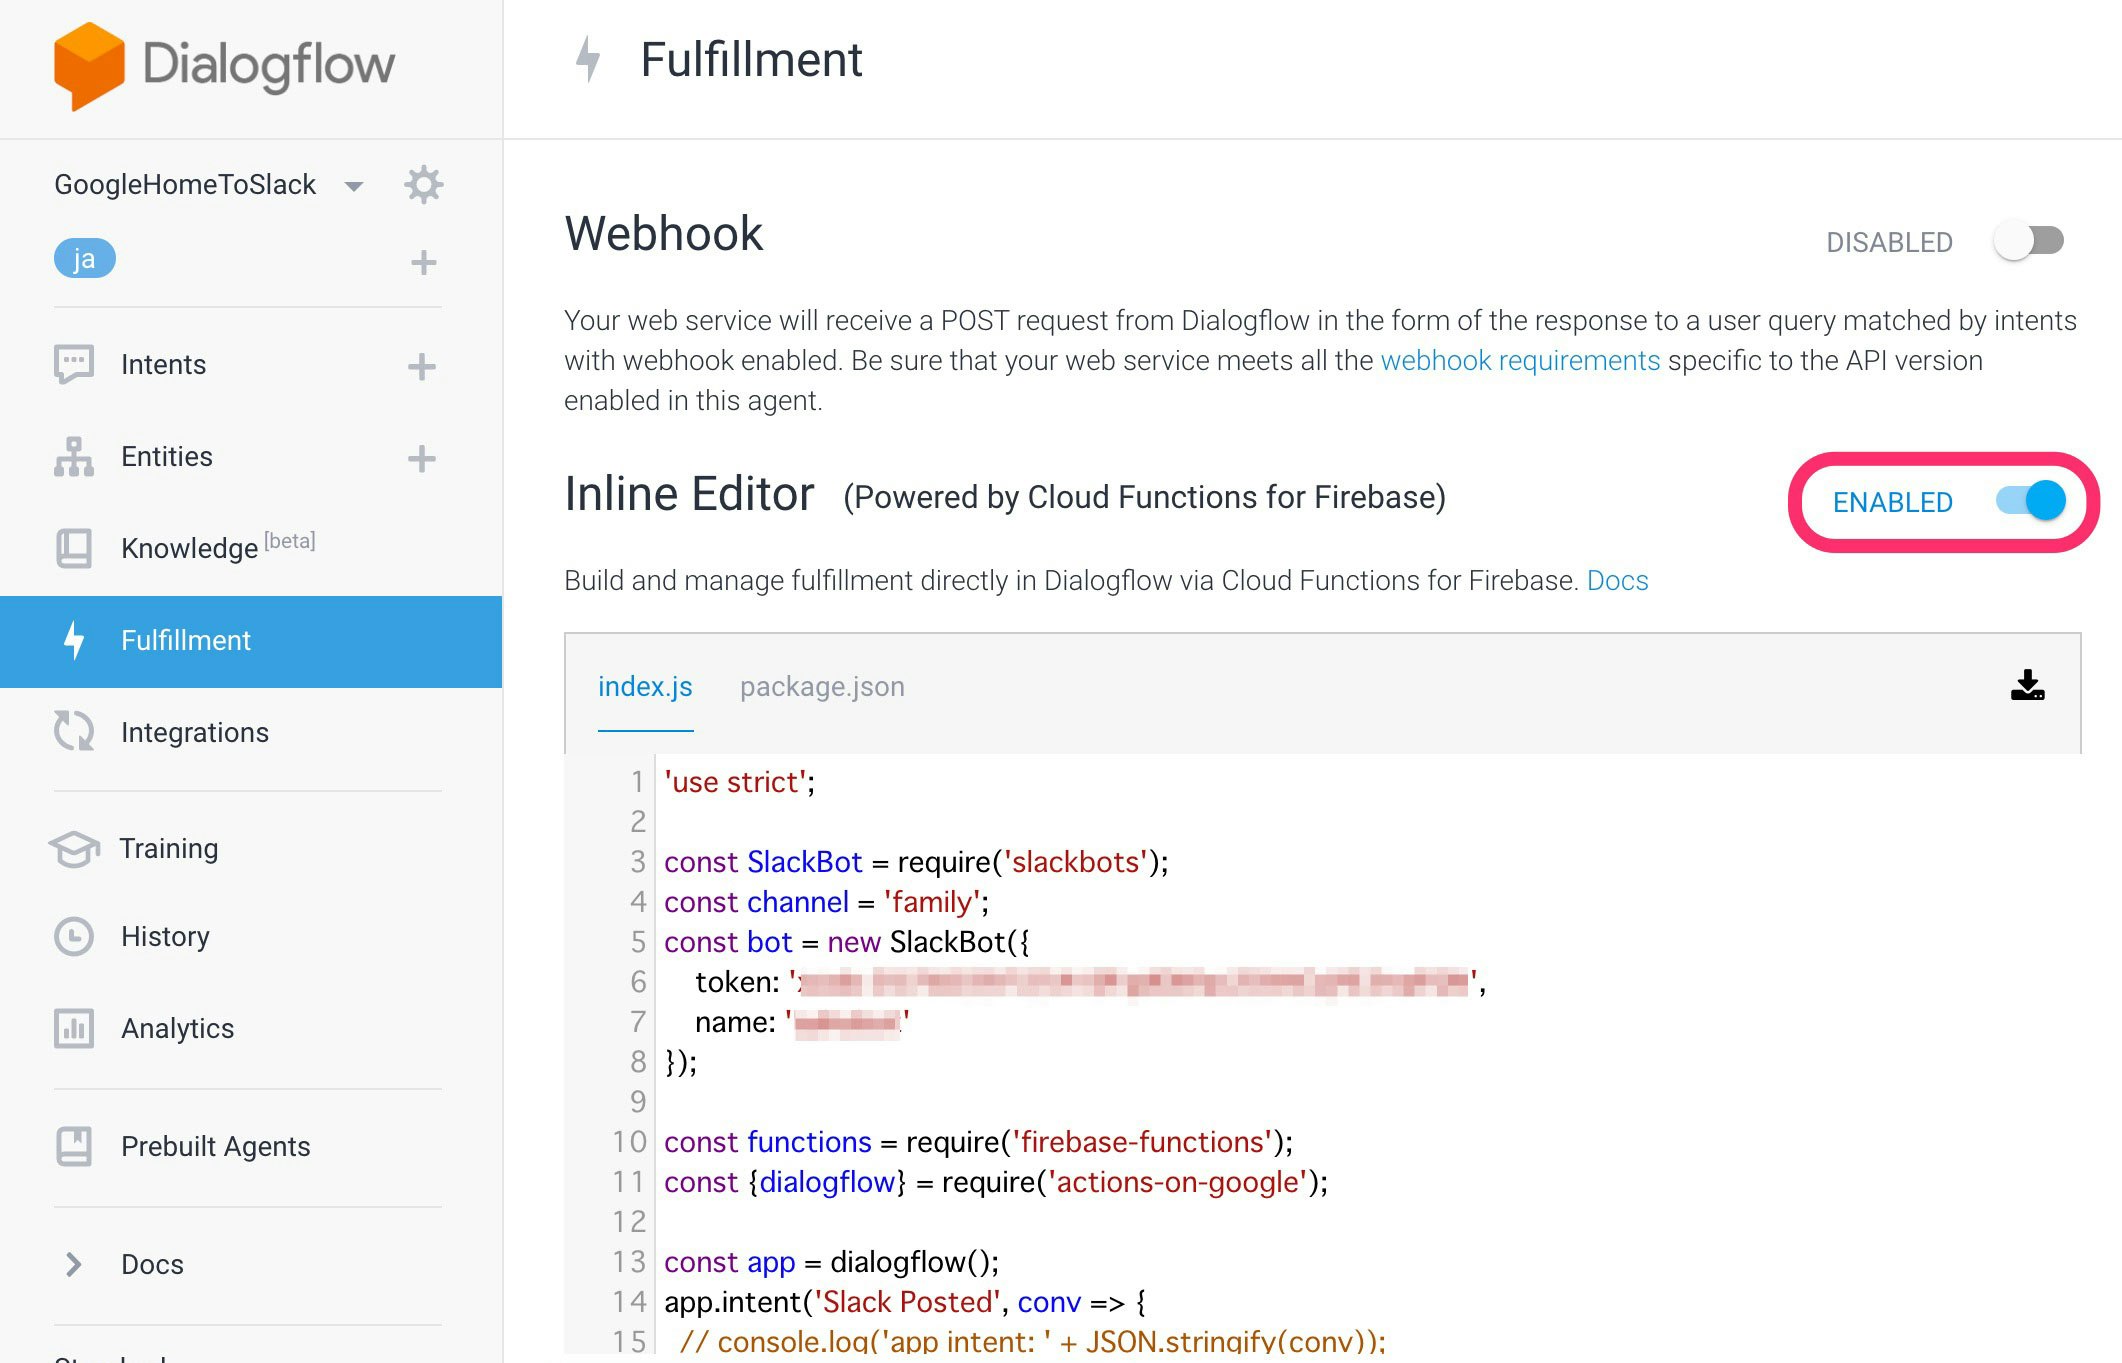
Inline Editor にチェックを入れます。
index.js と package.json のソースは以下の通りに設定します。
package.json
dependencies に "slackbots": "^1.1.0", を追加
{
  "name": "dialogflowFirebaseFulfillment",
  "description": "This is the default fulfillment for a Dialogflow agents using Cloud Functions for Firebase",
  "version": "0.0.1",
  "private": true,
  "license": "Apache Version 2.0",
  "author": "Google Inc.",
  "engines": {
    "node": "8"
  },
  "scripts": {
    "start": "firebase serve --only functions:dialogflowFirebaseFulfillment",
    "deploy": "firebase deploy --only functions:dialogflowFirebaseFulfillment"
  },
  "dependencies": {
    "slackbots": "^1.1.0",
    "actions-on-google": "^2.2.0",
    "firebase-admin": "^5.13.1",
    "firebase-functions": "^2.0.2",
    "dialogflow": "^0.6.0",
    "dialogflow-fulfillment": "^0.5.0"
  }
}
index.js
2019年5月22日現在、actions-on-google のバージョンが 2 になっているので、参考にさせていただいたページのコードは使えませんでした。
自分で設定したコードは以下の通りです。
'use strict';

const SlackBot = require('slackbots');
const channel = '<Slackのチャンネルを指定>';
const bot = new SlackBot({
    token: '<BotsのAPIトークンを指定>',
    name: '<Botの名前を指定>'
});

const functions = require('firebase-functions');
const {dialogflow} = require('actions-on-google');

const app = dialogflow();
// Dialogflowに追加したIntentの名前を指定 'Slack Posted'
app.intent('Slack Posted', conv => {
	// Action and parametersに追加したパラメータ名からポストするデータを取得
	const body = conv.body.queryResult.parameters.any;
	bot.postMessageToChannel(channel, body, {as_user:true});

	const message = 'スラックに' + body + 'とポストしました';
	conv.close(message); // 会話を終了させます
});

exports.dialogflowFirebaseFulfillment = functions.https.onRequest(app);
-
channel- Slackのチャンネルを指定します。#generalの場合には
generalを指定
- Slackのチャンネルを指定します。#generalの場合には
-
bot.token- Slack BotsのAPIトークンを指定します。
-
bot.name- 名前を指定していない場合には、botという名前になるので、変えたい場合には指定します。
Deploy します。
3. Actions on Googleの設定
Doalogflowの Integrations からGoogle Assistantを選択します。
表示されるウインドウの MANAGE ASSISTANT APP を押下しActions on Googleを表示

Invocationの Display name を設定します。
テスト
Test > Simulator を表示し動作テストを行います。
Invocationで設定した Display name でAgentを呼び出します。
デバッグログの確認
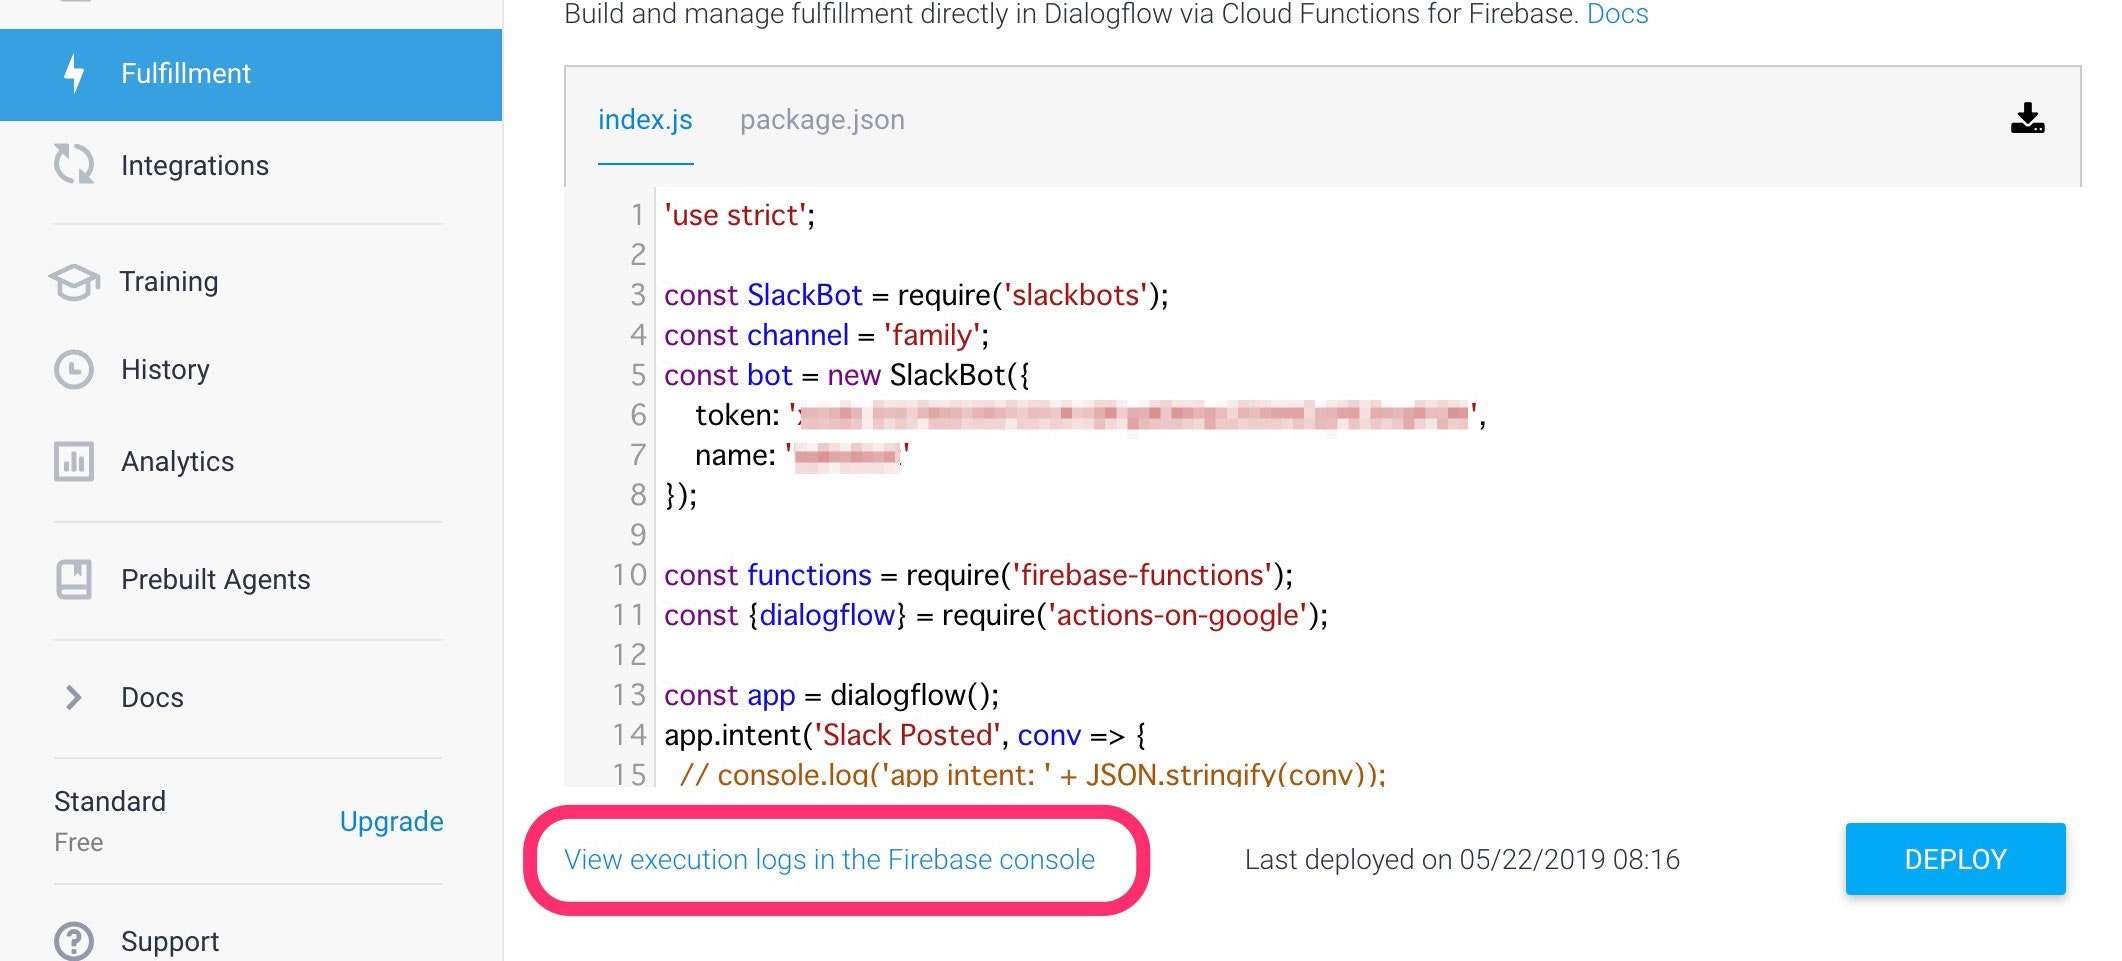
Fulfillmentのデバッグログは、DialogFlow Fulfillmentの View execution logs in the Firebase console 押下で確認出来ます。
Firebase の Functions のログが表示されます。
Firebaseの料金プランの変更
SparkプランだとCloud Functions for Firebaseで外部への通信が制限されるようなので、Blazeプラン(もしくはFlameプラン)への変更が必要になります。
4. Google Homeでの実機テスト
Actions on Googleでテストを行うことで、実機でのテスト準備も出来ているようです。
Google Homeで設定しているアカウントと同じアカウントならそのまま、
「OK Google、 Display name と話したい」
で呼び出してみてください。
Google Homeの設定アカウントと開発アカウントが違う場合
DialogflowのAgent名の右の設定ボタンを押下します。
Share タブを開きます。
Google Homeで設定しているアカウントを追加します。権限は REVIEWER で大丈夫です。

テスト期限が30日(※2019/6/30追記)
30日を超えると、「すみません、よくわかりません」の回答となり、利用できなくなります。
Your Action is testable for up to 30 days. After 30 days, you have to reupload the Action package for testing.
再開するには、GoogleHomeの設定アカウントでActions on Googleにログインし、プロジェクトのActions Consoleを開き、Testページを開いてみてください。

となり再開されます。ちょっと面倒ですね…
(Dialogflowではなく、Actions SDKで作ってこの問題を回避する方法があるようです。実現できたら投稿したいと思います。)
感想
子ども達(5歳と2歳)は楽しそうに投稿してくれるようになりましたが、ゴミ投稿(子ども達の好きなキャラクターなど)が増えるのは覚悟した方がいいかもですw

