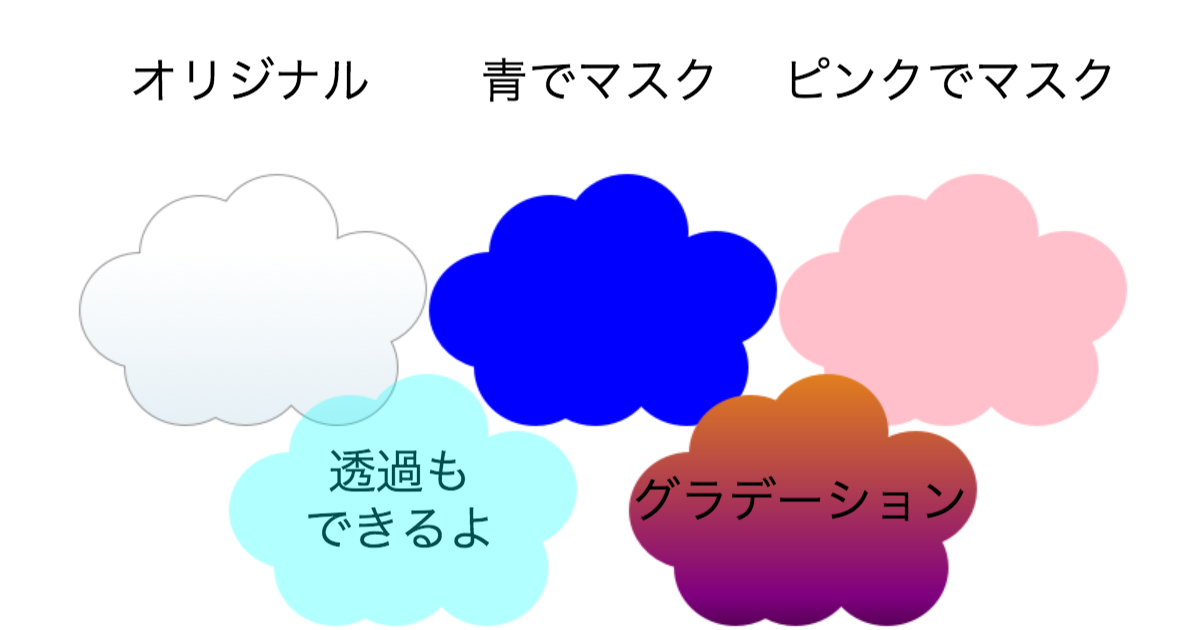
画像の色を変える関数を作る
// 画像マスク用の関数を定義
function maskImage(imageKey, color, distKey) {
  var original = AssetManager.get('image', imageKey).domElement;

  // 画像生成用にダミーのシーン生成
  var dummy = DisplayScene({
    // 元画像と同じサイズにする
    width: original.width,
    height: original.height,
    // 背景色を変更したい色にする
    backgroundColor: color,
  });

  var originalSprite = Sprite(imageKey).addChildTo(dummy);

  // 描画の位置を変更
  originalSprite.setOrigin(0, 0);
  // 描画方法をマスクするように変更
  originalSprite.blendMode = 'destination-in';

  // シーンの内容を描画
  dummy._render();

  // シーンの描画内容から テクスチャを作成
  var texture = Texture();
  texture.domElement = dummy.canvas.domElement;
  if (distKey) {
    AssetManager.set('image', distKey, texture);
  }
  return texture;
}
使い方
AssetManager に 追加してから、使うか、直接テクスチャとして使えます
maskImage(色を変えたい asset, 変更後の色, 新しい asset の名前)
// あらかじめ読み込んである 'kumo' という画像から '青いくも' という asset を生成
maskImage('kumo', 'blue', '青いくも');
Sprite('青いくも').addChildTo(this);

// 直接テクスチャとして使う
var texture = maskImage('kumo', 'pink');
Sprite(texture).addChildTo(this);
処理の流れ
- 処理したい画像と同じサイズの画像処理用のシーンを作成
- シーンの背景色を変更したい色に設定する
- シーンに色を変えたい画像をSpriteで追加する
- Spriteの
blendModeをdestination-inにする - シーンの
_render()メソッド呼び出し - シーンの
.canvas.domElementからTextureを生成 -
distKeyがあれば、新しくAssetManagerにセット - 生成した
Textureを返す
画像の生成方法についてはこちらの記事でも説明してます
phina.jsのShapeを複数まとめて画像として使う - Qiita
サンプル
