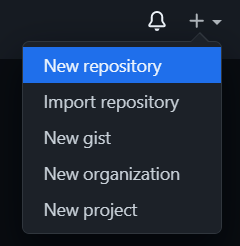
「pubの方使えばいいんだっけ?」とかなってしまう自分用忘備録。
AWSのCodecommitも似たような方法で出来ると思います。
環境情報
- Windows10
- SourceTree 3.4.3
- PuTTYgen Release 0.74
GitHubに登録する
ここはさすがに略しますゾー
https://github.com/
SSHキー
GitHubのリポジトリのアクセス時に利用するため、
ここでコマンドを実行して作成しておきます。
キーの生成
# PCのユーザー名とか不要なら
ssh-keygen -t rsa -b 4096 -C ""
# メールアドレスも追加するなら
ssh-keygen -t rsa -b 4096 -C "sample@example.com"
パスフレーズはご自由に。
完了したらid_rsaとid_rsa.pubが作成されています。
GitHubへSSHキーを登録
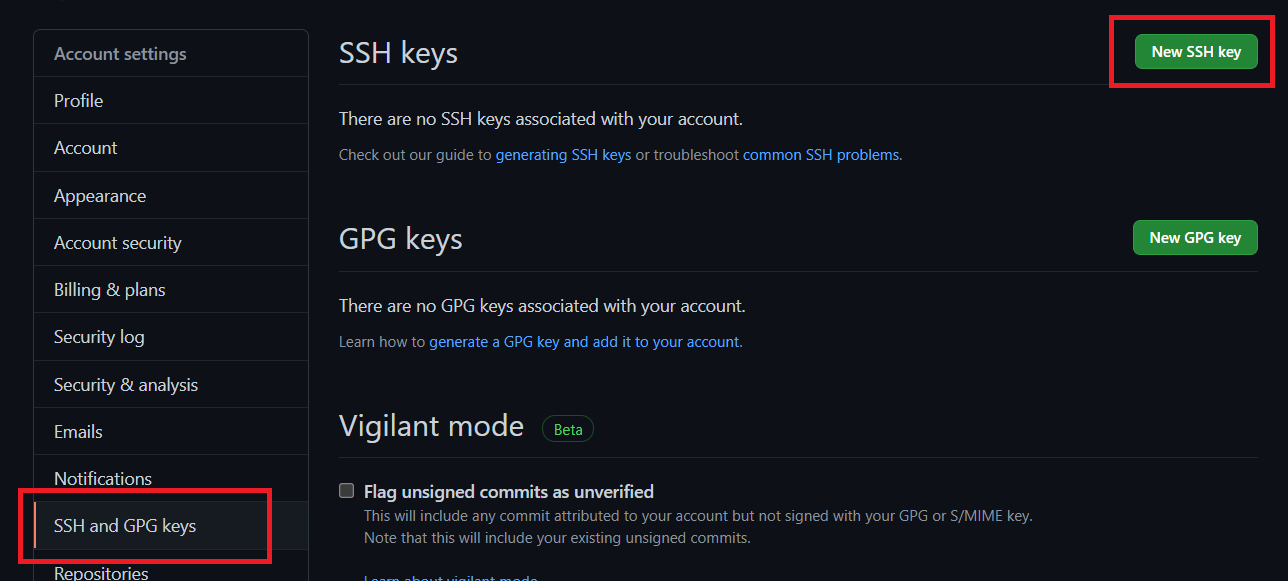
SSH and GPG keys > New SSH Keyを選択。
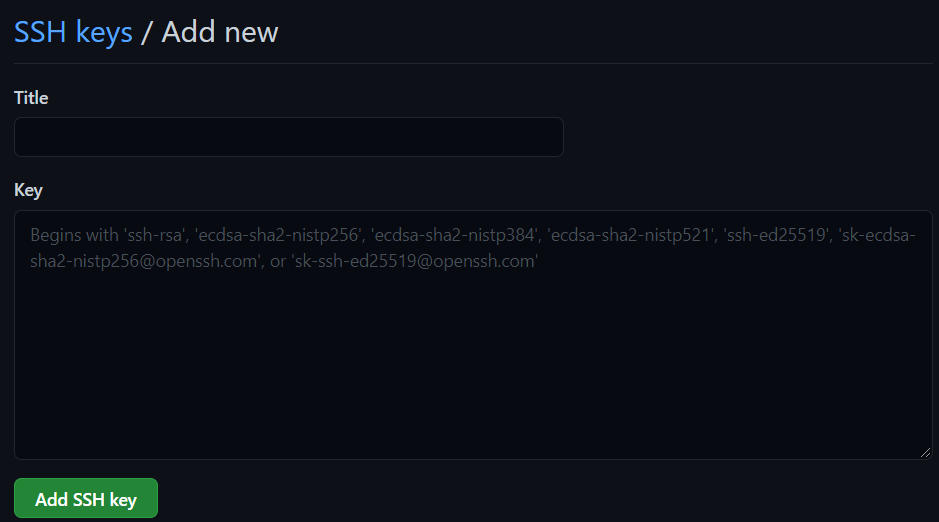
id_rsa.pubのファイルの中身をコピペ。
タイトルはご自由に。
リポジトリの追加
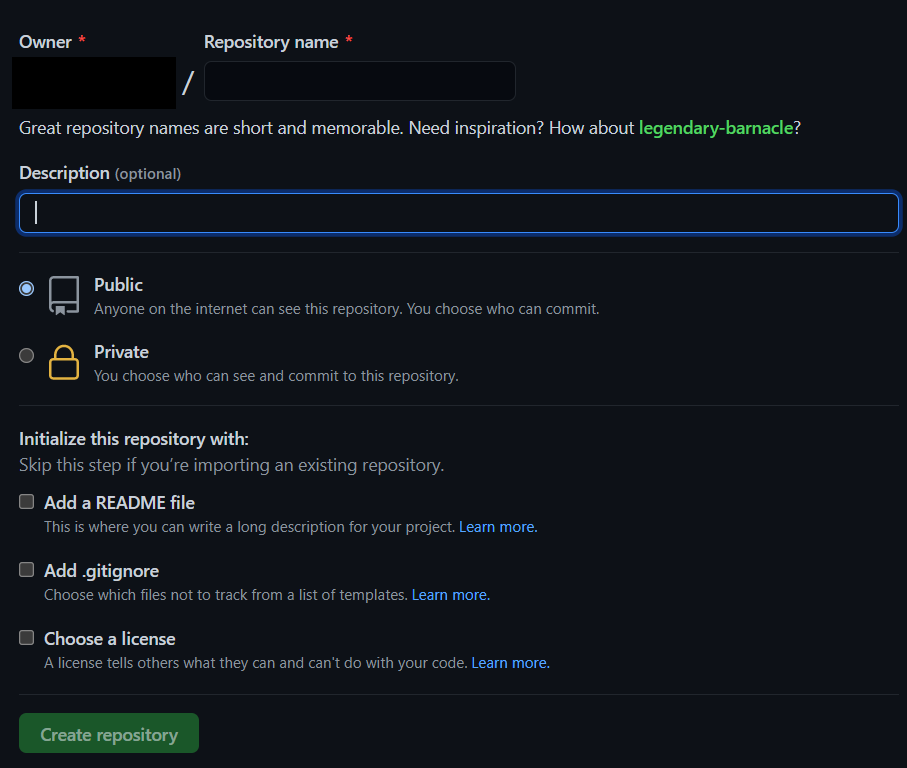
いろいろ入力したら、Create repositoryでリポジトリ作成完了。
分からなければREADMEファイルと.gitignoreファイルぐらいは選択した方が良いかも。
リポジトリのチェックアウト
とりあえずSourceTreeでも使ってチェックアウトします。
https://www.sourcetreeapp.com/download-archives
.ppkファイルの作成
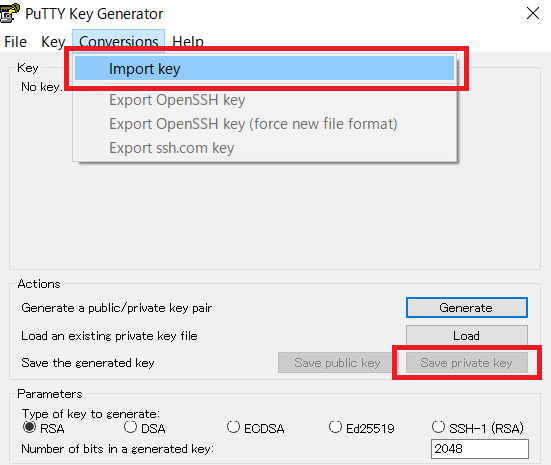
Import keyで秘密鍵(.pubでない方)を読み込み、
Save private keyで.ppkファイル形式で保存します。
チェックアウトの実行

リポジトリ画面のCode > SSHで、クローンする文字列を持ってきます。
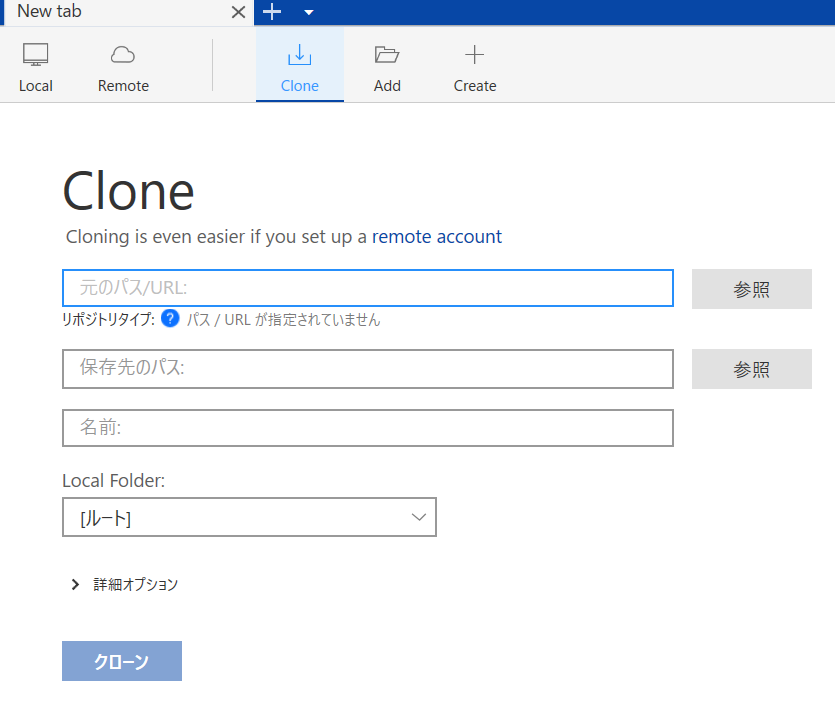
元のパス/URLの箇所に先ほどの文字列を貼り付け。
SSHキーを要求されたら選択したりします。

無事読み込まれたらこんな感じ。
README.mdとか生成していたら、Initial Commitが見えるはず。
参考にした記事(主にキー生成回り
https://dev.classmethod.jp/articles/ssh-keygen-tips/
https://qiita.com/suthio/items/2760e4cff0e185fe2db9
