概要
Hugo のドキュメントの Quick Start を参考にサイトを作成して、Host on Netlify に従ってデプロイしてみたので、ハマりどころも含めてメモしておく。
(環境は macOS)
Hugo でサイトの作成
Quick Start | Hugo に従ってサイトを作成する。
サイトの作成
$ hugo new site hugo_quickstart
$ cd hugo_quickstart
$ git init
$ git submodule add https://github.com/budparr/gohugo-theme-ananke.git themes/ananke
$ echo 'theme = "ananke"' >> config.toml
$ hugo new posts/my-first-post.md
/Users/username/workspace/hugo_test/quickstart/content/posts/my-first-post.md created
生成された content/posts/my-first-post.md を編集:
---
title: "My First Post"
date: 2018-05-03T22:19:20+09:00
---

# Post title

This is my first post.
draft: true となっていたところは削除した。これでこの My First Post は publish され、表示されるようになる。詳細はドキュメントを参照。
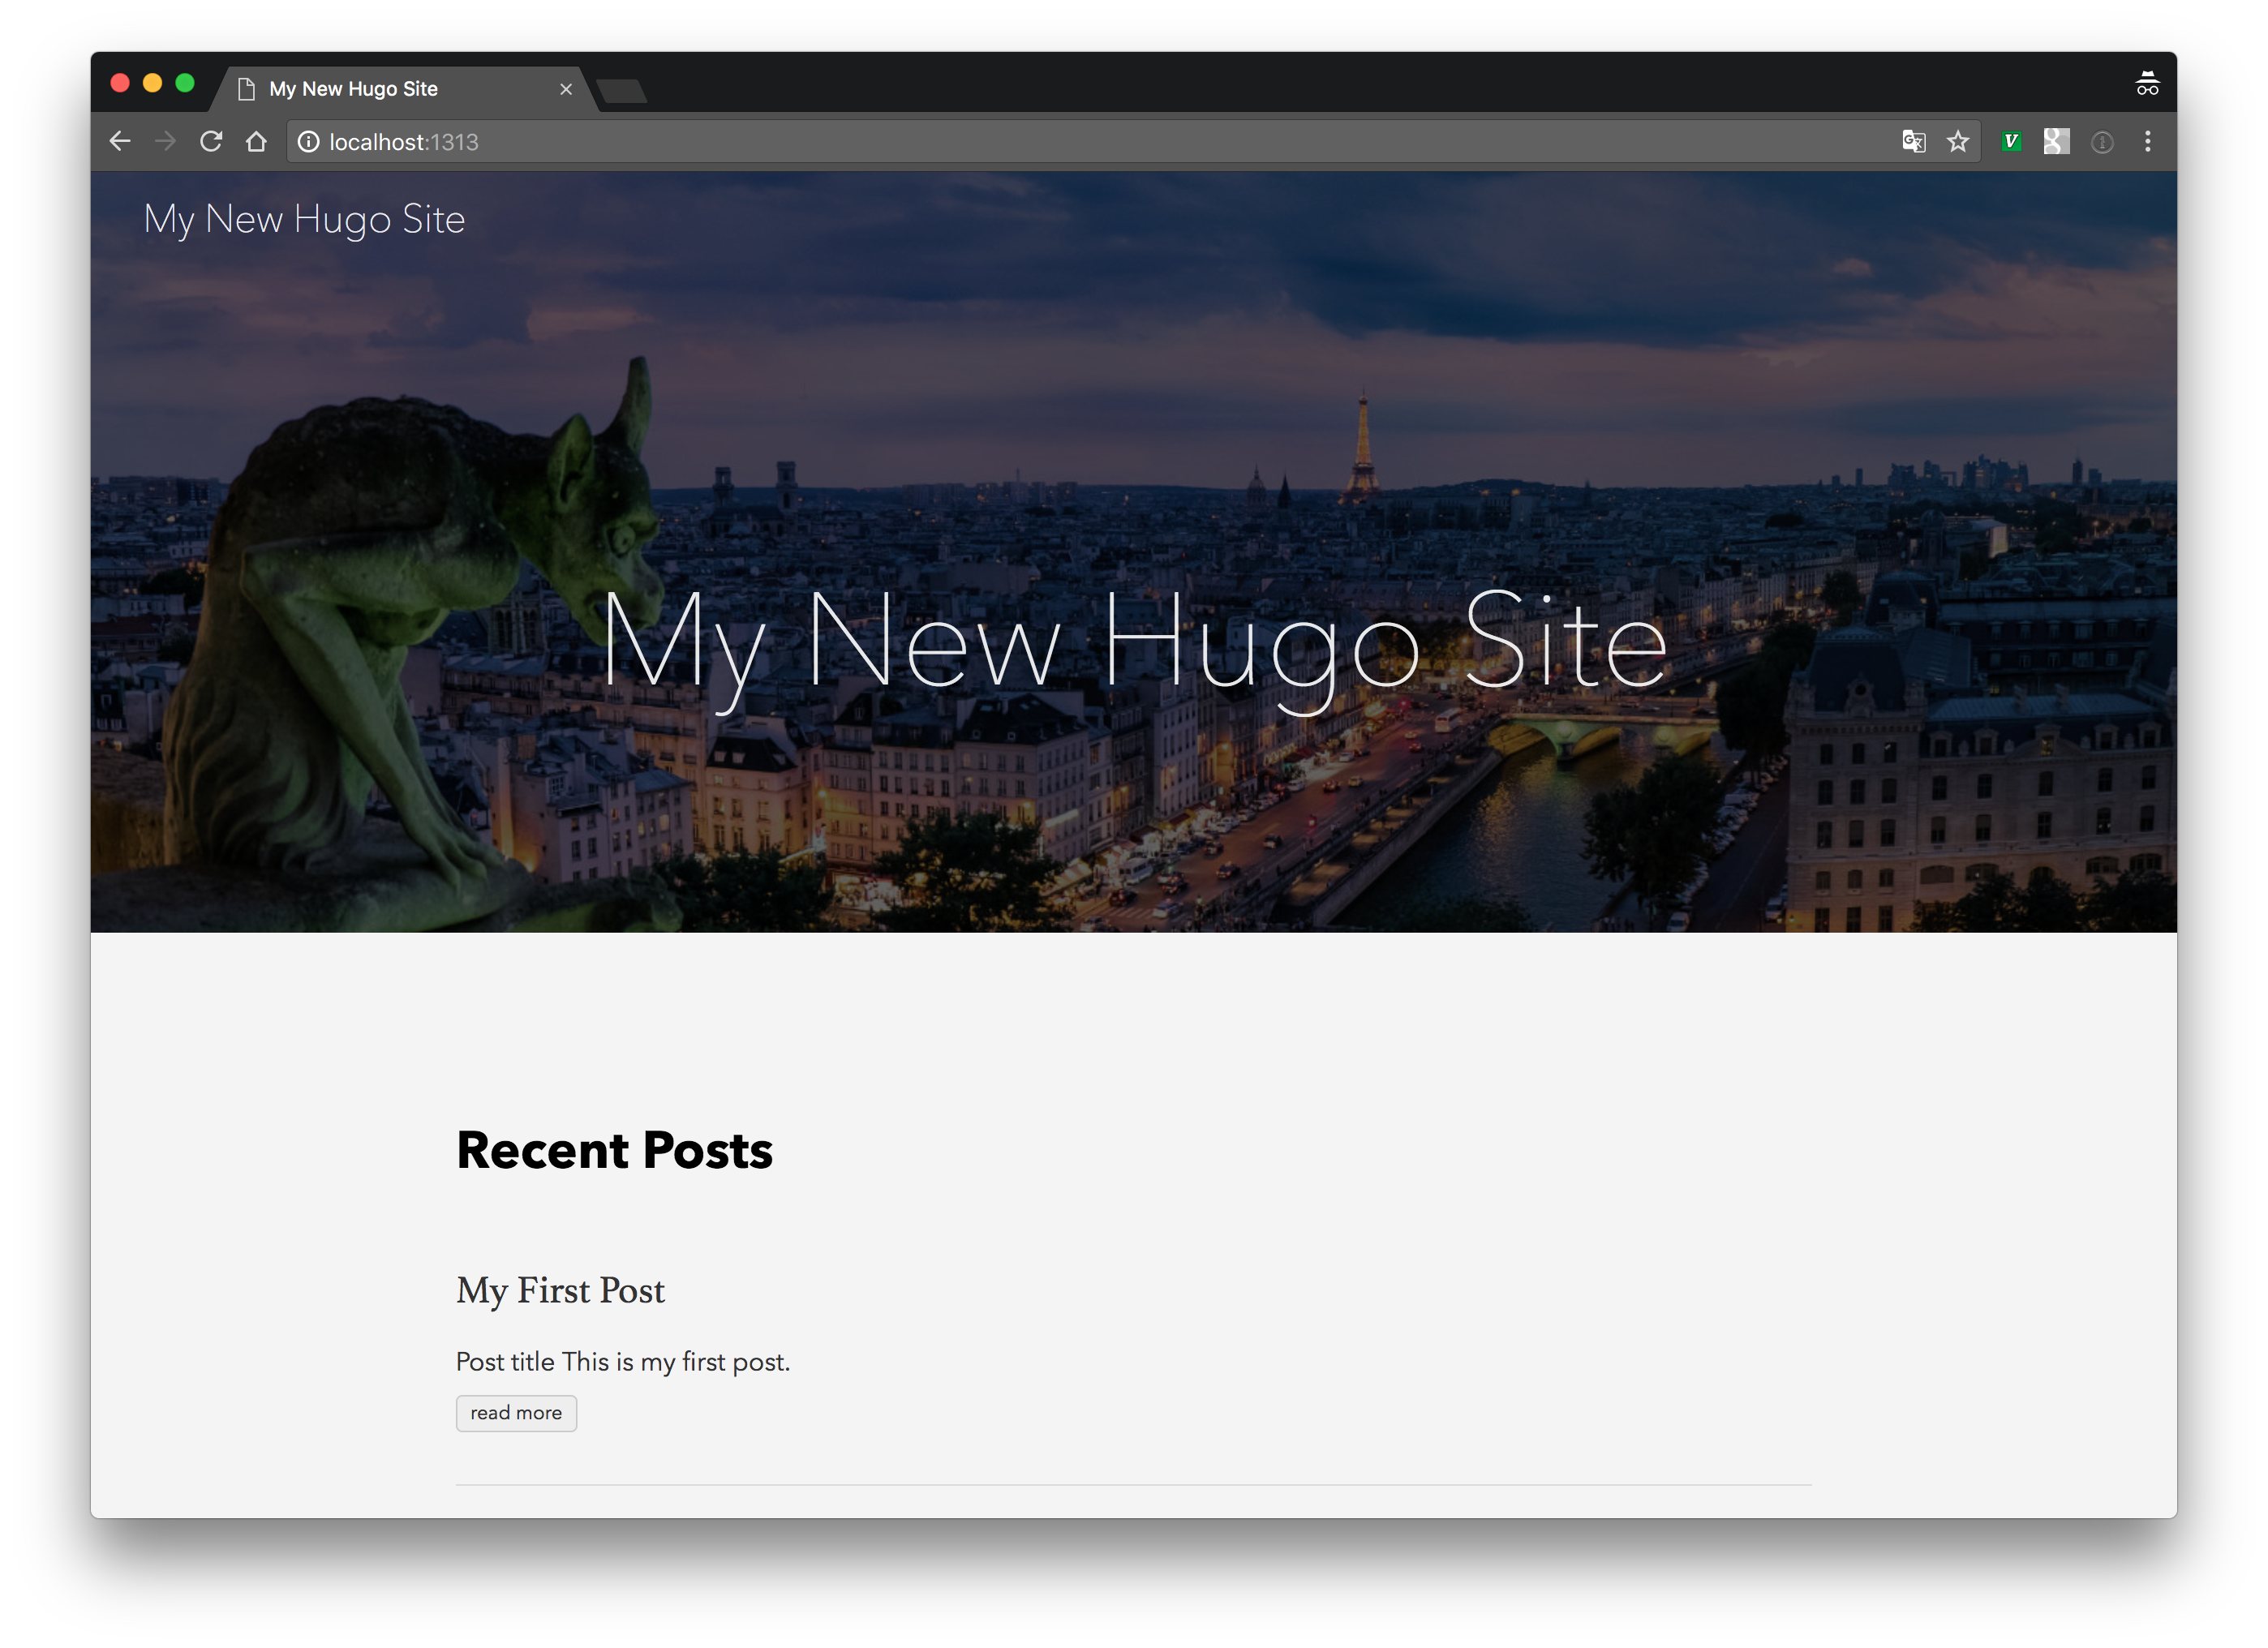
ローカルで確認
ここで $ hugo server でサーバを起動すれば、 http://localhost:1313/ からサイトを確認できる(draft: true のページも表示したい場合は、-D オプションを付ければいいみたい)。
リモートリポジトリに push
ここまでできたらリモートリポジトリに push しておく。今回は GitLab を使用。
GitLab で空のリポジトリ(Project name: hugo_quickstart)を作成しておいて次を実行:
$ git remote add origin git@gitlab.com:silmisilon/hugo_quickstart.git
$ git add -A
$ git commit -m "Create hugo site"
$ git push -u origin master
Netlify にデプロイ
Host on Netlify に従ってデプロイする。
Netlify に sign up
Netlify: All-in-one platform for automating modern web projects.

GitLab アカウントで sign up した。

Authorize をクリック。
(ここでなぜか Authentication error になったが、一度 Deny してから再度 Authorize したら成功した ![]() )
)
あとは...
あとは、公式ドキュメントのスクショを見ながらポチポチやっていけばデプロイできるはず(雑)。
デプロイの設定はこんな感じ:

ただハマりどころがあったので以下にメモしておく。
ハマりどころ
Netlify で Hugo のバージョンを指定しないとビルドでコケる
Continuous Deployment | Netlify
For Hugo hosting, the build command hugo will build and deploy with the version 0.17 of Hugo. For versions 0.13, 0.14, 0.15, 0.16, 0.17, 0.18 and 0.19, you can specify a specific Hugo release like this: hugo_0.15. For version 0.20 and above, use the regular hugo command and create a Build Environment Variable called HUGO_VERSION and set it to the version of your choice.
ドキュメントにもあるように Hugo のバージョンを指定する。
指定しないとビルド時にエラーしてデプロイできない...。
今回は Hugo のバージョン 0.40.2 を使用しているので Settings で次のように設定する。

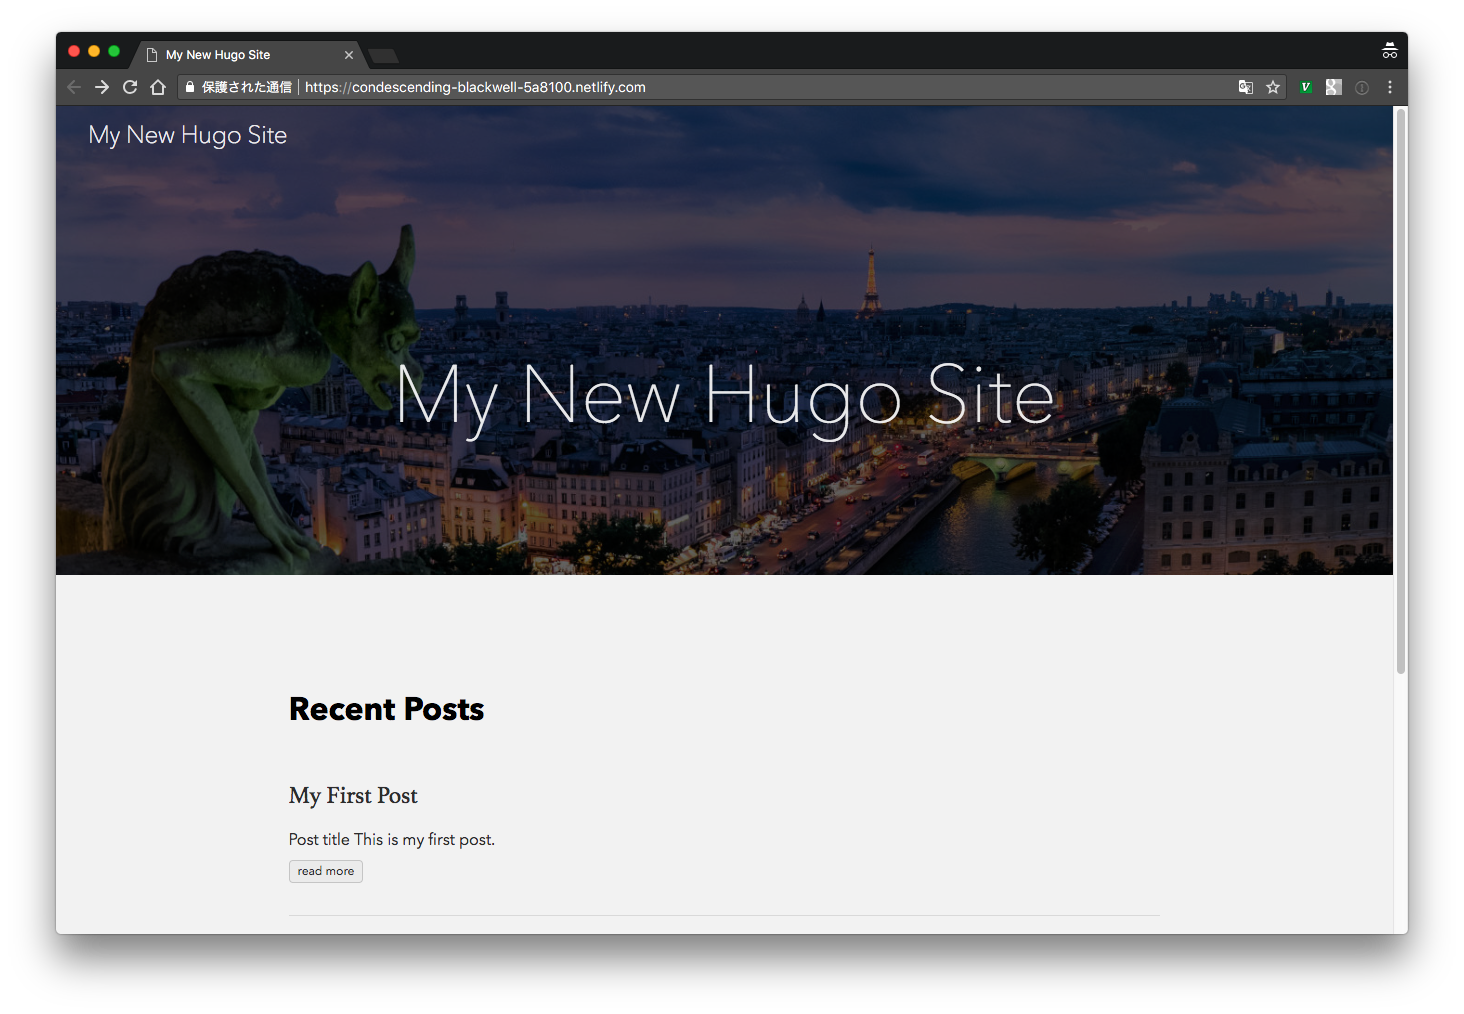
baseURL を設定しないとデプロイ後に CSS が適用されない
デプロイできたが、テーマ(ananke)の CSS が適用されない...。
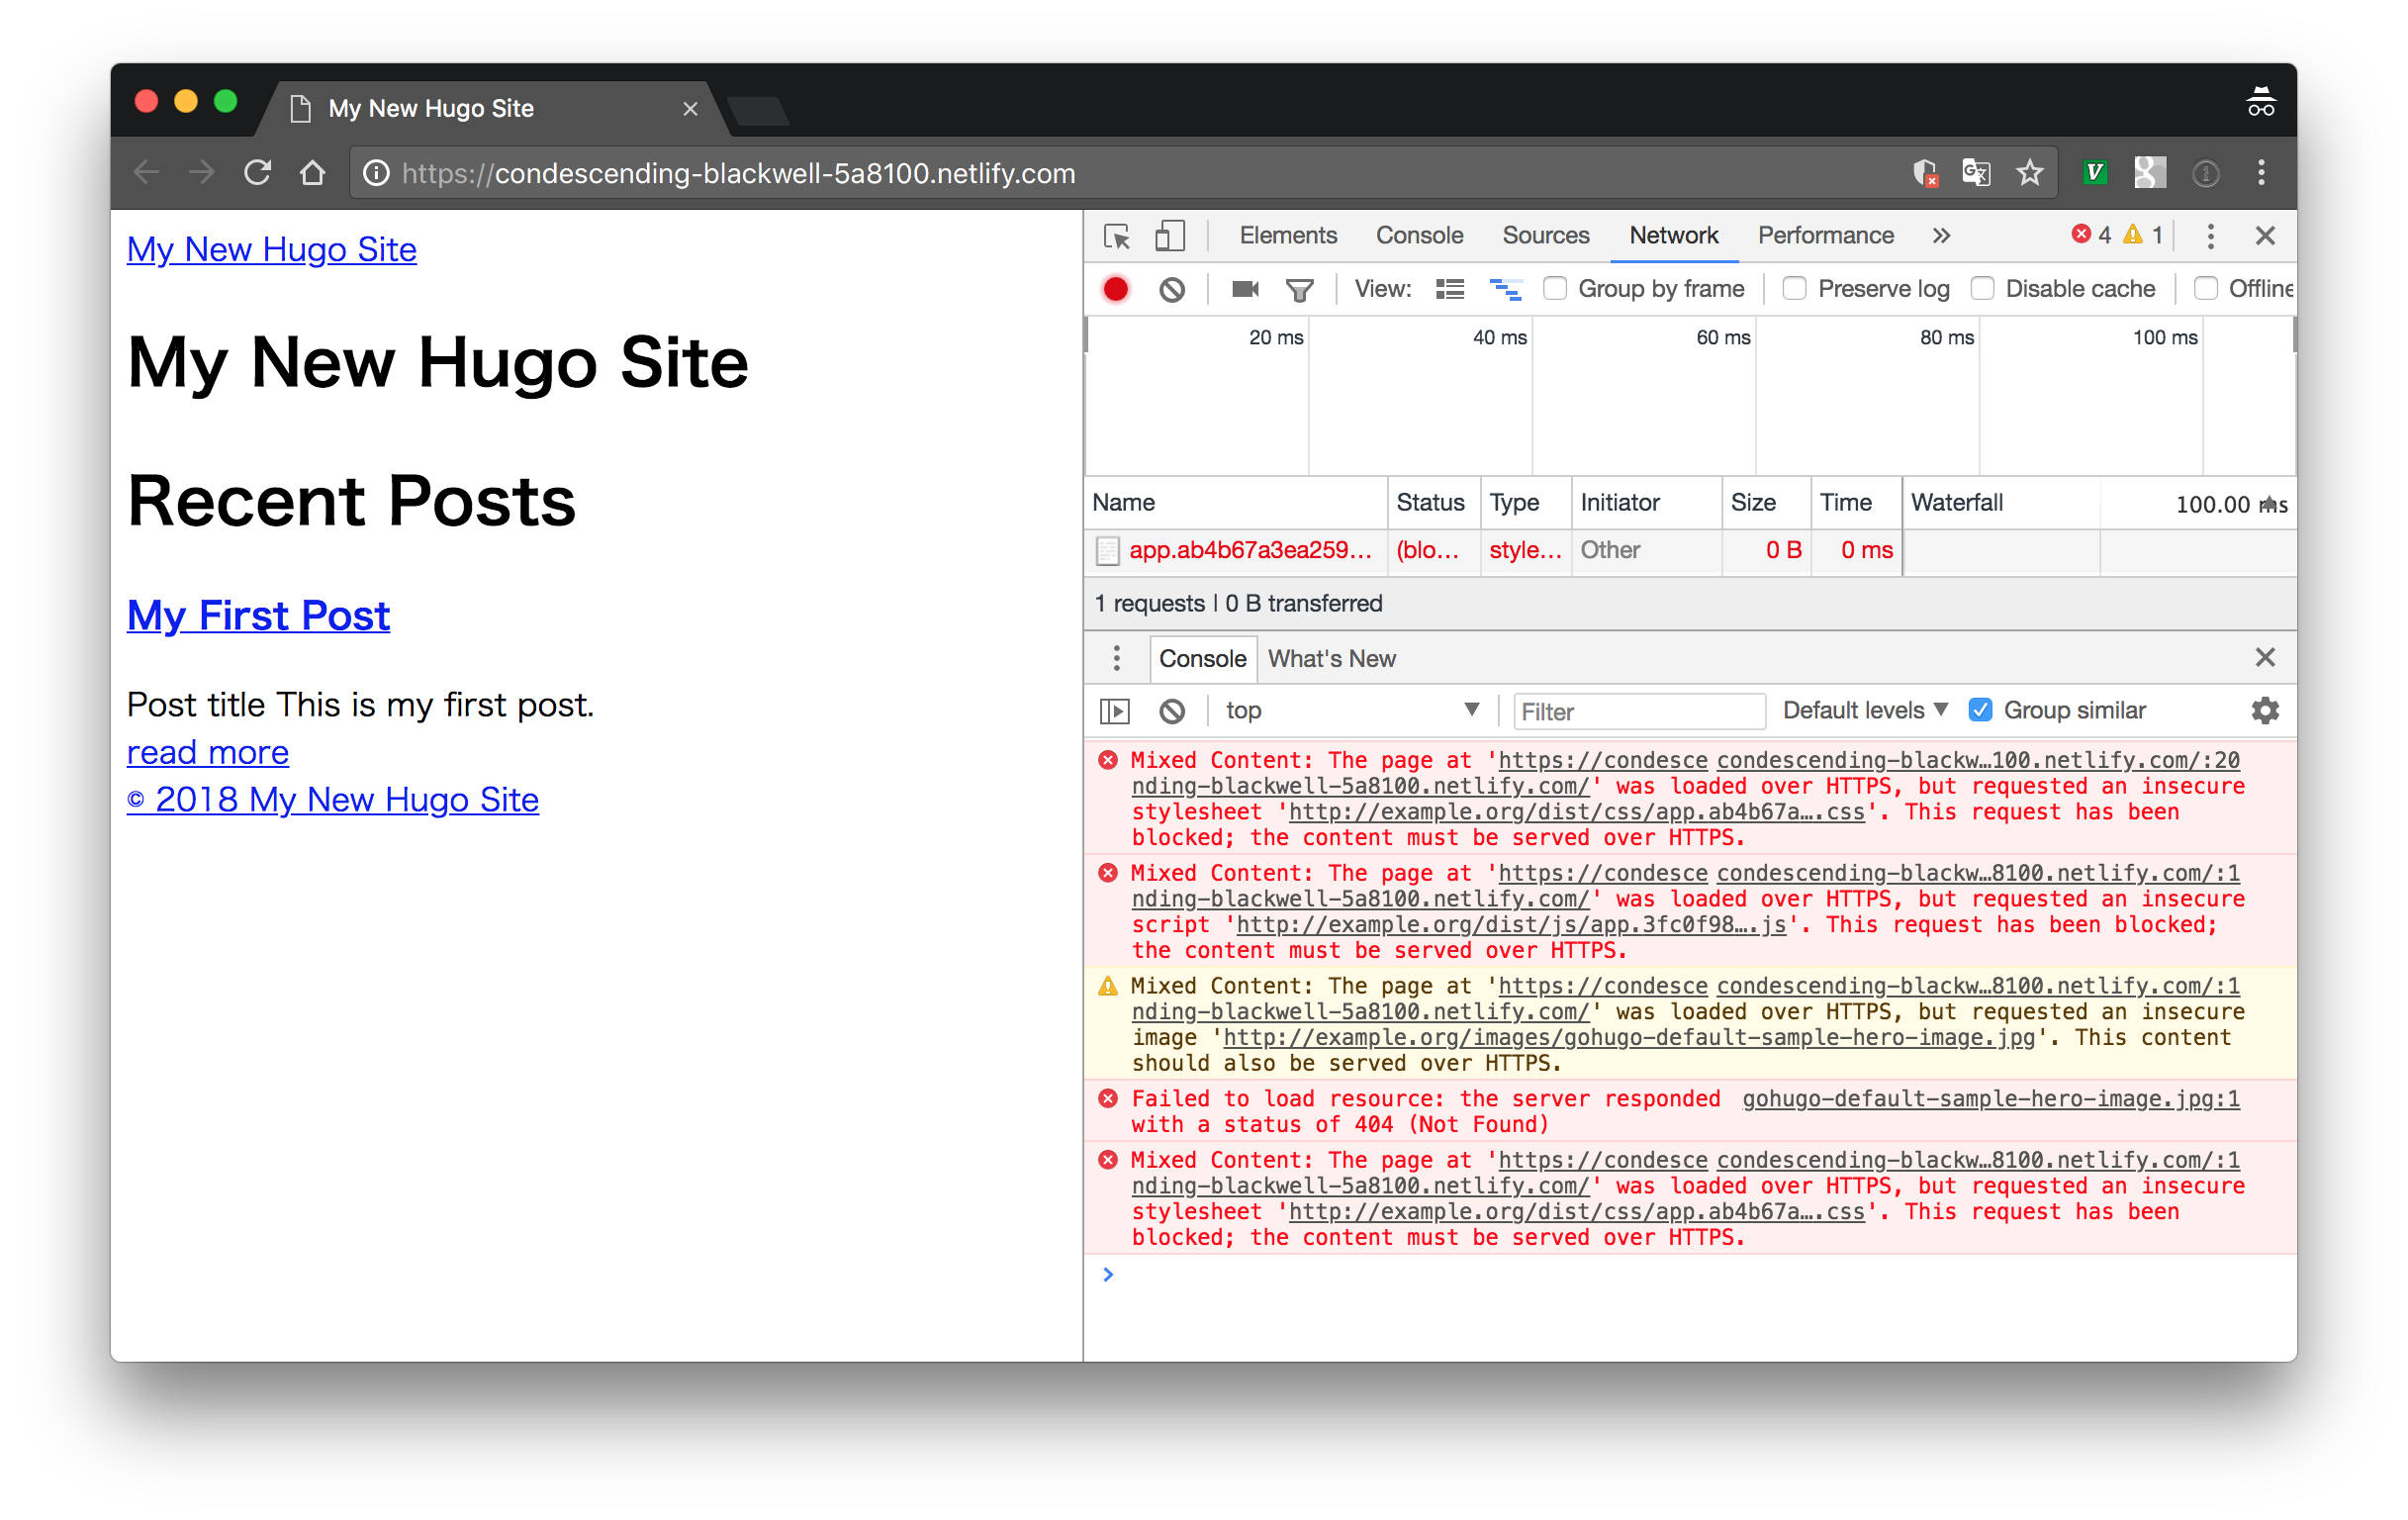
エラーを見て HTTPS なのに HTTP で css を取得しようとしてエラーしている?などと思いつつ config.toml を見たら、baseURL がデフォルトの http://example.org/ のままだった。この baseURL をホスティング先の URL にした。
(参考:NetlifyでHugoのビルドを自動化する - Qiita)
config.toml はこんな感じ:
baseURL = "https://condescending-blackwell-5a8100.netlify.com/"
languageCode = "en-us"
title = "My New Hugo Site"
theme = "ananke"
これで再度デプロイしたところ CSS が適用された: