まず通常のVIVEのカメラ環境を構築する
最初に下の記事を参考にフロントカメラを使える状態にしてください
HTC VIVEを所有してなくても大丈夫です
[Unity] Viveフロントカメラで疑似AR表示を実装する方法: Vrai Blog
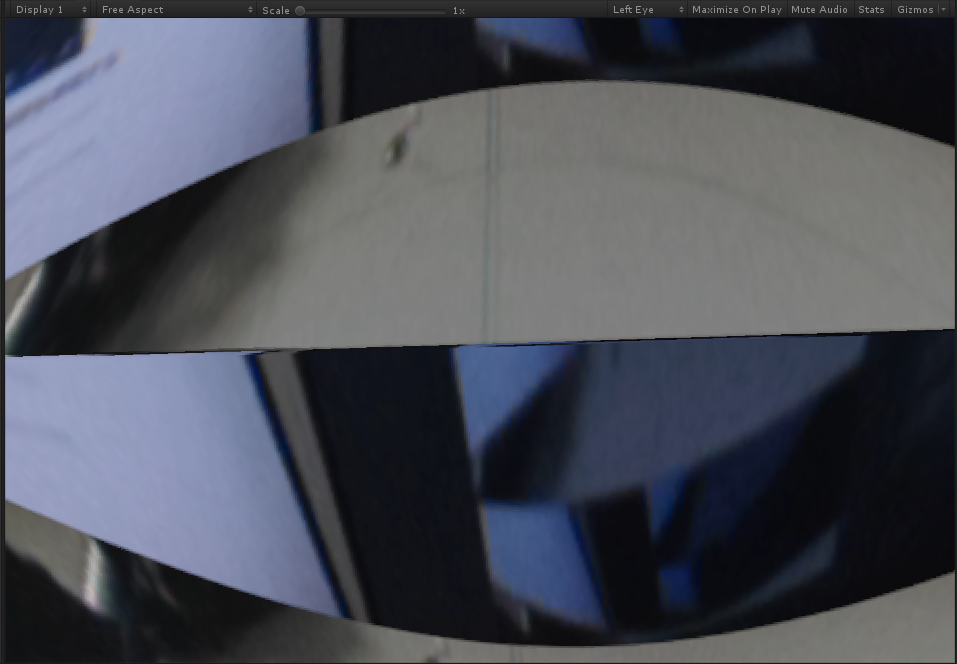
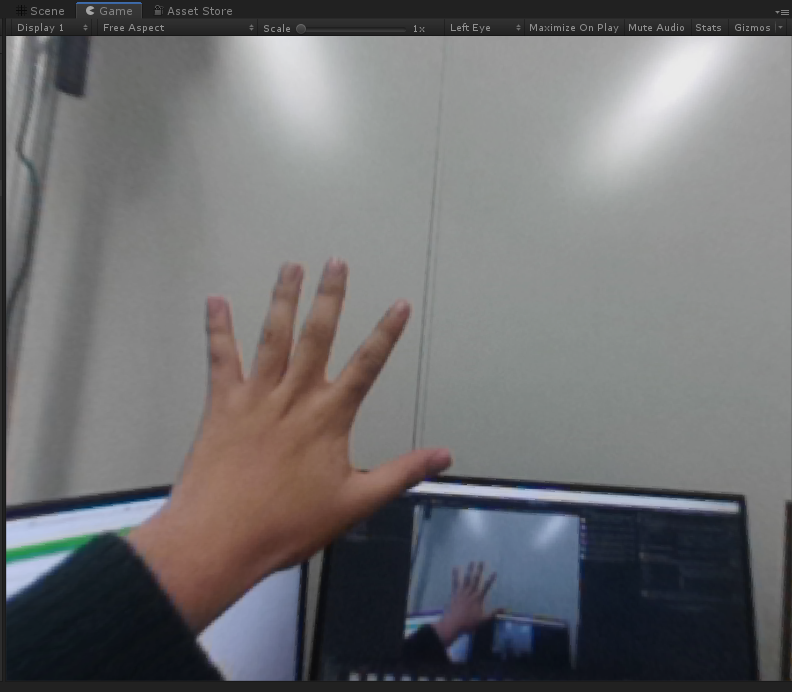
実行するとこのような表示になると思います
gameビュー
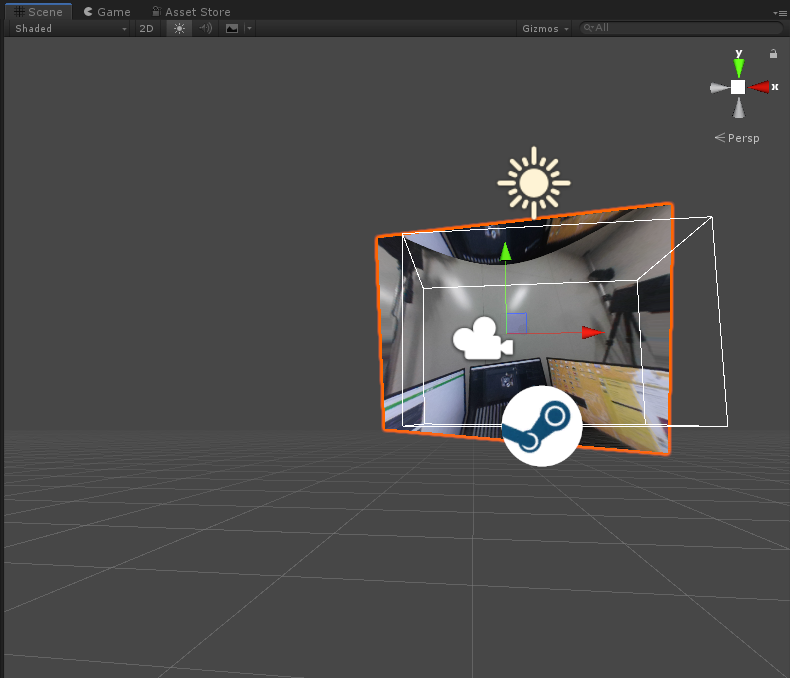
Sceneビュー
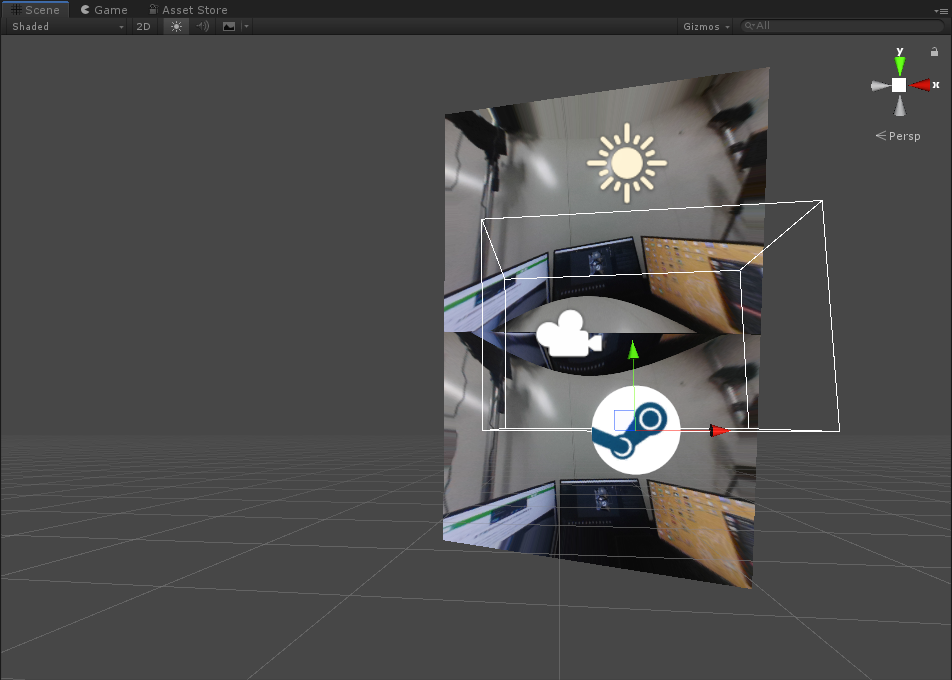
このような表示になれば準備完了です
SteamVRのPreFabs編集
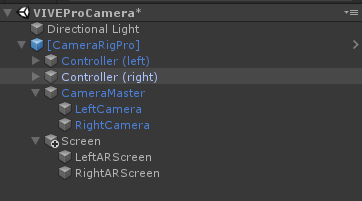
Assets/SteamVR/Prefabs/[CameraRig].prefabをコピーしてAssets/SteamVR/Prefabs/[CameraRigPro].prefabを作成し,シーンに突っ込みます.
次にCameraを2つ複製して
LeftCameraとRightCameraにリネームします
元々あったCameraは削除します
空のGameオブジェクトを作成してCameraMasterにリネームします
2つのカメラをCameraMasterの子にします
加えて,レイヤーに
DualCamera (Left)とDualCamera (Right)を追加します.

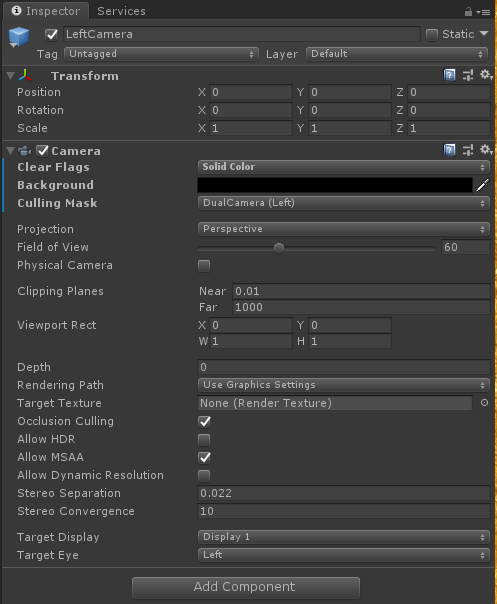
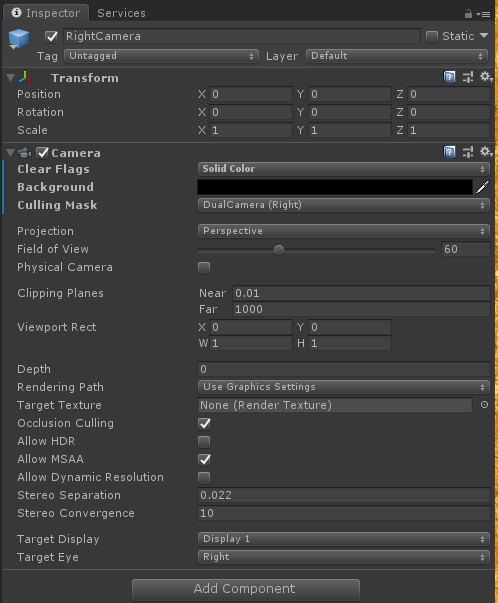
InspectorのCameraのCulling Maskをそれぞれ作成した左右のレイヤーにします
ClearFlugsをSolidColorに,Backgroundを黒に変更します
また,TargetEyeをLeftとRightに設定します
最終的に以下の図のようになります

ARScreenの編集
ARScreenを2枚に複製します.
LeftARScreenとRightARScreenにリネームします
元々あったARScreenは削除します
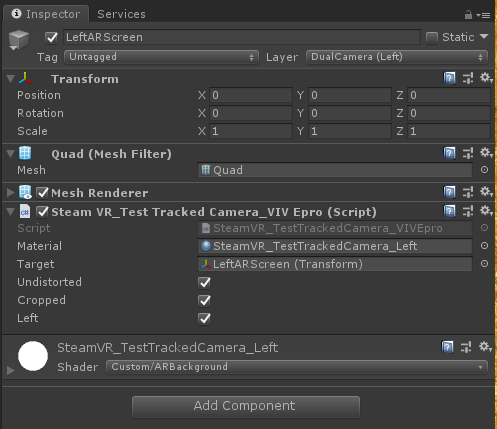
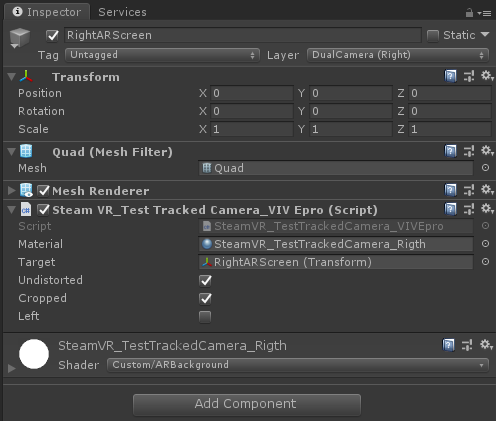
SteamVR_TestTrackedCamera.csを以下のように書き換えたものを2枚のARScreenにアタッチします
//======= Copyright (c) Valve Corporation, All rights reserved. ===============
using UnityEngine;

namespace Valve.VR.Extras
{
    public class SteamVR_TestTrackedCamera_VIVEpro : MonoBehaviour
    {
        public Material material;
        public Transform target;
        public bool undistorted = true;
        public bool cropped = true;

        //両目左右の切り替え用
        [SerializeField] private bool Left = true;

        private void OnEnable()
        {
            // The video stream must be symmetrically acquired and released in
            // order to properly disable the stream once there are no consumers.
            SteamVR_TrackedCamera.VideoStreamTexture source = SteamVR_TrackedCamera.Source(undistorted);
            source.Acquire();

            // Auto-disable if no camera is present.
            if (!source.hasCamera)
                enabled = false;
        }

        private void OnDisable()
        {
            // Clear the texture when no longer active.
            material.mainTexture = null;

            // The video stream must be symmetrically acquired and released in
            // order to properly disable the stream once there are no consumers.
            SteamVR_TrackedCamera.VideoStreamTexture source = SteamVR_TrackedCamera.Source(undistorted);
            source.Release();
        }

        private void Update()
        {
            SteamVR_TrackedCamera.VideoStreamTexture source = SteamVR_TrackedCamera.Source(undistorted);
            Texture2D texture = source.texture;
            Texture2D Righttexture = source.texture;
            if (texture == null)
            {
                return;
            }

            // Apply the latest texture to the material.  This must be performed
            // every frame since the underlying texture is actually part of a ring
            // buffer which is updated in lock-step with its associated pose.
            // (You actually really only need to call any of the accessors which
            // internally call Update on the SteamVR_TrackedCamera.VideoStreamTexture).
            material.mainTexture = texture;

            // Adjust the height of the quad based on the aspect to keep the texels square.
            float aspect = (float)texture.width / texture.height;

            // The undistorted video feed has 'bad' areas near the edges where the original
            // square texture feed is stretched to undo the fisheye from the lens.
            // Therefore, you'll want to crop it to the specified frameBounds to remove this.
            if (cropped)
            {
                VRTextureBounds_t bounds = source.frameBounds;
                material.mainTextureOffset = new Vector2(bounds.uMin, bounds.vMin);

                float du = bounds.uMax - bounds.uMin;
                float dv = bounds.vMax - bounds.vMin;

                if (Left)//左目の表示
                {
                    material.mainTextureScale = new Vector2(du, dv/2);
                }
                else//右目の表示
                {
                    material.mainTextureScale = new Vector2(du, -dv/2);
                }

                aspect *= Mathf.Abs(du / dv);
            }
            else
            {
                material.mainTextureOffset = Vector2.zero;
                material.mainTextureScale = new Vector2(1, -1);
            }

            /*
            target.localScale = new Vector3(1, 1.0f / aspect, 1);

            // Apply the pose that this frame was recorded at.
            if (source.hasTracking)
            {
                SteamVR_Utils.RigidTransform rigidTransform = source.transform;
                target.localPosition = rigidTransform.pos;
                target.localRotation = rigidTransform.rot;
            }
            */
            // Apply the pose that this frame was recorded at.
            if (source.hasTracking)
            {
                const float ProjectionZ = 1.0f;
                Vector2 ProjectionScale = GetProjectionScale(source);
                Vector2 LocalScale = new Vector2(2.0f * ProjectionZ / ProjectionScale.x, 2.0f * ProjectionZ / ProjectionScale.y);

                if (Left)//左目の表示
                {
                    target.localScale = new Vector3(LocalScale.x, LocalScale.y/2, 1.0f);
                }
                else//右目の表示
                {
                    target.localScale = new Vector3(LocalScale.x, -LocalScale.y/2, 1.0f);
                }

                //
                var t = source.transform;
                target.localPosition = t.TransformPoint(new Vector3(0.0f, 0.0f, ProjectionZ));
                target.localRotation = t.rot;
            }
        }

        // プロジェクションのスケールを取得する
        static Vector2 GetProjectionScale(SteamVR_TrackedCamera.VideoStreamTexture source)
        {
            Valve.VR.CVRTrackedCamera trackedCamera = Valve.VR.OpenVR.TrackedCamera;
            if (trackedCamera == null) return Vector2.one;

            // スケール値を取得するだけなので、Near/Farの値は何でも構わない
            const float Near = 1.0f;
            const float Far = 100.0f;
            Valve.VR.HmdMatrix44_t ProjectionMatrix = new Valve.VR.HmdMatrix44_t();

            if (trackedCamera.GetCameraProjection(source.deviceIndex, source.frameType, Near, Far, ref ProjectionMatrix) !=
                Valve.VR.EVRTrackedCameraError.None)
            {
                return Vector2.one;
            }

            return new Vector2(ProjectionMatrix.m0, ProjectionMatrix.m5);
        }
    }
}
また,SteamVR_TestTrackedCamera.matを複製してそれぞれ
SteamVR_TestTrackedCamera_Left.mat
SteamVR_TestTrackedCamera.mat_Right
としてMaterialとScriptにアタッチしてください
加えてARScreenのレイヤーを
DualCamera (Left)とDualCamera (Right)に変更します
最後に親に空のGameオブジェクトを作成して2枚のARScreenを子にします
最終的に以下の図のようになります
実行
実行して手などが立体的に見えたら成功です
動作環境
- Unity 2018.4.1f1
- SteamVR 2.0.1