これは何?
前回はnginx.confのproxy_passを適切に設定することで別サイトへ転送できるのを確認しました。
今回はBasic認証を自作し,転送前にBasic認証を通過させるようにしました。
今回記事では,Basic認証の概要についてrfcベースで説明した後,Luaで実装した部分の説明をします。
普通にBasic認証をつけたいだけの方はこちら
今回はせっかくなので認証部分をLuaスクリプトを使って実装します。
basic認証をさっとつけたいだけの人はライブラリを使ったほうが良いと思います。
Basic認証について
RFC7617から抜粋
This scheme is not considered to be a secure method of user
authentication unless used in conjunction with some external secure
system such as TLS (Transport Layer Security, [RFC5246]), as the
user-id and password are passed over the network as cleartext.
- そもそも,あまり安全な認証ではない。
- Authorizationヘッダにbase64でエンコードされたID,passwordが載るのでTLS/SSLによる暗号化が必要
The 'Basic' Authentication Scheme
The Basic authentication scheme is based on the model that the client
needs to authenticate itself with a user-id and a password for each
protection space ("realm"). The realm value is a free-form string
that can only be compared for equality with other realms on that
server. The server will service the request only if it can validate
the user-id and password for the protection space applying to the
requested resource.
- user-idとpasswordでrealmに対して認証を行う。
realmとはWWW-Authentication HTTP
realm= 省略可
保護領域を説明する文字列です。 realm によってサーバーが保護する領域を分割することができ (そのような分>割を許可しているスキームが対応している場合)、どの特定のユーザー名/パスワードが必要であるかをユーザーに通知します。
つまり,realmを分けることでクライアントがログインダイアログを表示する際に、同じサーバ内のどの認証領域にアクセスしようとしているかを示すことができます
e.g. realm=hogeで認証している場合realm=fugaの領域にアクセスはできない
To receive authorization, the client
- obtains the user-id and password from the user,
- constructs the user-pass by concatenating the user-id, a single
colon (":") character, and the password,- encodes the user-pass into an octet sequence (see below for a
discussion of character encoding schemes),- and obtains the basic-credentials by encoding this octet sequence
using Base64 ([RFC4648], Section 4) into a sequence of US-ASCII
characters ([RFC0020]).
- 認証としてはuser-id,passwordを:で連結し,base64でエンコードしたものをサーバに送付します。
- 3.の部分はutf-8を使っているとあまり意識することは無いと思います。ID,パスワードはbase64をデコードするだけで確認できます。
The user-id and password MUST NOT contain any control characters (see "CTL" in Appendix B.1 of [RFC5234]).
Furthermore, a user-id containing a colon character is invalid
- user-idとpasswordには使用可能な文字に制限がある。制御文字列は使えない
- user-idに
:をいれるとuser-idとpasswordの区切りがわからなくなるため使えない。
If the user agent wishes to send the user-id "Aladdin" and password
"open sesame", it would use the following header field:
Authorization: Basic QWxhZGRpbjpvcGVuIHNlc2FtZQ==
シェルスクリプトで同じ結果になることを確認しておきます。
-
Aladdin:open sesameをbase64でエンコードする
echo -n "Aladdin:open sesame" | base64 QWxhZGRpbjpvcGVuIHNlc2FtZQ== -
冒頭に
Basicをつける -
デコードしてみる
 echo -n "QWxhZGRpbjpvcGVuIHNlc2FtZQ==" | base64 -d
Aladdin:open sesame%
無事,エンコードとデコードができることが確認できました。
Lua Scriptで実装してみる
GitHubのリポジトリに公開しています。
全体感をざっくり書きます。
1. nginx.confによる制御
nginx.confにより,ユーザからのアクセスは(locationを定義していないものを除いて)基本的に/を通ります。
そのため,main.luaが呼び出されます。
    server {
        listen [::]:80 ipv6only=off;  # IPv4のみを有効にする
        server_name  localhost;
        server_tokens off; # エラーページにnginxのバージョンを表示しない

        location / {
            root   /usr/local/openresty/lua_reverse-proxy/html;

            set $pass ""; # luaで書き換える変数
            #set $session_storage cooie;
            default_type 'text/html';
            access_by_lua_file /usr/local/openresty/reverse_proxy/src/main.lua;
            # リクエストを$pass(バックエンド)に送信する。
            proxy_pass $pass;
        }
2. main.luaからproxy_passを書き換える
現状proxy_passをmain.luaで書き換えるようにしています。
これは後々いろいろな認証方式を使う時に備えてアクセス先ごとに認証方式を変えられるようにしたいからです。
local basic_auth = require "basic_auth"

-- proxy_passを動的に設定する
local transfer_host = "https://example.com"
-- local transfer_host = "http://abehiroshi.la.coocan.jp"
local transfer_path = "/"
ngx.var.pass = transfer_host .. transfer_path

basic_auth.auth()
3. main.luaからbasic_authを呼び出す
字面のとおりです。
4. basic-auth.luaからポップアップを表示させる
認証に失敗したときにもポップアップはでるのですが,一旦Authorizationヘッダがついていない時のスクリプトを記載しています。WWW-Authenticateをつけて401 unauthorizedを返すと認証をもとめるポップアップが表示されます。
local _M = {}
local resty_redis = require "resty.redis"
local redis = resty_redis:new()

-- Authorizationヘッダがないならログインのポップアップを出す
local function is_authorization_header()
    if not ngx.var.http_Authorization then
        -- Basic認証のポップアップを出す。
        ngx.header["WWW-Authenticate"] = 'Basic realm="Restricted"'
        ngx.exit(ngx.HTTP_UNAUTHORIZED)
    end
end
4. ユーザの認証情報をデコードして比較する
-
decode_user_id_and_password()でAuthorizationヘッダからID,パスワードをパース -
get_user_passwordを用いてユーザのパスワードを取得して比較することでただしい認証情報か比較しています。 - 認証に成功した場合にはreturnしておくとリクエストが転送され,転送先のページが表示されます。
今回は最小の実装にするためredisにユーザ名をキーとしてpasswordを平文で保存しています。
-- Authorizationヘッダからuseridとpasswordを取得
local function decode_userid_and_password()
    local authorization = ngx.var.http_Authorization
    local base64_decode = ngx.decode_base64(string.sub(authorization, 7)) -- " Basic "を削除してbase64デコード
    local userid, password = base64_decode:match("([^:]+):([^:]+)")
    return userid, password
end

local function get_user_password(user_id)
    -- redisに接続。 compose.yamlのサービス名で名前解決できる
    local ok, err = redis:connect("redis_app", 6379)
    if not ok then
        -- redisに接続できない場合
        ngx.log(ngx.ERR, "failed to connect Redis: ", err)
        return ngx.exit(500)
    end

    -- redisからユーザのパスワードを取得
    local password, err = redis:get(user_id)
    if not password then
        -- redisからユーザのパスワードが取得できない場合
        ngx.log(ngx.ERR, "failed to get user password: ", err)
        return
    end
    --redisを切断
    redis:close()
    return password
end


function _M.auth()
    is_authorization_header()

    local user_id, password = decode_userid_and_password()
    local saved_password = get_user_password(user_id)

    if password == saved_password then
        ngx.log(ngx.INFO, user_id, " login success")
        return --NOTE: ngx.exit(ngx.HTTP_OK)を返すと,後続のコンテンツが表示されない
    else
        ngx.header["WWW-Authenticate"] = 'Basic realm="Restricted"'
        ngx.exit(ngx.HTTP_UNAUTHORIZED)
    end

end

return _M
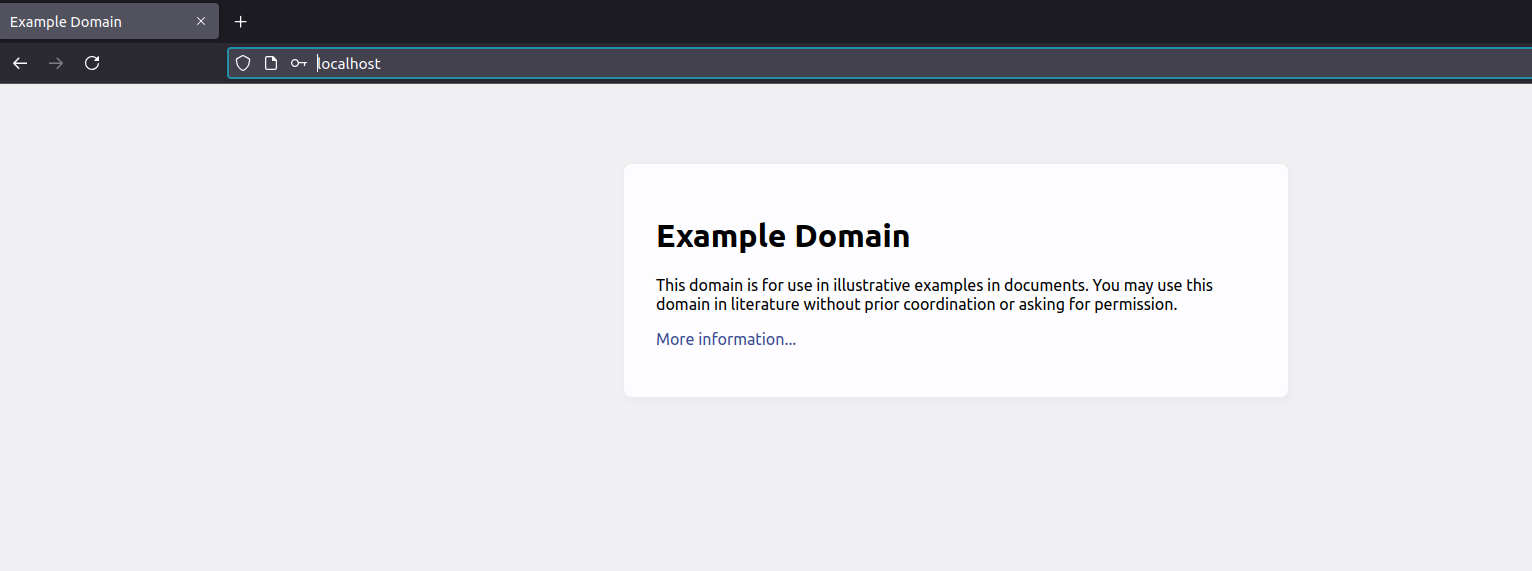
localhostからexample.comに接続できることが確認できました。
次回
認証の種類増やすにあたってACL的なものがほしいなと思ったので作りました。

