個人的にイチオシの静的サイトをホスティングしてくれるサービス**Netlify**
静的サイトジェネレーターってホスティング費用ゼロでメンテナンス費用もあまりかからなくて最高だが、投稿の作成や編集にいちいちgitを使わないといけないというイライラがあった。
Netlify CMS? これはまさかこの課題を解決するものなのではないか? と思って試してみたらなんと、
まさに求めていたものであった。
そんな画期的なサービスがこの**Netlify CMS**なのだ。
static-site用の管理画面を生成するだけっちゃだけなんだけど(画期的でもない)、Netilifyで無料ホスティングできるというではないか。
感無量なテンションでよくわからない文章だが、実際に既存のHugoサイトに追加してみた。
やったこと
- Hugoで作ったサイトをgithubにホスティング
- 上記のリポジトリをNetilifyにDeploy
- https://github.com/settings/developers でnetlify用のOAuthアプリを生成
- Authorization callback URLに
https://api.netlify.com/auth/doneを設定
- Netlifyの管理画面のAccessにgithubのAuthentication providerを追加
- 以下のファイルを新規作成してcommit! push!
- Hugoのディレクトリ構成によっては作成場所が変わります
/content/admin/index.html
<!doctype html>
<html>
<head>
  <meta charset="utf-8" />
  <meta name="viewport" content="width=device-width, initial-scale=1.0" />

  <title>Content Manager</title>
  <!-- Include the stylesheets from your site here -->
  <link rel="stylesheet" href="https://unpkg.com/netlify-cms@^0.3.9/dist/cms.css" />
  <!-- Include a CMS specific stylesheet here -->

</head>
<body>
  <script src="https://unpkg.com/netlify-cms@^0.3.9/dist/cms.js"></script>
</body>
</html>
/content/admin/config.yml
backend:
  name: github
  repo: user/repo
  branch: master

media_folder: "static/img" # Folder where user uploaded files should go
public_folder: "img"

collections: # A list of collections the CMS should be able to edit
  - name: "post" # Used in routes, ie.: /admin/collections/:slug/edit
    label: "Post" # Used in the UI, ie.: "New Post"
    folder: "content/post" # The path to the folder where the documents are stored
    create: true # Allow users to create new documents in this collection
    fields: # The fields each document in this collection have
      - {label: "Title", name: "title", widget: "string"}
      - {label: "Publish Date", name: "date", widget: "datetime"}
      - {label: "Intro Blurb", name: "description", widget: "text"}
      - {label: "Image", name: "image", widget: "image", required: false}
      - {label: "Body", name: "body", widget: "markdown"}
(config.ymlが割りと色んな使い方ができるかもしれないとワクワクする)
上記のファイルを作ったら最後のgit push(そんなことはない)
公開されたサイトの/adminにアクセスしてgithubログインすると...
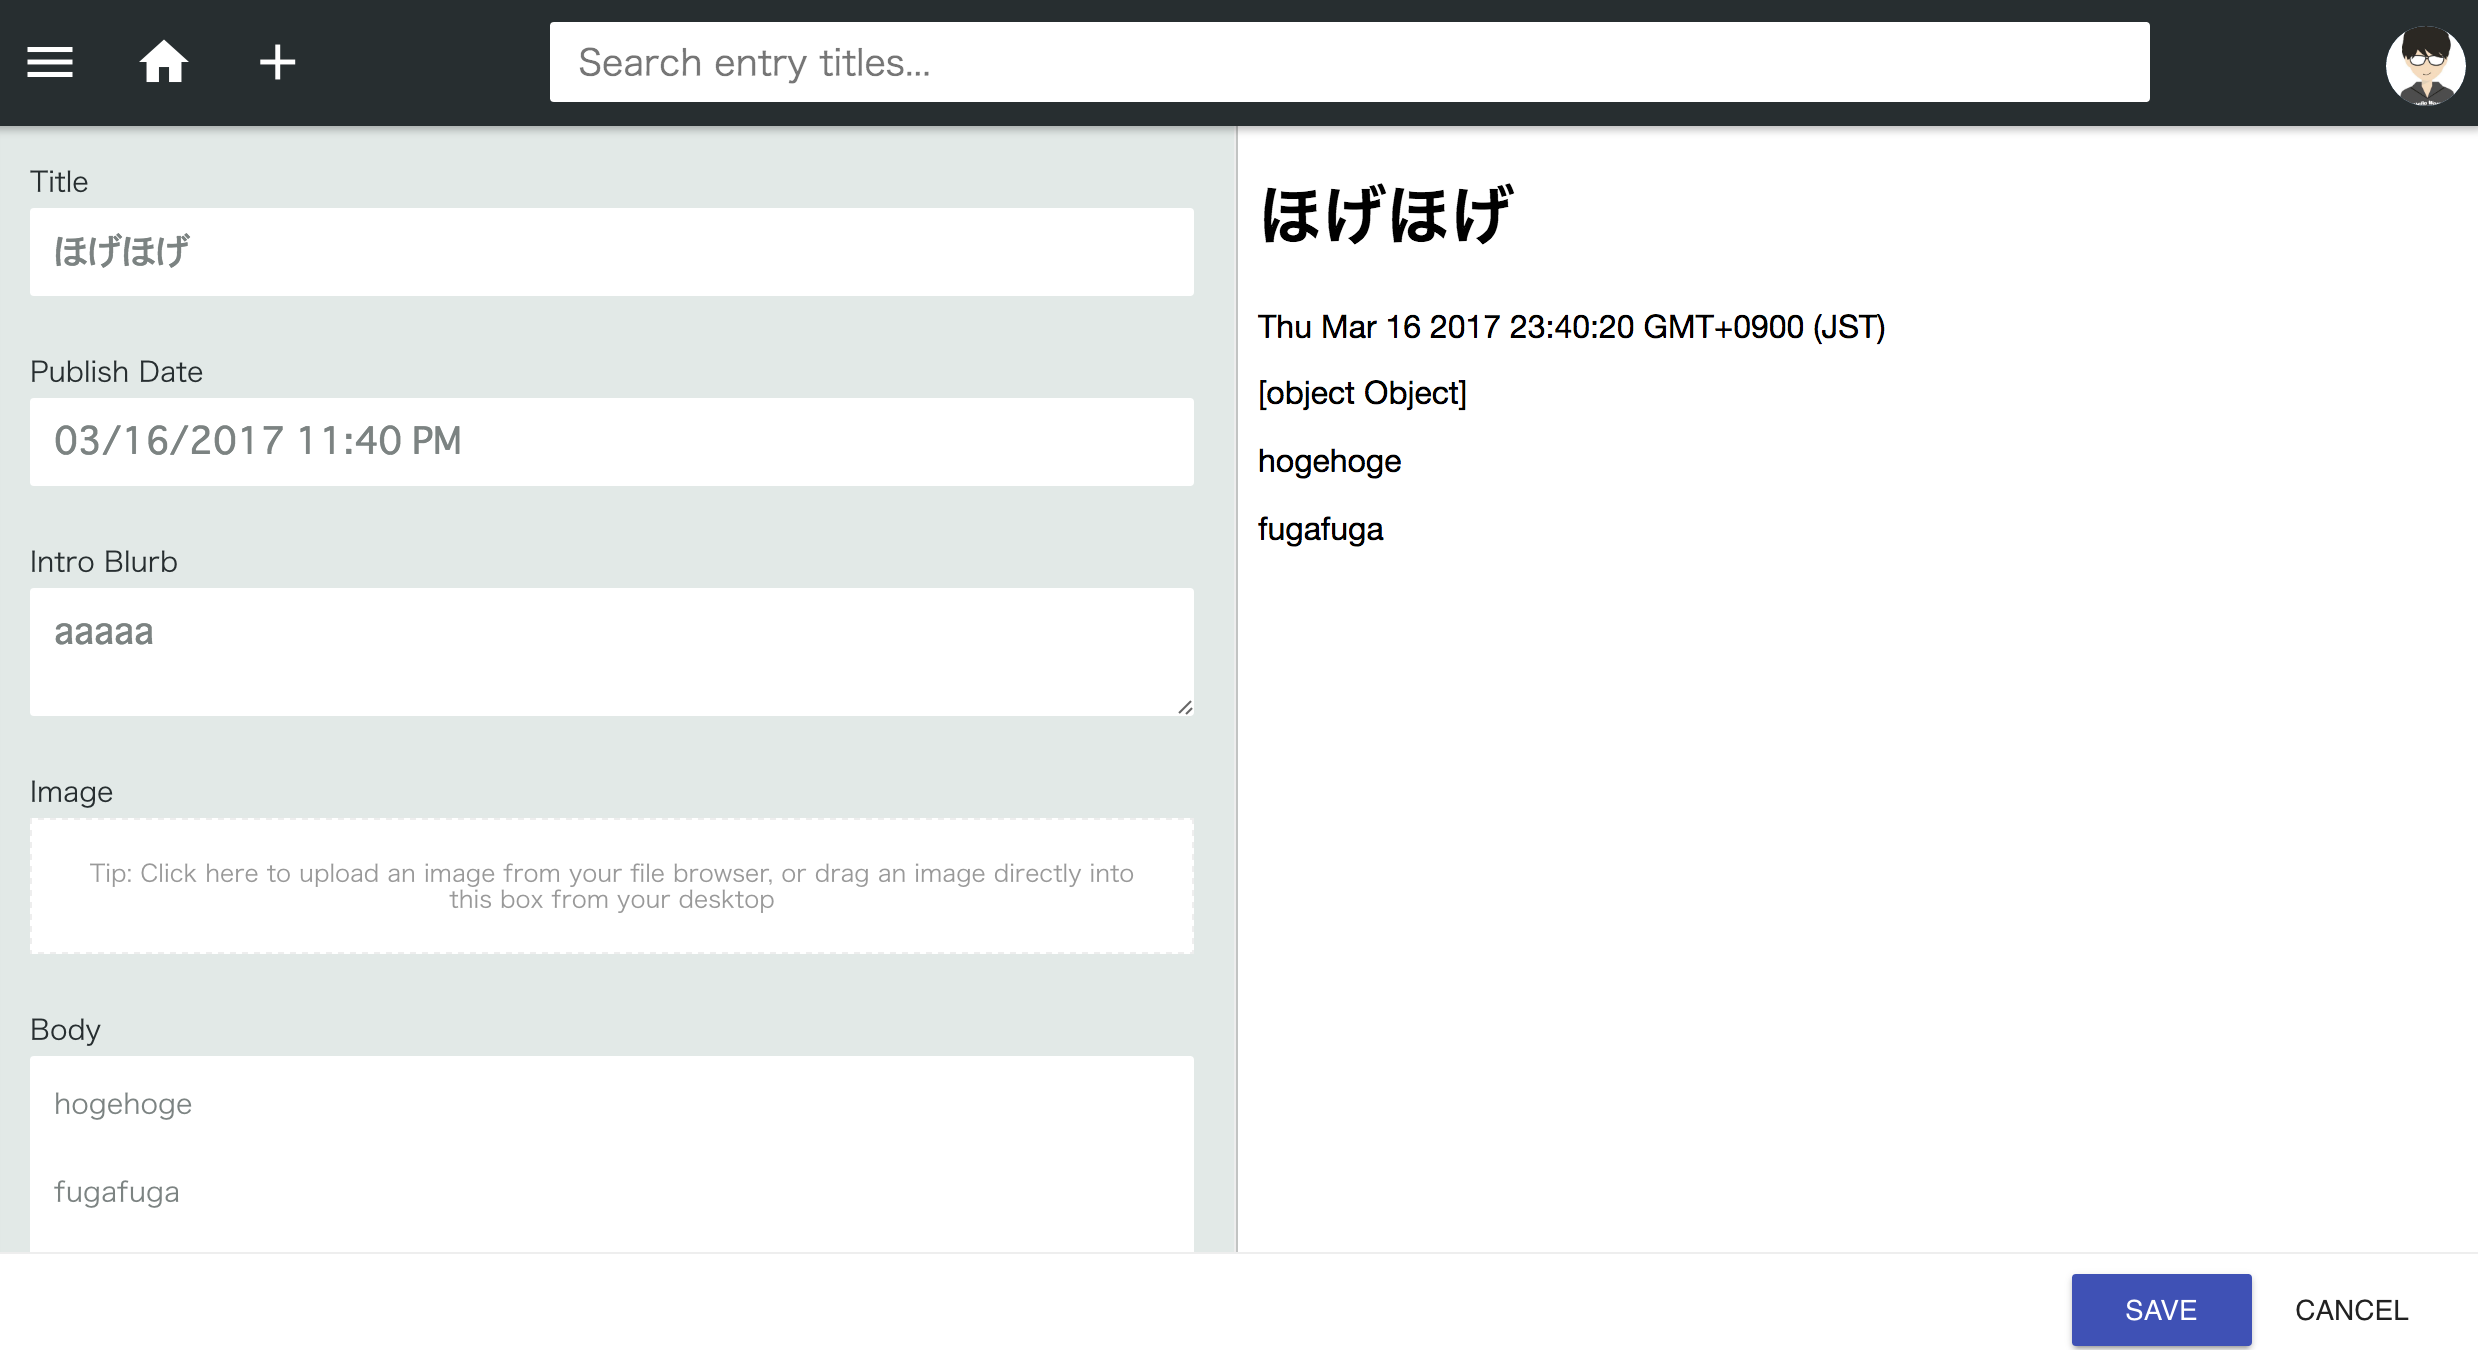
管理画面が使えるようになりました。
シンプルで割と誰でも使えそうなUIの感じがいいですね。
Netilify CMSをとりあえず試すだけなら
このページにDeploy to Netilifyボタンあるので、押して、OAuthとかの設定するだけで試せます。
自分はたまたまHugoつかってたけど、Hugo以外にも静的サイトジェネレータなら色々使えるようですね。