フィルターについて
画像をiOSで扱う際、以下のフィルターを使って、セピア色にしたり、ぼやかしたり、彩度や明度を弄ったり、色々できる。
単純に暗くしたい
ただ、難しい処理ではなくて、単純に画像を暗くしたい場合、上記のフィルターでは難しい。明度をいじくっても、コントラストの変な感じの画像になる。(だれかわかる方おしえてください。。)
以下を参考に、半透明のUIViewを生成して重ねる手法で解決。リンク先はObjective-cで書かれていたので、swift3で書き直しました。
darken.swift
    /// 与えられた画像を暗くする。
    ///
    /// - Parameters:
    ///   - image: 元画像
    ///   - level: 暗くするレベル 0-1
    /// - Returns: 加工後画像
    func darken(image:UIImage, level:CGFloat) -> UIImage{

        // 一時的な暗くするようの黒レイヤ
        let frame = CGRect(origin:CGPoint(x:0,y:0),size:image.size)
        let tempView = UIView(frame:frame)
        tempView.backgroundColor = UIColor.black
        tempView.alpha = level

        // 画像を新しいコンテキストに描画する
        UIGraphicsBeginImageContext(frame.size)
        let context = UIGraphicsGetCurrentContext()
        image.draw(in: frame)

        // コンテキストに黒レイヤを乗せてレンダー
        context!.translateBy(x: 0, y: frame.size.height)
        context!.scaleBy(x: 1.0, y: -1.0)
        context!.clip(to: frame, mask: image.cgImage!)
        tempView.layer.render(in: context!)

        let imageRef = context!.makeImage()
        let toReturn = UIImage(cgImage:imageRef!)
        UIGraphicsEndImageContext()
        return toReturn

    }
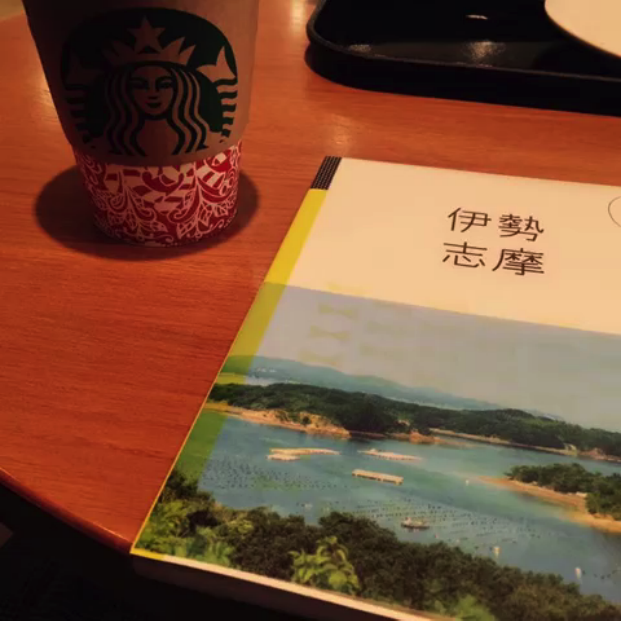
元画像
加工後 level=0.5
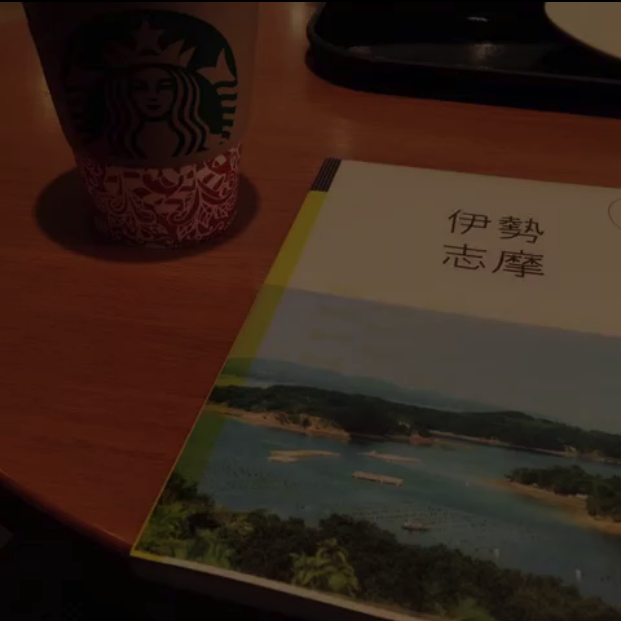
背景としていい感じになる。