この記事はプロ生ちゃんアドベントカレンダー2016の10日目の記事です![]()
はじめに
そもそもこれがAIなのかどうかも微妙なので、タイトル間違ってる可能性もありますが・・・
プロ生ちゃんのTwitterの発言を拾い集めてプロ生ちゃんChatBotを作ってみました。
↓こんな感じでSlackで発言するとプロ生ちゃんが返事してくれる的なやつです。

経緯
社内Slackで、某ブロガーのBotチャンネルなるものが作られてて、聞けばTwitterからChatBotを作ってると言うではないか。これはプロ生ちゃんのTwitterからChatbot作るしか無い!ってことで作り始めました。
作ってみる
大まかに、以下の流れで作れるそう。
- Twitterのクローラを使って、発言内容をDBにまとめる
- ElasticSearchにDBのデータを食わせる
- PythonのSlackBotで発言内容をElasticSearchに渡して、戻ってきたテキストを吐き出す
ほとんど同僚が作ってたソースをそのまま使っただけなので、詳細な説明は今回はSkipで。。。![]()
下準備
自マシンでElasticSearchとか動かしたくないので、今回はVagrantでCentOS立ち上げてそこで動かします。
Vagrantの準備(CentOS)
cd <適当なディレクトリ>
mkdir pronama-chan-bot && cd $_
vagrant init <CentOSのBoxファイル名>
vagrant up
vagrant ssh
sudo yum update -y
以降は↑のCentOS内で作業
Javaのインストール
後述のanalysis-kuromojiをインストールするのにJavaが必要らしいのでインストール
sudo yum install -y wget
wget --no-check-certificate --no-cookies --header "Cookie: oraclelicense=accept-securebackup-cookie" http://download.oracle.com/otn-pub/java/jdk/8u65-b17/jdk-8u65-linux-x64.rpm
sudo rpm -ivh jdk-8u65-linux-x64.rpm
java -version
ElasticSearchのインストール
※ ElasticSearchとは
Elastic社が提供する全文検索エンジン(大量にあるドキュメントデータの中から、目的のワードを含むドキュメントデータを検索するための仕組み)とのこと
ココを参考にインストール
sudo rpm --import https://packages.elastic.co/GPG-KEY-elasticsearch
sudo vi /etc/yum.repos.d/elasticsearch.repo
[elasticsearch-2.x]
name=Elasticsearch repository for 2.x packages
baseurl=http://packages.elastic.co/elasticsearch/2.x/centos
gpgcheck=1
gpgkey=http://packages.elastic.co/GPG-KEY-elasticsearch
enabled=1
sudo yum install -y elasticsearch
ElasticSearchのプラグインインストール
# 日本語の全文検索対応のためにkuromojiをインストール
sudo /usr/share/elasticsearch/bin/plugin install analysis-kuromoji

# neologdというipa辞書の拡張版?とやらを使うのでインストール
sudo /usr/share/elasticsearch/bin/plugin install org.codelibs/elasticsearch-analysis-kuromoji-neologd/2.4.1

# 結果をWebブラウザで見ることが出来るプラグイン
sudo /usr/share/elasticsearch/bin/plugin install polyfractal/elasticsearch-inquisitor

# ElasticSearchのモニタリングが出来るプラグイン
sudo /usr/share/elasticsearch/bin/plugin install royrusso/elasticsearch-HQ
※ 各プラグインの説明はググって書いたので間違えている可能性がありますm(_ _)m
ElasticSearchの設定
sudo vi /etc/elasticsearch/elasticsearch.yml
以下の通り変更
http.compression: true
network.publish_host: "0.0.0.0"
network.host: "0.0.0.0"
network.bind_host: "0.0.0.0"
transport.tcp.port: 9300
transport.tcp.compress: true
http.port: 9200
起動設定
sudo chkconfig elasticsearch on
sudo service elasticsearch start
Pythonのインストール(use pyenv)
sudo yum install -y git
git clone https://github.com/yyuu/pyenv.git ~/.pyenv
echo 'export PYENV_ROOT="$HOME/.pyenv"' >> ~/.bash_profile
echo 'export PATH="$PYENV_ROOT/bin:$PATH"' >> ~/.bash_profile
echo 'eval "$(pyenv init -)"' >> ~/.bash_profile
source ~/.bash_profile
pyenv install anaconda3-4.1.1
pyenv rehash
pyenv global anaconda3-4.1.1
python --version
※ ここからは同僚のソースをそのまま実行しただけなので、大まかにだけ説明します。
Twitterのクローラを実行
tweepyというPythonのTwitterAPI用ライブラリを使って、過去のタイムラインを取得し、DBに保存します。
# Twitter APIの設定
auth = tweepy.OAuthHandler(CONSUMER_KEY, CONSUMER_SECRET)
auth.set_access_token(ACCESS_TOKEN, ACCESS_SECRET)
api = tweepy.API(auth)

# TLの取得(全てのTLが取得出来るまで以下を実行)
statuses = api.user_timeline('pronama', max_id = None, count = 200)

#   取得したデータをDB保存用に加工
# 省略

# 取得したTLをDBに保存
# 省略
クローリング結果のDBをElasticSearchに食わせる
templateの設定?
localhost:9200/_template/<template_name>に設定のJSONをPUTすればOK
templateにインデックス名を設定して、tokenizerにkuromojiとかの設定を行ってます。ここはまだ良くわかってないので後で調査(しないフラグ
一旦インデックスを削除
localhost:9200/<index_name>をDELETEすればOK
DBから引っ張ってきたデータを一旦jsonに保存
Python使ってDBのデータをjsonに変換
jsonデータをBulk Insert
localhost:9200/<index_name>/speech/_bulk --data-binary <jsonデータ>でPOST
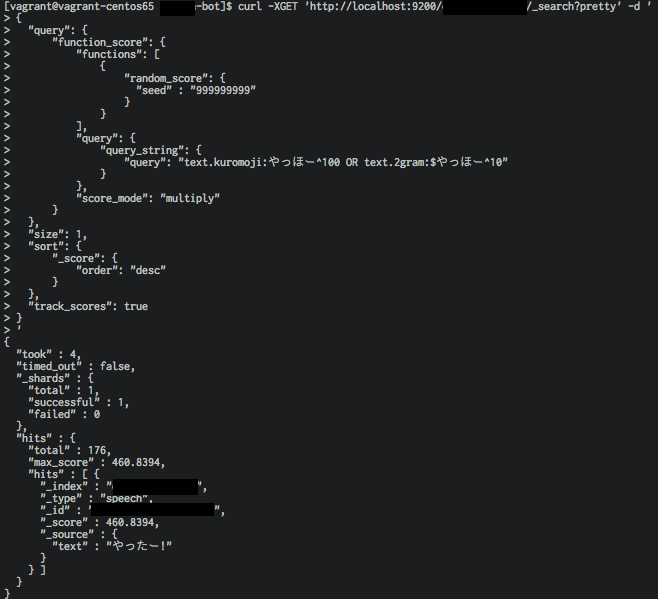
ここまででElasticSearch自体は動作してるはずなので、以下のコマンドを叩いて結果が帰ってくるか確認してみます。
curl -XGET 'http://localhost:9200/<index_name>/_search?pretty' -d '
{
  "query": {
      "function_score": {
          "functions": [
              {
                  "random_score": {
                    "seed" : "999999999"
                  }
              }
          ],
          "query": {
              "query_string": {
                  "query": "text.kuromoji:<テキスト>^100 OR text.2gram:$<テキスト>^10"
              }
          },
          "score_mode": "multiply"
      }
  },
  "size": 1,
  "sort": {
      "_score": {
          "order": "desc"
      }
  },
  "track_scores": true
}
'
やったー!!なぜか「やっほー」の返答が「やったー!」だけど動いてるっぽいー!
SlackBotの設定
あとは、これをSlackBotとして設定します。
SlackにBotユーザを登録
ココの[Add Configuration]からBotユーザを登録します。各項目は適当に入力で。今回は「@pronama_chan」という名前で登録します。

次の画面に表示される「API Token」は忘れずメモしておきましょう。

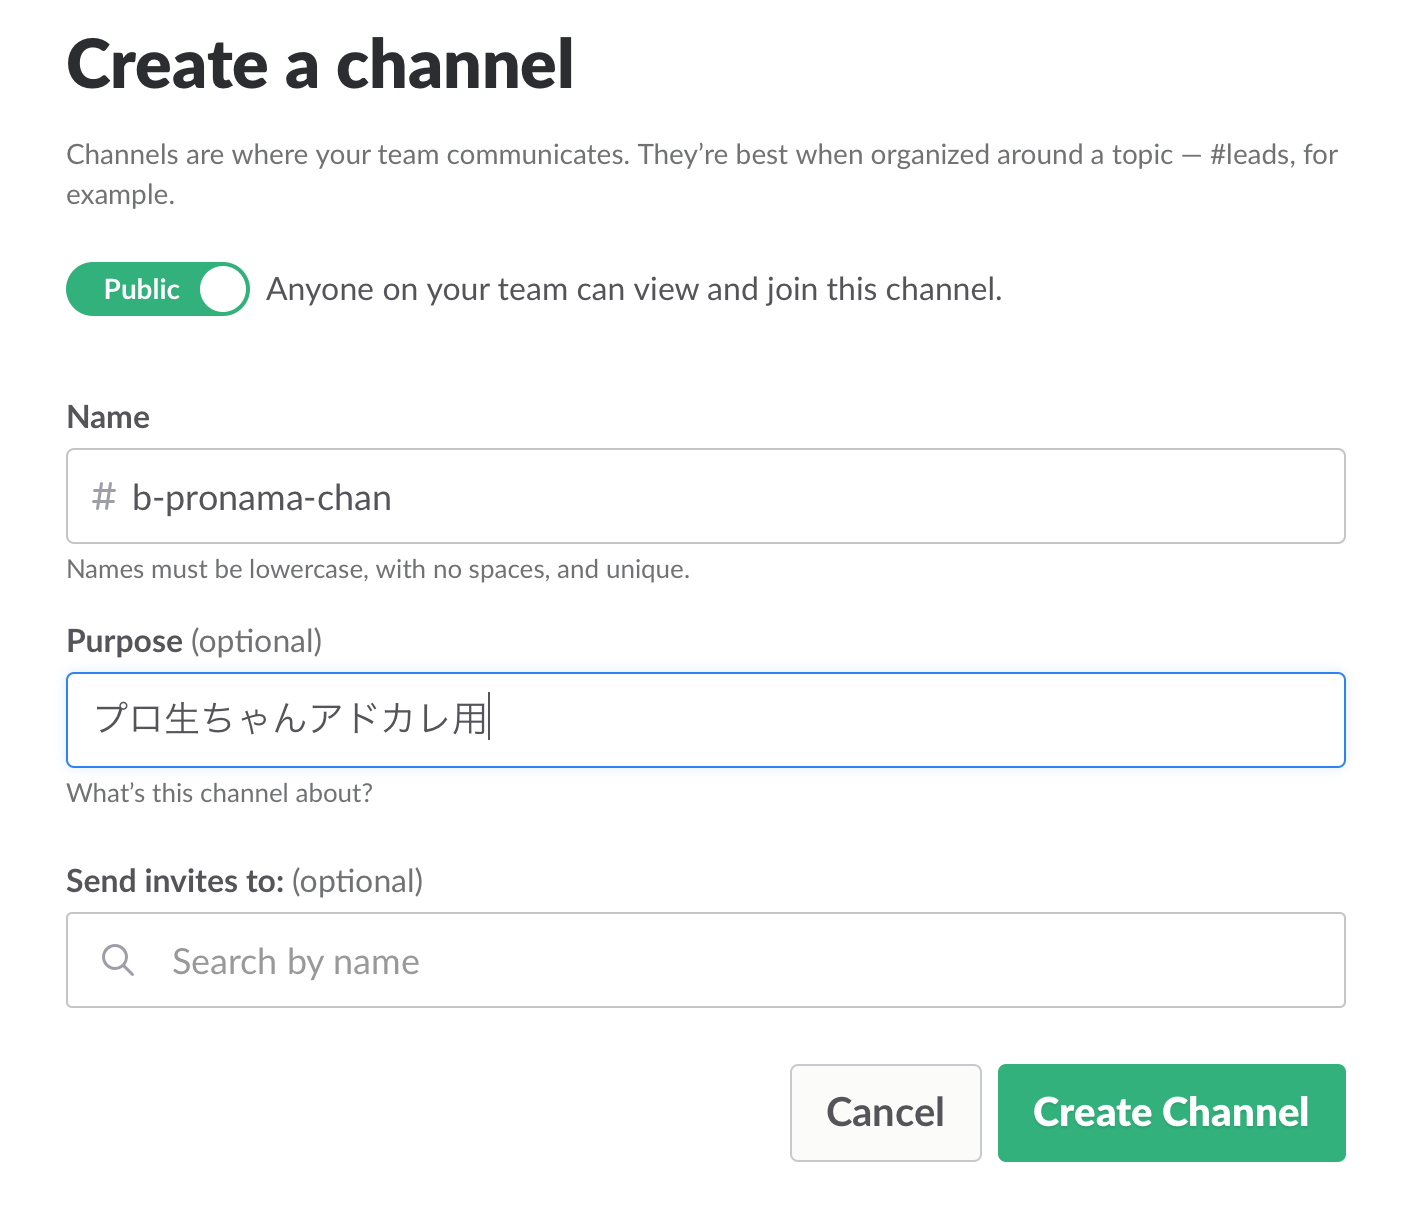
SlackにBotチャンネルを作成
↑で作成した@pronama_chanを招待するのも忘れずに。

SlackBotを作成
Pythonのslackbotライブラリを使って、Slack Botを作成しましょう。
from slackbot.bot import Bot
from slackbot.bot import respond_to,default_reply

bot_response(userid, word):
    # ElasticSearchにPOSTする
    response = requests.post(
        'http://{}/{}/_search'.format(hostname, index_name),
        <wordから生成したElasticSearchに投げるJSON文字列>.encode('utf-8'))

    # POSTしたものから
    return <responseからhitした文字列を抽出したもの>

@respond_to('(.*)')
def chat(message, word):
    response = bot_response(message._get_user_id(), word)
    message.reply(response)

def main():
    bot = Bot()
    bot.run()

if __name__ == "__main__":
    main()
作ってみた
Slackから投げてみる

キタ━━━ヽ(∀゚ )人(゚∀゚)人( ゚∀)ノ━━━!!
最後に
Web屋でAI初心者ですが、なんとかプロ生ちゃんChatbotを作ることに成功しました。
普段使わない技術を使うのって、楽しいけど疲れますね。。。

いじょう!

