GoでLambda Layers
re:Invent2018で発表されたLambda Layersですが、どのサイトを見てもPythonの記事ばかりなので、実際にGoを使ってLambda Layersに挑戦してみます。
環境準備
SAMがインストールされていることを確認します。ローカル環境でライブラリのインストールがうまくいかない場合や、Windowsを使用しているけどLinuxコマンドを使ってやりたい場合は、Cloud9上で開発すると便利です。ローカルPCのモジュールが肥大化しすぎないという利点もあります。
$ sam --version
SAM CLI, version 0.8.1
※仮にSAMがない場合は、pipコマンドでインストールします。
$ pip install aws-sam-cli
Goプロジェクトの作成
sam initを使用して、Goのプロジェクトを作成していきます。
今回は「cancer」という名前のプロジェクト名にします。
$ sam init --runtime go1.x --name cancer
$ ls
cancer  README.md
デフォルトの状態からビルドして実行確認をしていきます。
Makefileにbuildコマンドがデフォルトで用意されているため、そのまま利用していきます。
$ cd cancer/
$ ls
hello-world  Makefile  README.md  template.yaml
$ make build
GOOS=linux GOARCH=amd64 go build -o hello-world/hello-world ./hello-world
※cannot find packageエラーが発生したら、go getでインストールをしていきましょう。
$ go get "github.com/aws/aws-lambda-go/events"
動作確認
ビルドが完了したら、APIをローカルで実行してみます。
$ sam local start-api
動作確認してみましょう。
ターミナル画面から「+」ボタンを押し、「New Terminal」を選択してcurlコマンドを実行します。
$ curl http://127.0.0.1:3000/hello
Hello, 54.237.36.52
ここまでで、通常のGoプロジェクトテンプレートが完成しました。
Layer側のGoプロジェクトを作成
Layersのプロジェクトを作成するために、まずはディレクトリを作成しましょう。
$ mkdir layers
$ cd layers
$ mkdir first-layer
$ cd first-layer
$ pwd
/home/ec2-user/environment/cancer/layers/first-layer
次に、第一レイヤであるfirst.goを作成していきます。
$ vi first.go
package main

import (
  "fmt")

func main() {
  fmt.Println("Hello, First Layer!")
}
$ go run first.go
Hello, First Layer!
Lambdaにソースコードをアップロードするため、ビルドモジュールをzipに固めます。
$ GOOS=linux GOARCH=amd64 go build -o first
$ zip first.zip ./first
$ ls
first  first.go  first.zip
その後、S3にzipファイルをアップロードします。今回は「sam-template-store」というバケットを既に作成しているので、こちらにアップロードしていきます。バケットを作成していない場合はコンソールから作成しましょう。
$ aws s3 cp ./first.zip s3://sam-template-store/ --acl public-read
YAMLでレイヤのデプロイ
template.yamlを使用して、レイヤを作成していきます。
既にアップロードされたS3のzipをContentUriに指定しましょう。
AWSTemplateFormatVersion: '2010-09-09'
Transform: AWS::Serverless-2016-10-31
Description: >
  cancer

  Sample SAM Template for cancer

# More info about Globals: https://github.com/awslabs/serverless-application-model/blob/master/docs/globals.rst
Globals:
  Function:
    Timeout: 5

Resources:
  FirstLayersFunction:
    Type: AWS::Serverless::LayerVersion
    Properties:
      LayerName: FirstLayer
      Description: First Layer
      ContentUri: 's3://sam-template-store/first.zip'
      CompatibleRuntimes:
        - go1.x

Outputs:
  LayerVersionArn:
    Value: !Ref FirstLayersFunction
CloudFormationのコマンドでデプロイします。
$ pwd
/home/ec2-user/environment/cancer
$ aws cloudformation deploy --stack-name first-layer --template-file template.yaml
Successfullyがターミナルに表示されたら、レイヤのArnを取得するため、以下コマンドを実行します。
$ aws cloudformation describe-stacks --stack-name first-layer
...
        "Description": "cancer\nSample SAM Template for cancer\n",
            "Tags": [],
            "Outputs": [
                {
                    "OutputKey": "LayerVersionArn",
                    "OutputValue": "arn:aws:lambda:us-east-1:xxxxxxxxxxxx:layer:FirstLayer:3"
                }
            ]
...
OutputValueで表示されたArnを下記で使用していきます。
レイヤをLambdaFunctionに追加
ここで、HelloWorldFunctionを作成し、Layersとして先ほど作成したLambdaを指定します。
template.yamlに以下を追記していきましょう。
AWSTemplateFormatVersion: '2010-09-09'
Transform: AWS::Serverless-2016-10-31
Description: >
  cancer

  Sample SAM Template for cancer

Globals:
  Function:
    Timeout: 5

Resources:
  HelloWorldFunction:
    Type: AWS::Serverless::Function
    Properties:
      CodeUri: hello-world/
      Handler: hello-world
      Runtime: go1.x
      Tracing: Active
      Events:
        CatchAll:
          Type: Api
          Properties:
            Path: /hello
            Method: GET
      Layers:
        - "arn:aws:lambda:us-east-1:xxxxxxxxxxxx:layer:FirstLayer:3"
  FirstLayersFunction:
    Type: AWS::Serverless::LayerVersion
    Properties:
      LayerName: FirstLayer
      Description: First Layer
      ContentUri: 's3://sam-template-store/first.zip'
      CompatibleRuntimes:
        - go1.x

Outputs:
  LayerVersionArn:
    Value: !Ref FirstLayersFunction
samコマンドでパッケージングとデプロイを行います。
Makefileに記載すると打ち込むコマンドが少なくなるので便利です。
.PHONY: deps clean build

deps:
	go get -u ./...

clean:
	rm -rf ./hello-world/hello-world

build:
	GOOS=linux GOARCH=amd64 go build -o hello-world/hello-world ./hello-world

# 追記
package:
	sam package --template-file template.yaml --output-template-file output-template.yaml --s3-bucket sam-template-store

# 追記
deploy:
	sam deploy --template-file output-template.yaml --stack-name sam-template-store --capabilities CAPABILITY_IAM
Makefileでデプロイまで実行してみましょう。
$ make package
sam package --template-file template.yaml --output-template-file output-template.yaml --s3-bucket sam-template-store
$ make deploy
sam deploy --template-file output-template.yaml --stack-name sam-template-store --capabilities CAPABILITY_IAM
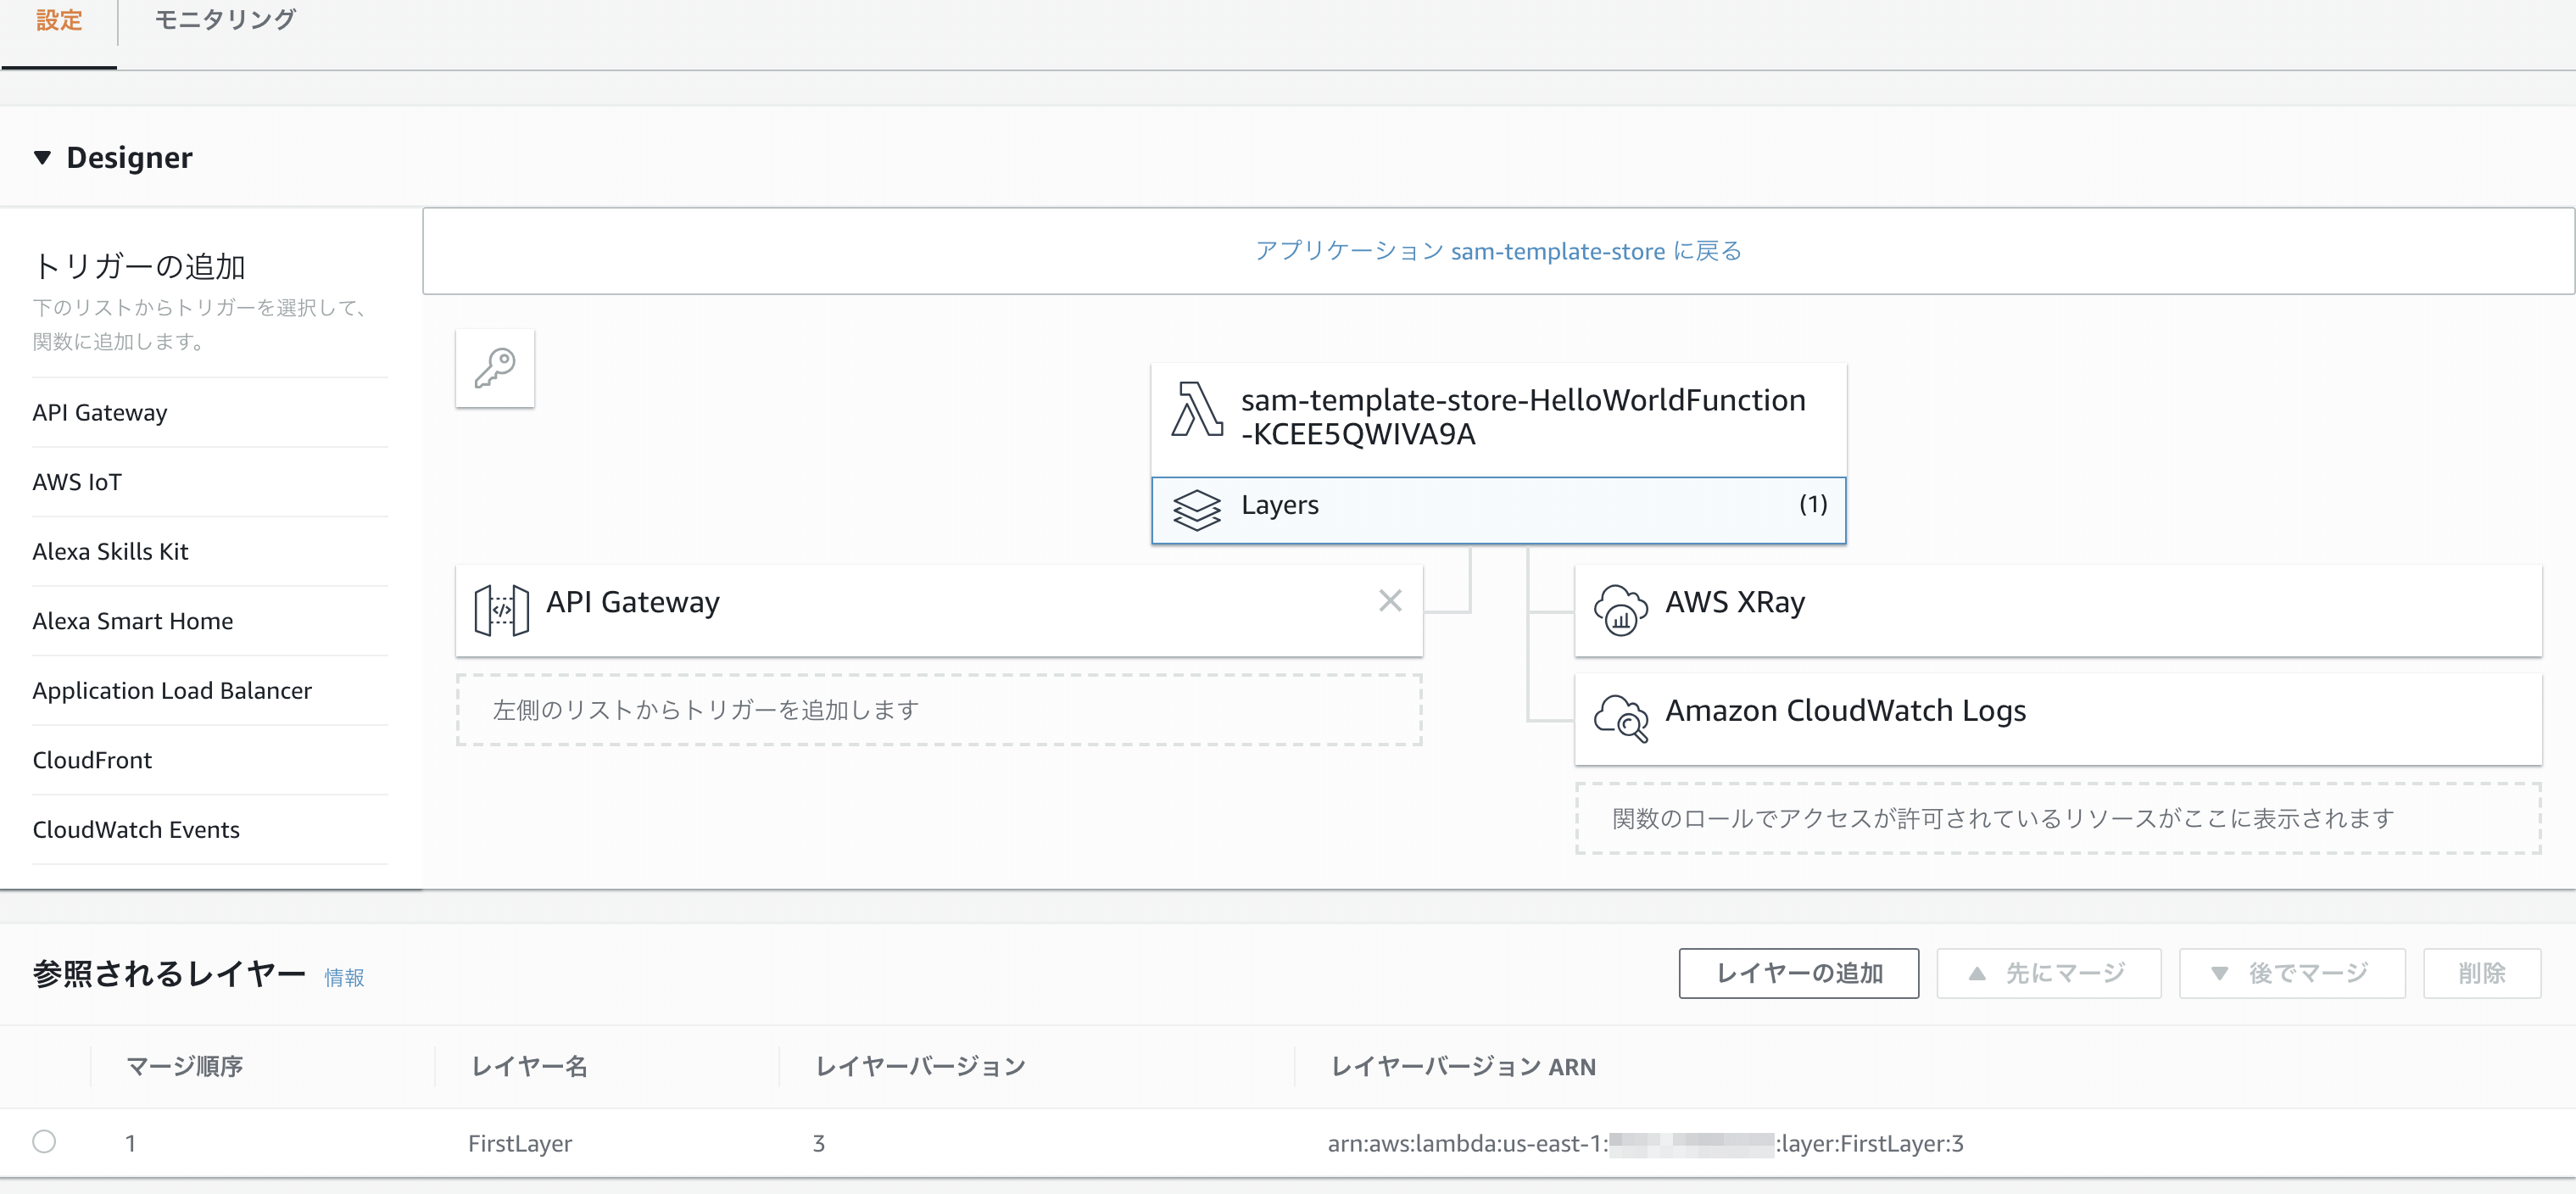
最後に、Lambdaのコンソールから状況を確認してみます。
HelloWorldFunctionにLayersとして、先ほど作成したFirstLayerが参照されてことが確認できました。