Rustでサーバレス
re:Invent2018のアップデートにて、Rustを使用したAWS Lambdaの開発が可能になりました。サーバレスでRustを扱ってみたいという方のために、Custom Runtimeの動かし方からDB操作までを整理していきます。
[初級編] RustをLambdaで動かす
Custom Runtimeを利用して、実際にLambdaを動かしてみます。手順を一つ一つ記載しようと思いましたが、すでに素晴らしい記事が上がっていたためリンクを貼ることにします。
まずは環境を構築します。Rustを初めて使う方は、以下リンクを参考にインストールを済ませてください。cargo runでRustのプロジェクトを起動できるようになることが目標です。
環境構築が完了したら、Lambdaを動かしてみましょう。
ポイントは
- Lambdaで起動するためのコンパイル環境を用意する
- Lambdaで実行されるエントリポイントと設定ファイルの記述する
- ビルドモジュールをZipに固めてAWSコンソールからアップロードする
です。こちらもやり方を丁寧に記載してある記事が既にありましたので、手順に従って進めてください。
![]() AWS LambdaのCustom RuntimeでRustを実行してみた #reinvent
AWS LambdaのCustom RuntimeでRustを実行してみた #reinvent
[中級編] DynamoDBでCRUD
DynamoDBを使用して、Rustから簡単なCRUD操作をしていきます。
Lambdaを使用しない場合では、Rustのデータ管理にRDBを使用するケースが多かったのではないかと思います。本記事の最後に記載している通り、Lambdaによる開発がメインになると、今後はRustでもDynamoDBを使いたくなるユースケースが徐々に増えてくるのではないでしょうか。
CRUDを確認していくため、まずはDynamoDBのテーブルをマネジメントコンソールから作成しましょう。DynamoDBのページから、テーブル名とパーティションキーのみを入力します。
次に、DynamoDBの操作方法を見ていきます。
DynamoDBにアクセスするために、ライブラリとしてrusoto を使用していきます。このライブラリはDynamoDBだけではなく、Rustから他のAWSサービスを呼び出すときにも使用できる優れものです。
前述のcargo newで作成したRustのプロジェクトに含まれているCargo.tomlを開き、rust_coreとrust_dynamodbをdependenciesに追加していきます。
[package]
name = "my_lambda_function"
version = "0.1.0"
authors = ["小池駿平 <xxx@gmail.com>"]
edition = "2018"

[dependencies]
lambda_runtime = "^0.1"
serde = "^1"
serde_json = "^1"
serde_derive = "^1"
log = "^0.4"
simple_logger = "^1"
rusoto_core = {version = "0.35.0", default_features = false, features=["rustls"]}
rusoto_dynamodb = {version = "0.35.0", default_features = false, features=["rustls"]}

[[bin]]
name = "bootstrap"
path = "src/main.rs"
続いてmain.rsを開き、rusotoを使用できるよう宣言していきます。
※...は記載省略。
...
extern crate rusoto_core;
extern crate rusoto_dynamodb;
...
use rusoto_core::Region;
// 今回紹介する①アイテム登録(PutItemInput) ②アイテム取得(GetItemInput) ③アイテム削除(DeleteItemInput)で使用するstructのみを宣言しています
use rusoto_dynamodb::{DynamoDb, DynamoDbClient, GetItemInput, PutItemInput, DeleteItemInput, AttributeValue};
...
my_handler()でDynamoDBへのアクセスを実行することにします。まずはアイテムの登録からです。HashMapを宣言して、登録するkey-valueを定義します。
...
fn my_handler(e: CustomEvent, c: lambda::Context) -> Result<CustomOutput, HandlerError> {
    ...
    // key-valueでDynamoDBのデータを扱います
    let mut create_key: HashMap<String, AttributeValue> = HashMap::new();
    // HashMapのkeyにはパーティションキーで指定した文字列を
    // valueにはLambdaコール時に受け渡されるイベント引数を指定します
    create_key.insert(String::from("name"), AttributeValue {
        s: Some(e.first_name),
        ..Default::default()
    });
    ...
}
...
Itemの登録にはPutItemInputを使用します。テーブル名とHashMapを指定して、PutItemInputを作成します。
fn my_handler(e: CustomEvent, c: lambda::Context) -> Result<CustomOutput, HandlerError> {
    ...
    let create_serials = PutItemInput {
        item: create_key,
        table_name: String::from("rust_serverless_sample"),
        ..Default::default()
    };
    ...
}
DynamoDbClientを利用して、clientオブジェクトを作成します。現在使用しているAWSリージョンを引数で渡しましょう。本記事ではバージニアリージョンus-east-1を使用しています。
fn my_handler(e: CustomEvent, c: lambda::Context) -> Result<CustomOutput, HandlerError> {
    ...
    let client = DynamoDbClient::new(Region::UsEast1);
    ...
}
実際にDynamoDBへの書き込みを行います。put_itemの引数に上記で作成したquery_serialsを渡してsyncすると、書き込まれた結果の成否が判定できます。
fn my_handler(e: CustomEvent, c: lambda::Context) -> Result<CustomOutput, HandlerError> { {
    ...
    match client.put_item(create_serials).sync() {
        Ok(result) => {
            match result.attributes {
                Some(_) => println!("some"),
                None => println!("none"),
            }
        },
        Err(error) => {
            panic!("Error: {:?}", error);
        },
    };
    ...
}
最後に、レスポンスとしてメッセージを何か返してあげましょう。Successという文字列を単に返すだけのシンプルな構成にしてみます。
fn my_handler() {
    ...
    Ok(CustomOutput {
        message: format!("Success"),
    })
    ...
}
ここまでの内容を全てまとめると、以下のようなmain.rsが完成します。
# [macro_use]
extern crate lambda_runtime as lambda;
# [macro_use]
extern crate serde_derive;
# [macro_use]
extern crate log;
extern crate simple_logger;

extern crate rusoto_core;
extern crate rusoto_dynamodb;

use lambda::error::HandlerError;

use std::error::Error;

use rusoto_core::Region;
use rusoto_dynamodb::{DynamoDb, DynamoDbClient, ListTablesInput, GetItemInput, PutItemInput, DeleteItemInput, AttributeValue};
use std::collections::HashMap;

# [derive(Deserialize, Clone)]
struct CustomEvent {
    name: String,
}

# [derive(Serialize, Clone)]
struct CustomOutput {
    message: String,
}

fn main() -> Result<(), Box<dyn Error>> {
    simple_logger::init_with_level(log::Level::Info) ?;
    lambda!(my_handler);

    Ok(())
}

fn my_handler(e: CustomEvent, c: lambda::Context) -> Result<CustomOutput, HandlerError> {
    if e.name == "" {
        error!("Empty name in request {}", c.aws_request_id);
        return Err(c.new_error("Empty name"));
    }

    let mut create_key: HashMap<String, AttributeValue> = HashMap::new();
    create_key.insert(String::from("name"), AttributeValue {
        s: Some(e.name),
        ..Default::default()
    });

    let create_serials = PutItemInput {
        item: create_key,
        table_name: String::from("rust_serverless_sample"),
        ..Default::default()
    };

    let client = DynamoDbClient::new(Region::UsEast1);

    match client.put_item(create_serials).sync() {
        Ok(result) => {
            match result.attributes {
                Some(_) => println!("some"),
                None => println!("none"),
            }
        },
        Err(error) => {
            panic!("Error: {:?}", error);
        },
    };

    Ok(CustomOutput {
        message: format!("Success"),
    })
}
ここで、作成したファイルをZipに固めて動作確認してみましょう。
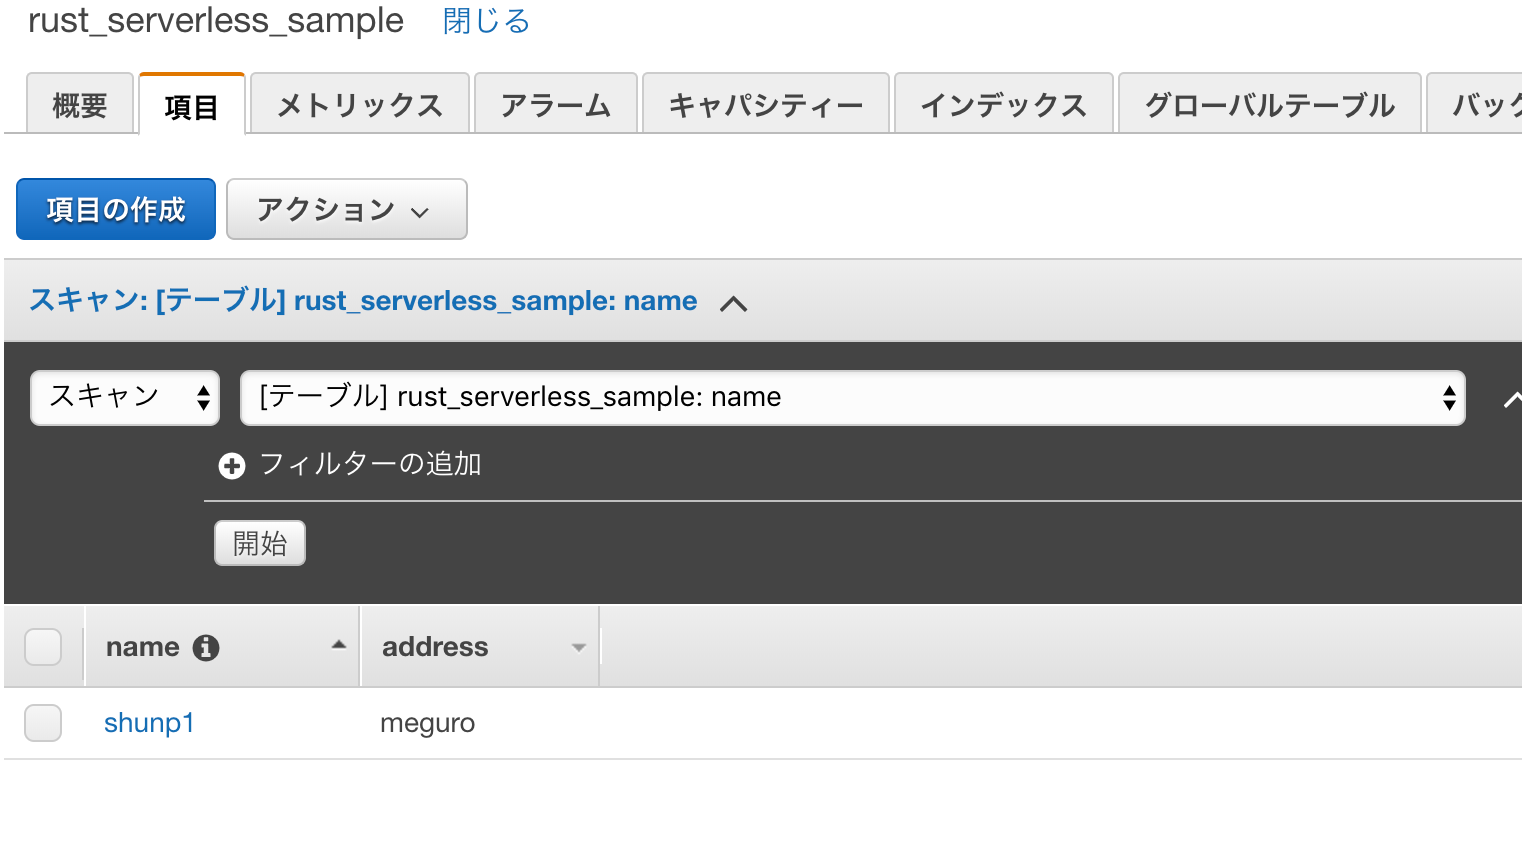
DynamoDBでデータの登録を確認してみます。
パーティションキー以外のデータも登録したい場合には、以下のようにAttributeValueを追加してあげればOKです。
fn my_handler() {
    ...
    let mut create_key: HashMap<String, AttributeValue> = HashMap::new();
    create_key.insert(String::from("name"), AttributeValue {
        s: Some(e.name),
        ..Default::default()
    });
    // 追加でkey-valueを指定
    create_key.insert(String::from("address"), AttributeValue {
        s: Some(e.address), // "meguro".to_string()
        ..Default::default()
    });
    ...
}
DymamoDBを確認すると、属性が追加されていることがわかります。
続いて、登録したデータを取得してみましょう。
fn my_handler(e: CustomEvent, c: lambda::Context) -> Result<CustomOutput, HandlerError> {
    if e.name == "" {
        error!("Empty name in request {}", c.aws_request_id);
        return Err(c.new_error("Empty name"));
    }

    let mut query_key: HashMap<String, AttributeValue> = HashMap::new();
    query_key.insert(String::from("name"), AttributeValue {
        s: Some(e.name),
        ..Default::default()
    });

    let query_serials = GetItemInput {
        key: query_key,
        table_name: String::from("rust_serverless_sample"),
        ..Default::default()
    };

    let client = DynamoDbClient::new(Region::UsEast1);

    match client.get_item(query_serials).sync() {
        Ok(result) => {
            match result.item {
                Some(_) => print!("Match!"),
                None => print!("UnMatch!")
            }

        },
        Err(error) => {
            panic!("Error: {:?}", error);
        },
    };

    Ok(CustomOutput {
        message: format!("Success"),
    })
}
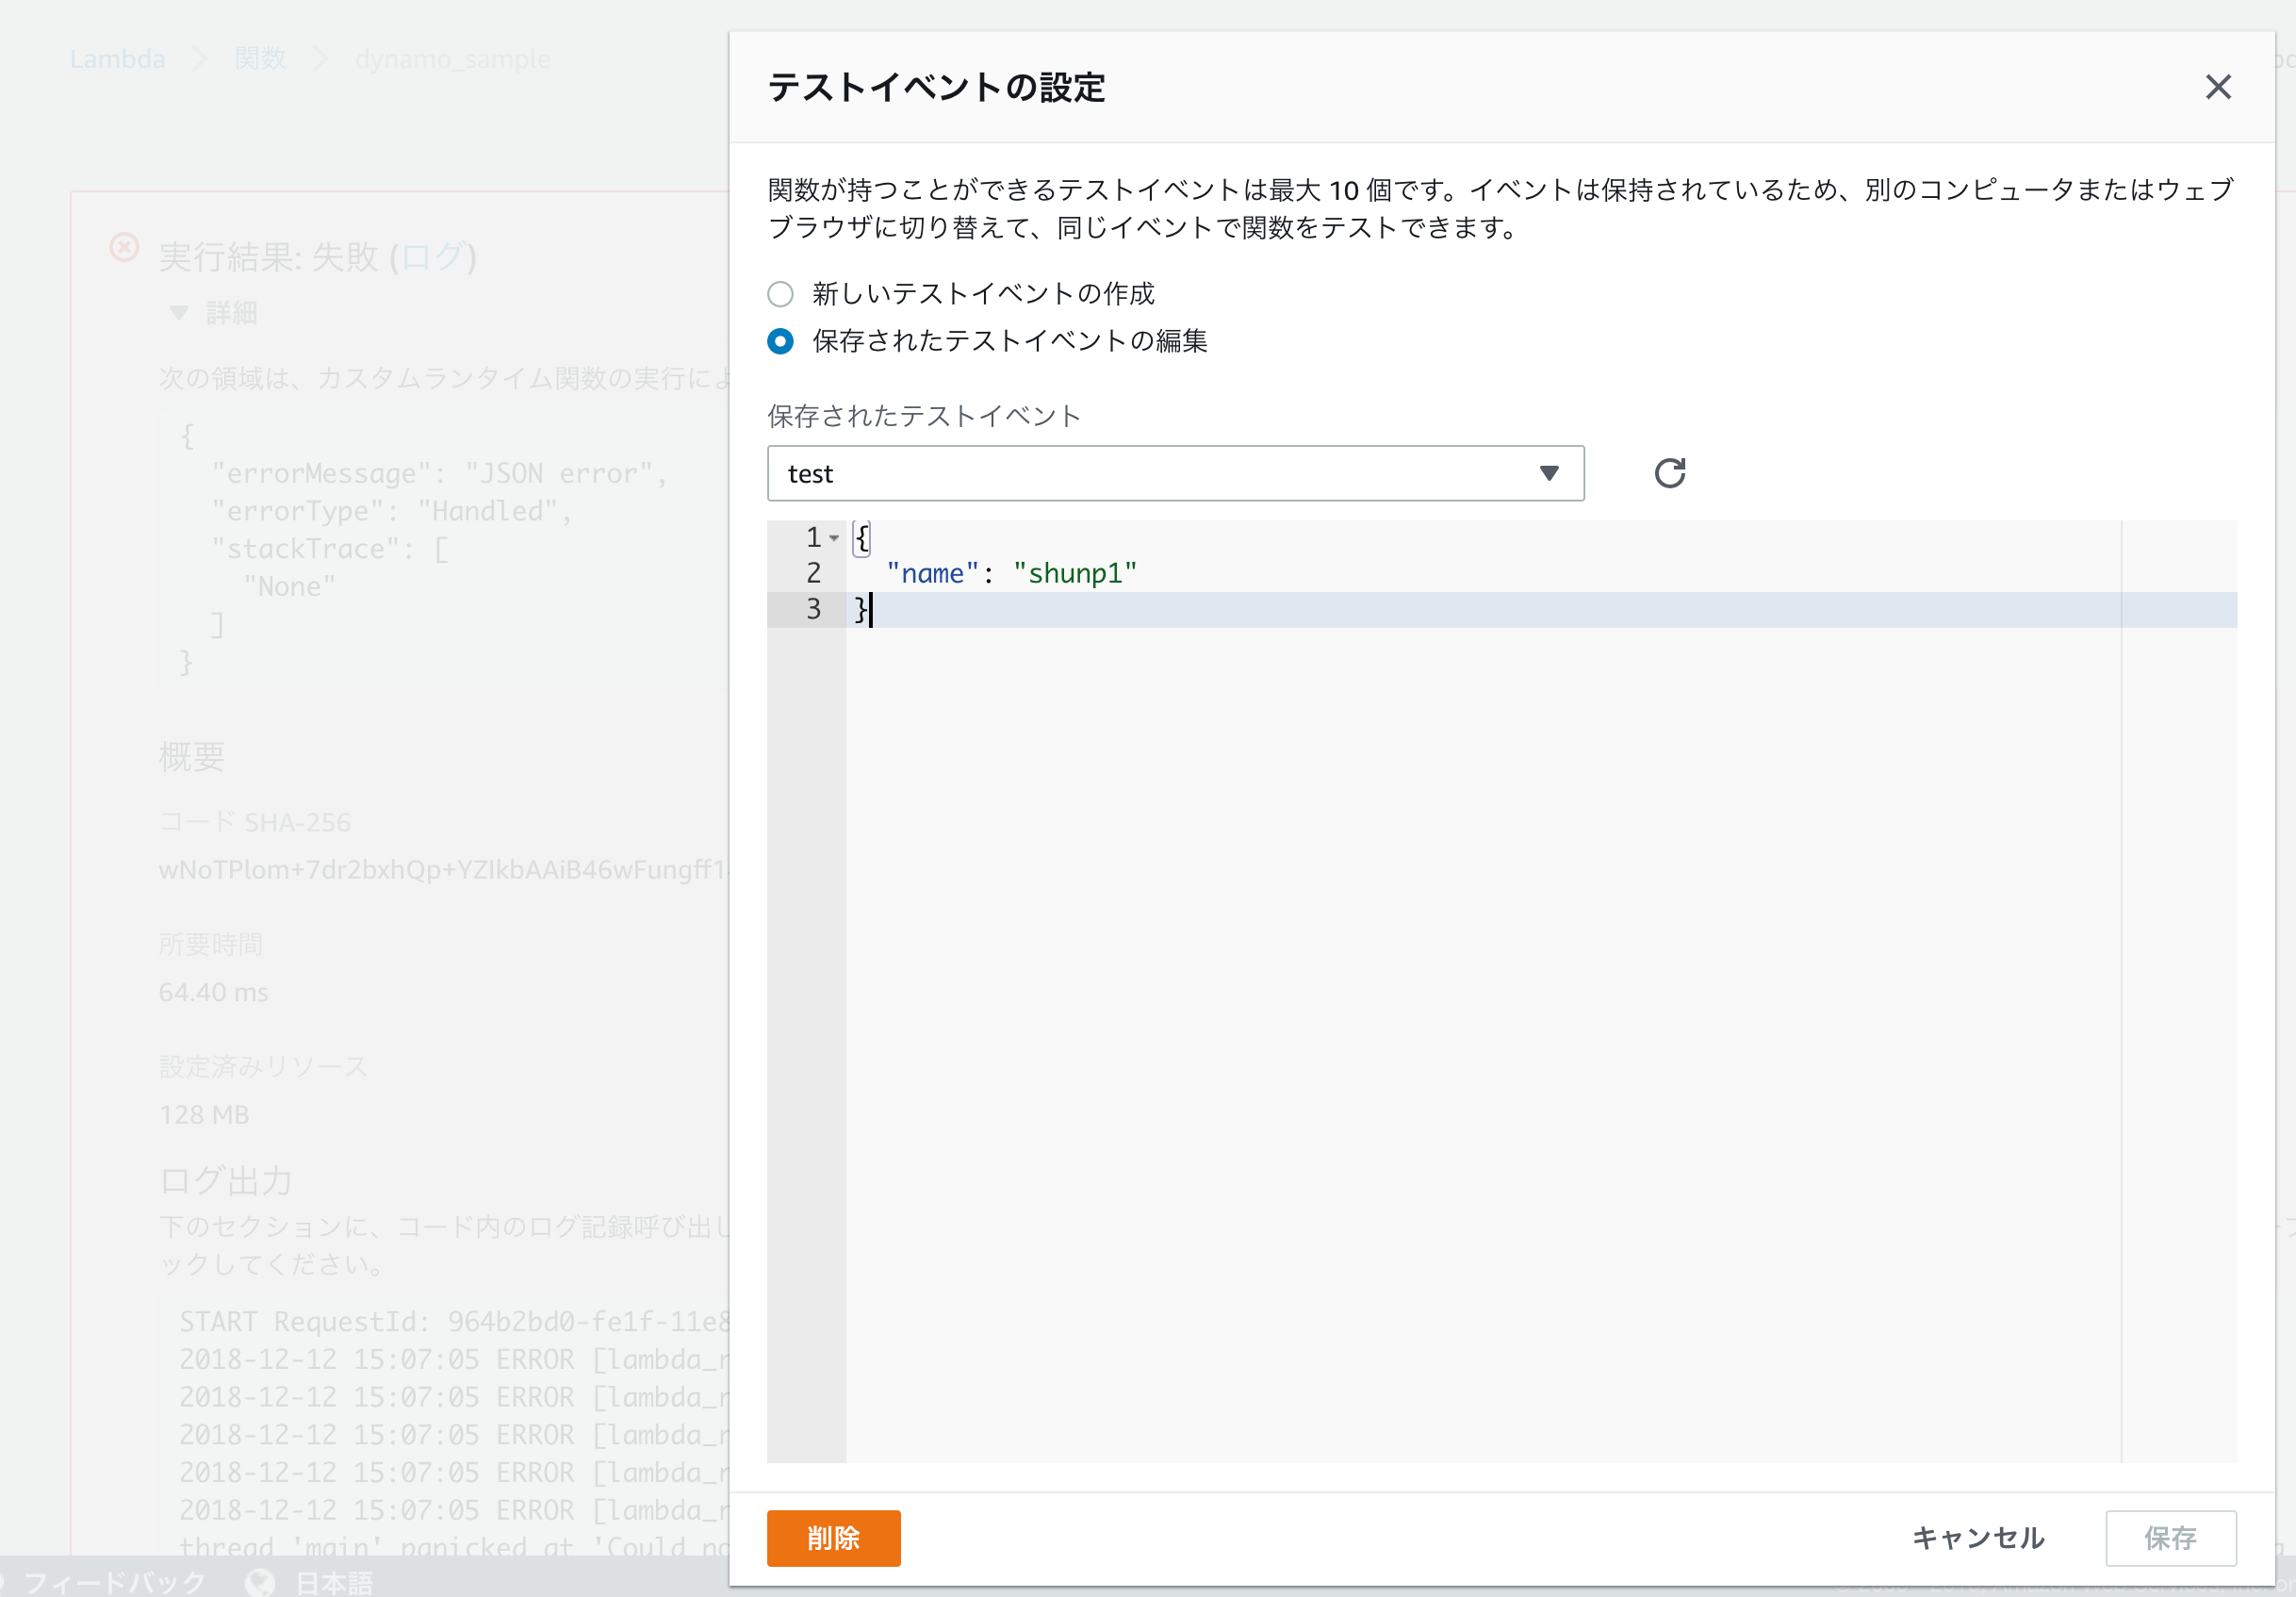
テストイベントに適当なキーを設定して実行してみましょう。DynamoDBに保存されているものなら「Match」、保存されていないものなら「Unmatch」がログに残り、データ取得が確認できると思います。
最後に、delete処理を実行します。下記をZipに固めたLambdaを実行したあとDynamoDBを覗くと、指定したキーのアイテムが削除されていることを確認できます。
...
fn my_handler(e: CustomEvent, c: lambda::Context) -> Result<CustomOutput, HandlerError> {
    if e.name == "" {
        error!("Empty name in request {}", c.aws_request_id);
        return Err(c.new_error("Empty name"));
    }

    let mut delete_key: HashMap<String, AttributeValue> = HashMap::new();
    delete_key.insert(String::from("name"), AttributeValue {
        s: Some(e.name),
        ..Default::default()
    });

    let delete_serials = DeleteItemInput {
        key: delete_key,
        table_name: String::from("rust_serverless_sample"),
        ..Default::default()
    };

    let client = DynamoDbClient::new(Region::UsEast1);

    match client.delete_item(delete_serials).sync() {
        Ok(result) => {
            match result.attributes {
                Some(_) => print!("some"),
                None => print!("none"),
            }

        },
        Err(error) => {
            panic!("Error: {:?}", error);
        },
    };

    Ok(CustomOutput {
        message: format!("Success"),
    })
}
このように、DynamoDBへの操作が可能なライブラリは既に用意されています。
API全量は以下のリンク先に記載されていますので、同じ要領で試してみてください。
フィルタされた一覧情報の取得、トランザクション処理などの上級編は別記事でご紹介していこうと思います。
今後の期待
RustでLambda Layersを取り上げようと思いましたが、2018/12/13時点ではレイヤ部分のCustom Runtimeは対応しておりません。Lambda Layersを使用すると同じ記述を複数のLambdaで記載する必要がなくなるため便利ですが、Rust対応を待つことにします。
また、AuroraServerlessのアップデートにも期待です。現時点ではVPCを作成してその中にAuroraServerlessを構築していきますが、LambdaをVPC内に配置すると起動に時間がかかる場合があり、あまりお勧めできない構成となってしまいます。VPC外でも利用できるRDSベースのサービスができると、今後サーバレスRustも普及していくかも知れません。
AWSからのアップデートがありましたら記事を追加していきますので、引き続きよろしくお願いいたします!


