はじめに
3 年ほど前に Cloud Foundry ネタで社外イベントに登壇したのですが、ひょんなことから社内勉強会でリバイバル発表することになりました。さすがに 3 年前とは成熟度の面で差があると思い、最新情報をキャッチアップするために Cloud Foundry 環境構築に踏み切りました。
本格的に取り組むのであれば、BOSH を AWS あたりに展開すると思いますが、今回はあくまで「やってみた」ですので、PCF Dev をローカル PC (Surface Laptop) にインストールしました。素直に Windows インストールすればいいものを、わざわざ Ubuntu on WSL 上で Linux インストールを選択しました。
結果的には、まだ Cloud Foundry を動かすことができていない のですが、顛末を共有したいと思います。
(2020/08/15 Updated) mac では動かすことができましたので、「mac でローカル Cloud Foundry (PCF Dev) を動かしてみた」にまとめています。mac だから動いたということではなく、搭載している物理メモリ容量の問題だと思っています。
実行環境
- Microsoft Windows 10 バージョン 1909 (OS ビルド 18363.900)
- Ubuntu 20.04.1 LTS (バージョン 2004.2020.424.0)
Cloud Foundry CLI のインストール
以下、Cloud Foundry 公式リポジトリにアクセスします。
https://github.com/cloudfoundry/cli
README.md の「Downloads」セクションの「Downloading the latest V7 CF CLI」サブセクションの手順に従って、インストールを進めていきます。
https://github.com/cloudfoundry/cli#downloading-the-latest-v7-cf-cli
「Downloads」セクションに以下の注記があります。直後にある手順に従っていくと、V6 がインストールされてしまうので、V7 をインストールしたい方はご注意ください!
As of 6/29/2020, the instructions in this section will result in pulling the latest v6 cf CLI however at some point in the near future, we'll make updates to point to the v7 line instead.
まず、Cloud Foundry Foundation のパブリックキーを取得・追加します。
wget -q -O - https://packages.cloudfoundry.org/debian/cli.cloudfoundry.org.key | sudo apt-key add -
成功すると OK が返されるのですが、もし gpg: can't connect to the agent: IPC connect call failed というエラーが発生した場合は、以下の手順を実行してみてください。わたしは、この方法でエラー回避できました。
sudo apt remove gpg
sudo apt-get update -y
sudo apt-get install -y gnupg1
続いて、Cloud Foundry CLI をインストールします。cf-cli ではなく cf7-cli であること をお間違えなく。
echo "deb https://packages.cloudfoundry.org/debian stable main" | sudo tee /etc/apt/sources.list.d/cloudfoundry-cli.list
sudo apt-get update
sudo apt-get install cf7-cli
バージョンを確認してみました。確かに V7 がインストールされたようです。
% cf version
cf バージョン 7.0.2+17b4eeafd.2020-07-24
Cloud Foundry (PCF Dev) の入手
参考にさせていただいた手順に従い、以下の URL にアクセスします。
https://network.pivotal.io/products/pcfdev
現時点の最新バージョンは 1.3.1 で、linux 向けのファイルは以下の 2 ファイルのようです。合計 24.5 GB、結構ゴツいですね、、、。リリースタイプがアルファ版というのが若干不安ですが、「やってみた」なのでよしとしましょう。
- pcfdev-v1.3.1-linux.tgz-aa (15 GB, v1.3.1)
- pcfdev-v1.3.1-linux.tgz-ab (9.5 GB, v1.3.1)
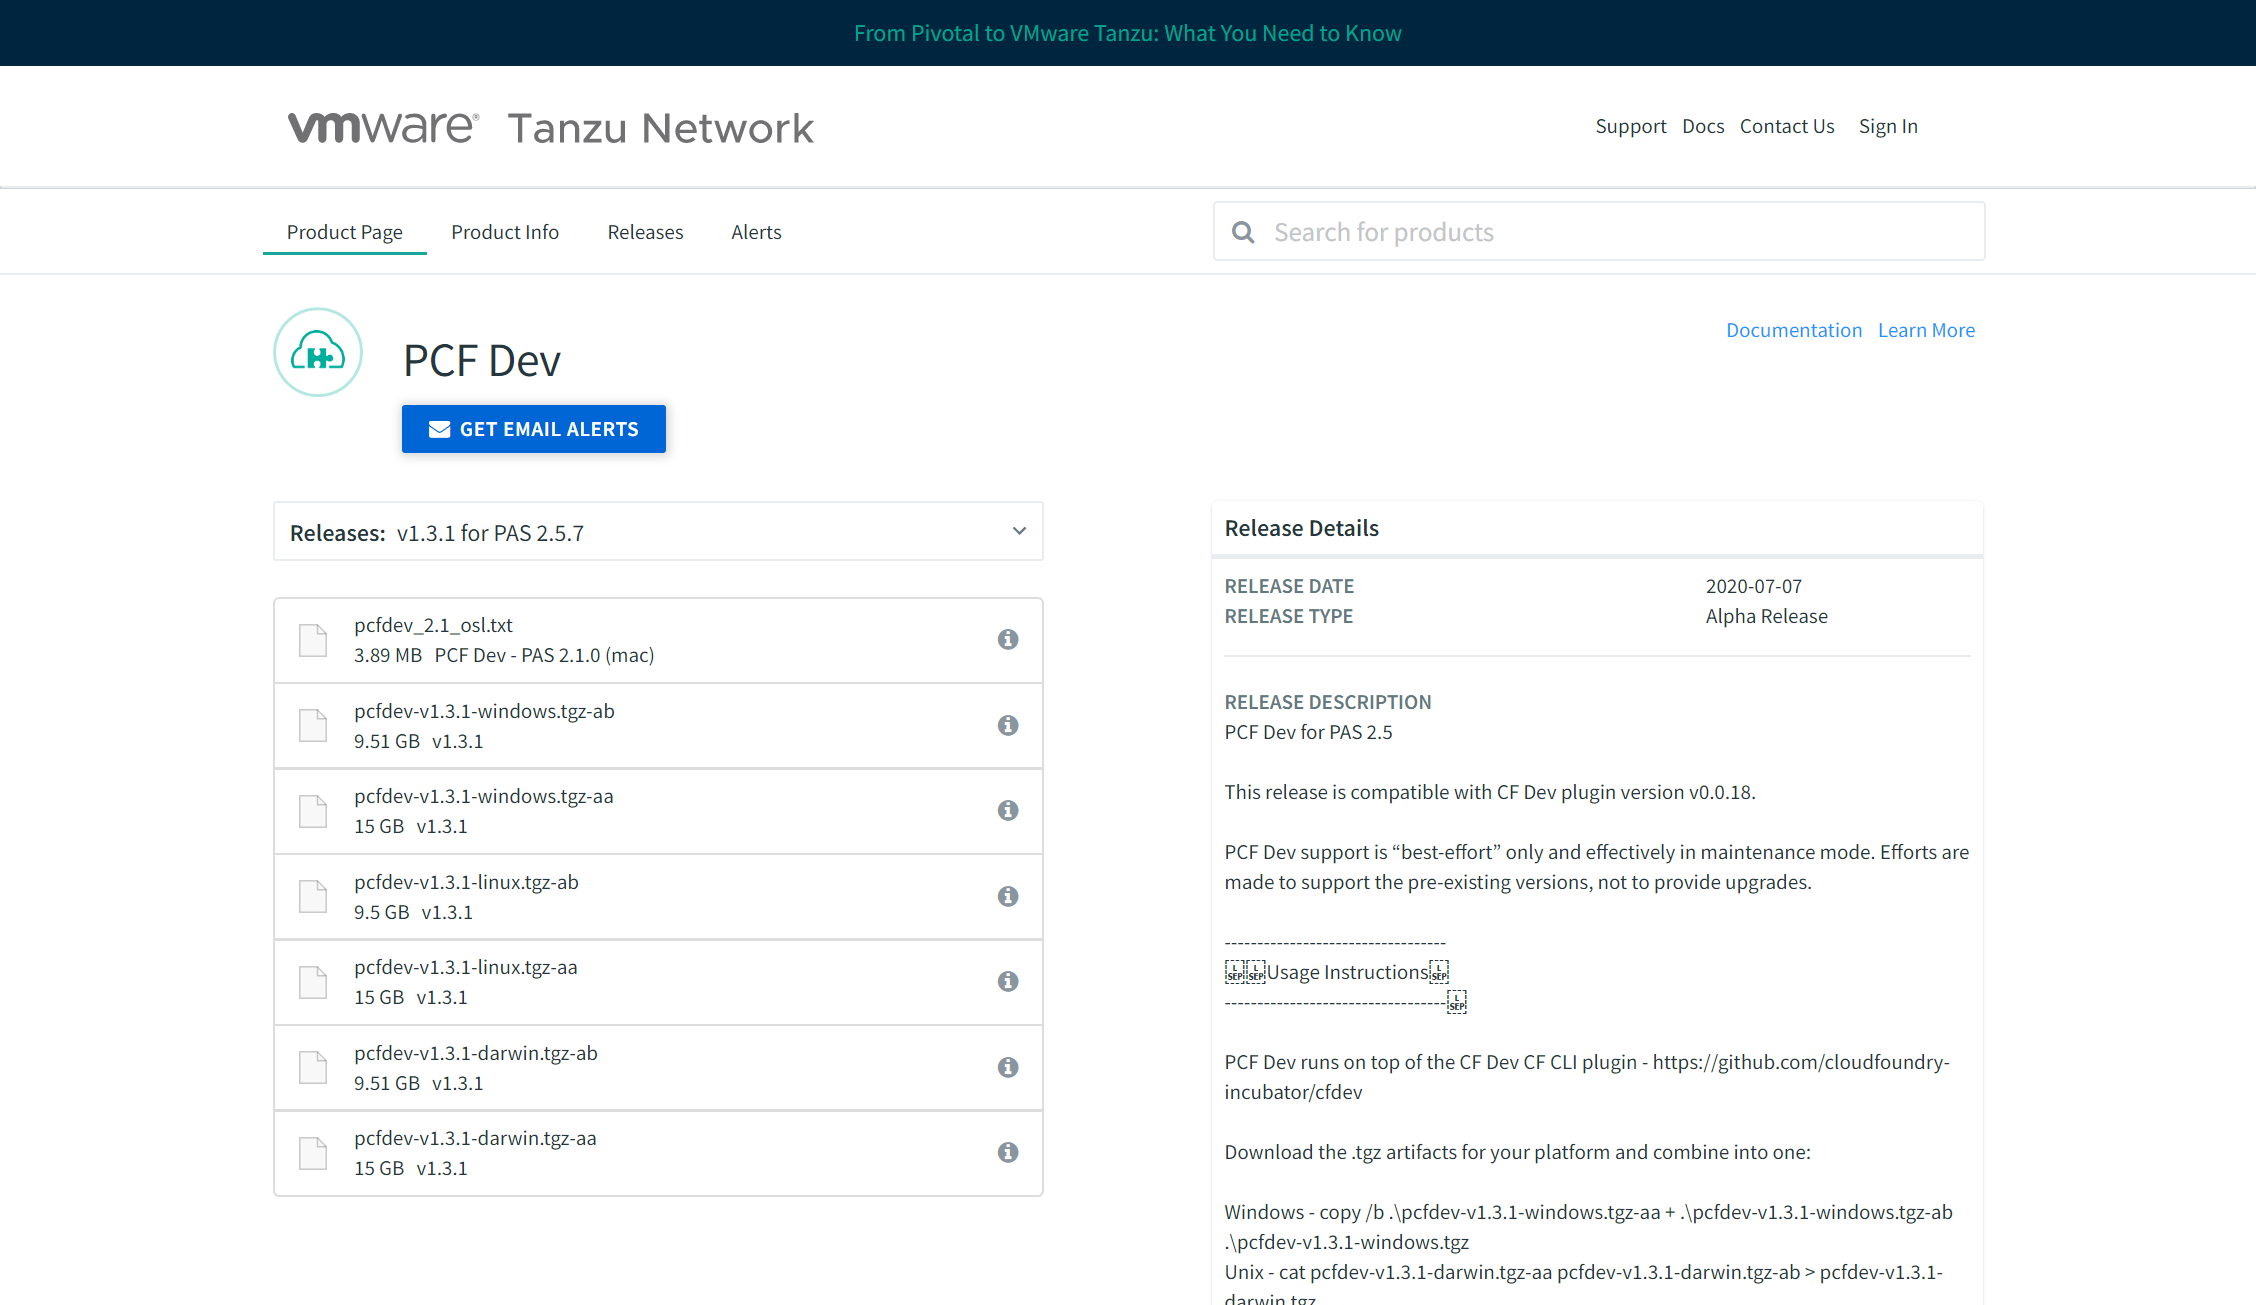
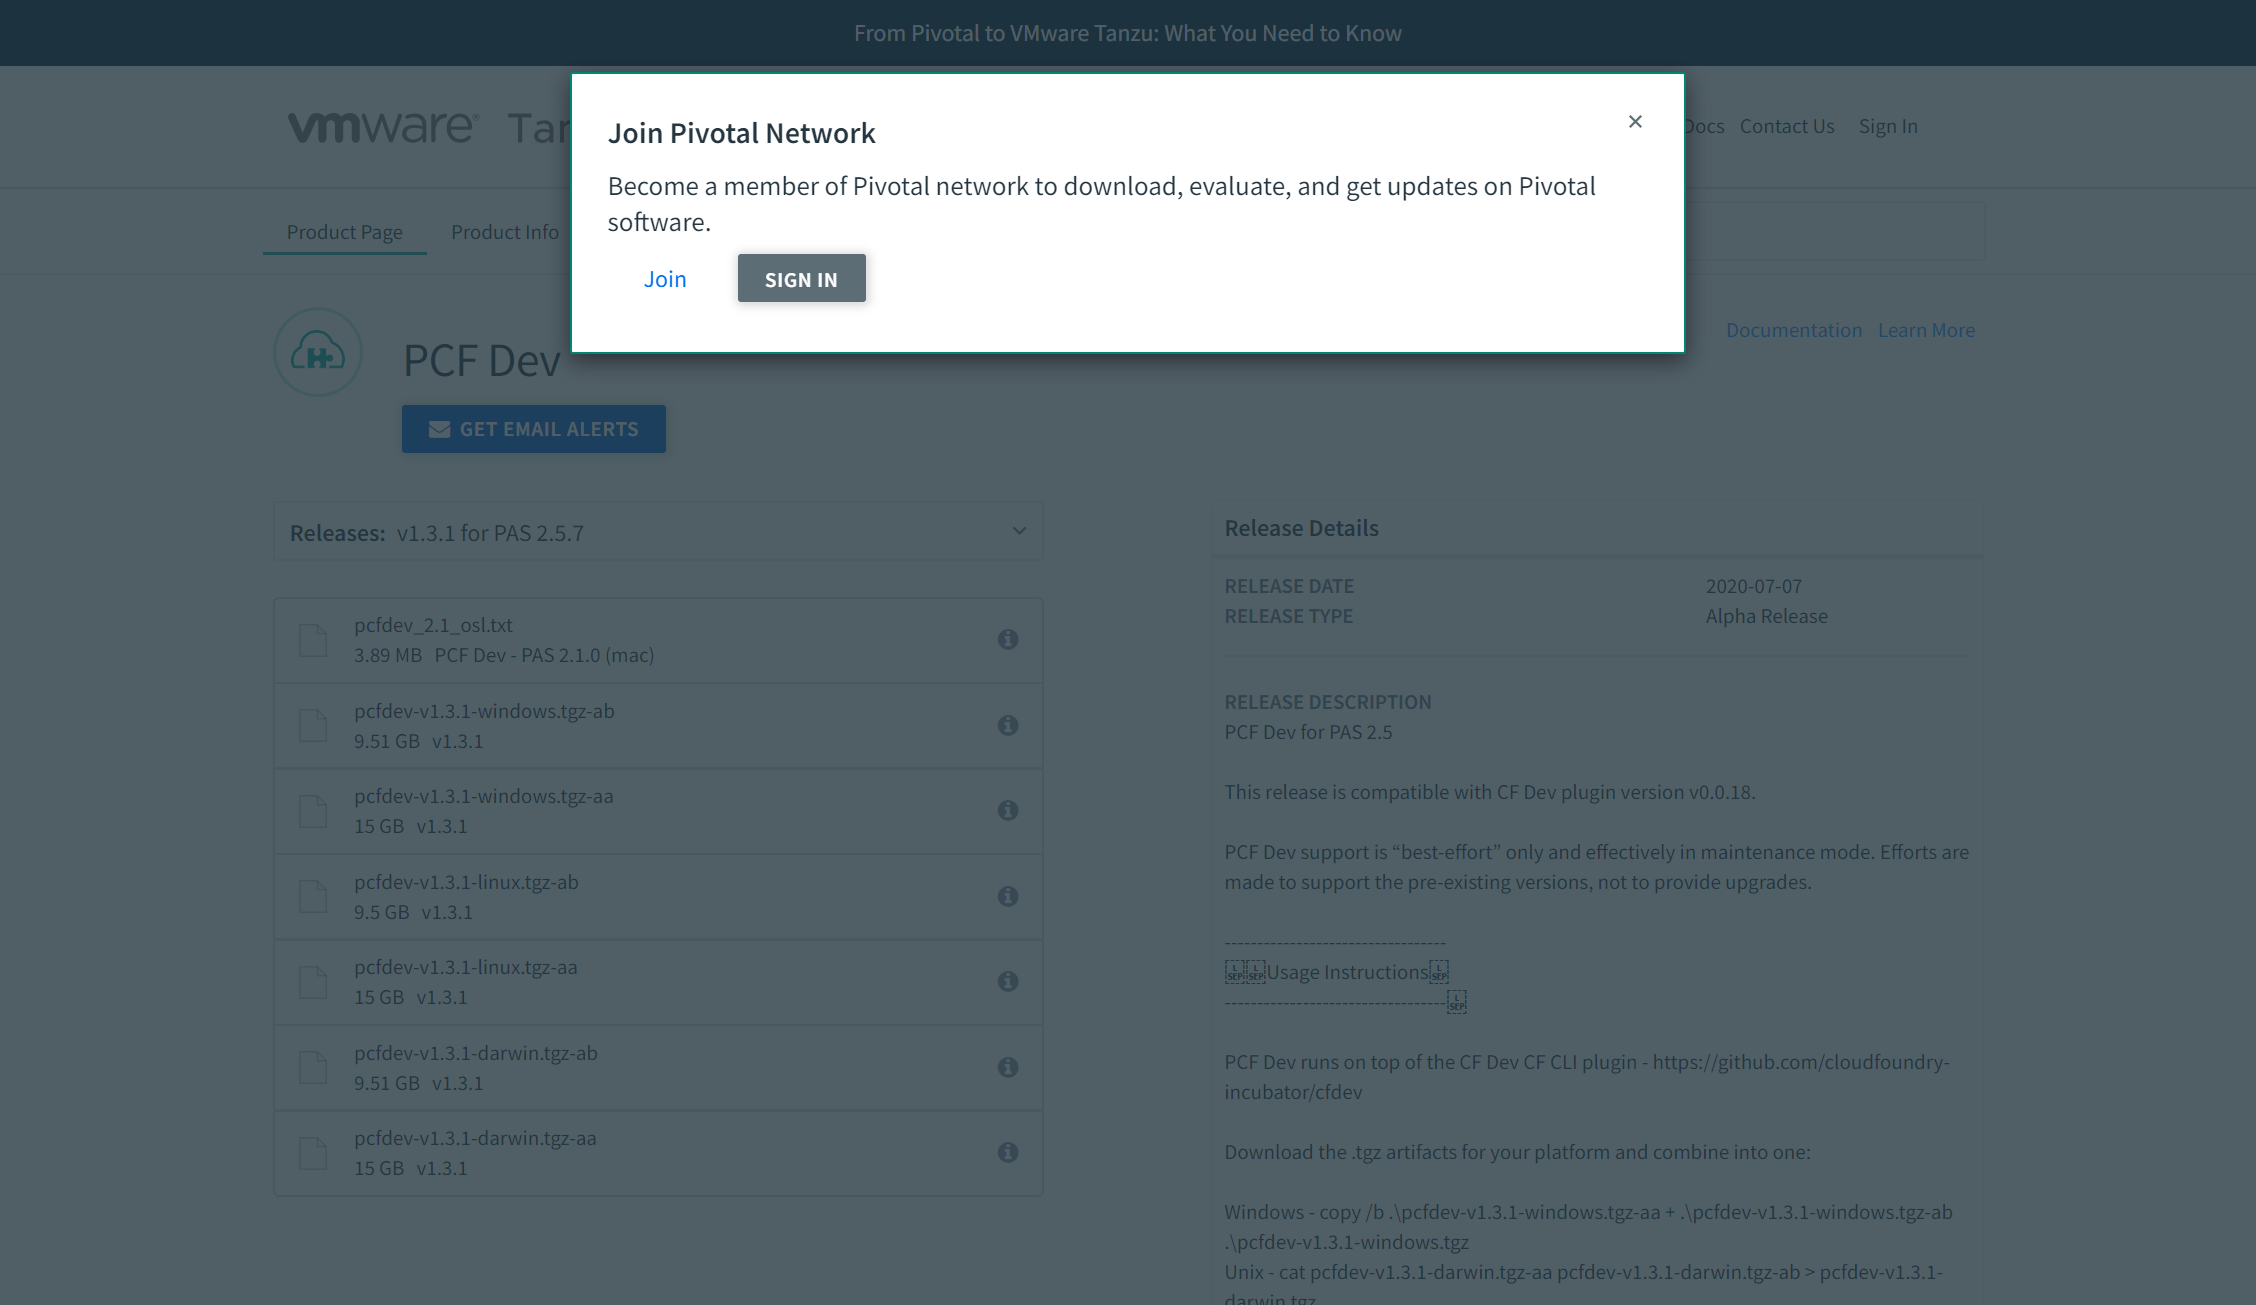
ダウンロードしようとすると、サインインを求められますので、アカウントをお持ちでない場合は、Join からサインアップしてください。
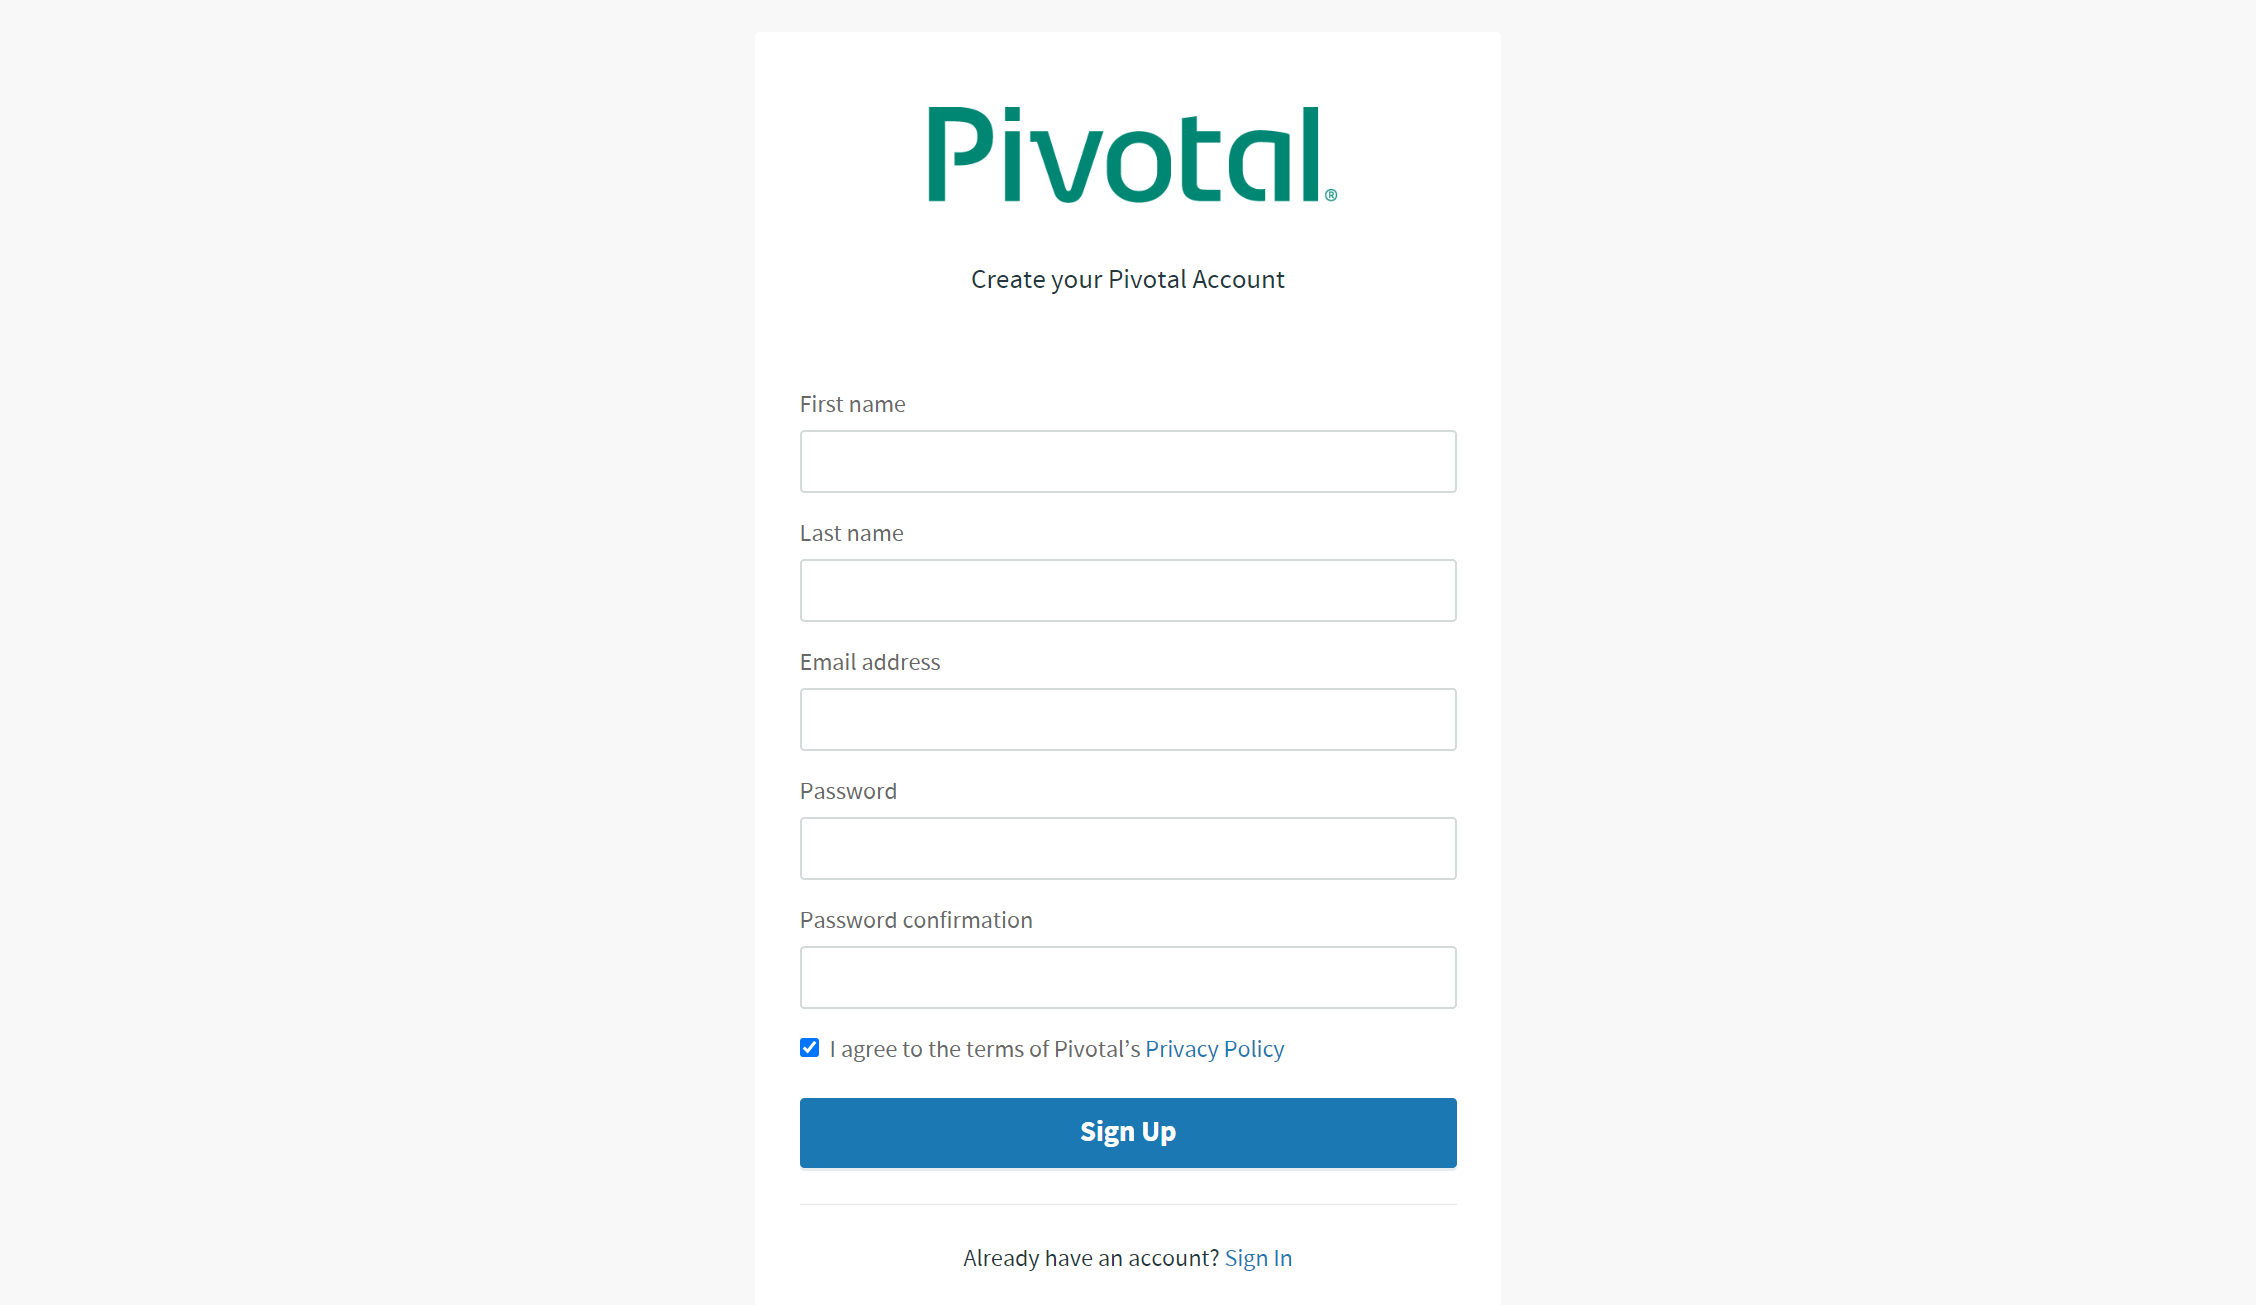
必要な情報を入力し、プライバシーポリシーに同意して Sign Up をクリックします。
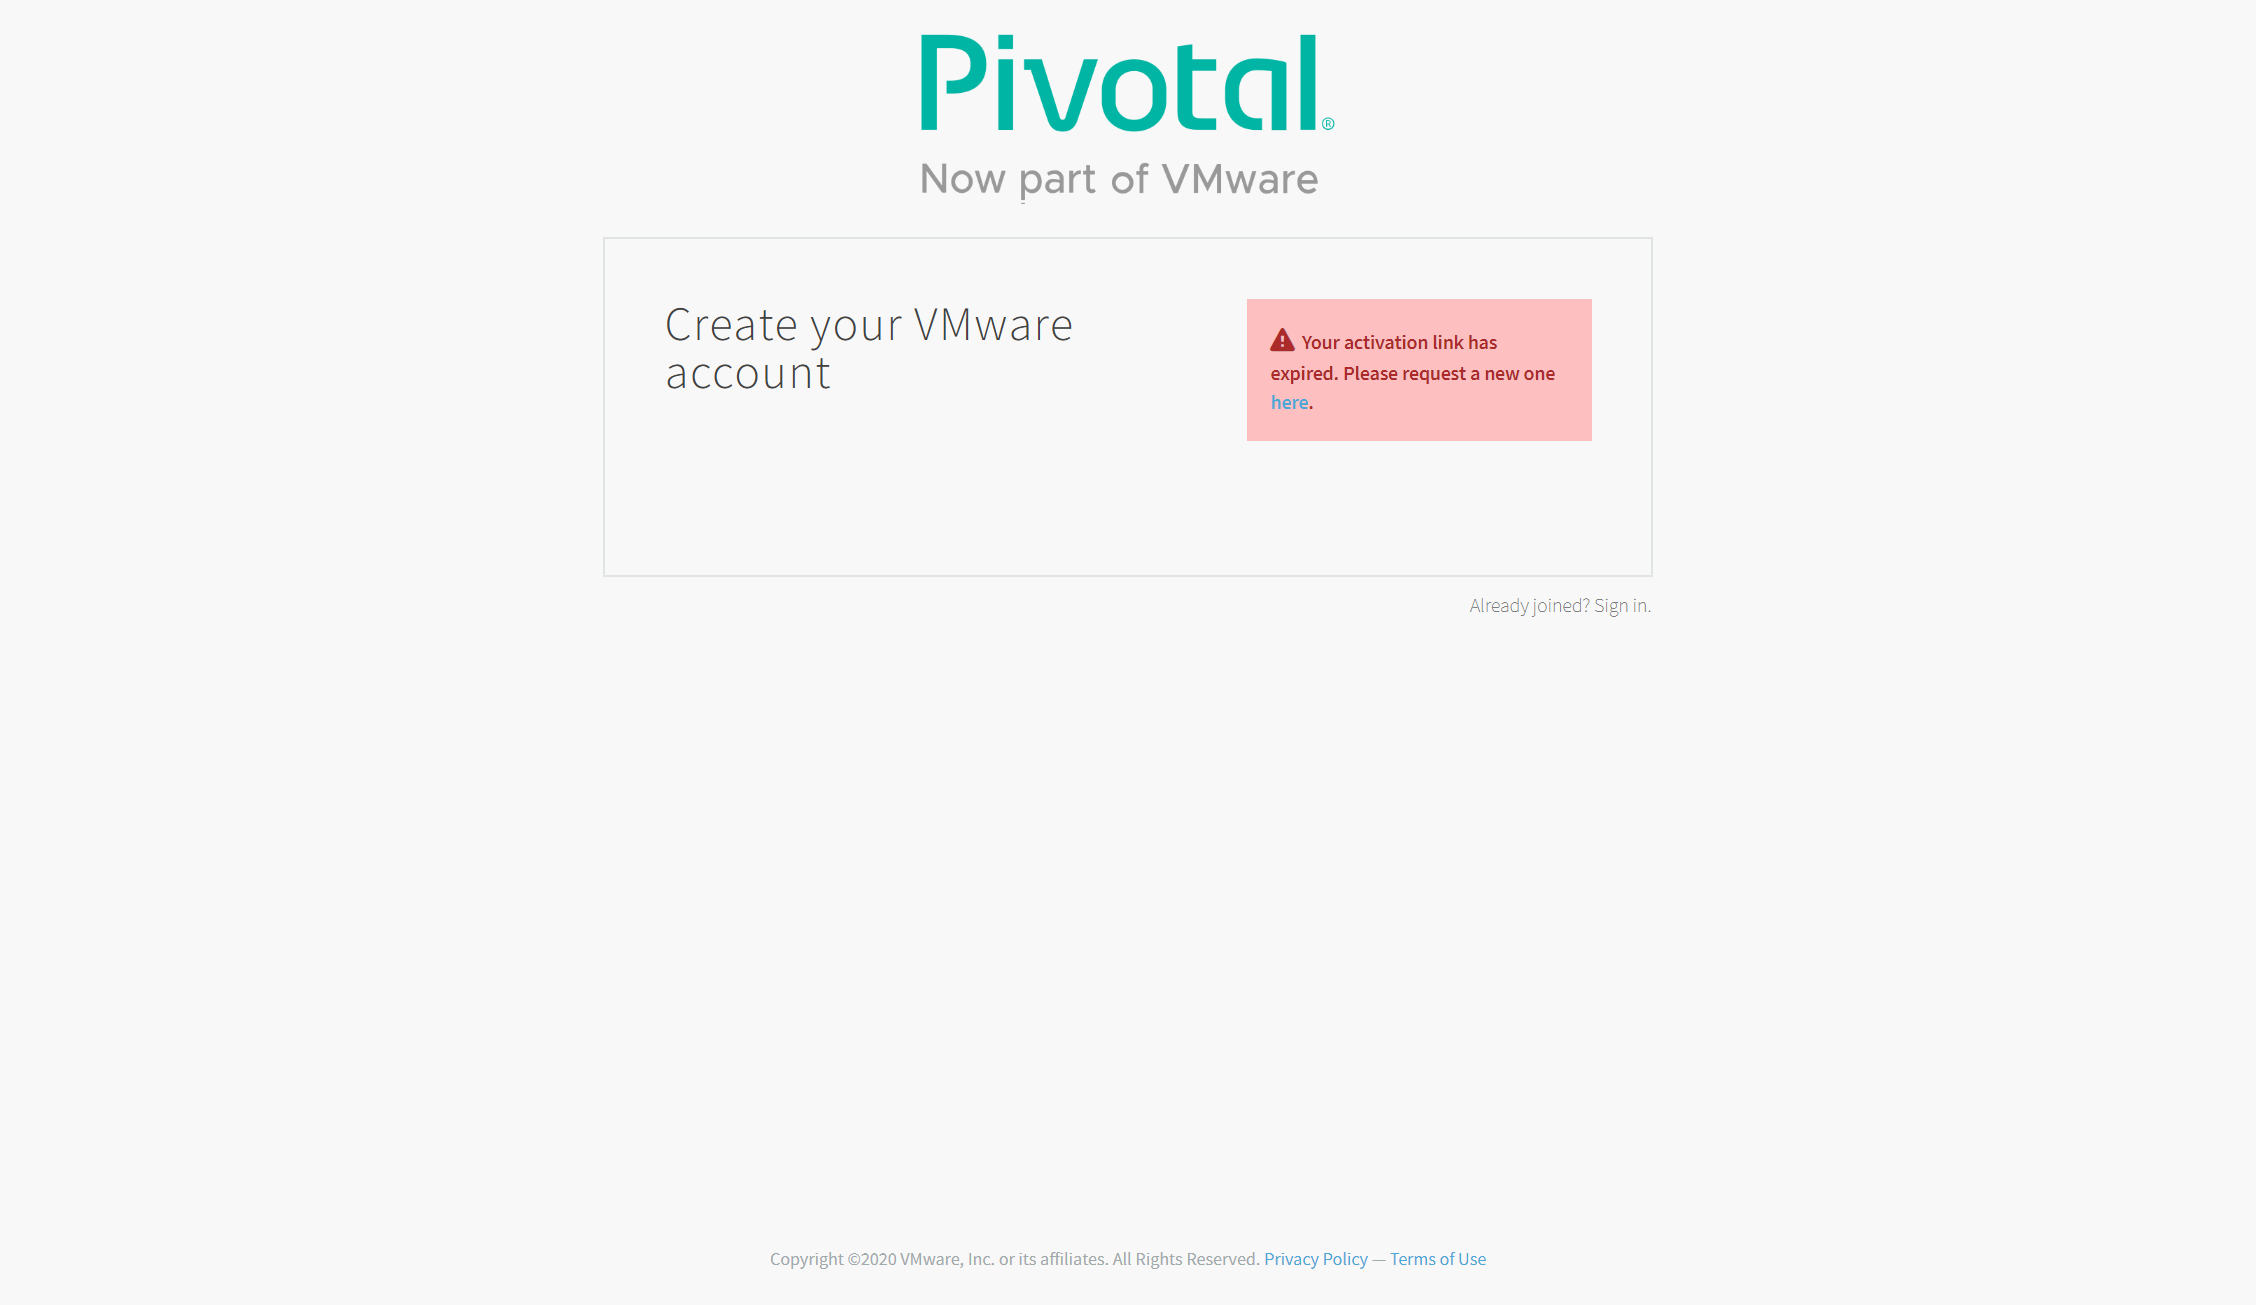
サインアップすると、Pivotal Account Verification というタイトルのメールが飛んできますので、本文内の Verify your email address リンクをクリックして、アカウントを有効化してください。わたしの場合、以下のような有効リンクの期限切れエラーが発生しましたが、別タブでログインしてみたところ、何の問題もなくサインインできましたので、エラーを無視して先に進みました。
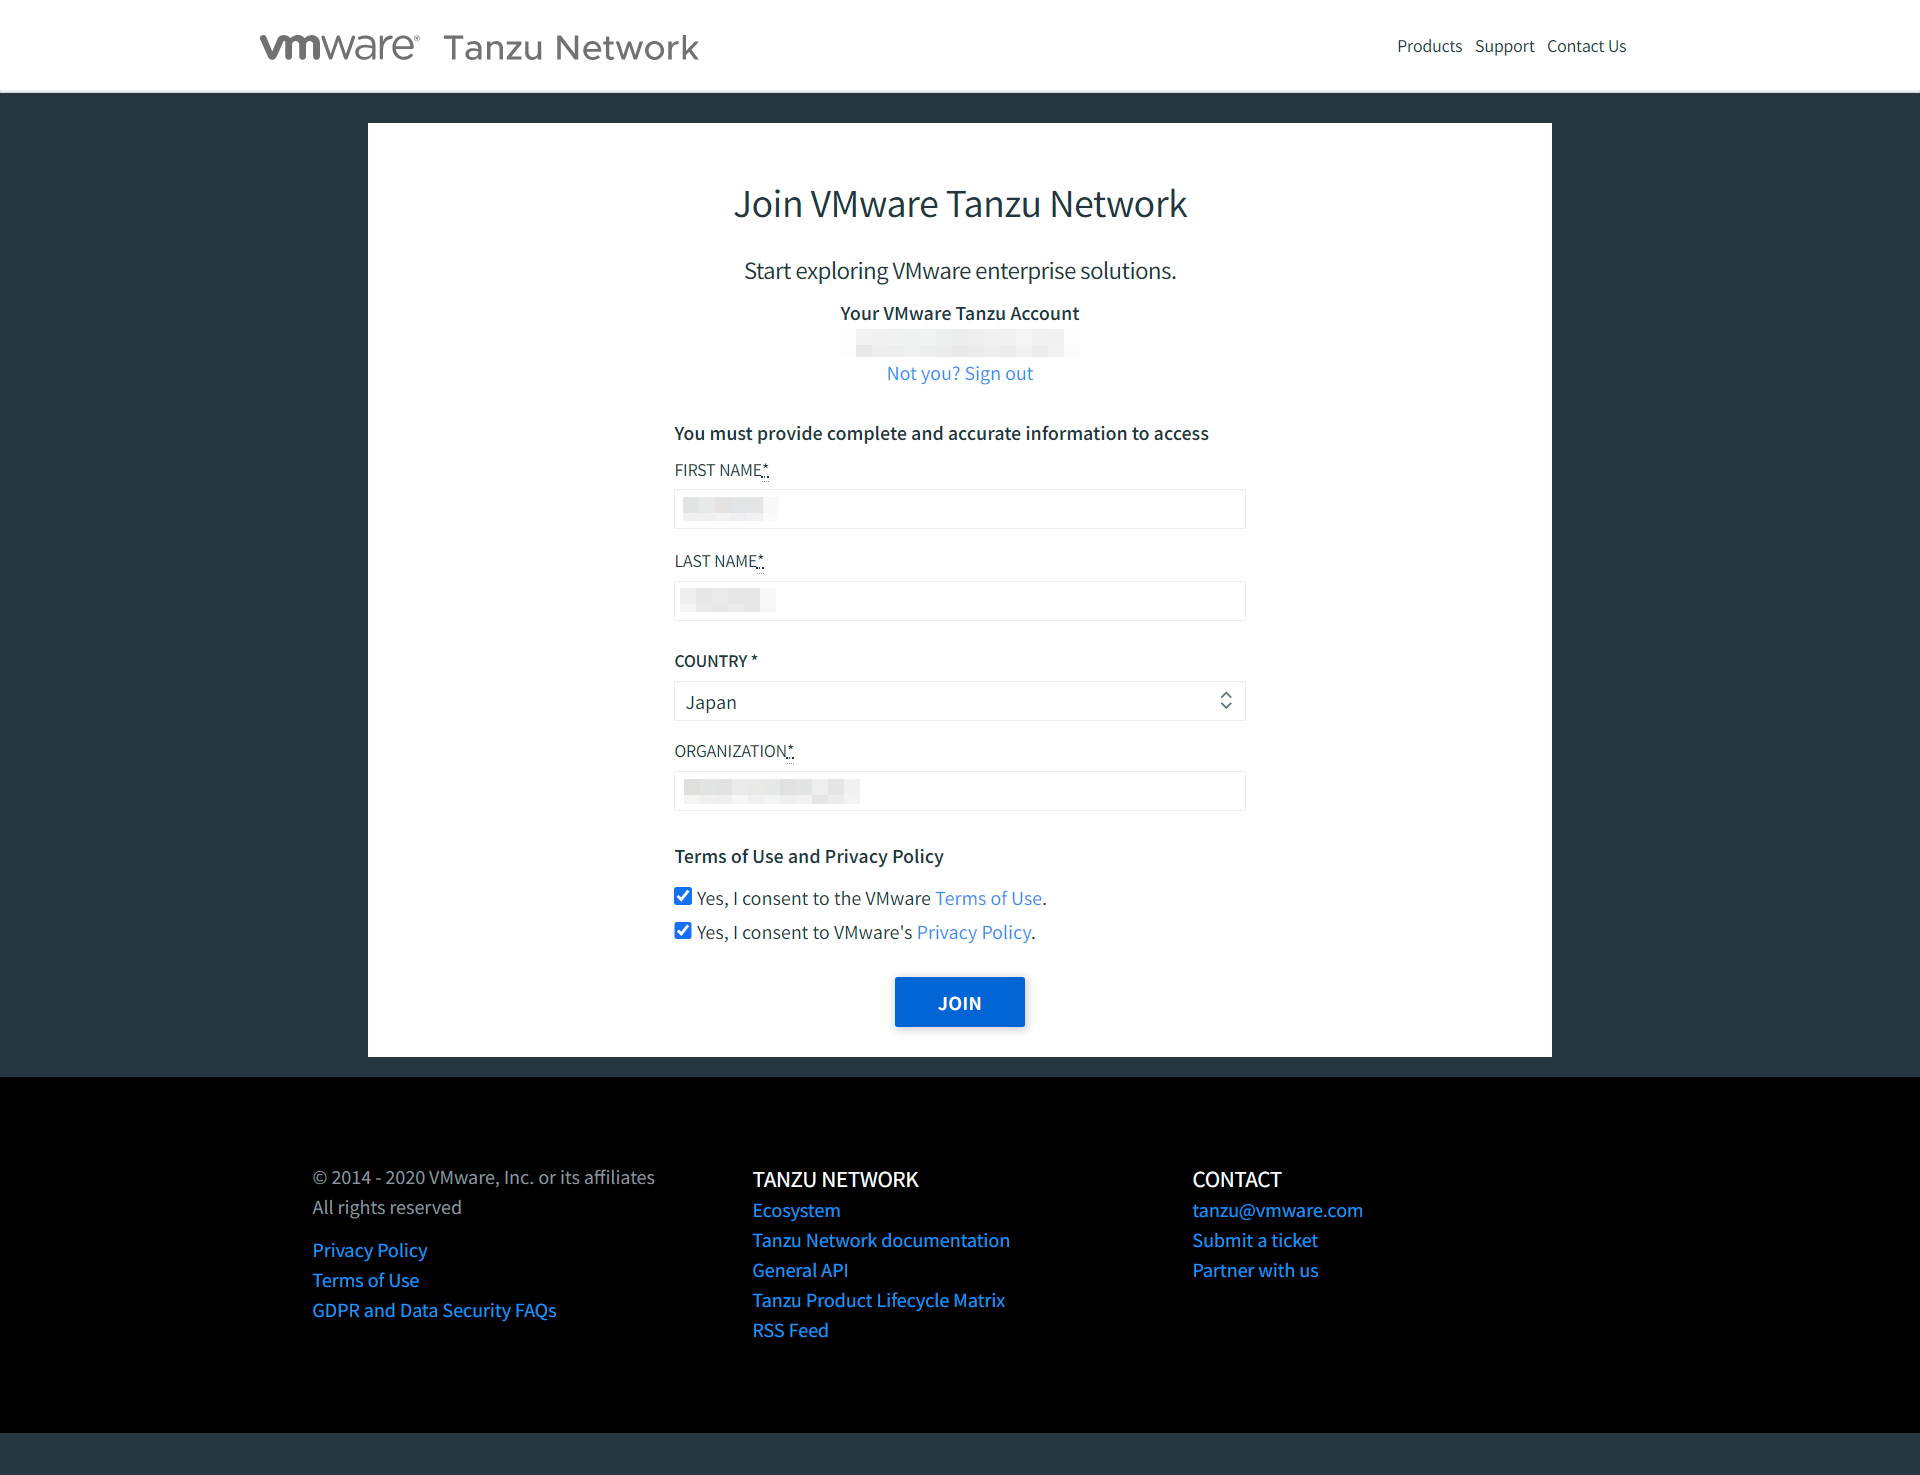
あらためてダウンロードするために、SIGN IN をクリックすると、アカウント情報の補完を求められますので、国名と組織名を入力し、利用規約とプライバシーポリシーに同意して JOIN をクリックします。
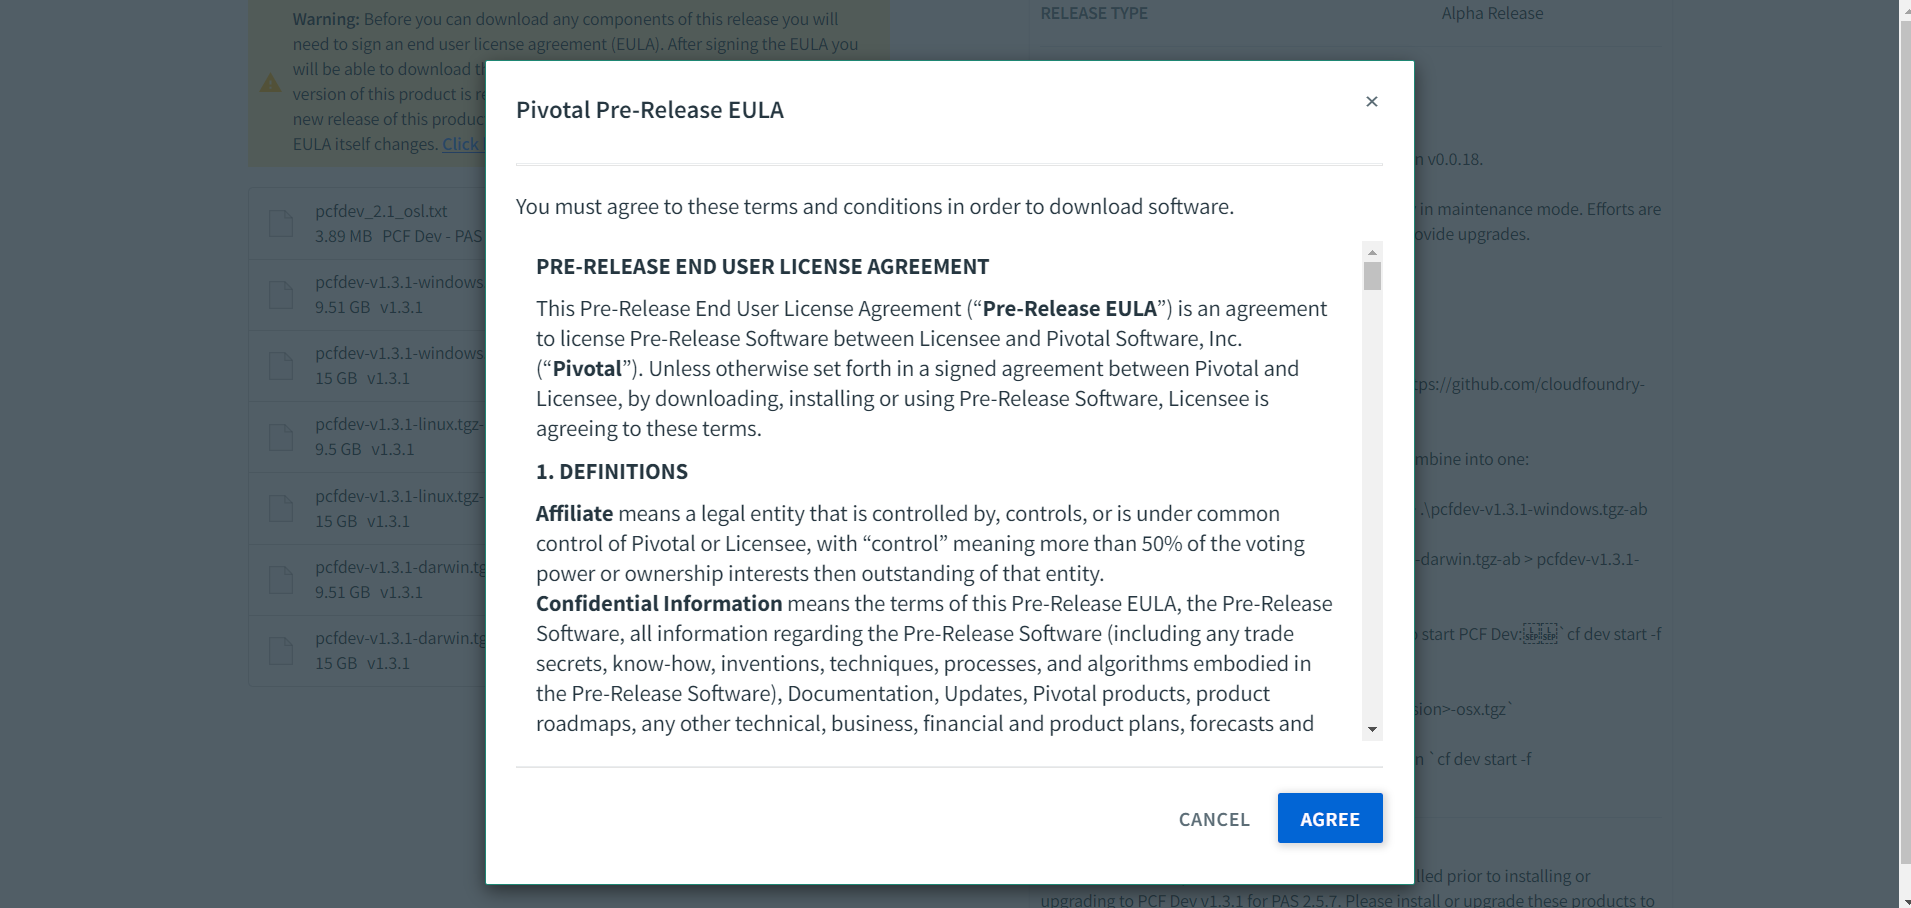
さあ、いよいよ!ということで、ダウンロードするために、対象ファイルを選択すると、「Pivotal Pre-Release EULA」への同意が求められますので、AGREE をクリックします。やっとダウンロードが開始されました、、、。合計 24.5 GB ありますので、ダウンロード時間は覚悟しなければなりません。
ダウンロードした 2 ファイルをコンカチします。
cat pcfdev-v1.3.1-linux.tgz-aa pcfdev-v1.3.1-linux.tgz-ab > pcfdev-v1.3.1-linux.tgz
CF Dev プラグインのインストール
続いて、CF Dev プラグインをインストールするために以下 URL にアクセスします。
https://github.com/cloudfoundry-incubator/cfdev
手順に従い、CF Dev プラグインをインストールします。
cf install-plugin -r CF-Community cfdev
若干不安なメッセージが表示されますが、めげずに y 応答してインストールします(いまだにバージョン 0.0.18 というのも重ねて不安ではありますが)。
プラグイン cfdev を CF-Community で検索しています...
プラグイン cfdev 0.0.18 は CF-Community 内で見つかりました
注意: プラグインは必ずしも信頼できない作成者によって書かれたバイナリーです。
プラグインのインストールと使用は自らの責任で行ってください。
プラグイン cfdev をインストールしますか? [yN]: y
リポジトリー CF-Community からプラグイン・バイナリーのダウンロードを開始しています...
 15.78 MiB / 15.78 MiB [============================================] 100.00% 5s
プラグイン cfdev をインストールしています...
OK

プラグイン cfdev 0.0.18 は正常にインストールされました。
Cloud Foundry の起動
プラグインをインストールしたので cf dev コマンドが利用できるようになったはずです。早速、Cloud Foundry を起動してみましょう。
cf dev start -f pcfdev-v1.3.1-linux.tgz
はい、起動できませんでした、、、。
Downloading Resources...
Progress: |====================>| 100.0%
Setting State...
WARNING: PCF Dev requires 8192 MB of RAM to run. This machine may not have enough free RAM.
open: No such file or directory
Error: argument "virbr0" is wrong: Device does not exist

Cannot find device "virbr0"
Cannot find device "cfdevtap0"
Creating the VM...
Starting the VM...
Fetching VM Address...
FAILED
cf dev start: exit status 1
Error: argument "virbr0" is wrong: Device does not exist を追ってみると、どうやら KVM が必要なようです。手順に従い、以下コマンドを実行すると、0 が返されました。どうやらハードウェア仮想化がサポートされていないようです。
$ egrep -c '(vmx|svm)' /proc/cpuinfo
0
さらに手順に従い、以下コマンドを実行すると確かに KVM がサポートされていないと返されます。
$ sudo apt install cpu-checker
$ sudo kvm-ok
INFO: Your CPU does not support KVM extensions
KVM acceleration can NOT be used
Docker for Desktop を利用するときに、Intel Virtualization Technology が有効化されていることは確認済みなのですが、、、。素の Ubuntu on WSL だからややこしいことになっているのでしょうか。
(追記)後日、macbook pro でも試してみましたが、別のエラーで起動せずでした。18 分 37 秒もかかることから、そもそもローカル環境として構築することが無理筋なのかな、という気がしてきました。
$ cf dev start -f ~/Downloads/pcfdev-v1.3.1-darwin.tgz
Downloading Network Helper...
Progress: |====================>| 100.0%
Installing cfdevd network helper (requires administrator privileges)...
Password:
Setting up IP aliases for the BOSH Director & CF Router (requires administrator privileges)
Downloading Resources...
Progress: |====================>| 100.0%
Setting State...
Creating the VM...
Starting VPNKit...
Waiting for the VM...
Deploying the BOSH Director...
Deploying PAS...
  Progress: 5 of 5 (18m37s)FAILED
cf dev start: Failed to deploy services: Failed to deploy PAS: exit status 1
$
(追記)さらに後日、ダメ元で Windows でも試してみましたが、メモリ不足で起動せずでした。こちらは、8 GB 搭載マシンで 8 GB の仮想マシンを起動しようとしているのですから、完全に無理筋です。
PS C:\Users\hoge\Downloads> cf dev start -f .\pcfdev-v1.3.1-windows.tgz
Downloading Resources...
Progress: |====================>| 100.0%
Setting State...

Pivotal Telemetry

The Pivotal Telemetry program (“Pivotal Telemetry”) provides Pivotal Software, Inc. (“Pivotal”) with information that enables us to improve our products and services, fix problems, and advise you on how best to deploy and use our products. As part of Pivotal Telemetry, Pivotal collects technical information about your organization’s use of our products and services on a regular basis. Information collected under Pivotal Telemetry does not personally identify any individual.

Additional information regarding the data collected through Pivotal Telemetry and the purposes for which it is used by Pivotal is available on the Pivotal Telemetry page at https://pivotal.io/legal/telemetry.

By opting into the Pivotal Telemetry program, you understand and agree to the collection of product usage data in accordance with the program description at https://pivotal.io/legal/telemetry. If you prefer not to participate in Pivotal Telemetry, you should not join. You may join or leave Pivotal Telemetry at any time.

Are you ok with PCF Dev periodically capturing anonymized telemetry [y/N]?
>
WARNING: PCF Dev requires 8192 MB of RAM to run. This machine may not have enough free RAM.
Creating the VM...
Starting VPNKit...
Starting the VM...
FAILED
cf dev start: starting the vm: start-vm: failed to execute: powershell.exe -Command "Hyper-V\\Start-VM -Name cfdev": exit status 1: Hyper-V\Start-VM : 'cfdev' は起動できませんでした。
仮想マシン cfdev の起動に必要なメモリがシステムに不足しています。
メモリを初期化できませんでした: Ran out of memory (0x8007000E)。
'cfdev' は起動できませんでした。(仮想マシン ID A7394D3B-FC26-41C5-8C5E-2AB18DE9FCB3)
RAM 容量が 8192 MB の仮想マシン cfdev を起動するために必要なメモリがシステムに不足しています。(仮想マシン ID A7394D3B-FC26-41C5-8C5E-2AB18DE9FCB3)
'cfdev' はメモリを初期化できませんでした: Ran out of memory (0x8007000E)。(仮想マシン ID A7394D3B-FC26-41C5-8C5E-2AB18DE9FCB3)
At line:1 char:1
+ Hyper-V\Start-VM -Name cfdev
+ ~~~~~~~~~~~~~~~~~~~~~~~~~~~~
    + CategoryInfo          : FromStdErr: (:) [Start-VM], VirtualizationException
    + FullyQualifiedErrorId : OutOfMemory,Microsoft.HyperV.PowerShell.Commands.StartVM


PS C:\Users\hoge\Downloads>
これで踏ん切りがつきました。ローカル環境は諦めて、クラウド環境に構築することとします。
(2020/08/15 Updated) mac では動かすことができましたので、「mac でローカル Cloud Foundry (PCF Dev) を動かしてみた」にまとめています。mac だから動いたということではなく、搭載している物理メモリ容量の問題だと思っています。
さいごに
3 年前、SAP Cloud Platform の Cloud Foundry エディションによるマルチクラウド対応が発表されたことにより、個人的な Cloud Foundry への期待感は大いに高まっていました。その後、Kubernetes の大躍進や商用 Cloud Foundry の雄であった Pivotal の VMware による巨額買収など、色々なことがあって Cloud Foundry とは少し距離を置いていました。
今回、久しぶりに Cloud Foundry に再会し、(Surface Laptop での起動は断念したものの)「やっぱ Cloud Foundry いいな」と改めて強く感じました。3 年前の「スゲーいいのに、なんで流行らないんだろ?」という想いは、いまも続いています。こうした「縁の下の力持ち」プラットフォームは、より開発者に近い IDE の Extension などで隠蔽されてしまい、あまり意識しなくてもいい方向に進んでいくのが正常進化なのかも知れませんが、シェルから cf push したいのが開発者というものです。
これからも Cloud Foundry の行く末を見守っていきたいと思います。
参考リンク
https://qiita.com/Esfahan/items/30fd720d37f645028c7d
https://stackoverflow.com/questions/46673717/gpg-cant-connect-to-the-agent-ipc-connect-call-failed
https://stackoverflow.com/questions/58947098/unable-to-start-pcf-dev-cf-dev-start-on-ubuntu-because-of-missing-kvm
https://lists.cloudfoundry.org/g/cf-dev/topic/31075762#8573