前提
- ソーシャルログインに用いるサービス側の設定(クライアントID、シークレットキー等の取得)が完了している
環境
- Xcode 13.4
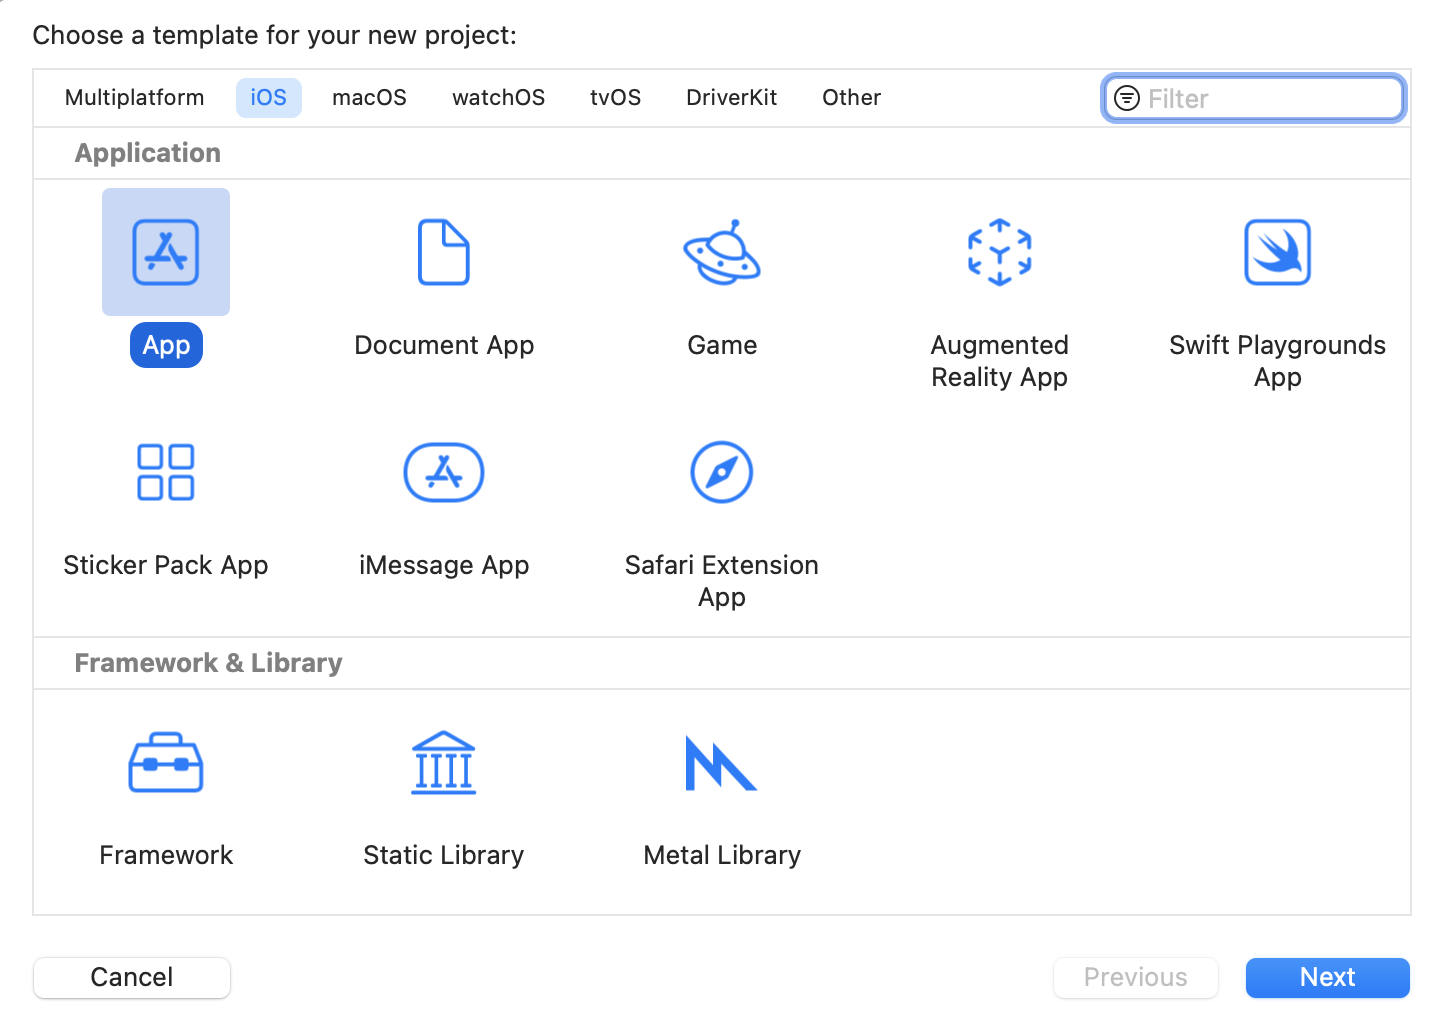
1. プロジェクトの作成
XcodeからiOS Appのプロジェクトを作成します

2. Amplifyのインストール
npm install -g @aws-amplify/cli
3. 初期設定
プロジェクトのルートフォルダで下記コマンドを実行
amplify init
いろいろ聞かれるので順番に答えていく
? Enter a name for the project SocialLogin
? Enter a name for the environment dev
? Choose your default editor: Xcode (macOS only)
Using default provider  awscloudformation
? Select the authentication method you want to use: AWS profile
AWS access credentials can not be found.
? Setup new user Yes
ここまで来るとブラウザでAWSのログイン画面が開かれるので、ログインしたあとEnter
Specify the AWS Region
? region:  ap-northeast-1
Specify the username of the new IAM user:
? user name:  amplify-XXXXXX
Complete the user creation using the AWS console
ここでまたユーザ作成の画面が開かれるので、画面に従って作成を進める
作成が完了するとアクセスキーとシークレットキーが表示されるのでコピーして入力する
Enter the access key of the newly created user:
? accessKeyId:  ********************
? secretAccessKey:  ****************************************
そのまま進めていくとセットアップ完了
? Profile Name:  default

Successfully set up the new user.

For more information on AWS Profiles, see:
https://docs.aws.amazon.com/cli/latest/userguide/cli-configure-profiles.html

? Please choose the profile you want to use default

...

✔ Successfully created initial AWS cloud resources for deployments.
✔ Initialized provider successfully.
✅ Initialized your environment successfully.

Your project has been successfully initialized and connected to the cloud!

...

Amplify setup completed successfully.
4. Cogniteの設定
amplify add auth
またまたいろいろ聞かれるので答えていく(選択肢は一例)
Using service: Cognito, provided by: awscloudformation

 The current configured provider is Amazon Cognito.

 Do you want to use the default authentication and security configuration? Default configuration with Social Provider (Federation)
 Warning: you will not be able to edit these selections.
 How do you want users to be able to sign in? Username
 Do you want to configure advanced settings? No, I am done.
 What domain name prefix do you want to use? socialloginXXXXXXXX
 Enter your redirect signin URI: myapp://
? Do you want to add another redirect signin URI No
 Enter your redirect signout URI: myapp://
? Do you want to add another redirect signout URI No
ソーシャルログインに用いるサービスの情報を聞かれるので予めサービス側で発行したキーを入力する
(ここでは例としてGoogleを使っていますが、その他にもFacebook、Apple ID等が選べます)
 Select the social providers you want to configure for your user pool: Google

 You've opted to allow users to authenticate via Google.  If you haven't already, you'll need to go to https://developers.google.com/identity and create an App ID.

 Enter your Google Web Client ID for your OAuth flow:  XXXXXXXXXXXXXXXXXXXX
 Enter your Google Web Client Secret for your OAuth flow:  XXXXXXXXXXXXXXXXXXXX
✅ Successfully added auth resource XXXXX locally
これで設定は完了したのでpushします
amplify push
✔ Successfully pulled backend environment dev from the cloud.

    Current Environment: dev

┌──────────┬─────────────────────┬───────────┬───────────────────┐
│ Category │ Resource name       │ Operation │ Provider plugin   │
├──────────┼─────────────────────┼───────────┼───────────────────┤
│ Auth     │ socialloginXXXXXXXX │ Create    │ awscloudformation │
└──────────┴─────────────────────┴───────────┴───────────────────┘
? Are you sure you want to continue? Yes
少し時間がかかるかもしれませんが、入力した情報を元にCognitoのユーザプールを作成してくれます
作成が完了するとユーザプールのドメインが確認できるので、ソーシャルログインのサービス側にドメインやリダイレクトURLを追加しておきます
(リダイレクトURLはユーザプールドメインに/oauth2/idpresponseを付けたものです)
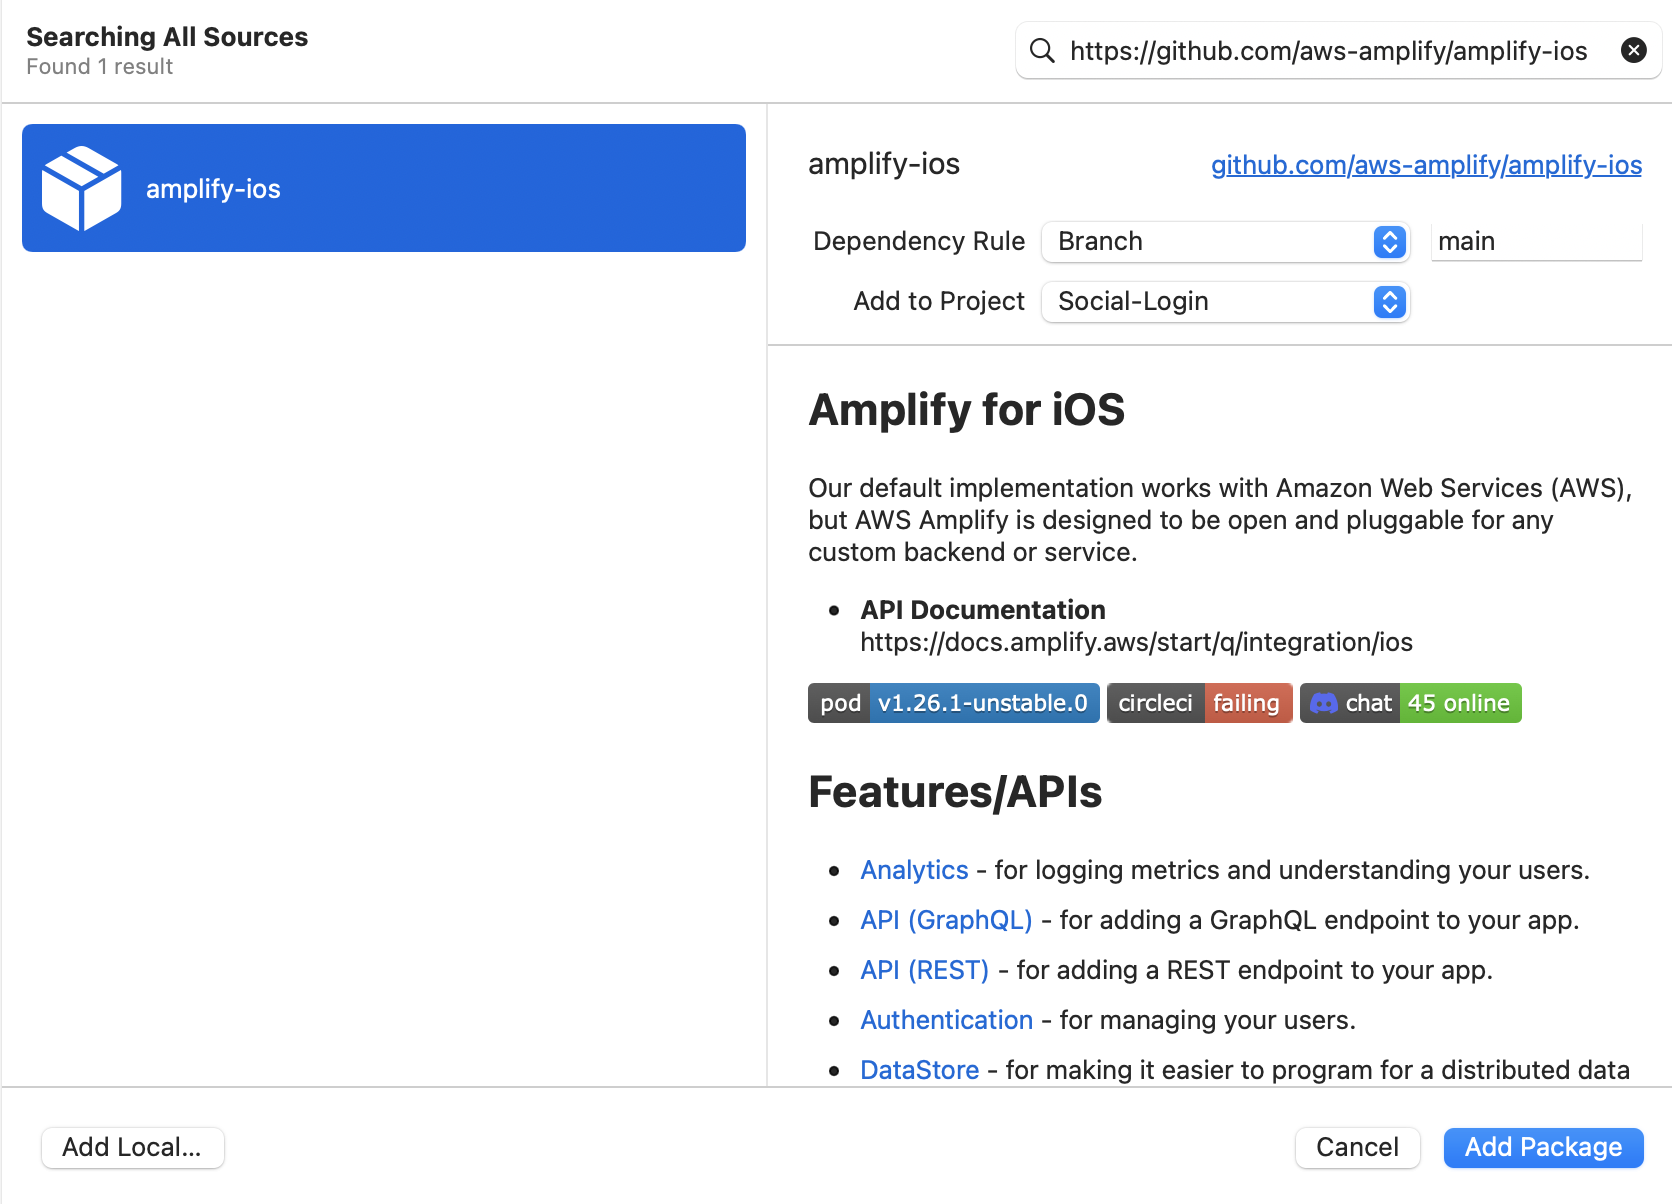
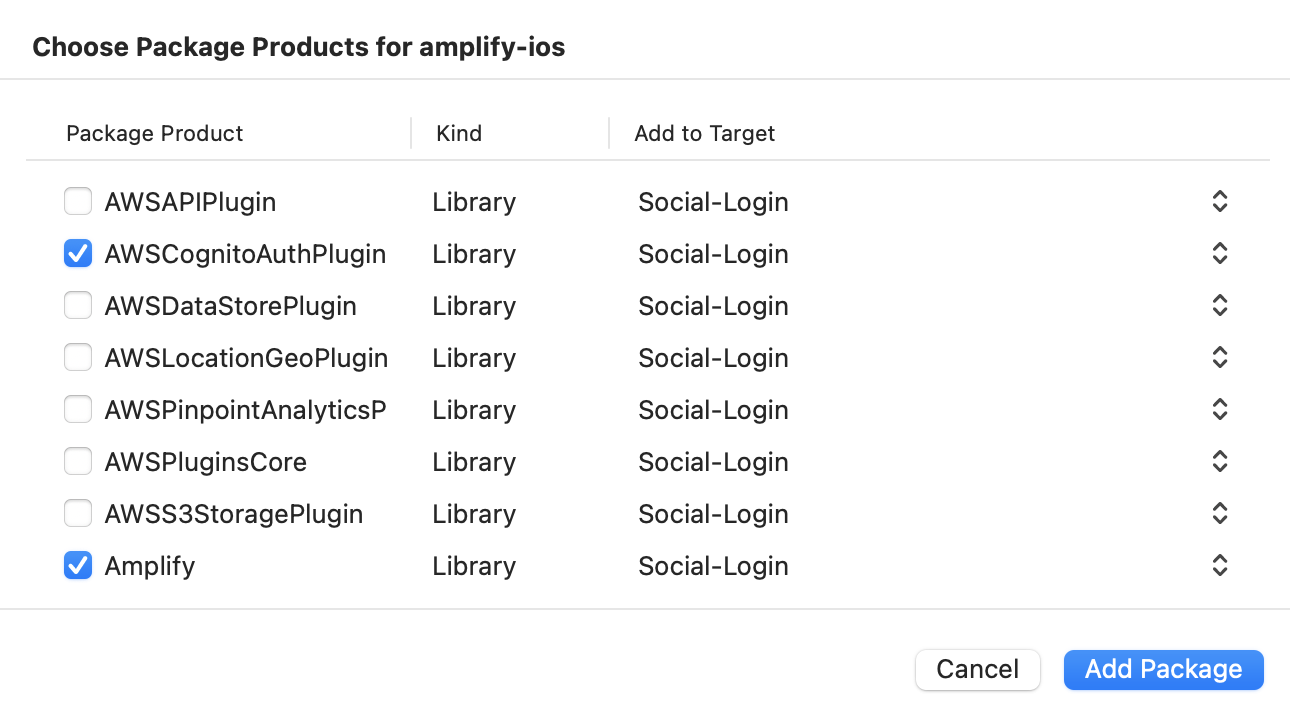
5. パッケージの追加
Xcodeに戻り、File > Add Packages...から検索欄にhttps://github.com/aws-amplify/amplify-iosを打ち込むと、amplify-iosが見つかるのでAdd Packageでパッケージを追加します
6. 実装
6.1. 認証
認証画面の呼び出し機能や認証のステータス管理機能を実装します
File > New > File...からSwift Fileを選択し、AuthService.swiftを作成します
import Foundation
import Amplify
import UIKit

class AuthService: ObservableObject {
    @Published var isSignedIn = false

    func checkSessionStatus() {
        _ = Amplify.Auth.fetchAuthSession { [weak self] result in
            switch result {
            case .success(let session):
                DispatchQueue.main.async {
                    self?.isSignedIn = session.isSignedIn
                }

            case .failure(let error):
                print(error)
            }
        }
    }

    private var window: UIWindow {
        guard
            let scene = UIApplication.shared.connectedScenes.first,
            let windowSceneDelegate = scene.delegate as? UIWindowSceneDelegate,
            let window = windowSceneDelegate.window as? UIWindow
        else { return UIWindow() }

        return window
    }

    func signIn() {
        _ = Amplify.Auth.signInWithWebUI(for: .google, presentationAnchor: window) { result in
            switch result {
            case .success:
                print("ログイン")
            case .failure(let error):
                print(error)
            }
        }
    }

    func observeAuthEvents() {
        _ = Amplify.Hub.listen(to: .auth) { [weak self] result in
            switch result.eventName {
            case HubPayload.EventName.Auth.signedIn:
                DispatchQueue.main.async {
                    self?.isSignedIn = true
                }

            case HubPayload.EventName.Auth.signedOut,
                 HubPayload.EventName.Auth.sessionExpired:
                DispatchQueue.main.async {
                    self?.isSignedIn = false
                }

            default:
                break
            }
        }
    }
}
6.2. View
未認証時に表示する画面を用意します
File > New > File...からSwiftUI Viewを選択し、SignInView.swiftを作成します
import SwiftUI

struct SignInView: View {
    @EnvironmentObject var auth: AuthService

    var body: some View {
        Button("ログイン", action: auth.signIn)
    }
}

struct SignInView_Previews: PreviewProvider {
    static var previews: some View {
        SignInView()
    }
}
6.3. App
アプリケーション起動時の処理を実装していきます
import SwiftUI
import Amplify
import AWSCognitoAuthPlugin

@main
struct Social_LoginApp: App {
    @ObservedObject var auth = AuthService()

    init() {
        configureAmplify()
        auth.checkSessionStatus()
        auth.observeAuthEvents()
    }

    var body: some Scene {
        WindowGroup {
            if auth.isSignedIn {
                ContentView()
            } else {
                SignInView()
                    .environmentObject(auth)
            }
        }
    }
}

func configureAmplify() {
    do {
        try Amplify.add(plugin: AWSCognitoAuthPlugin())
        try Amplify.configure()
    } catch {
        print("Could not initialize Amplify -", error)
    }
}
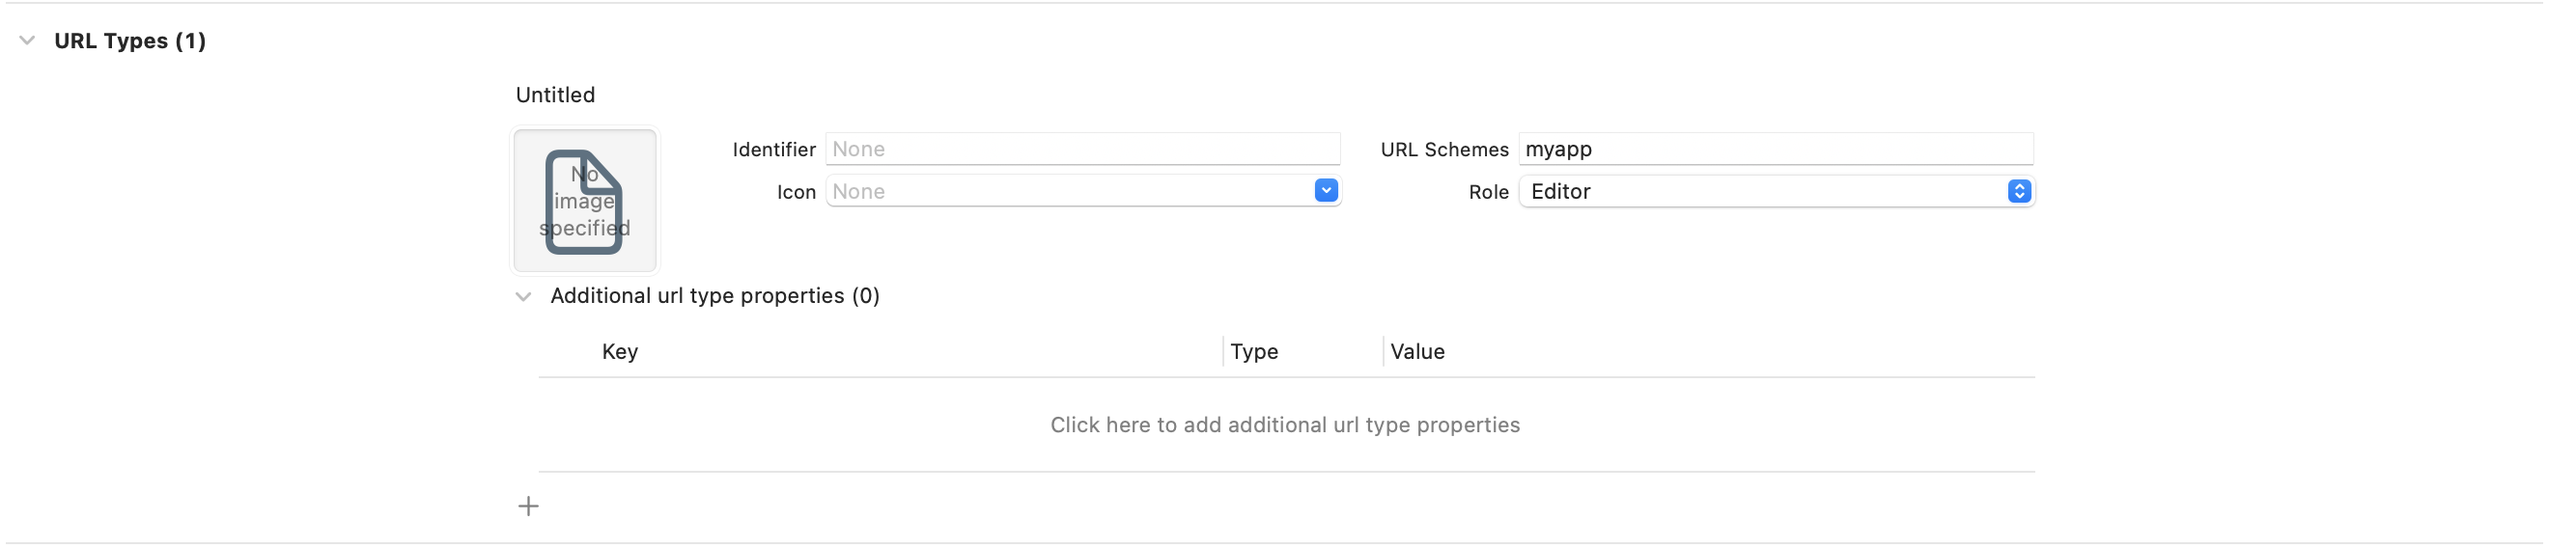
6.4 Info.plist
サイドバーからプロジェクトを選択して、TARGETS > Infoタブを開きます
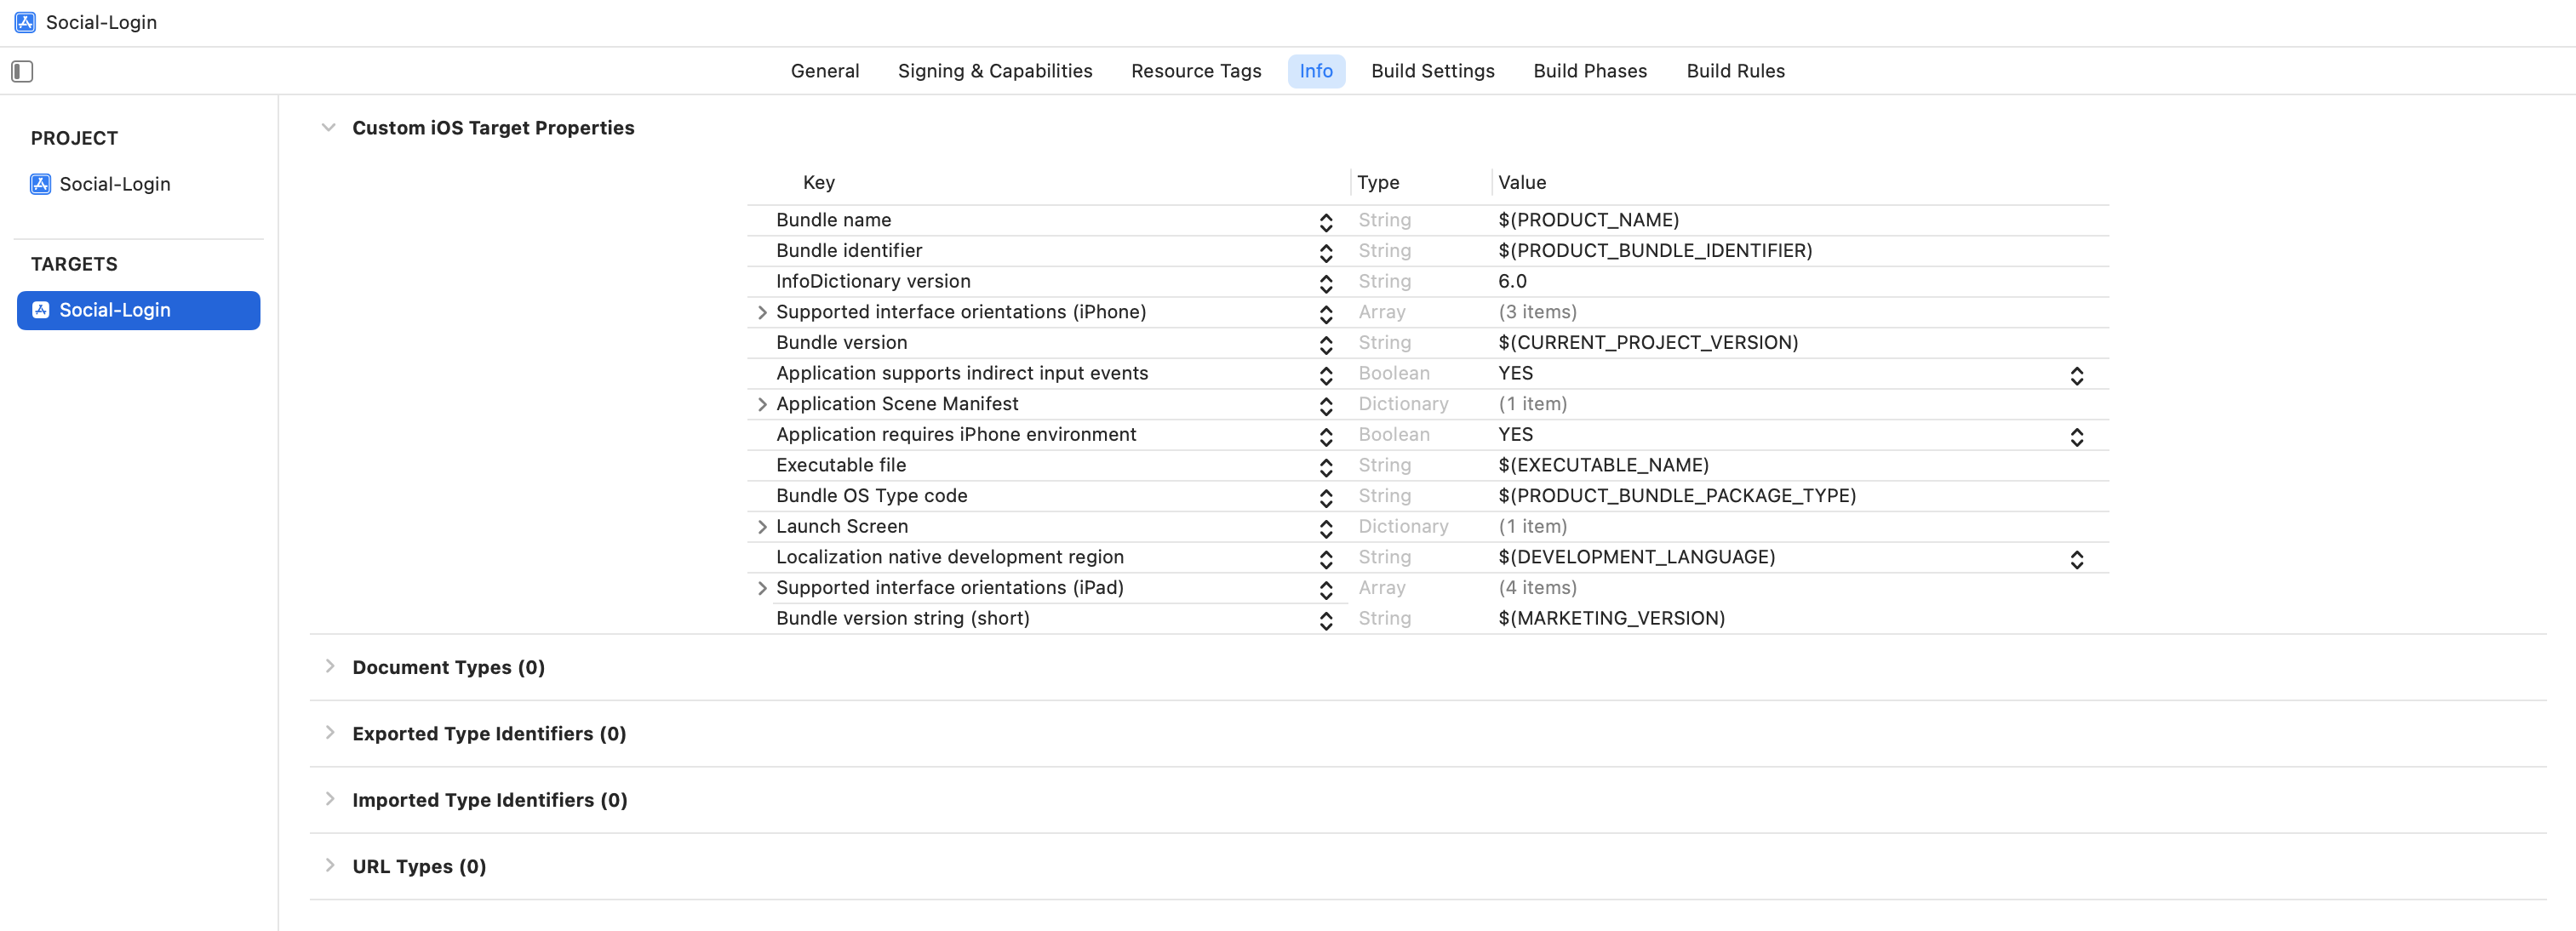
URL Typesを新規追加し、URL Schemesにmyappを入力します
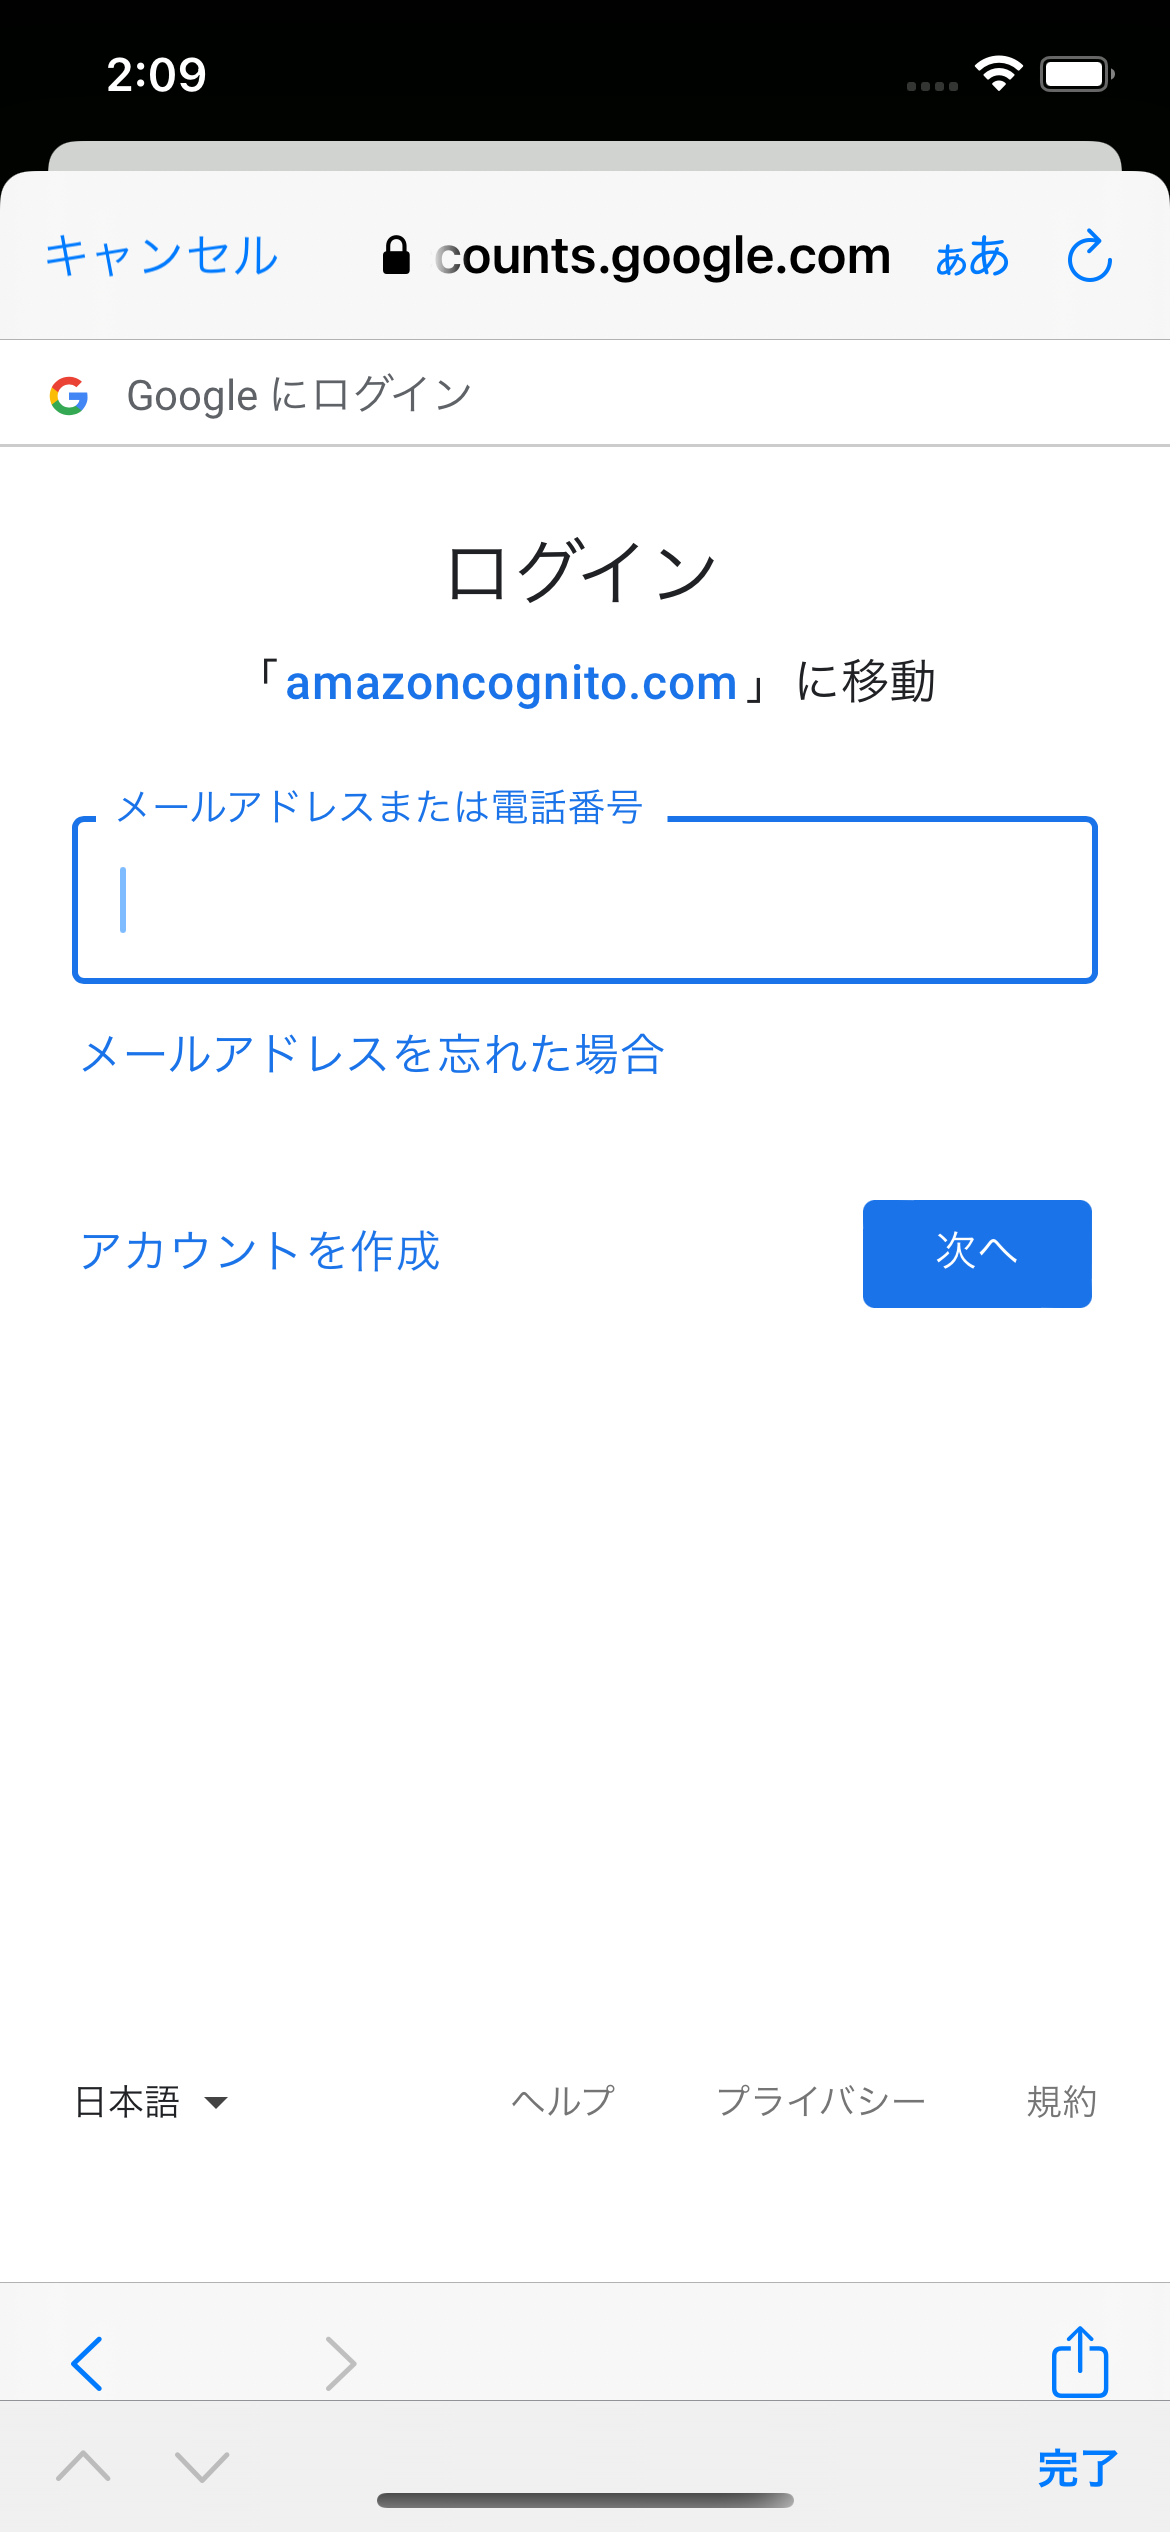
7. 動作確認
実際にアプリケーションを起動してみると、ログインボタン押下→認証画面→認証後にContentViewの表示、が確認できます!


(参考)
Create your application
Social sign in with web UI
AWS Amplify Auth Web UI on iOS
Xcode13でinfo.plistが見つからない