概要
【Flask+Docker】の開発環境をVSCodeでリモートデバッグする方法について解説します
リモードデバッグする際は拡張機能のRemote Containersを使用します
VSCodeのブレークポイントやウォッチが使えるとかなり開発効率が上がるのでぜひ設定してみてください
記事の後半ではPoetryを使ってリモートデバッグする方法についても解説します
前提
- すでにFlaskのプロジェクトを
git cloneしている - VSCodeをインストール済み
- Dockerをインストール済み
- Remote Containersを使用します
- Dockerfileおよびdocker-compose.ymlはある程度読める方が望ましい
- ブレークポイント、ウォッチの解説はしません
コンテナイメージを作成しよう
Remote Containersを使うには該当コンテナのイメージをbuildする必要があります
docker-composeの構成は以下のように設定し、デバッグ用の8080番ポートを開放します
version: "3.9"

services:
  db:
    container_name: db
    build:
      context: .
      dockerfile: containers/postgres/Dockerfile
    volumes:
      - db_data:/var/lib/postgresql/data
    healthcheck:
      test: pg_isready -U "${POSTGRES_USER:-postgres}" || exit 1
      interval: 10s
      timeout: 5s
      retries: 5
    environment:
      - POSTGRES_NAME
      - POSTGRES_USER
      - POSTGRES_PASSWORD
    ports:
      - "5432:5432" # デバッグ用
  app:
    container_name: app
    build:
      context: .
      dockerfile: containers/flask/Dockerfile
    volumes:
      - ./application:/code
    ports:
      - 8000:8000
      # デバッグ用ポート
      - 8080:8080
    command: poetry run flask --app main run --debug -h 0.0.0.0 -p 8000
    env_file:
      - .env
    depends_on:
      db:
        condition: service_healthy
volumes:
  db_data:
Remote Containersのインストール
まずは拡張機能のRemote Containersをインストールします

該当するコンテナへリモート接続しよう
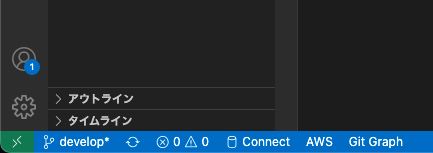
Remotes Containerのインストールができたら左下の緑色のマークをクリックします
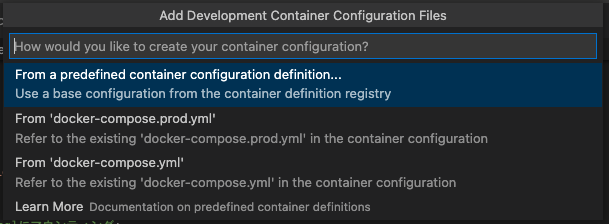
ボタンを押すとコマンドパレットが開くのでAdd Development Container Configuration Filesを選択します

リモート接続するコンテナイメージを作成するdocker-composeファイルを選択します
該当するコンテナ名を選択します

コンテナ名を選択すると.devcontainerフォルダが作成され、その中に
- devcontainer.json
- docker-compose.yml
が作成されます。devcontainer.jsonに必要な情報を入力していきます
// For format details, see https://aka.ms/devcontainer.json. For config options, see the
// README at: https://github.com/devcontainers/templates/tree/main/src/docker-existing-docker-compose
{
	"name": "flask container",
	"dockerComposeFile": [
		"../docker-compose.yml"
	],
    "service": "app",
	"workspaceFolder": "/code"
}
Open Folder in Containerから該当するプロジェクトのディレクトリを開きます

2回目以降はAttach to Running Containerから開くこともできます

該当するプロジェクトのディレクトリを開くとコンテナにリモート接続できます

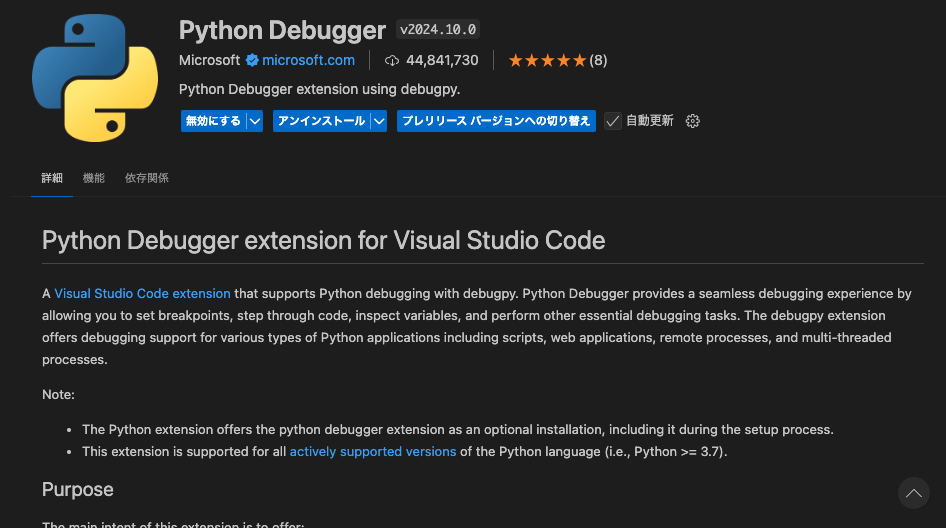
FlaskのデバッグをするにはPythonとPython Debuggerの拡張機能をインストールする必要があります

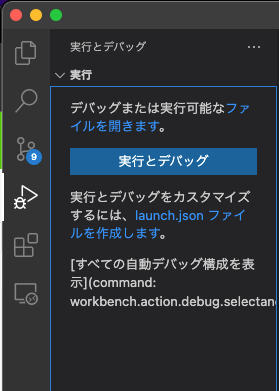
VSCodeのブレークポイントやウォッチが使えるよう設定します
実行とデバッグを選択し、launch.jsonファイルを作成しますを押します
デバッガーはPythonを選択します

フレームワークはFlaskを選択します

launch.jsonに必要な情報を入力します
記事によってはtypeの箇所をpythonにしているものもありますが2024年1月から非推奨になっているのでdebugpyにしましょう
{
    "version": "0.2.0",
    "configurations": [
        {
            "name": "Flask Debugger",
            "type": "debugpy",
            "request": "launch",
            "module": "flask",
            "env": {
                "FLASK_APP": "main.py",
                "FLASK_DEBUG": "1"
            },
            "args": [
                "run",
                "-h",
                "0.0.0.0",
                "-p",
                "8080",
            ],
            "justMyCode": false,
            "jinja": true,
            "autoStartBrowser": false
        }
    ]
}
debugpyを使うことでVSCodeのPythonの拡張機能のバージョンを落とさずに古いバージョンを使っているPythonのバージョンでリモートデバッグできるとのことです
詳細は以下の通りです
The Python Debugger extension aims to separate the debugging functionality from the main Python extension to prevent compatibility issues. This ensures that even as the Python extension drops support for older Python versions (for example, Python 3.7), you can continue debugging projects with those versions without downgrading your Python extension. It also delivers platform-specific builds, ensuring you only receive the components relevant to your specific operating system, reducing download times and unnecessary overhead.
To ensure you are using the new Python Debugger extension, replace "type": "python" with "type": "debugpy" from your launch.json configuration file. In the future, the Python extension will no longer offer debugging support, and we will transition all debugging support to the Python Debugger extension for all debugging functionality.
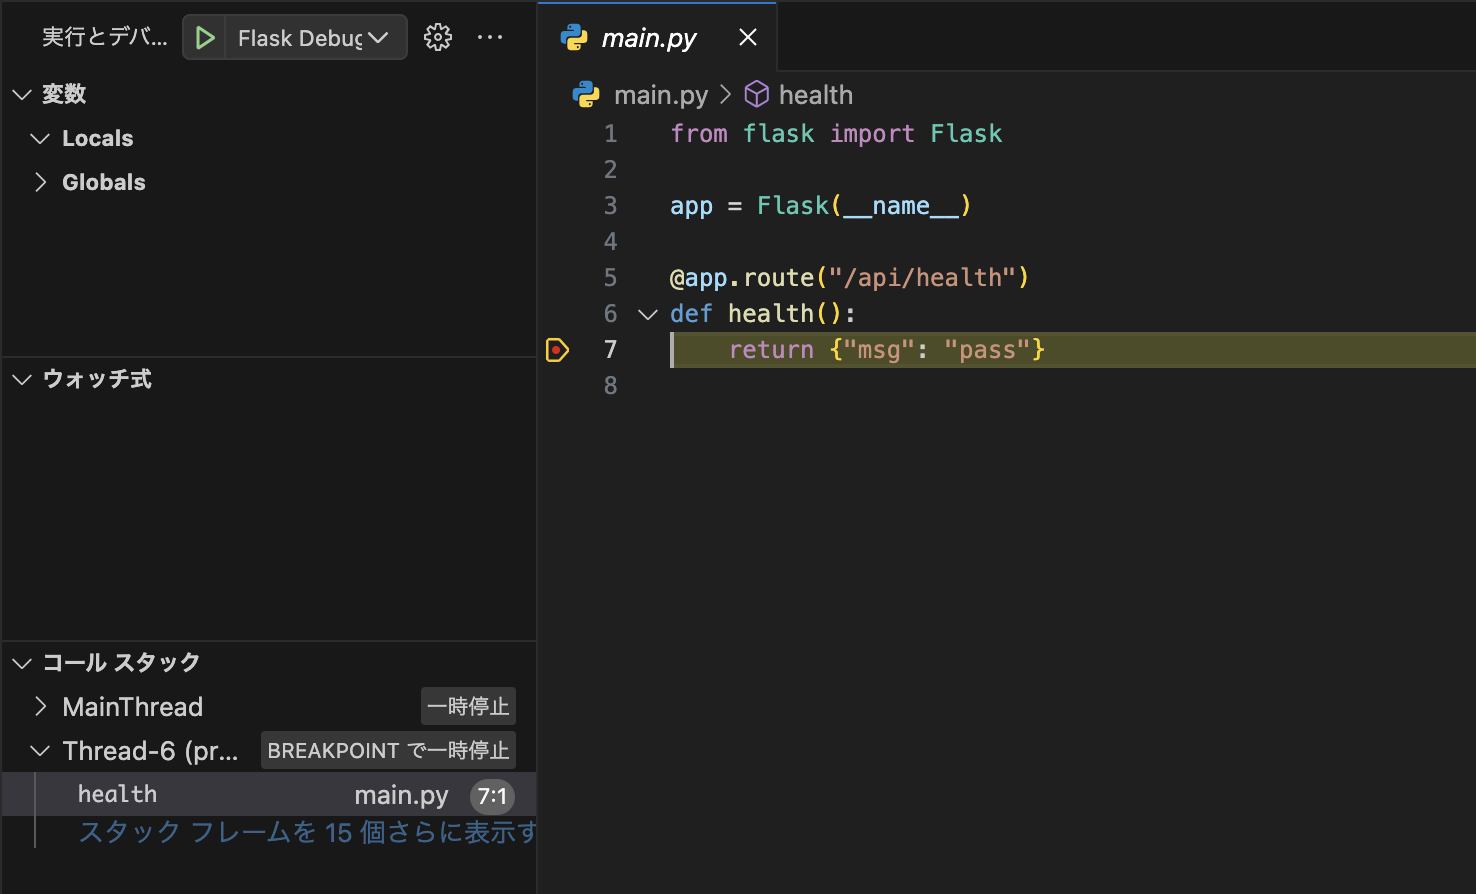
緑の実行ボタンを押してデバッグを実行します

任意の箇所にブレークポイントを設定します
ブレークポイントが実行できれば成功です
justMyCode: false
justMyCode: false
にすることで下記の様に自分が書いたコード以外の箇所でデバッグできます

Poetryを使ってデバッグする時
Poetryを使用している場合はインタプリンタのパスをPoetryのVirtualenvのPythonのパスを指定する必要があります
poetry env info
を実行するとVirtualenvとSystemの情報が表示されます
Virtualenv
Python:         3.12.8
Implementation: CPython
Path:           /root/.cache/pypoetry/virtualenvs/flask-practice-MATOk_fk-py3.12
Executable:     /root/.cache/pypoetry/virtualenvs/flask-practice-MATOk_fk-py3.12/bin/python
Valid:          True

Base
Platform:   linux
OS:         posix
Python:     3.12.8
Path:       /usr/local
Executable: /usr/local/bin/python3.12
VirualenvのExecutableのパスをコピーし、VSCodeのコマンドパレットからインタプリンタをVirtualenvのExecutableのパスを設定します

uv/venvを使ってデバッグする時
下記のようにpythonにvenvのパスを記載すればデバッグできます
cwdはオプションですがmain.pyが今回だとapplicationではなく、src配下だった場合に指定します
{
    "version": "0.2.0",
    "configurations": [
        {
            "name": "Flask Debugger",
            "type": "debugpy",
            "request": "launch",
            "module": "flask",
            "env": {
                "FLASK_APP": "main.py",
                "FLASK_DEBUG": "1"
            },
            "args": [
                "run",
                "-h",
                "0.0.0.0",
                "-p",
                "8080",
            ],
            "python": "${workspaceFolder}/application/.venv/bin/python",
            "cwd": "${workspaceFolder}/application/src/",
            "justMyCode": false,
            "jinja": true,
            "autoStartBrowser": false
        }
    ]
}
参考文献