前提
- docker-compose.ymlを使用
- ある程度Dockerの知識を持っていること
- メール送信する際にSwaggerを使用します
mailcatcherとは
MailCatcher runs a super simple SMTP server which catches any message sent to it to display in a web interface.
公式ドキュメントに記載されている通り簡易的なSMTPサーバでMailCatcherに送信されたメールをWebインターフェイス(Webブラウザ)に表示させることができます
本番環境ではAWSのSESを使うのでローカルでメール送信テストを行いたいときはMailCatcherを使ってみましょう
SMTP(メール)サーバ用のコンテナを作ろう!
Run mailcatcher, set your favourite app to deliver to smtp://127.0.0.1:1025 instead of your default SMTP server, then check out http://127.0.0.1:1080 to see the mail that's arrived so far.
公式ドキュメントに記載されている通り
MailCatcherのイメージを指定して
- SMTP用の1025番ポート
- Webブラウザで閲覧する用の1080番ポート
の2種類のポートを解放します
  mail:
    container_name: mail
    image: schickling/mailcatcher
    ports:
      - "1080:1080"
      - "1025:1025"
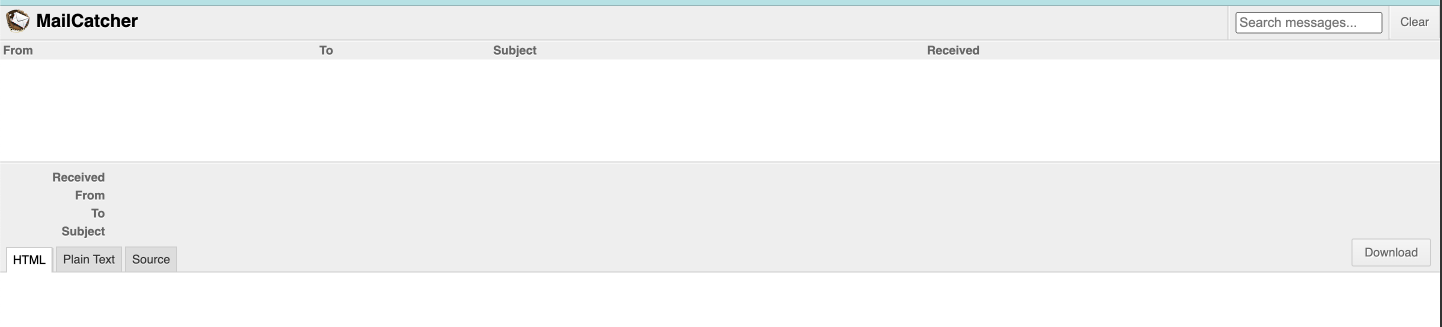
MailCatcherにアクセスしてみよう!
コンテナを起動し、http://127.0.0.1:1080にアクセスし、以下のMailCatcherの画面が表示されたら成功です
実装
まず、ConnectionConfigを使ってMailCatcherとの接続設定を記載します
MAIL_PORTは1025番ポート、MAIL_SERVERはコンテナ名のmailを指定します
MailCatcherではTLSの設定はできないので全てFalseにします
次に参照するテンプレートの設定をjinjaを使って行います
templates_dirにテンプレートファイルのパスを記載します
最後に、FastMailを使ってメール送信するメソッドを作成します
from pathlib import Path

from fastapi_mail import ConnectionConfig, FastMail, MessageSchema, MessageType
from jinja2 import Environment, FileSystemLoader, select_autoescape


conf = ConnectionConfig(
    MAIL_USERNAME ="",
    MAIL_PASSWORD = "",
    MAIL_FROM = "test@email.com",
    MAIL_PORT = 1025,
    MAIL_SERVER = "mail",
    MAIL_STARTTLS = False,
    MAIL_SSL_TLS = False,
    USE_CREDENTIALS = False,
    VALIDATE_CERTS = False
)

# テンプレート設定
BASE_DIR = Path(__file__).resolve().parent.parent
templates_dir = BASE_DIR / "emails/templates"
jinja_env = Environment(
    loader=FileSystemLoader(str(templates_dir)),
    autoescape=select_autoescape(["html", "xml"]),
)


fm = FastMail(conf)


async def send_email(email, template_name: str, subject: str, context: dict):
    template = jinja_env.get_template(template_name)
    html = template.render(context)
    message = MessageSchema(
        subject=subject,
        recipients=email.model_dump().get("email"),
        body=html,
        subtype=MessageType.html,
    )
    await fm.send_message(message)
使用するテンプレートを記載します
今回はnameを動的に変えます
nameなどの値はcontextから取得します
<!DOCTYPE html>
<html>
  <body>
    <p>{{ name }}様</p>
    <p>この度はご登録ありがとうございます。</p>
  </body>
</html>
メール送信時のスキーマ定義を行います
from typing import List

from pydantic import BaseModel, EmailStr


class EmailSchema(BaseModel):
    email: List[EmailStr]
メール送信用のAPIを作成します
from fastapi import HTTPException, status
from fastapi.responses import JSONResponse
from infrastructure.emails.email import send_email
from infrastructure.email import conf
from schemas.requests.auth_request_schema import (
    EmailSchema
)


@router.post("/email")
async def welcome_email(email: EmailSchema) -> JSONResponse:
    context = {"name": "田中"}
    try:
        await send_email(
            email, "welcome_email.html", subject="ようこそ", context=context
        )
        return JSONResponse(
            status_code=status.HTTP_200_OK, content={"msg": "email has been sent"}
        )
    except Exception as e:
        raise HTTPException(
            status_code=status.HTTP_500_INTERNAL_SERVER_ERROR,
            detail=f"Cannot send email: {e}",
        )
実際に送信してみよう!
APIを実行し、メールを送信します

以下のようにメールがMailCatcherで受信できれば成功です

参考