前提
- docker-composeおよびDockerfileに関する基礎知識がある
- MySQLを使用
どうしてエラーが発生するのか?
フレームワークはなんでもいいですが今回は
- Django
- MySQL
のdocker-compose.ymlを例に出します
version: "3.9"

services:
  db:
    container_name: mysql
    build:
      context: .
      dockerfile: containers/mysql/Dockerfile
    # M1チップでも動くように
    platform: linux/x86_64
    # ローカルの/data/dbをコンテナの/var/lib/mysqlにマウンティング
    volumes:
      - db_data:/var/lib/mysql
    # 環境変数
    env_file:
      - .env
  app:
    container_name: app
    build:
      context: .
      dockerfile: containers/django/Dockerfile
    volumes:
      - .:/code
      - ./static:/static
    ports:
      - "8000:8000"
    command: python manage.py runserver 0.0.0.0:8000
    env_file:
      - .env
    ports:
      - "3306:3306"
    depends_on:
      - db
dbのインストラクションにdepends_onを記載することでdb(MySQL)のコンテナが起動した後にapp(今回の例だとDjango)のコンテナが起動します。
depends_on:
  - db
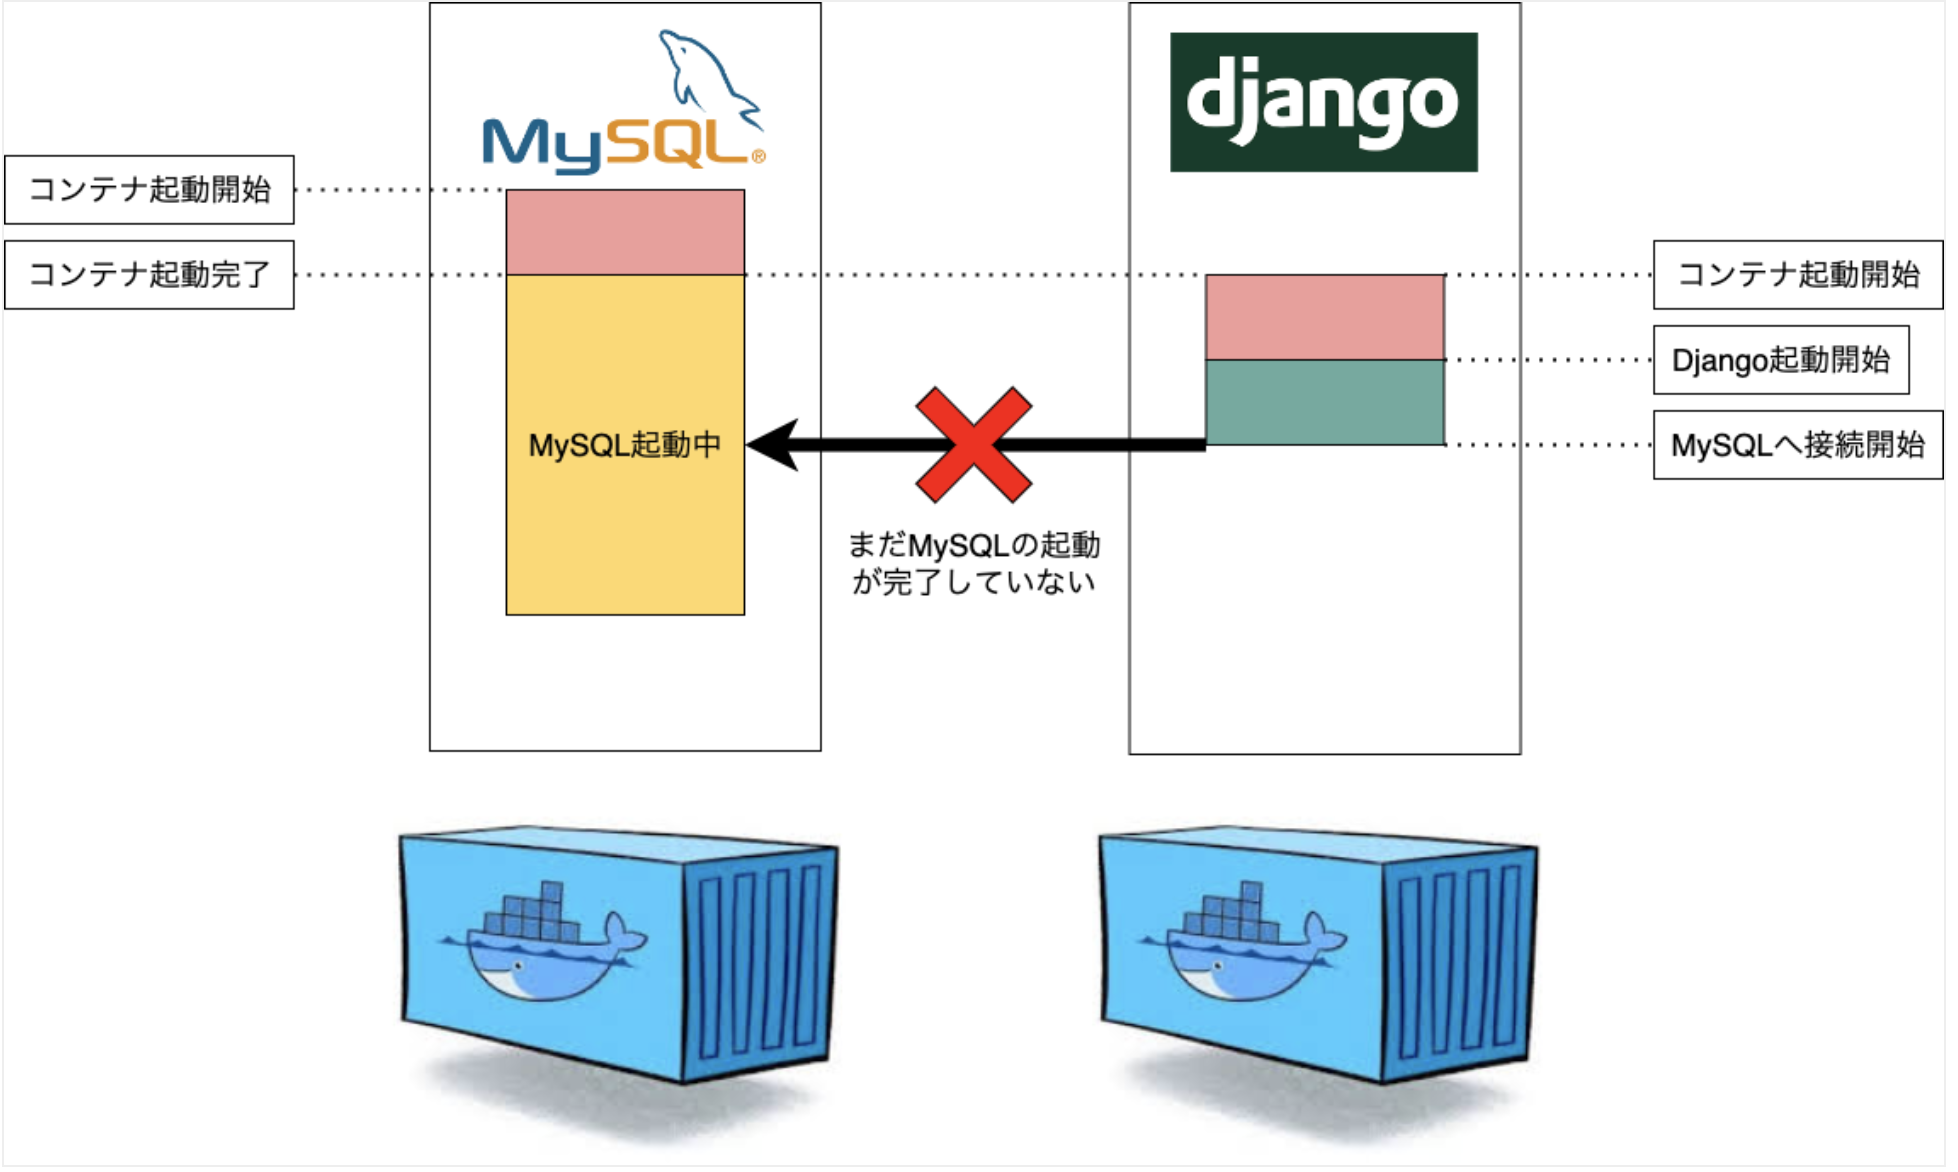
ところが、コンテナをdb→appの順に起動できたとしてもdb内のMySQLよりも先にapp内のDjangoが先に起動してしまうとDjango側からしてみたらMySQLがまだ起動できていないので
Can't connect to MySQL server on
というエラーが表示されてしまいます
図に表すと以下の通りです
解決法
appのコンテナだけdocker restartして再起動したら既にMySQLが起動しているので接続できます
しかし、dbより先にappが起動するたび再起動するのは面倒です
そこでdocker-compose.ymlに
- healthcheck
- depends onのcondition
を書くことで
常にdb内のMySQLが正常に起動できているか確認し、ヘルスチェックが完了かつMySQLの起動が完了するのを待ってからappのコンテナ起動させることができます
healthcheck
MySQLadminでコンテナ自身へpingを送るよう設定します
db:
    healthcheck:
      test: mysqladmin ping -h 127.0.0.1 -u$$MYSQL_USER -p$$MYSQL_PASSWORD
      interval: 10s
      timeout: 10s
      retries: 3
      start_period: 30s
ヘルスチェックのパラメータは以下の通りです
| パラメータ | 説明 |
|---|---|
| test | ヘルスチェック用のコマンド |
| interval | コマンド間のインターバル |
| timeout | コマンドのタイムアウト時間 |
| retries | コマンドをリトライする回数 |
| start_period | ヘルスチェックが失敗しても無視する時間 |
condition
dbのコンテナのhealthcheckが通ったら起動するよう設定します
app:
    depends_on:
      db:
        condition: service_healthy
depends_onのconditionの種類は以下の通りです
| condition | 説明 |
|---|---|
| service_started | depends_onに指定したコンテナが起動したら起動する |
| service_healthy | depends_onに指定したコンテナが起動かつhealthcheckが通ったら起動する |
| service_completed_successfully | depends_onに指定したコンテナが正常終了したら起動する |
以上の2つを入れると以下の通りになります
version: "3.9"

services:
  db:
    container_name: mysql
    build:
      context: .
      dockerfile: containers/mysql/Dockerfile
    # M1チップでも動くように
    platform: linux/x86_64
    # ローカルの/data/dbをコンテナの/var/lib/mysqlにマウンティング
    volumes:
      - db_data:/var/lib/mysql
    # 環境変数
    env_file:
      - .env
    ports:
      - "3306:3306"
    healthcheck:
      test: mysqladmin ping -h 127.0.0.1 -u$$MYSQL_USER -p$$MYSQL_PASSWORD
      interval: 10s
      timeout: 10s
      retries: 3
      start_period: 30s
  app:
    container_name: app
    build:
      context: .
      dockerfile: containers/django/Dockerfile
    volumes:
      - .:/code
      - ./static:/static
    ports:
      - "8000:8000"
    command: python manage.py runserver 0.0.0.0:8000
    env_file:
      - .env
    depends_on:
      db:
        condition: service_healthy
コンテナを起動すると以下のようにmysqlのコンテナがWaiting状態になります
 ⠿ Container mysql                        Waiting
 ⠿ Container app                          Created
mysqlのコンテナがHealthyになり、appのコンテナがStartedになった場合はヘルスチェックが終わり、両方のコンテナが起動できたことを確認します
 ⠿ Container mysql                        Healthy
 ⠿ Container app                          Started
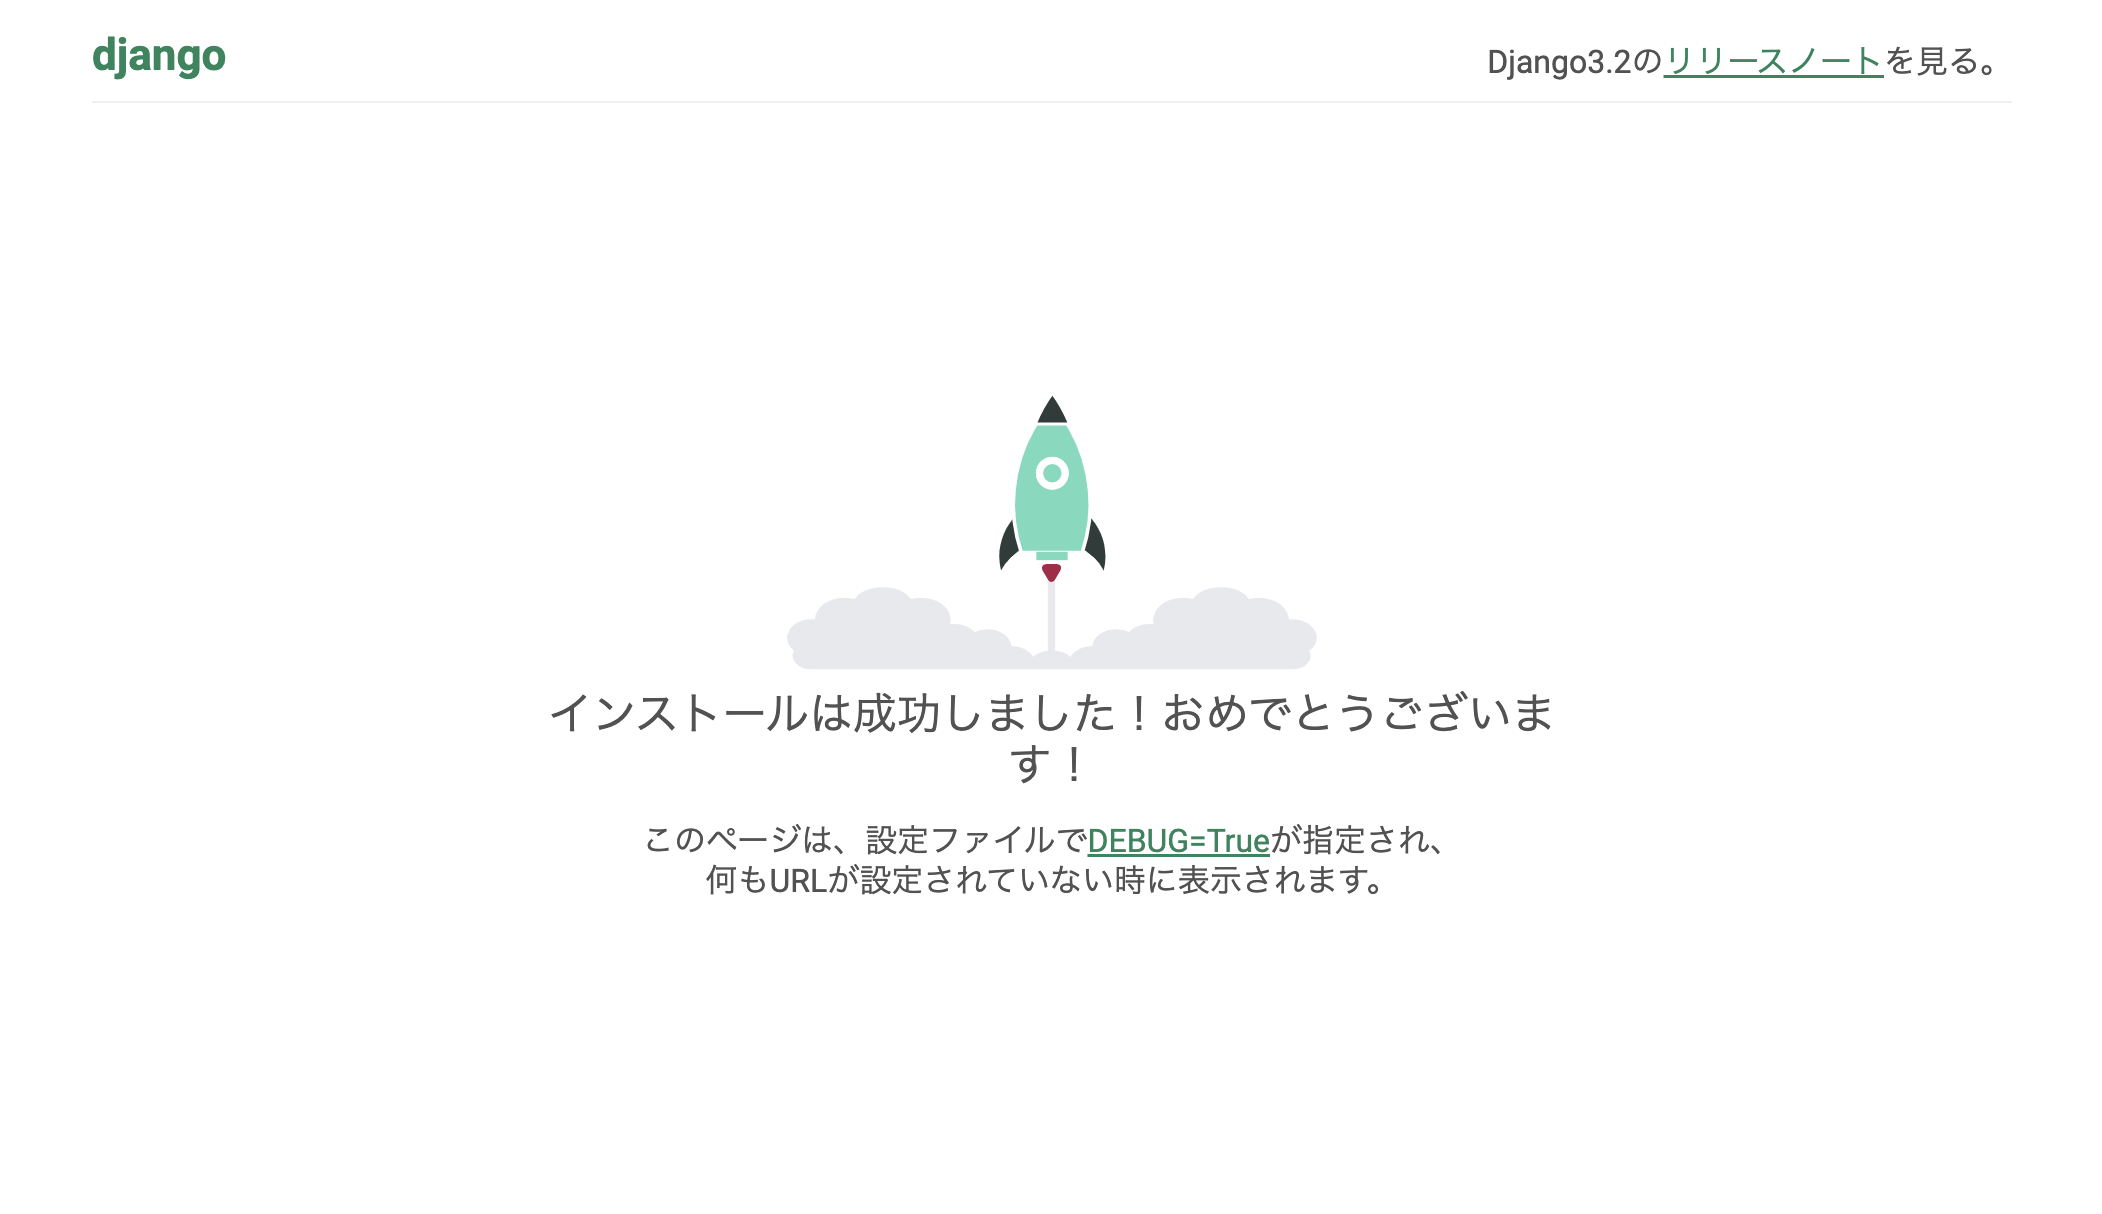
今回はポート8000番を指定したので
http://127.0.0.1:8000
にアクセスした際、フレームワークのページが表示されたら成功です
docker-compose.ymlに記載したhealthcheckのインストラクション以外の方法(wait-for-it.sh)
公式が推奨されているwait-for-it.shを使ってhealthcheckと同様の挙動を再現することができます
The problem of waiting for a database (for example) to be ready is really just a subset of a much larger problem of distributed systems. In production, your database could become unavailable or move hosts at any time. Your application needs to be resilient to these types of failures.
To handle this, design your application to attempt to re-establish a connection to the database after a failure. If the application retries the connection, it can eventually connect to the database.
Use a tool such as wait-for-it, dockerize, Wait4X, sh-compatible wait-for, or RelayAndContainers template. These are small wrapper scripts which you can include in your application’s image to poll a given host and port until it’s accepting TCP connections.
記事の紹介
以下の記事も書いたのでよかったら読んでみてください
参考

