概要
Cloud Runはコンテナイメージをビルド・実行するためのGoogle Cloudが提供するサーバレスプラットフォームです
Cloud Runを使用することでコンテナ化されたアプリケーションを作成できます
今回はCloud RunとArtifact Registryを組み合わせてアプリケーションを作成・デプロイする方法について解説します
前提
- 言語はPython、フレームワークはFastAPIを使用
- Cloud Runはv1を使用
Artifact Registryの作成
Cloud Runが使用するDockerfileを格納するArtifact Registryを作成します
formatはDockerを指定します
resource "google_artifact_registry_repository" "artifact_repository" {
  cleanup_policy_dry_run = false
  description            = null
  format                 = "DOCKER"
  location               = var.region
  mode                   = "STANDARD_REPOSITORY"
  project                = var.project
  repository_id          = "${var.project}-artifact-repository"
}
Dockerの認証情報設定
gcloudコマンドを使用して指定したDockerレジストリに対するDockerの認証情報を設定します
<ロケーション名>-docker.pkg.dev
でpushしたいArtifact Registryのドメインを指定します
以下のように設定できたら成功です
gcloud auth configure-docker us-central1-docker.pkg.dev
Adding credentials for: us-central1-docker.pkg.dev
After update, the following will be written to your Docker config file located at [/Users/shun/.docker/config.json]:
 {
  "credHelpers": {
    "us-central1-docker.pkg.dev": "gcloud"
  }
}

Do you want to continue (Y/n)?  Y

Docker configuration file updated.


Updates are available for some Google Cloud CLI components.  To install them,
please run:
  $ gcloud components update


To take a quick anonymous survey, run:
  $ gcloud survey
Cloud Runのアプリケーションの作成
今回はAPIにGETリクエストを送ったらjsonでレスポンスを送る簡易的なアプリケーションをPythonとFastAPIを使って作成します
ディレクトリ構成
└── app
    ├── .dockerignore
    ├── Dockerfile
    ├── main.py
    ├── poetry.lock
    └── pyproject.toml
アプリケーションの作成
pyproject.toml内に必要なパッケージを記載します
[tool.poetry]
name = "cloudrun-practice"
version = "0.1.0"
description = ""
authors = ["shun198"]
package-mode = false

[tool.poetry.dependencies]
python = "3.12.8"
fastapi = "^0.115.11"
uvicorn = "^0.34.0"

[build-system]
requires = ["poetry-core"]
build-backend = "poetry.core.masonry.api"
Artifact Registryに格納するDockerfileを作成します
poetry installコマンドで必要なパッケージをインストールし、CMDからuvicornを起動します
今回は8080番ポートを使用します
FROM python:3.12.8

ENV PYTHONDONTWRITEBYTECODE=1
ENV PYTHONUNBUFFERED=1

COPY pyproject.toml poetry.lock ./

# Install dependencies.
RUN pip install --upgrade pip && pip install poetry
RUN poetry install

COPY . ./

CMD ["poetry", "run", "uvicorn", "main:app", "--host", "0.0.0.0", "--port", "8080"]
アプリケーションを作成します
今回は/へGETリクエストを送ったら
{"message": "Hello, Cloud Run!"}
のjsonを返します
from fastapi import FastAPI

app = FastAPI()

@app.get("/")
async def hello():
    return {"message": "Hello, Cloud Run!"}
Cloud Runの作成
アプリケーションを実行するCloud Runを作成します
コンテナのイメージのパスにArfitact RegistryへpushしたDockerfileのパスを指定します
また、Dockerfileで8080番ポートを指定したのでcontainer_portに8080を指定しましょう
resource "google_cloud_run_service" "cloud-run" {
  autogenerate_revision_name = false
  location                   = var.region
  name                       = "${var.project}-practice-artifact-registry"
  project                    = var.project
  metadata {
    annotations = {}
    labels      = {}
    namespace   = var.project
  }
  template {
    metadata {
      labels = {
        "run.googleapis.com/startupProbeType" = "Default"
      }
      name      = null
      namespace = null
    }
    spec {
      container_concurrency = 80
      service_account_name  = null
      timeout_seconds       = 300
      containers {
        args    = []
        command = []
        image   = "${var.region}-docker.pkg.dev/${var.project}/${google_artifact_registry_repository.artifact_repository.repository_id}/fastapi-app:latest"
        name    = "placeholder-1"
        ports {
          container_port = 8080
          name           = "http1"
          protocol       = null
        }
        resources {
          limits = {
            cpu    = "1000m"
            memory = "512Mi"
          }
          requests = {}
        }
        startup_probe {
          failure_threshold     = 3
          initial_delay_seconds = 5
          period_seconds        = 240
          timeout_seconds       = 240
          tcp_socket {
            port = 8080
          }
        }
      }
    }
  }
  traffic {
    latest_revision = true
    percent         = 100
    revision_name   = null
    tag             = null
  }
}
作成したArtifact RegistryへDockerfileをpush
pushする前にGoogle Cloudとの認証が必要です
今回はus-central1のリージョンで作成したので以下のようにホストの場所を指定します
gcloud auth configure-docker us-central1-docker.pkg.dev
コンテナをビルドします
docker build -t us-central1-docker.pkg.dev/[PROJECT_ID]/[REPOSITORY_NAME]/fastapi-app:latest .
ビルドが完了したらArtifact Registryへpushします
docker push us-central1-docker.pkg.dev/[PROJECT_ID]/[REPOSITORY_NAME]/fastapi-app:latest
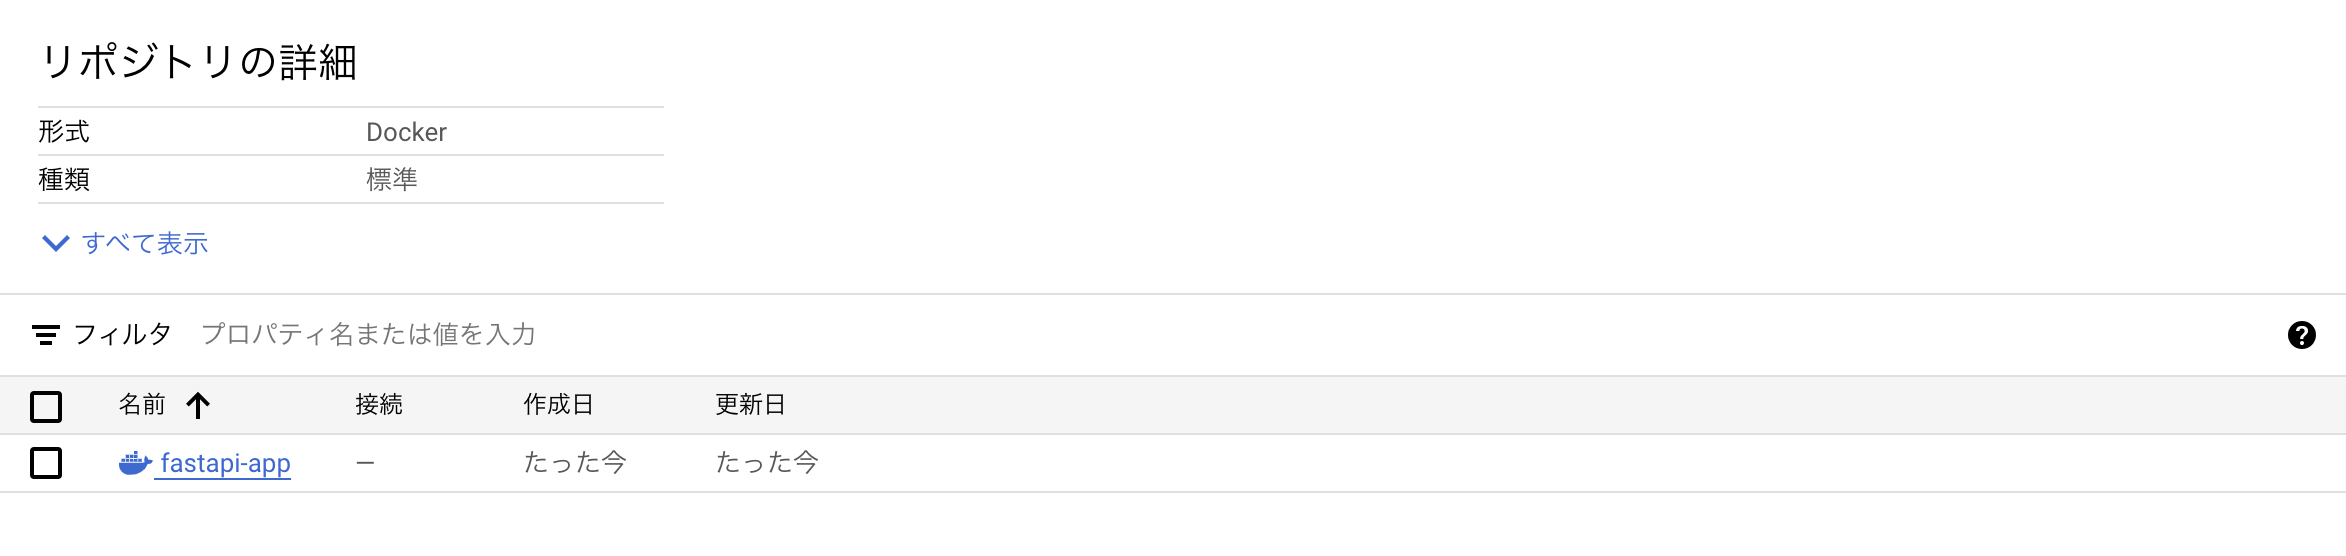
以下のようにDockerfileがArtifact Registryへpushされたら成功です
実際に実行してみよう!
以下のようにpush後にCloud Runへのデプロイが完了し、curlコマンドでリクエストを送った際にレスポンスが返ってきたら成功です

curl -H "Authorization: Bearer $(gcloud auth print-identity-token)" {HTTPSエンドポイントURL}
importブロックの作成
Artifact Registry
すでにリソースを手動で作成した場合は以下のようにimportブロックを使用してTerraform化できます
import {
  id = "projects/my-project/locations/us-central1/repositories/my-project-dev-artifactory-repository"
  to = google_artifact_registry_repository.my-project-dev-artifactory-repository
}
terraform plan -generate-config-out=artifact-registry.tf
# __generated__ by Terraform
# Please review these resources and move them into your main configuration files.

# __generated__ by Terraform from "projects/my-project/locations/us-central1/repositories/my-project-dev-artifactory-repository"
resource "google_artifact_registry_repository" "my-project-dev-artifactory-repository" {
  cleanup_policy_dry_run = false
  description            = null
  format                 = "DOCKER"
  kms_key_name           = null
  labels                 = {}
  location               = var.region
  mode                   = "STANDARD_REPOSITORY"
  project                = my-project
  repository_id          = "my-project-dev-artifactory-repository"
}
Cloud Run
Cloud Runも同様に以下のようにimportブロックを使用してTerraform化できます
import {
  id = "projects/my-project/locations/us-central1/services/practice-artifact-registry-cloud-run"
  to = google_cloud_run_v2_service.practice-artifact-registry-cloud-run
}
terraform plan -generate-config-out=cloudrun.tf
# __generated__ by Terraform
# Please review these resources and move them into your main configuration files.

# __generated__ by Terraform from "projects/my-project/locations/us-central1/services/practice-artifact-registry-cloud-run"
resource "google_cloud_run_v2_service" "practice-artifact-registry-cloud-run" {
  annotations          = {}
  client               = "cloud-console"
  client_version       = null
  custom_audiences     = []
  deletion_protection  = true
  description          = null
  ingress              = "INGRESS_TRAFFIC_ALL"
  invoker_iam_disabled = false
  labels               = {}
  launch_stage         = "GA"
  location             = "us-central1"
  name                 = "practice-artifact-registry-cloud-run"
  project              = "my-project"
  template {
    annotations                      = {}
    encryption_key                   = null
    execution_environment            = null
    labels                           = {}
    max_instance_request_concurrency = 80
    revision                         = null
    service_account                  = "804663731344-compute@developer.gserviceaccount.com"
    session_affinity                 = false
    timeout                          = "300s"
    containers {
      args        = []
      command     = []
      depends_on  = []
      image       = "us-central1-docker.pkg.dev/my-project/cloud-run-source-deploy/practice-artifact-registry-cloud-run@sha256:3adf699ae01eb0a27c23662713b11b89b5484fc354207708afab4c44bfc43e06"
      name        = "practice-artifact-registry-cloud-run-1"
      working_dir = null
      ports {
        container_port = 8080
        name           = "http1"
      }
      resources {
        cpu_idle = true
        limits = {
          cpu    = "1000m"
          memory = "512Mi"
        }
        startup_cpu_boost = true
      }
      startup_probe {
        failure_threshold     = 1
        initial_delay_seconds = 0
        period_seconds        = 240
        timeout_seconds       = 240
        tcp_socket {
          port = 8080
        }
      }
    }
    scaling {
      max_instance_count = 100
      min_instance_count = 0
    }
  }
  traffic {
    percent  = 100
    revision = null
    tag      = null
    type     = "TRAFFIC_TARGET_ALLOCATION_TYPE_LATEST"
  }
}
参考