概要
VSCodeを使ってGO、air、delveのDocker環境をリモートデバッグする方法について解説します
前提
- WebフレームワークはGinを使用
- GO 1.21を使用
ディレクトリ構成
tree
.
├── .env
├── .gitignore
├── Makefile
├── README.md
├── .devcontainer
│   └── devcontainer.json
├── backend
│   ├── .air.toml
│   ├── .vscode
│   │   └── launch.json
│   ├── cmd
│   │   └── app
│   │       └── main.go
│   ├── go.mod
│   └── go.sum
├── containers
│   ├── go
│   │   ├── Dockerfile
│   │   └── entrypoint.sh
│   └── postgres
│       └── Dockerfile
└── docker-compose.yml
Dockerfileの作成
GOのDockerfileを作成します
airとdelveをインストールしたいのでDockerfile内に記述します
containers/go/Dockerfile
FROM golang:1.23.6

ENV GO_VERSION=1.23.6 \
    GOBIN=/go/bin \
    PATH=$PATH:/go/bin

WORKDIR /usr/local/go/src/golang_clean_architecture/backend

RUN go install github.com/go-delve/delve/cmd/dlv@v1.24.2 && \
    go install github.com/cosmtrek/air@v1.49.0

COPY backend/containers/golang/entrypoint.sh /usr/local/bin/entrypoint.sh

RUN chmod +x /usr/local/bin/entrypoint.sh
RUN go mod download

ENTRYPOINT ["/usr/local/bin/entrypoint.sh"]
entrypoint.sh
#!/bin/sh
set -eu

exec air -c .air.toml -d
PostgresのDockerfileを作成します
containers/postgres/Dockerfile
FROM postgres:16.2
docker-compose.ymlの作成
docker-compose.ymlを作成します
docker-compose.yaml
services:
  app:
    container_name: golang_clean_architecture_app
    build:
      context: .
      dockerfile: backend/containers/golang/Dockerfile
    ports:
      - "8000:8000"
    command: air
    volumes:
      - .:/usr/local/go/src/golang_clean_architecture
    env_file:
      - backend/.env
    depends_on:
      db:
        condition: service_healthy
  db:
    container_name: golang_clean_architecture_db
    build:
      context: .
      dockerfile: backend/containers/postgres/Dockerfile
    volumes:
      - db_data:/var/lib/postgresql/data
    healthcheck:
      test: pg_isready -U "${POSTGRES_USER:-postgres}" || exit 1
      interval: 10s
      timeout: 5s
      retries: 5
    env_file:
      - backend/.env
    ports:
      - "5432:5432" # デバッグ用
volumes:
  db_data:
air.tomlの作成
air.toml
root = "."
testdata_dir = "testdata"
tmp_dir = "tmp"

[build]
  args_bin = []
  bin = "./tmp/main"
  cmd = "go build -o ./tmp/main ./cmd/app"
  full_bin = ""
  delay = 0
  exclude_dir = ["assets", "tmp", "vendor", "testdata"]
  exclude_file = []
  exclude_regex = ["_test.go"]
  exclude_unchanged = false
  follow_symlink = false
  include_dir = []
  include_ext = ["go", "tpl", "tmpl", "html"]
  kill_delay = "0s"
  log = "build-errors.log"
  poll = false
  rerun = false
  rerun_delay = 500
  send_interrupt = false
  stop_on_error = false

[color]
  app = ""
  build = "yellow"
  main = "magenta"
  runner = "green"
  watcher = "cyan"

[log]
  main_only = false
  silent = false
  time = false

[misc]
  clean_on_exit = false

[proxy]
  app_port = 0
  enabled = false
  proxy_port = 0

[screen]
  clear_on_rebuild = false
  keep_scroll = true
launch.jsonの作成
launch.jsonに以下のように記載します
launch.json
{
    "version": "0.2.0",
    "configurations": [
        {
            "name": "Debug Golang",
            "type": "go",
            "request": "launch",
            "mode": "debug",
            "program": "${workspaceFolder}/cmd/app/main.go",
            "env": {
                "POSTGRES_USER": "postgres",
                "POSTGRES_PASSWORD": "postgres",
                "POSTGRES_NAME": "postgres",
                "POSTGRES_HOST": "db",
                "POSTGRES_PORT": "5432",
                "POSTGRES_SSLMODE": "disable",
                "CORS_ALLOW_ORIGINS": "http://localhost:3000",
                "CORS_ALLOW_METHODS": "GET,POST,PUT,DELETE,OPTIONS",
                "CORS_ALLOW_HEADERS": "Content-Type,Authorization",
                "CORS_EXPOSE_HEADERS": "X-CSRF-Token",
                "CORS_ALLOW_CREDENTIALS": "true",
                "CORS_MAX_AGE": "",
                "JWT_SECRET_KEY": "test",
                "JWT_REFRESH_SECRET_KEY": "test",
                "DOMAIN": "",
                "COOKIE_SECURE": "",
                "COOKIE_HTTP_ONLY": "",
                "COOKIE_SAME_SITE": "",
                "DEBUG": "true"
            }
        }
    ]
}
実際に実行してみよう!
docker-compose up -d --build
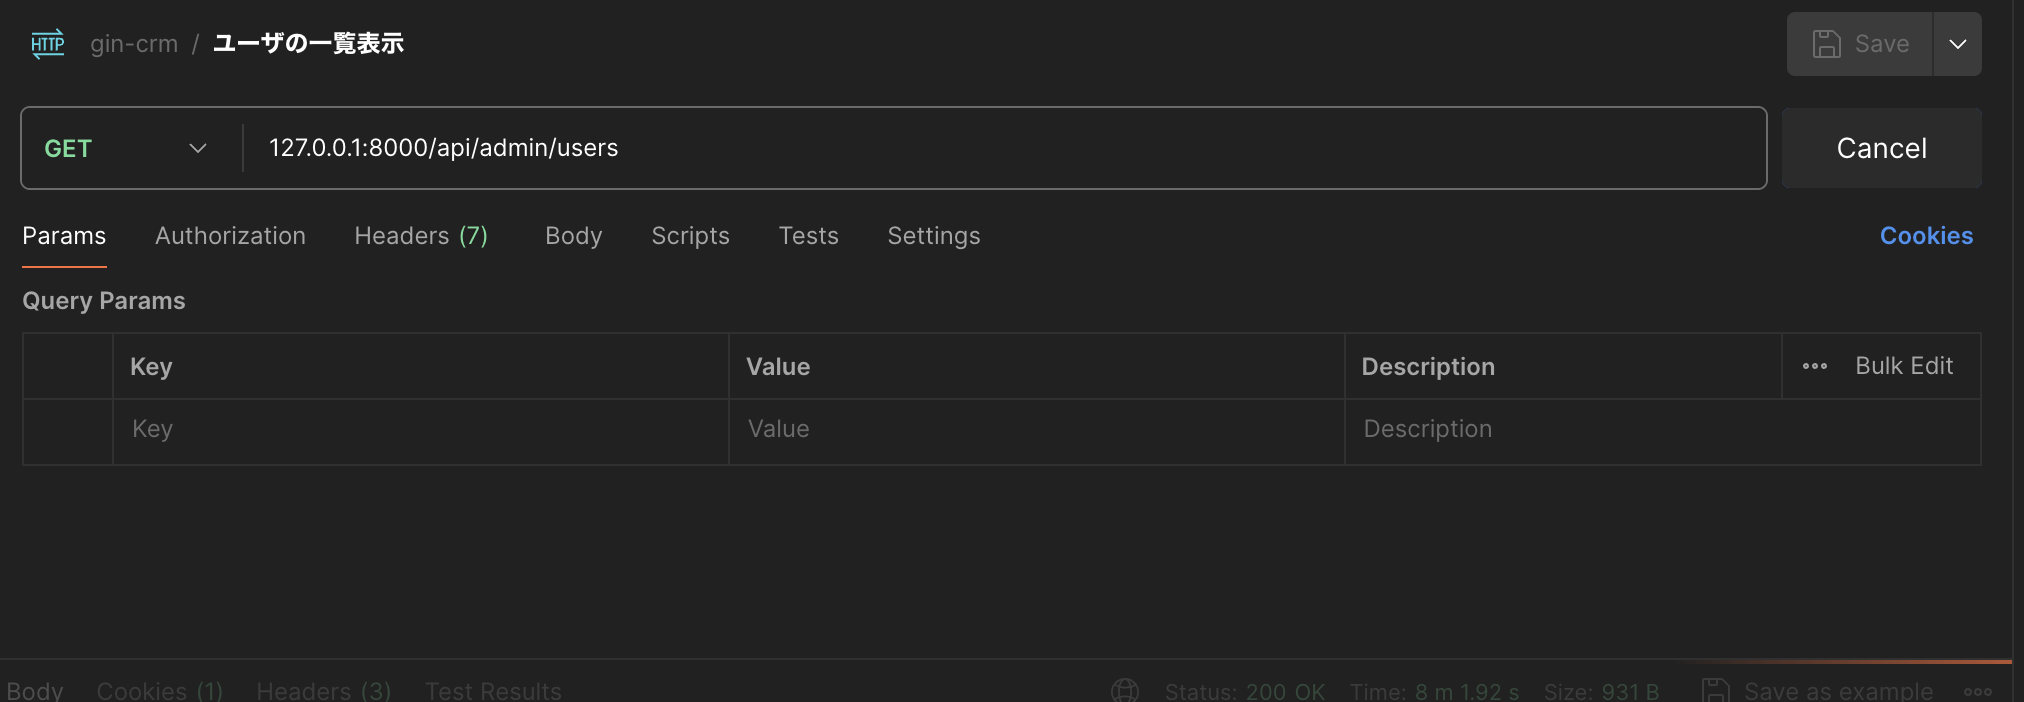
でコンテナのビルドと起動をした後にブレークポイントを設定し、APIを実行します
以下のように設定したブレークポイントで処理が止まったら成功です
参考


