やりたい事
この動作をやってくれるクラスの作成
- カーソルを追従する十字線の作成
- ラベルにx, y座標を表示
- ラベルの色はプロット線と同じになる
- y軸の範囲外の場合はNone表示
環境
Mac OS
Python 3.8.5
PyQt5 5.15.2
PyQt5-sip 12.8.1
pyqtgraph 0.11.1
pip install PyQt5 PyQt5-sip pyqtgraph
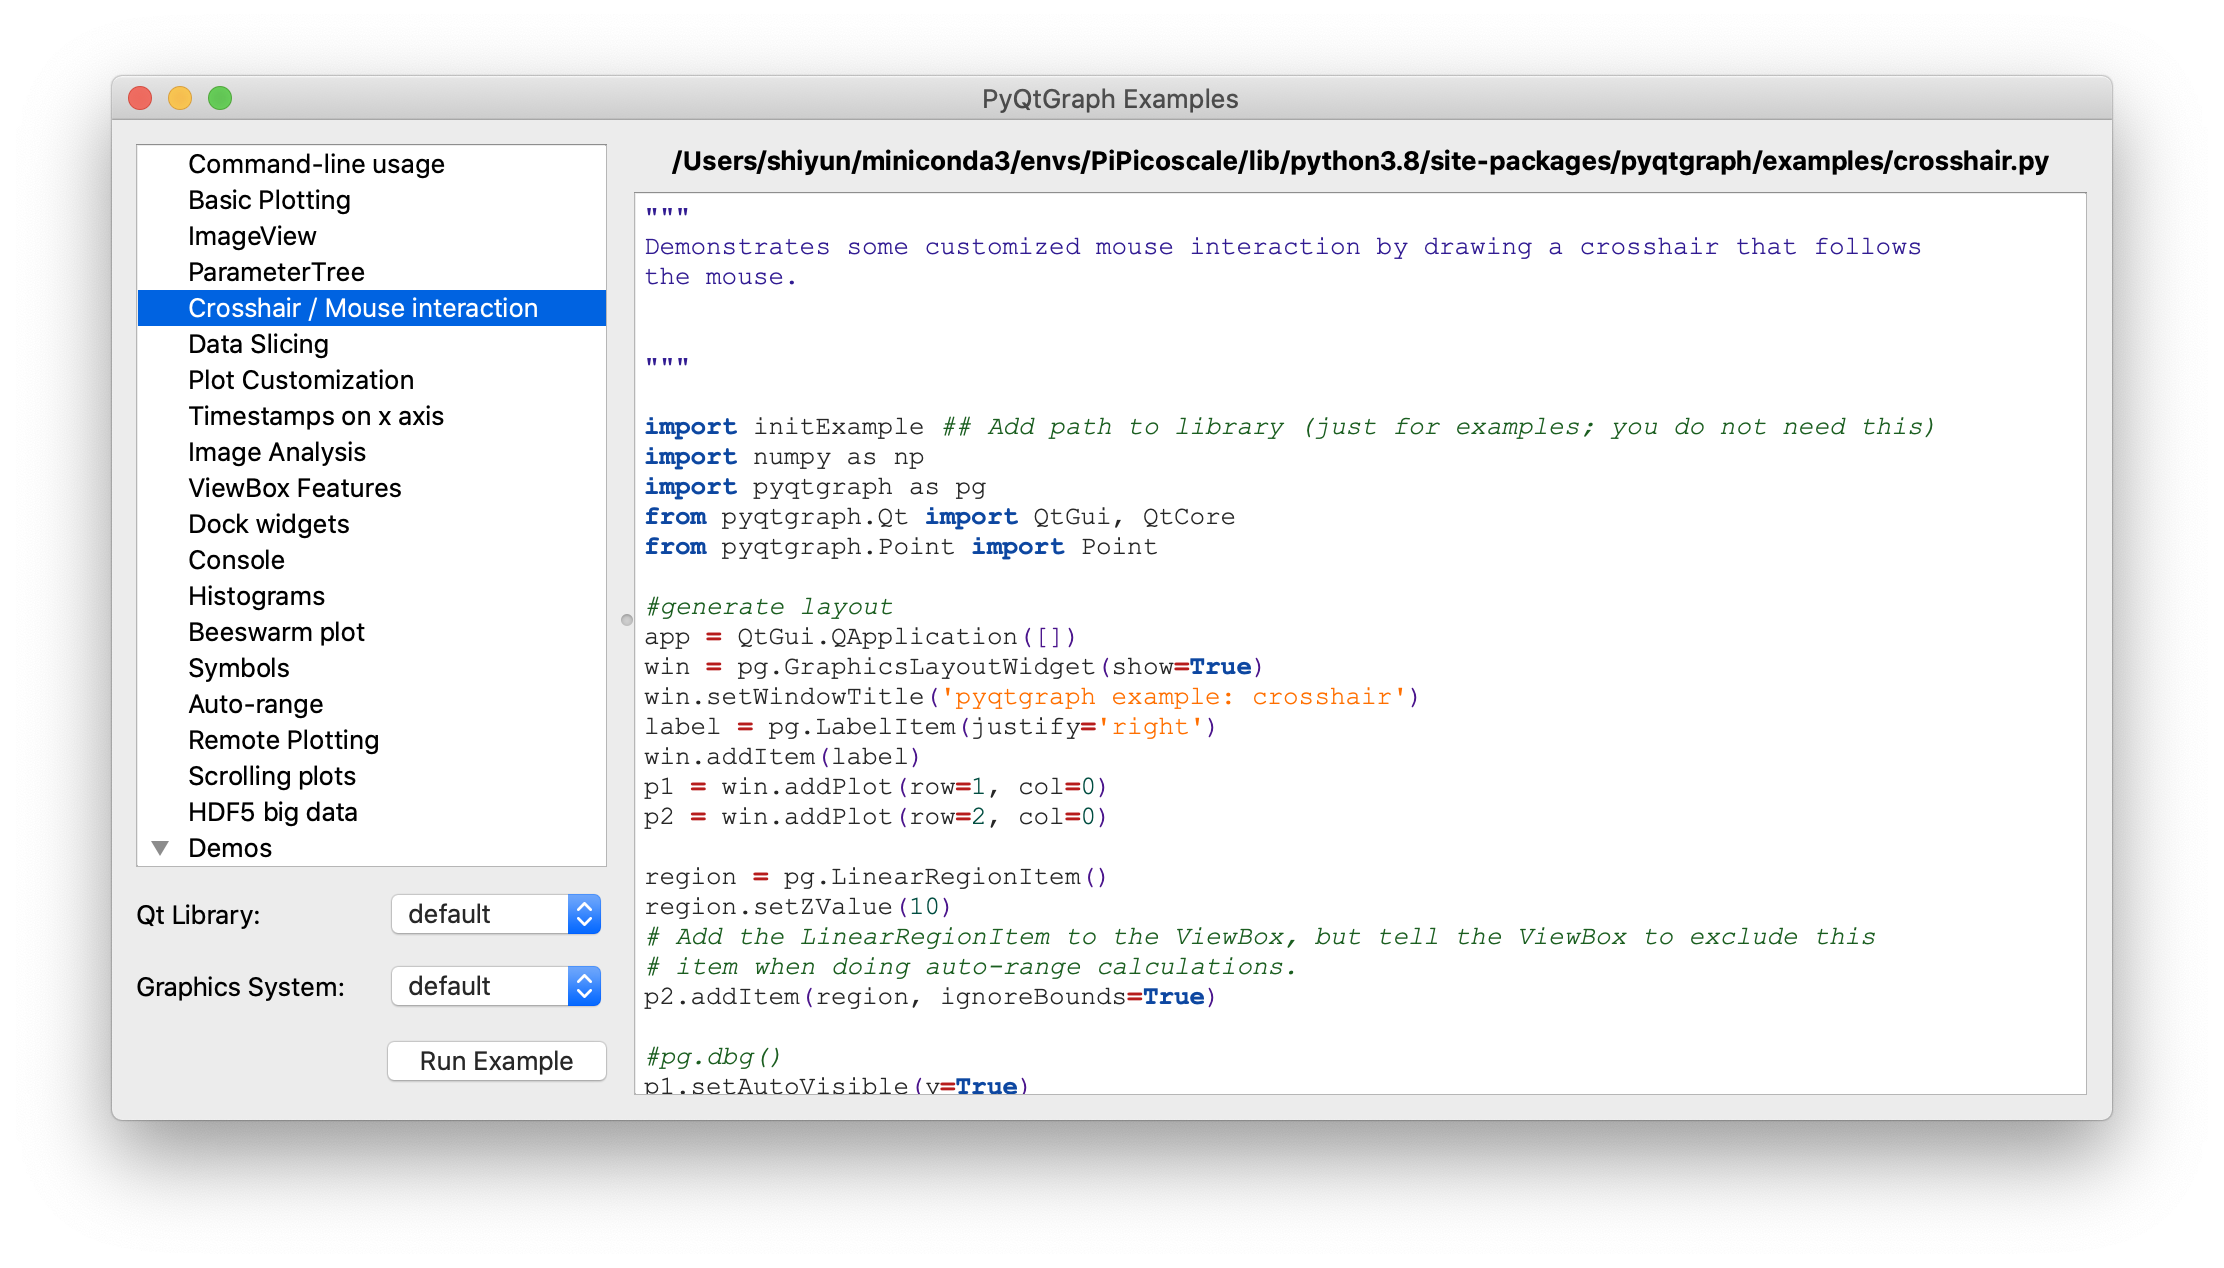
pyqtgraph.exsamples
import pyqtgraph.examples as ex
ex.run()
で色々なサンプルグラフが見れます。今回参考にしたのはCrosshair / Mouse interactionです。
作ったもの
import dataclasses
from typing import Union
import sys

from PyQt5 import QtWidgets
import pyqtgraph as pg


@dataclasses.dataclass
class CursorCrossHairLabel(object):
    """カーソルを追従する十字線を作成してグラフに追加するクラス
    カーソルが座標内にあれば座標を表示する
    Attributes #
    ----------
    plotter: pg.PlotItem
        十字線を追加するグラフ
    label: pg.LabelItem
        座標を表示するラベル
    vertical_line: pg.InfiniteLine
        カーソルを追いかける縦線
    horizontal_line: pg.InfiniteLine
        カーソルを追いかける横線
    proxy: pg.SignalProxy
        self.cursor_movedの実行間隔を制御するオブジェクト
    y_label: str default='y'
        y値凡例の文字列
    label_font_size: Union[int, float] default=14
        ラベルフォントサイズ
    digit :int default=3
        座標の小数点以下表示を指定

    Examples
    ----------
    import dataclasses
    from typing import Union
    import sys

    from PyQt5 import QtWidgets
    import pyqtgraph as pg

    app = QtWidgets.QApplication(sys.argv)
    graph_widget = pg.GraphicsLayoutWidget()

    label = pg.LabelItem(justify='right')
    graph_widget.addItem(label)

    plotter = graph_widget.addPlot(row=0, col=0)
    plotter.showGrid(x=True, y=True, alpha=1)

    curve1 = pg.PlotCurveItem([i ** 2 for i in range(10)], pen=pg.mkPen('#f00'))
    curve2= pg.PlotCurveItem([2*i ** 2 for i in range(10)], pen=pg.mkPen('#0f0'))
    plotter.addItem(curve1)
    plotter.addItem(curve2)

    cross_hair = CursorCrossHairLabel(plotter, label)

    graph_widget.show()
    sys.exit(app.exec_())
    """
    plotter: pg.PlotItem
    label: pg.LabelItem
    y_label: str = 'y'
    label_font_size: Union[int, float] = 14
    digit: int = 3
    v_color: dataclasses.InitVar[str] = '#ffd700'
    v_width: dataclasses.InitVar[Union[int, float]] = 2
    h_color: dataclasses.InitVar[str] = '#ffd700'
    h_width: dataclasses.InitVar[Union[int, float]] = 2

    def __post_init__(self, v_color: str, v_width: Union[int, float], h_color: str, h_width: Union[int, float]) -> None:
        """コンストラクタの続き
        Parameters
        ----------
        v_color: str default='#ffd700'
            縦線の色
        v_width: Union[int, float] default=2
            縦線の幅
        h_color: str default='#ffd700'
            横線の色
        h_width: Union[int, float] default=2
            横線の幅
        """
        self.vertical_line = pg.InfiniteLine(angle=90, movable=False, pen=pg.mkPen(v_color, width=v_width))
        self.horizontal_line = pg.InfiniteLine(angle=0, movable=False, pen=pg.mkPen(h_color, width=h_width))
        # plotterに追加
        self.plotter.addItem(self.vertical_line, ignoreBounds=True)
        self.plotter.addItem(self.horizontal_line, ignoreBounds=True)

        self.proxy = pg.SignalProxy(self.plotter.scene().sigMouseMoved, rateLimit=60, slot=self.cursor_moved)

        self.set_label()

    def set_label(self):
        """座標の初期値(None)をラベルにセット"""
        coord_text = f"<span style='font-size: {self.label_font_size}pt'>x=None<br>"
        for y_index, curve in enumerate(self.plotter.curves, 1):
            curve_color: str = curve.opts['pen'].color().name()
            coord_text += f" <span style='color: {curve_color}'>{self.y_label}{y_index}=None</span><br>"
        self.label.setText(coord_text)

    def cursor_moved(self, window_coord) -> None:
        """カーソル位置に十字線移動と座標を表示する
        カーソルの座標がグラフ内であればx値を表示する
        カーソルのy座標にデータがあればy値を表示する。範囲外であればNoneを表示する。
        y座標ラベルはcurveと同じ色

        Parameters
        ----------
        window_coord: tuple
            画面のピクセル単位の座標, ex) (PyQt5.QtCore.QPointF(2.0, 44.0),)

        Notes
        ----------
        curveはpyqtgraph.PlotCurveItem()で作成しないとcurve_colorの個所でエラーが発生する
        ex) OK
        import pyqtgraph as pg
        window = pg.PlotWidget()
        curve = pg.PlotCurveItem(pen=pg.mkPen('#ff0000))
        window.addItem(curve)

        ex) Error
        import pyqtgraph as pg
        window = pg.PlotWidget()
        curve = window.plot(pen=...)

        関数内変数の説明===================
        pos: PyQt5.QtCore.QPointF
            カーソルの画面内の座標 ex) PyQt5.QtCore.QPointF(2.0, 44.0)
        cursor_point: QtCore.QPointF
            カーソルのグラフ内の座標 ex) PyQt5.QtCore.QPointF(269.0678171506131, 0.695852534562212)
        self.plotter.curves: List[pg.PlotCurveItem]
            plotter内にあるcurveのリスト ex) [<pg.PlotCurveItem object at ...>, ...]
        curve_color: str
            curveの色 ex) '#ff0000',  関係無いけどcurve.opts['pen'].color()の型はQtGui.QColor
        =================================
        """
        pos = window_coord[0]

        if self.plotter.sceneBoundingRect().contains(pos):
            cursor_point = self.plotter.vb.mapSceneToView(pos)
            x_cursor_point: float = cursor_point.x()
            coord_text = f"<span style='font-size: {self.label_font_size}pt'>x={x_cursor_point:.{self.digit}f}<br>"
            data_index = int(x_cursor_point)

            for label_index, curve in enumerate(self.plotter.curves, 1):
                curve_color = curve.opts['pen'].color().name()

                if len(curve.yData) != 0 and 0 <= data_index < len(curve.yData):
                    y_value = curve.yData[data_index]
                    coord_text += f" <span style='color: {curve_color}'>" \
                                  f"{self.y_label}{label_index}={y_value:.{self.digit}f}</span><br>"
                else:
                    coord_text += f" <span style='color: {curve_color}'>{self.y_label}{label_index}=None</span><br>"
            self.label.setText(coord_text)
            # 十字線移動
            self.vertical_line.setPos(cursor_point.x())
            self.horizontal_line.setPos(cursor_point.y())
引数
必須引数
- plotter: pyqtgraph.PlotItem, 十字線を表示するグラフ
- label: pyqtgraph.LabelItem, 座標を表示するラベル
その他
- y_label: str, y値の凡例文字変更, デフォルト='y'
- label_font_size: Union[int, float], ラベルフォントサイズ, デフォルト=14
- digit :int 座標の小数点以下表示を指定, デフォルト=3
あとは十字線の色とか幅とか
使用例
実行結果が上のgifです
import dataclasses
from typing import Union
import sys

import numpy as np
from PyQt5 import QtWidgets
import pyqtgraph as pg

app = QtWidgets.QApplication(sys.argv)

graph_widget = pg.GraphicsLayoutWidget()

label = pg.LabelItem(justify='right')
graph_widget.addItem(label)

plotter = graph_widget.addPlot(row=0, col=0)
plotter.showGrid(x=True, y=True, alpha=1)

data = np.linspace(0, 100, 1000)

curve = pg.PlotCurveItem(data, pen=pg.mkPen('#f00', width=3))
curve2 = pg.PlotCurveItem(data * 2, pen=pg.mkPen('#0f0', width=3))
curve3 = pg.PlotCurveItem(data * 3, pen=pg.mkPen('#00f', width=3))
plotter.addItem(curve)
plotter.addItem(curve2)
plotter.addItem(curve3)
# これ
cross_hair = CursorCrossHairLabel(plotter, label, y_label='sample', label_font_size=18)

graph_widget.show()
sys.exit(app.exec_())
ラベルとグラフが重なってほしく無い時

graph_widget = pg.GraphicsLayoutWidget()

plotter = graph_widget.addPlot()
plotter.showGrid(x=True, y=True, alpha=1)

label = pg.LabelItem(justify='right')
graph_widget.addItem(label)
ラベル無いver
import dataclasses
from typing import Union
import sys

from PyQt5 import QtWidgets
import pyqtgraph as pg


@dataclasses.dataclass
class CursorCrossHair(object):
    """カーソルを追従する十字線を作成してグラフに追加するクラス
    Attributes #
    ----------
    plotter: pg.PlotItem
        十字線を追加するグラフ
    vertical_line: pg.InfiniteLine
        カーソルを追いかける縦線
    horizontal_line: pg.InfiniteLine
        カーソルを追いかける横線
    proxy: pg.SignalProxy
        self.cursor_movedの実行間隔を制御するオブジェクト

    Examples
    ----------
    import dataclasses
    from typing import Union
    import sys

    from PyQt5 import QtWidgets
    import pyqtgraph as pg

    app = QtWidgets.QApplication(sys.argv)
    graph_widget = pg.GraphicsLayoutWidget()

    plotter = graph_widget.addPlot(row=0, col=0)
    plotter.showGrid(x=True, y=True, alpha=1)

    curve1 = pg.PlotCurveItem([i ** 2 for i in range(10)], pen=pg.mkPen('#f00'))
    curve2= pg.PlotCurveItem([2*i ** 2 for i in range(10)], pen=pg.mkPen('#0f0'))
    plotter.addItem(curve1)
    plotter.addItem(curve2)

    cross_hair = CursorCrossHair(plotter)

    graph_widget.show()
    sys.exit(app.exec_())
    """
    plotter: pg.PlotItem
    v_color: dataclasses.InitVar[str] = '#ffd700'
    v_width: dataclasses.InitVar[Union[int, float]] = 2
    h_color: dataclasses.InitVar[str] = '#ffd700'
    h_width: dataclasses.InitVar[Union[int, float]] = 2

    def __post_init__(self, v_color: str, v_width: Union[int, float], h_color: str, h_width: Union[int, float]) -> None:
        """コンストラクタの続き
        Parameters
        ----------
        v_color: str default='#ffd700'
            縦線の色
        v_width: Union[int, float] default=2
            縦線の幅
        h_color: str default='#ffd700'
            横線の色
        h_width: Union[int, float] default=2
            横線の幅
        """
        self.vertical_line = pg.InfiniteLine(angle=90, movable=False, pen=pg.mkPen(v_color, width=v_width))
        self.horizontal_line = pg.InfiniteLine(angle=0, movable=False, pen=pg.mkPen(h_color, width=h_width))
        # plotterに追加
        self.plotter.addItem(self.vertical_line, ignoreBounds=True)
        self.plotter.addItem(self.horizontal_line, ignoreBounds=True)

        self.proxy = pg.SignalProxy(self.plotter.scene().sigMouseMoved, rateLimit=60, slot=self.cursor_moved)

    def cursor_moved(self, window_coord) -> None:
        """カーソル位置に十字線を移動させる
         Parameters
         ----------
         window_coord: tuple
             画面のピクセル単位の座標, ex) (PyQt5.QtCore.QPointF(2.0, 44.0),)

         Notes
         ----------
         関数内変数の説明===================
         pos: PyQt5.QtCore.QPointF
             カーソルの画面内の座標 ex) PyQt5.QtCore.QPointF(2.0, 44.0)
         cursor_point: QtCore.QPointF
             カーソルのグラフ内の座標 ex) PyQt5.QtCore.QPointF(269.0678171506131, 0.695852534562212)
         =================================
         """
        pos = window_coord[0]
        if self.plotter.sceneBoundingRect().contains(pos):
            cursor_point = self.plotter.vb.mapSceneToView(pos)
            self.vertical_line.setPos(cursor_point.x())
            self.horizontal_line.setPos(cursor_point.y())