Vagrantで作成したCentOS7にPython3系をインストールしてみました。
Python3系のインストール
CentOS7にyumリポジトリの追加。
$ sudo yum install -y https://centos7.iuscommunity.org/ius-release.rpm
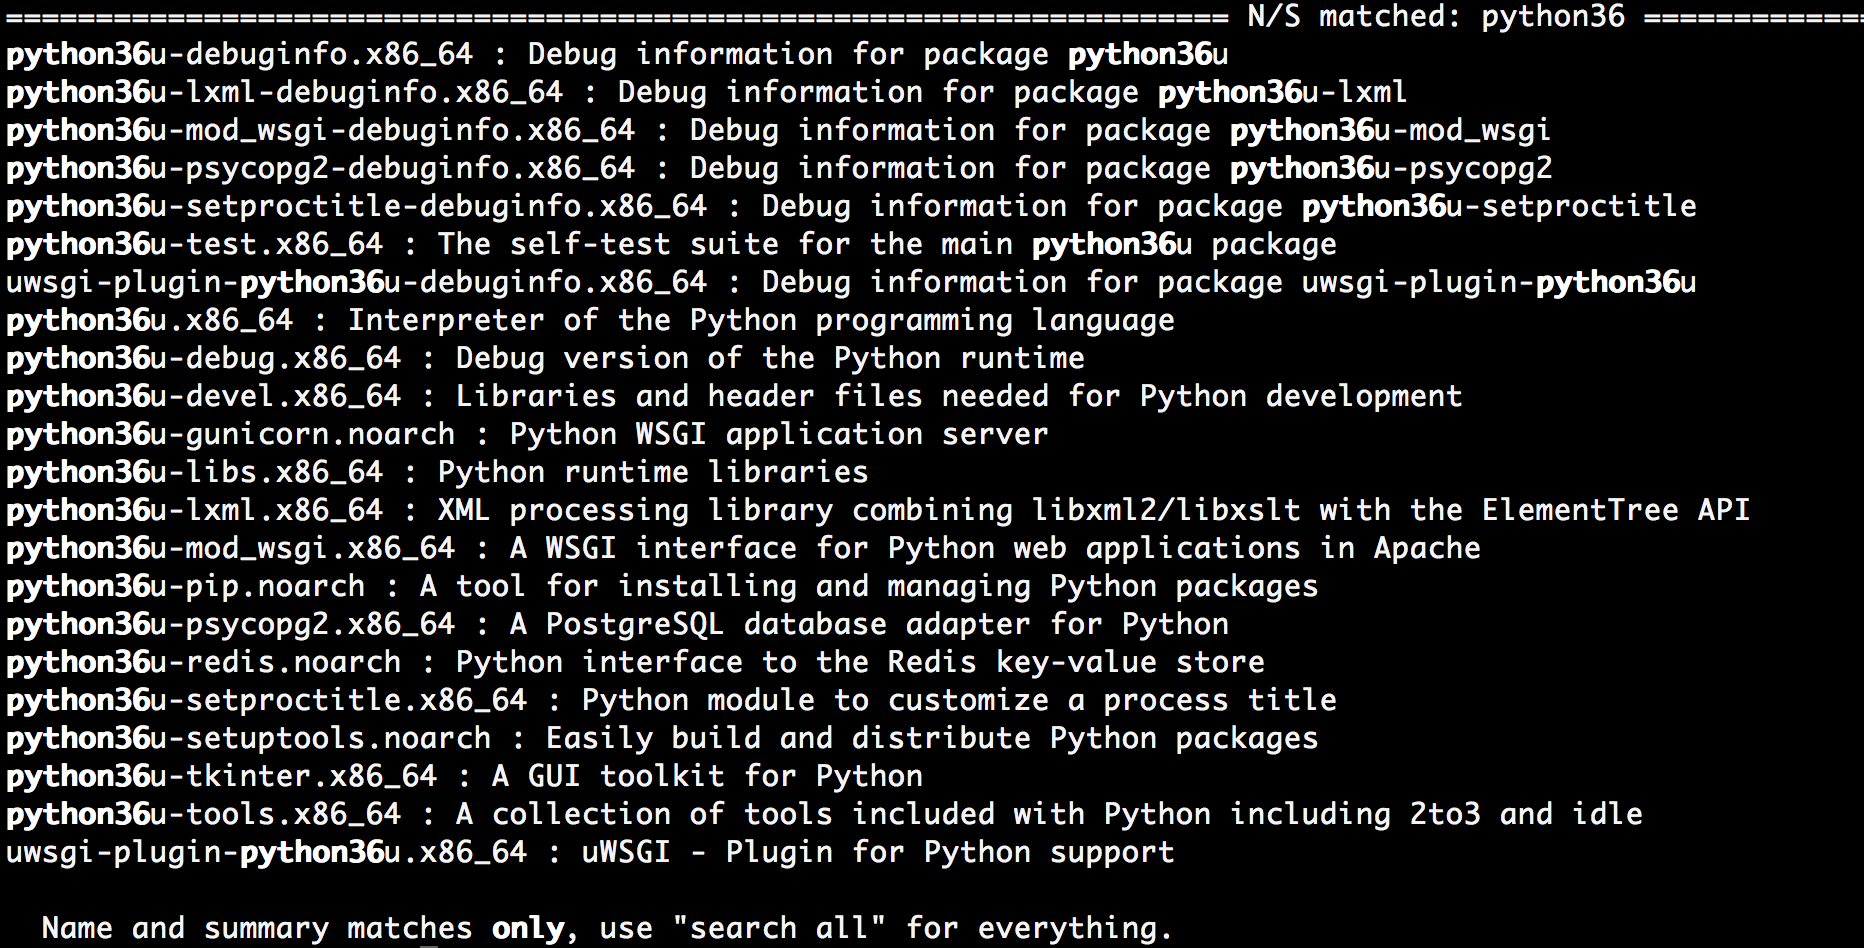
記事書いたときにはpython3.6が最新だったので、yumの中のpython3.6関連パッケージを検索します。
$ yum search python36
なんか色々出てきました。

上記の中で、ひとまず必要なパッケージをインストールします。
$ sudo yum install python36u python36u-libs python36u-devel python36u-pip
インストールが完了したら、バージョン確認を行います。
[vagrant@localhost ~]$ python3.6 -V
Python 3.6.5
バージョンが出ればインストール完了。
pipを有効化する
現状ではpipコマンドが使用できず下記のようになるので、有効化します。
[vagrant@localhost ~]$ python3.6 -V
Python 3.6.5
[vagrant@localhost ~]$ pip --version
-bash: pip: command not found
pipの配置されている場所を探します。
[vagrant@localhost ~]$ which pip3.6
/usr/bin/pip3.6
/usr/bin/の配下にあるらしいのでpipコマンドで済ますためにシンボリックリンクを作成します。
[vagrant@localhost ~]$ sudo ln -s /usr/bin/pip3.6 /usr/local/bin/pip
[vagrant@localhost ~]$ pip --version
pip 9.0.1 from /usr/lib/python3.6/site-packages (python 3.6)
pipが使用できるようになりました。
sudo pip install 〜で使用可能になります。(保存先:/usr/lib/python3.6/site-packages)
sudoを使用しない場合はpip install --user 〜で使用可能になります。(保存先:.local/lib/python3.6/site-packages)