後編です。
前編はこちら
https://qiita.com/shti_f/items/b4b5d830672d908eff4e
拡張機能(add-on)を使用する(上)
第3者によって作られた、型にとらわれない拡張機能を追加することができます。
デフォルトでは、Herokuはあなたのアプリに対して1500行ものログを持っています。しかしこのことは、それらログを訳すこともサービスになりうることを意味しています。ログの拡張機能の中には、パースや検索、アラートなどの機能があるものもあります。
このステップでは、そんなログの拡張機能の一つ、Papertrail を導入してみましょう。
$ heroku addons:create papertrail
Creating papertrail on ⬢ sharp-rain-871... !
 ▸    Please verify your account to install this add-on plan (please enter a credit card) For more information, see https://devcenter.heroku.com/categories/billing Verify now at
 ▸    https://heroku.com/verify
クレジットカードを登録していない場合、アカウントの検証(account verification)が必要とされます。
アカウントの検証(Accoutn Verification)
少しチュートリアルから逸れますが、アカウント検証について触れます。
検証が必要となるシーンは、
- 複数のdynoを一つのアプリで使用する時
- 拡張機能(add-on)を使用する時
- これは使用する拡張機能が無料のものでも必要になります。
- ただし、Heroku Postgres と Heroku Connect の無料拡張機能に限ってアカウント検証なしで使用できます。
- アプリにカスタムドメインを使用する時
- 有料のリソースを用いたアプリを受け渡し(transferring)された時
- dyno(one-off dyno)の使用数が制限数を上回った時
- アカウント検証なしでは3つが上限です。
- 一度に5個より多いアプリを持っている時
- 検証後は上限値が100個になります。
です。
今回は2つ目の条件に当たります。
Papertrailの無料プランを使いますが、Heroku Postgres でも Heroku Connect でもないので、クレジットカードを登録する必要があります。
登録方法
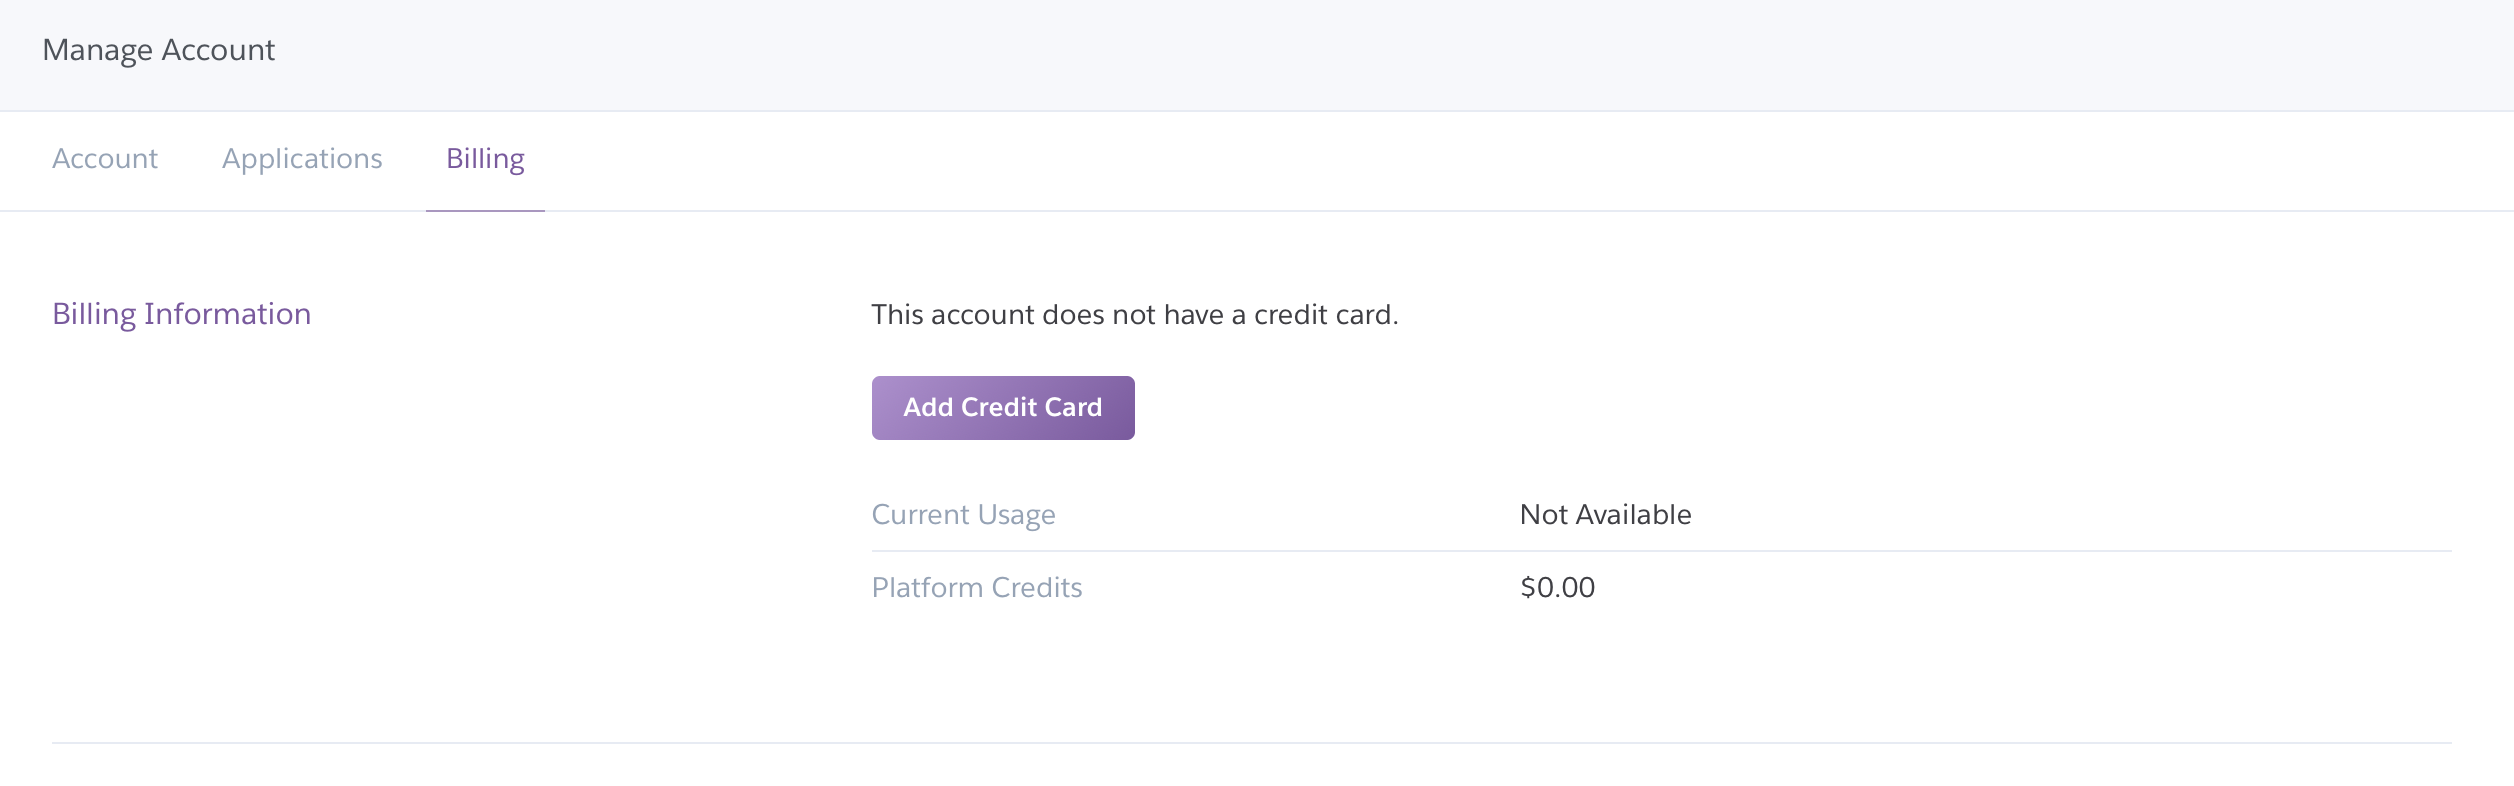
Account Settingにいき、Billingというタブを開くと、Add Credit Cardというボタンがあるので、それを押しましょう。
ちなみに Billing Address Line は請求先住所のことです。
余談ですが Kyash のクレジットカードは登録できませんでした。
拡張機能を使用する(下)
では、改めて Papertrail を導入してみましょう。
$ heroku addons:create papertrail
Creating papertrail on ⬢ sharp-rain-871... free
Welcome to Papertrail. Questions and ideas are welcome (support@papertrailapp.com). Happy logging!
Created papertrail-pointy-xxxxx as PAPERTRAIL_API_TOKEN
Use heroku addons:docs papertrail to view documentation
adonsというコマンドを使って、アドオンをリストアップできます。
choklad はスウェーデン語でチョコレートのことで、Papertrail の無料プランの名前になっています。
$ heroku addons

Add-on                                Plan     Price  State
────────────────────────────────────  ───────  ─────  ───────
papertrail (papertrail-pointy-xxxxx)  choklad  free   created
 └─ as PAPERTRAIL

The table above shows add-ons and the attachments to the current app (sharp-rain-871) or other apps.
実際にPapertrailを使ってみます。
$ heroku addons:open papertrail
Opening https://addons-sso.heroku.com/apps/xxxxxxx-xxxx-xxxx-xxxx-xxxxxxxxxxxx/addons/xxxxxxxx-xxxx-xxxx-xxxx-xxxxxxxxxxxx...
利用規約が変わったそうなので、読んで agree

とりあえず、今回はテストで、メールを送られても困るのでNo, thanksを選択。

ブラウザ上で、こうしてログを見ることができます。
アクセスをしないとログが動かないのでheroku openをして、飛んだりしてみましょう。

コンソールに入る
run bashをすると dyno 上の shell に入ることができます。
$ heroku run bash
Running bash on ⬢ sharp-rain-871... up, run.3036 (Free)
~ $ ls
Procfile  README.md  app.json  index.js  node_modules  package-lock.json  package.json  public  test.js  views
~ $ exit
exit
もしError connecting to processというエラーが出たらファイアーウォールの設定をしましょう。
exitコマンドで終了するのを忘れないでください。
(ヘルプ要請)
原文にはもう少し違うことが書いてあるんですが、いまいちよく分からなかったので、どなたか編集リクエスト、コメント等送っていただけると嬉しいです。
原文->https://devcenter.heroku.com/articles/getting-started-with-nodejs#start-a-console
一応訳しておきます。
dyno がどのように動くかを、より実感したいのであれば、別の one-off dyno を作成し、bashコマンドを走らせてみましょう。その dyno 上で bash が開き、そこでコマンドを実行することができます。それぞれの dyno はアプリや依存モジュールの入った、一時的なファイルスペースを個別に持っていて、コマンド(この場合はbashコマンド)の完了と共にその dyno は削除されます。
設定変数(Config Vars)の宣言
Herokuでは、設定変数(config vars)を用いることで、暗号のキーや外部ファイルへのリンクなど重要な変数を切り離すことができます。
ランライムにおいて、設定変数はアプリ内の環境変数として作用します。
例として、index.jsに新しいroute、/timesを用意してみましょう。TIMESという環境変数の数だけアクションを繰り返すようなプログラムにします。
routeを追加します。
.get('/times', (req, res) => res.send(showTimes()))
ファイルの最後に関数を用意します。
showTimes = () => {
  let result = ''
  const times = process.env.TIMES || 5
  for (i = 0; i < times; i++) {
    result += i + ' '
  }
  return result;
}
heroku localではローカルにある.envファイルをもとに環境変数を設定します。プロジェクトのトップレベルの階層には、次のような内容の.envファイルが既に存在しているはずです。
TIMES=2
heroku localを実行すれば、01という2つの数字が毎回生成されているのがわかると思います。
Heroku に設定されている設定変数はconfigで確認できます。
$ heroku config
=== sharp-rain-871 Config Vars
PAPERTRAIL_API_TOKEN: xxxxxxxxxxxxxxxxx
新しく設定変数を適用するには次のようなコマンドを使います。
$ heroku config:set TIMES=2
Setting TIMES and restarting ⬢ sharp-rain-871... done, v7
TIMES: 2
$ heroku config
=== sharp-rain-871 Config Vars
PAPERTRAIL_API_TOKEN: xxxxxxxxxxxxxxxxx
TIMES:                2
ではデプロイして、変更したアプリをheroku open timesを使って開いてみましょう。
データベースの導入
拡張機能(add-on)のストアには、Redis や MongoDB から、Postgres や MySql まで、多くのデータベースがあります。今回は、無料のHeroku Postgres Starter Tierを使ってみましょう。
$ heroku addons:create heroku-postgresql:hobby-dev
Creating heroku-postgresql:hobby-dev on ⬢ sharp-rain-871... free
Database has been created and is available
 ! This database is empty. If upgrading, you can transfer
 ! data from another database with pg:copy
Created postgresql-shallow-xxxxx as DATABASE_URL
Use heroku addons:docs heroku-postgresql to view documentation
これによってデータベースが作られ、環境変数にDATABASE_URLがセットされます。heroku configを使って確認できます。
続いてpgモジュールを依存関係に入れます。
$ npm install pg
+ pg@7.7.1
added 13 packages from 6 contributors and audited 259 packages in 4.827s
found 0 vulnerabilities
"dependencies": {
  "cool-ascii-faces": "^1.3.4",
  "ejs": "^2.5.6",
  "express": "^4.15.2",
  "pg": "^7.7.1"
},
ではindex.jsに加筆して、モジュールを使い、環境変数DATABASE_URLを利用することでデータベースをつなぎましょう。
上の方に加えます。
const { Pool } = require('pg');
const pool = new Pool({
  connectionString: process.env.DATABASE_URL,
  ssl: true
});
次にroute、/dbも加えます。ここではtest_tableというテーブルから全ての行が返ってくるようになっています。
.get('/db', async (req, res) => {
    try {
      const client = await pool.connect()
      const result = await client.query('SELECT * FROM test_table');
      const results = { 'results': (result) ? result.rows : null};
      res.render('pages/db', results );
      client.release();
    } catch (err) {
      console.error(err);
      res.send("Error " + err);
    }
  })
これをデプロイして/dbにアクセスしても、テーブルが存在しないというエラーになります。

Postgresおよび、そのCLIツールは既にローカルにインストールしているとして話を進めます。(していない場合はこちらから)
heroku pg:psqlコマンドを使って、リモートのデータベースにつなぎ、テーブルを作り、行を挿入しましょう。
$ heroku pg:psql
--> Connecting to postgresql-shallow-xxxxx
psql (11.0, server 10.6 (Ubuntu 10.6-1.pgdg14.04+1))
SSL connection (protocol: TLSv1.2, cipher: ECDHE-RSA-AES256-GCM-SHA384, bits: 256, compression: off)
Type "help" for help.

sharp-rain-871::DATABASE=> create table test_table (id integer, name text);
CREATE TABLE
sharp-rain-871::DATABASE=> insert into test_table values (1, 'hello database');
INSERT 0 1
sharp-rain-871::DATABASE=> \q
/dbにアクセスするとこのような画面になると思います。

詳しく知りたい場合は Heroku PostgreSQLを見ましょう。
同じような方法はMongoDB や Redis の拡張機能のインストールでも使えます。
次の段階へ
あなたはアプリをデプロイし、設定を変更し、ログを参照し、スケールし、拡張機能をつけることができるようになりました。
次はこれらを読むのがおすすめです。基礎についてよりちゃんとした理解ができるような記事が一つ、この Dev Center の中で Node.js について焦点をあてたものが一つ。
- Heroku の仕組み
- コードを書き、設定をいじり、デプロイをし、アプリを動かす上で出てくる概念について総括的に学ぶことができます。
- Node.js
- Node.js のアプリについて、またそのデプロイについて学べます。
- Node.js の Heroku へのデプロイ
- 既存の Node.js アプリを Heroku にデプロイする方法を学べます。