robolectricは、そのままだとandroid studioでうまく動かないので、プラグインAndroid Studio Unit Testを利用する。
設定
1.プロジェクトディレクトリ直下のbuild.gradleに以下を追加
buildscript {
    repositories {
        jcenter()
    }
    dependencies {
        classpath 'com.android.tools.build:gradle:0.14.2'
        classpath 'com.github.jcandksolutions.gradle:android-unit-test:2.1.1'
    }
}
allprojects {
    repositories {
        jcenter()
    }
}
2.appディレクトリ下のbuild.gradleに以下を追加
apply plugin: 'com.android.application'

android {...}

apply plugin: 'android-unit-test'

dependencies {
    // testing
    testCompile 'org.robolectric:robolectric:2.4'
    testCompile 'junit:junit:4.+'
}
3.プラグインの追加
android studio -> preference -> plugins -> browse repositoryを開き、'Android Studio Unit Test'を検索しインストール
4.androidTestディレクトリの名前をtestに変更
5.appディレクトリ配下の、build.gradleファイルにafterEvaluateを追加
apply plugin: 'com.android.application'

android {...}

apply plugin: 'android-unit-test'

afterEvaluate {
    tasks.findByName("assembleDebug").dependsOn("testDebugClasses")
}

dependencies {...}
テストの実行
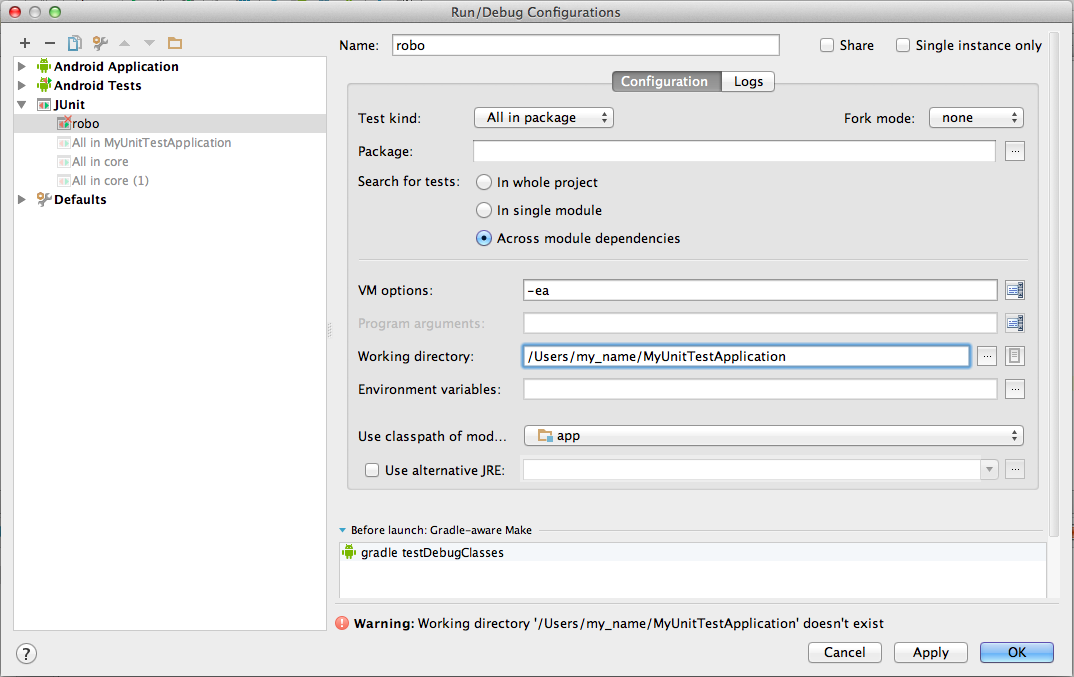
- テストの実行の設定をする。
- Run -> Edit Configuration -> + -> jUnit の順に選択
- 任意の名前をつける
- Robolectricに、manifestファイルの場所を教える。
@RunWith(RobolectricTestRunner.class)
@Config(manifest="./src/main/AndroidManifest.xml")
public class MyActivityTest {
   ...
}

