概要
Next.jsのデフォルトテンプレートをベースに、TypeScriptやScssなど開発にあたって最低限必要な要素を追加し、作成したNext.jsアプリケーションをVercelでホストする方法をまとめました。
参考: Next.js / Getting Started
この記事で分かること
- Next.jsのデフォルトテンプレートをCLIから作成する方法
- Next.jsのアプリケーションに・・・
- TypeScriptを導入する方法
- Sass(Scss)を導入する方法
- GlobalなStyleを適用する方法
- html要素の属性を変更する方法
- Next.jsのアプリケーションを、Vercelでホストする方法
前提
-
mac上で作業しています。
- この記事を作成した際のmacのバージョン:Catalina 10.15.5
-
nodeがインストールされている必要があります。- この記事を作成した際のnodeのバージョン:v10.15.3
- nodeが入っていなければ、nvm などを利用して、nodeをインストールしておいてください。
-
yarnがインストールされている必要があります。- この記事を作成した際のyarnのバージョン:1.15.2
- yarnが入っていなければ、yarn をインストールしておいてください。
1. Next.jsのデフォルトテンプレートをCLIから作成する方法
GitHub上で、今回のNext.jsのアプリケーションを扱うためのリポジトリを作成し、cloneしたうえで、そのディレクトリに移動してください。
それではまず、yarn create next-app . を流し、現在のロケーションにNext.jsのアプリケーションを作成します。
(GitHub上で予めリポジトリを用意しなくても、 yarn create next-app app_name として、カレントディレクトリ直下にapp_nameのディレクトリを作成し、その中にNext.jsのアプリケーションを作成する方法でもOKです。)
[sho@mac] ~/src/github.com/shoutatani/next-js-template % yarn create next-app .
yarn create v1.15.2
[1/4] 🔍  Resolving packages...
[2/4] 🚚  Fetching packages...
[3/4] 🔗  Linking dependencies...
[4/4] 🔨  Building fresh packages...

warning Your current version of Yarn is out of date. The latest version is "1.22.4", while you're on "1.15.2".
info To upgrade, run the following command:
$ curl --compressed -o- -L https://yarnpkg.com/install.sh | bash
success Installed "create-next-app@9.4.4" with binaries:
      - create-next-app
? Pick a template › - Use arrow-keys. Return to submit.
❯  Default starter app
   Example from the Next.js repo
デフォルトスターター、もしくはNext.jsが提供するExample、どちらをベースにNext.jsのアプリケーションを作成するのか聞いてくるので、Default starter app を選び、Enterを押してください。
しばらくすると、デフォルトスターターで初期化されたアプリケーションが作成されます。作成されたファイルは以下の通りです。
[sho@mac] ~/src/github.com/shoutatani/next-js-template % ls -al
total 512
drwxr-xr-x   10 sho  staff     320  6 16 00:53 .
drwxr-xr-x   29 sho  staff     928  6 16 00:51 ..
drwxr-xr-x    9 sho  staff     288  6 16 00:51 .git
-rw-r--r--    1 sho  staff     362  6  8 23:04 .gitignore
-rw-r--r--    1 sho  staff    1206  6  8 23:04 README.md
drwxr-xr-x  512 sho  staff   16384  6 16 00:53 node_modules
-rw-r--r--    1 sho  staff     267  6 16 00:53 package.json
drwxr-xr-x    4 sho  staff     128  6 16 00:53 pages
drwxr-xr-x    4 sho  staff     128  6 16 00:53 public
-rw-r--r--    1 sho  staff  249665  6 16 00:53 yarn.lock
package.jsonの中身を見てみると、dev, build, startのコマンドが揃っていることが確認できますが、ローカルでデバッグしながら開発する際は、devコマンドを多用するので覚えておいてください。
{
  "name": "next-js-template",
  "version": "0.1.0",
  "private": true,
  "scripts": {
    "dev": "next dev",
    "build": "next build",
    "start": "next start"
  },
  "dependencies": {
    "next": "9.4.4",
    "react": "16.13.1",
    "react-dom": "16.13.1"
  }
}
それでは、このまま開発サーバーの起動ができるので、yarn dev -p 5000 を叩いてください。
(yarn dev だけでも起動できますが、ここではポート番号を5000番に指定して起動しています。)
[sho@mac] ~/src/github.com/shoutatani/next-js-template % yarn dev -p 5000
yarn run v1.15.2
$ next dev -p 5000
ready - started server on http://localhost:5000
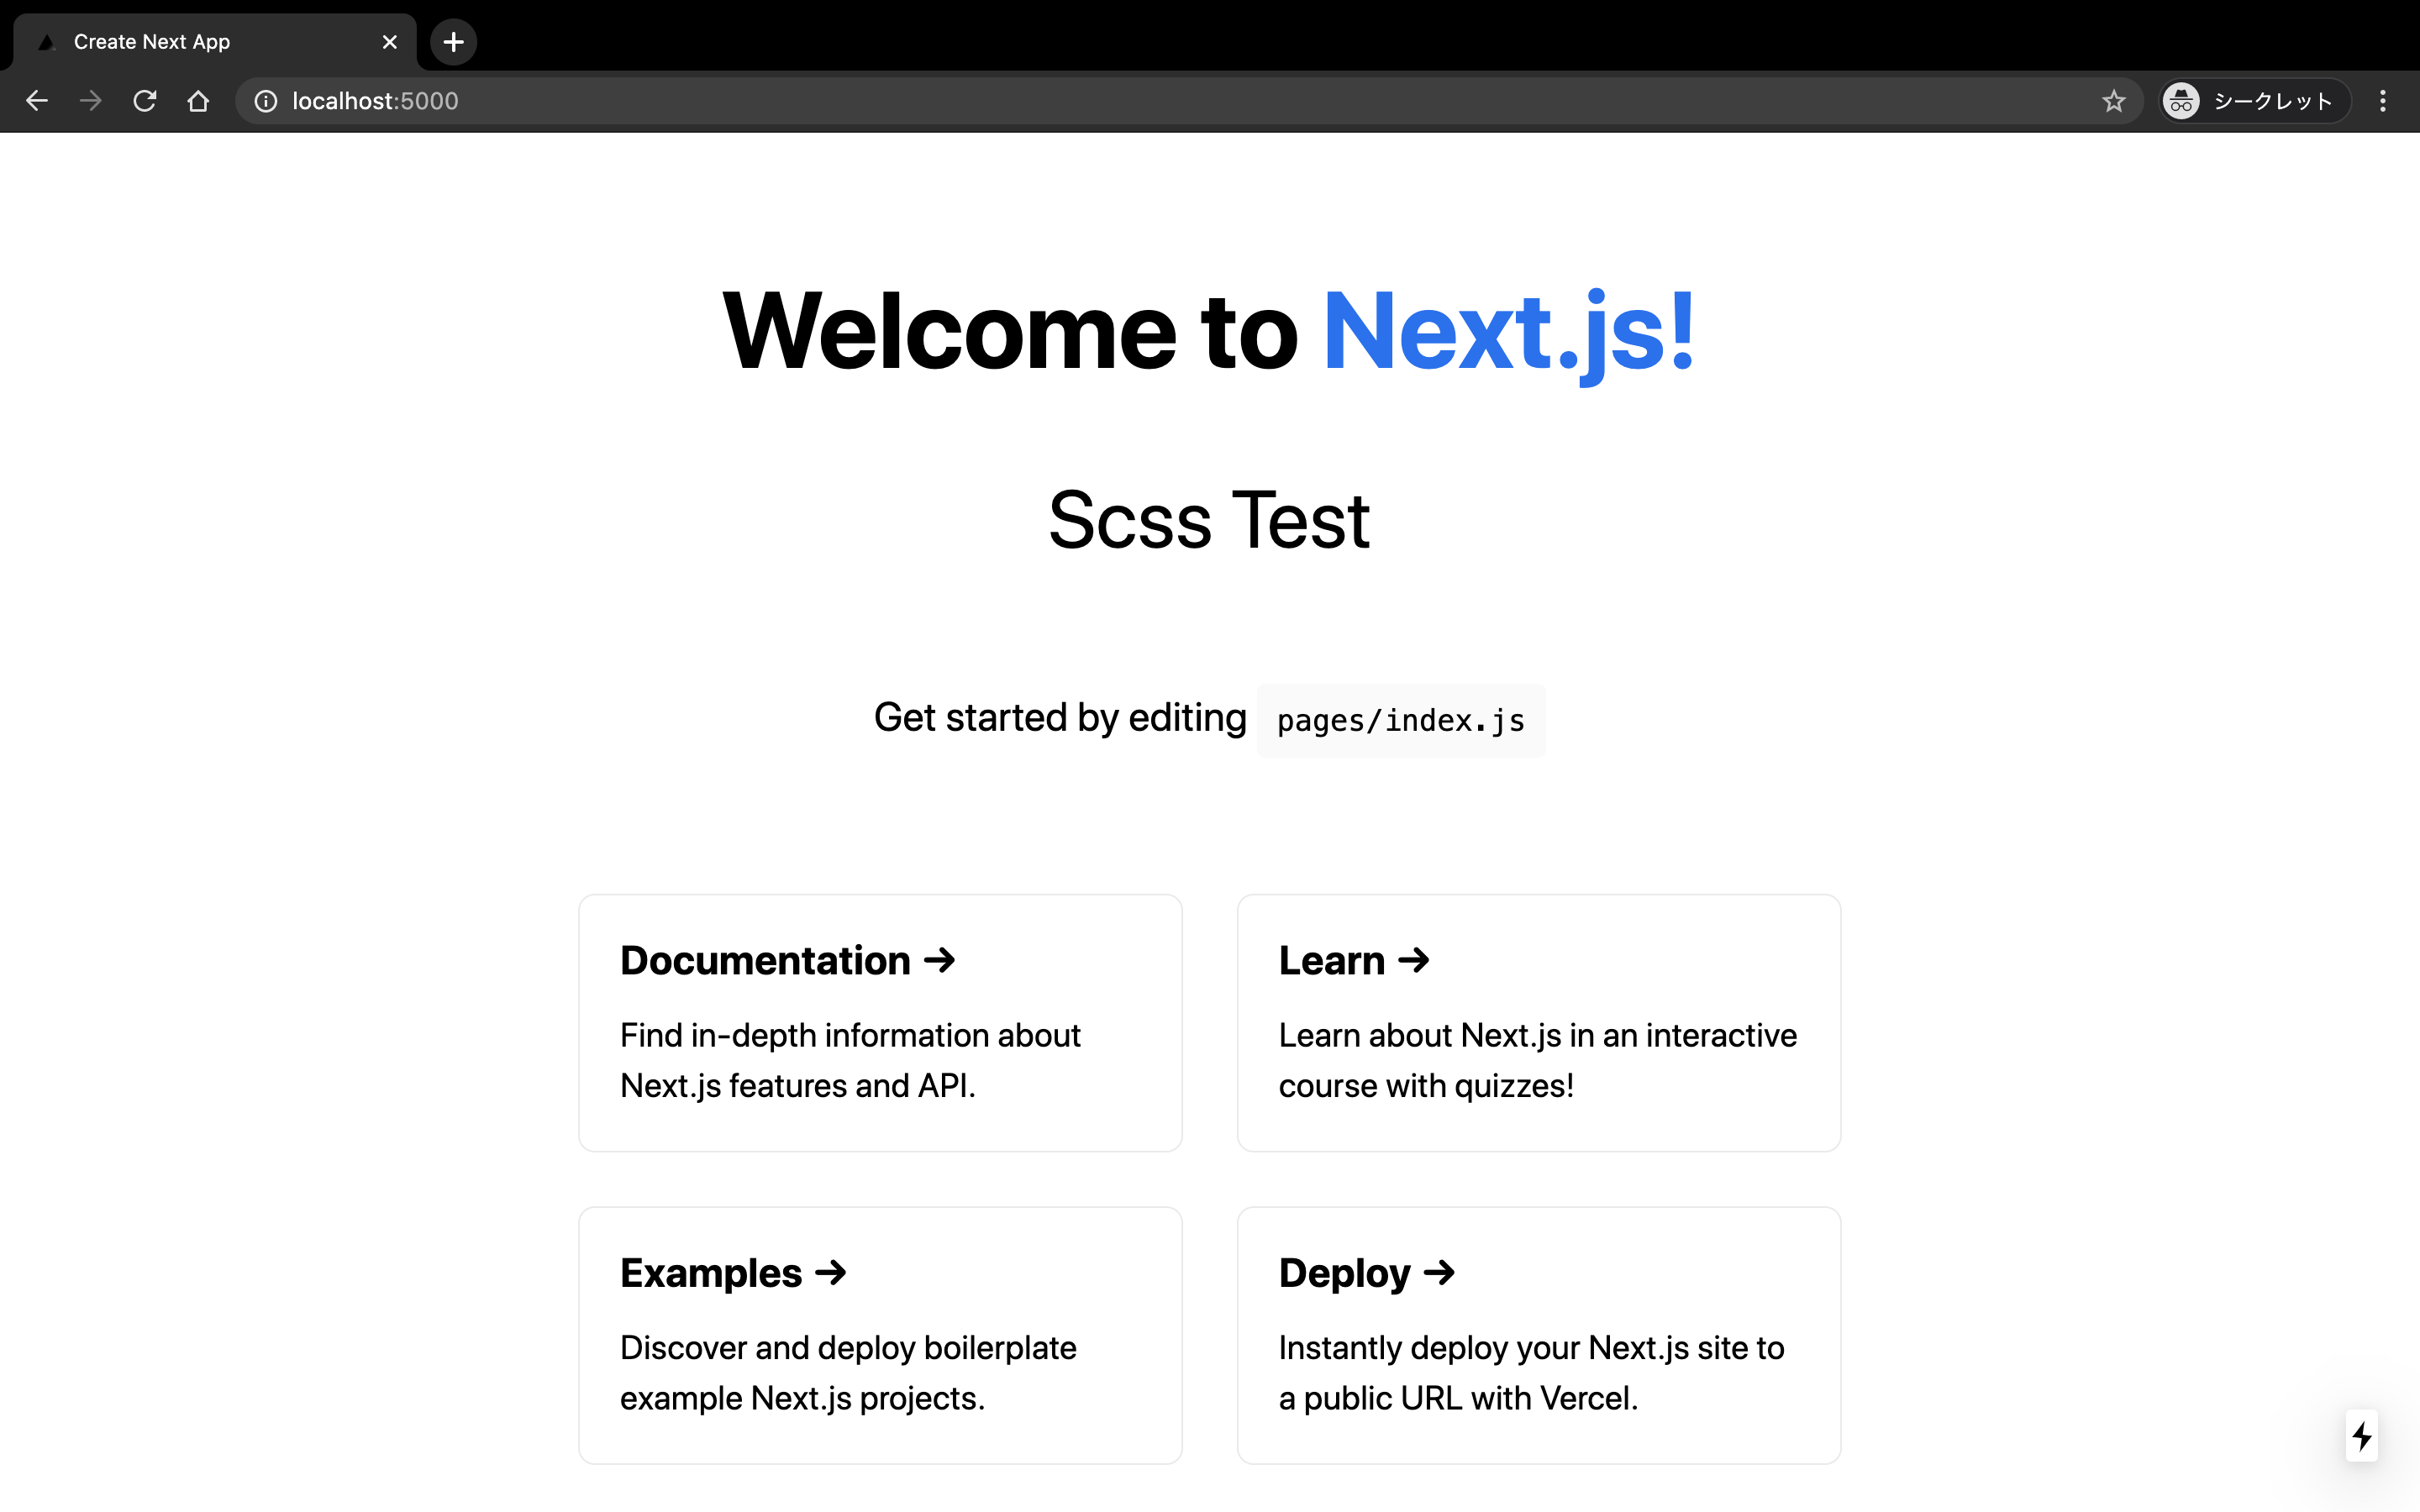
上記の表示が出たら、http://localhost:5000 にアクセスしてください。下記の通り、デフォルトスターターから作成されたアプリケーションが起動します!
Welcome to Next.js!

2. Next.jsのアプリケーションにTypeScriptを導入する方法
TypeScriptで開発できるようにするために、まず、1. で起動している開発サーバーは、とりあえずControl + cで落としておきます。
TypeScriptを有効にするために、yarn add --dev typescript @types/react @types/node を叩きます。
(もちろん、yarn add -D typescript @types/react @types/node でも良いです。)
[sho@mac] ~/src/github.com/shoutatani/next-js-template % yarn add --dev typescript @types/react @types/node                                                                                                                                                 master
yarn add v1.15.2
[1/4] 🔍  Resolving packages...
[2/4] 🚚  Fetching packages...
[3/4] 🔗  Linking dependencies...
[4/4] 🔨  Building fresh packages...
success Saved lockfile.
success Saved 5 new dependencies.
info Direct dependencies
├─ @types/node@14.0.13
├─ @types/react@16.9.36
└─ typescript@3.9.5
info All dependencies
├─ @types/node@14.0.13
├─ @types/prop-types@15.7.3
├─ @types/react@16.9.36
├─ csstype@2.6.10
└─ typescript@3.9.5
✨  Done in 4.42s.
次に、tsconfig.jsonを作成します。
なお、空っぽのままでよく、Next.jsが次回起動時に自動的にデフォルト値で設定してくれます。
[sho@mac] ~/src/github.com/shoutatani/next-js-template % touch tsconfig.json
tsconfig.json を作成した直後のファイル一覧です。tsconfig.jsonが0byteのままであることが確認できますね。
[sho@mac] ~/src/github.com/shoutatani/next-js-template % ls -al
total 520
drwxr-xr-x   12 sho  staff     384  6 16 01:00 .
drwxr-xr-x   29 sho  staff     928  6 16 00:51 ..
drwxr-xr-x    9 sho  staff     288  6 16 00:51 .git
-rw-r--r--    1 sho  staff     362  6  8 23:04 .gitignore
drwxr-xr-x    7 sho  staff     224  6 16 00:56 .next
-rw-r--r--    1 sho  staff    1206  6  8 23:04 README.md
drwxr-xr-x  514 sho  staff   16448  6 16 01:02 node_modules
-rw-r--r--    1 sho  staff     385  6 16 01:02 package.json
drwxr-xr-x    4 sho  staff     128  6 16 00:53 pages
drwxr-xr-x    4 sho  staff     128  6 16 00:53 public
-rw-r--r--    1 sho  staff       0  6 16 01:00 tsconfig.json
-rw-r--r--    1 sho  staff  251062  6 16 01:02 yarn.lock
続けて、.jsファイルを.tsおよび.tsxファイルに変更してしまいます。
(api配下のファイルはJSXを使わないためtsに、index.jsはJSXを使用するのでtsxにしています)
[sho@mac] ~/src/github.com/shoutatani/next-js-template % mv pages/api/hello.js pages/api/hello.ts
[sho@mac] ~/src/github.com/shoutatani/next-js-template % mv pages/index.js pages/index.tsx
そうしたら、再び開発サーバーを起動します。
そうすると、Next.jsがtsconfig.jsonファイルを見つけてくれ、デフォルト値で上書きしてくれます。
[sho@mac] ~/src/github.com/shoutatani/next-js-template % yarn dev -p 5000
yarn run v1.15.2
$ next dev -p 5000
ready - started server on http://localhost:5000
(node:23414) ExperimentalWarning: The fs.promises API is experimental
We detected TypeScript in your project and created a tsconfig.json file for you.

Your tsconfig.json has been populated with default values.

event - compiled successfully
wait  - compiling...
event - compiled successfully
TypeScriptが有効になった直後のファイル一覧です。tsconfig.jsonに記述が増えていることがわかるかと思います。
[sho@mac] ~/src/github.com/shoutatani/next-js-template % ls -al
total 536
drwxr-xr-x   13 sho  staff     416  6 16 01:05 .
drwxr-xr-x   29 sho  staff     928  6 16 00:51 ..
drwxr-xr-x    9 sho  staff     288  6 16 00:51 .git
-rw-r--r--    1 sho  staff     362  6  8 23:04 .gitignore
drwxr-xr-x    7 sho  staff     224  6 16 01:05 .next
-rw-r--r--    1 sho  staff    1206  6  8 23:04 README.md
-rw-r--r--    1 sho  staff      75  6 16 01:05 next-env.d.ts
drwxr-xr-x  514 sho  staff   16448  6 16 01:02 node_modules
-rw-r--r--    1 sho  staff     385  6 16 01:02 package.json
drwxr-xr-x    4 sho  staff     128  6 16 01:05 pages
drwxr-xr-x    4 sho  staff     128  6 16 00:53 public
-rw-r--r--    1 sho  staff     533  6 16 01:05 tsconfig.json
-rw-r--r--    1 sho  staff  251062  6 16 01:02 yarn.lock
参考までに、tsconfig.jsonファイルの中身です。
{
  "compilerOptions": {
    "target": "es5",
    "lib": [
      "dom",
      "dom.iterable",
      "esnext"
    ],
    "allowJs": true,
    "skipLibCheck": true,
    "strict": false,
    "forceConsistentCasingInFileNames": true,
    "noEmit": true,
    "esModuleInterop": true,
    "module": "esnext",
    "moduleResolution": "node",
    "resolveJsonModule": true,
    "isolatedModules": true,
    "jsx": "preserve"
  },
  "exclude": [
    "node_modules"
  ],
  "include": [
    "next-env.d.ts",
    "**/*.ts",
    "**/*.tsx"
  ]
}
再び、http://localhost:5000 にアクセスすれば、TypeScriptが有効になった状態で初期ページが見れることが確認できます。
3. Next.jsのアプリケーションに、Sass(Scss)を導入する方法
Sass(Scss)を追加できるよう、もう一度Control + cでdevサーバーは落としておきます。
次に、yarn add sass を叩き、sassをプロジェクトに追加します、
[sho@mac] ~/src/github.com/shoutatani/next-js-template % yarn add sass
yarn add v1.15.2
[1/4] 🔍  Resolving packages...
[2/4] 🚚  Fetching packages...
[3/4] 🔗  Linking dependencies...
[4/4] 🔨  Building fresh packages...
success Saved lockfile.
success Saved 1 new dependency.
info Direct dependencies
└─ sass@1.26.8
info All dependencies
└─ sass@1.26.8
✨  Done in 14.06s.
scssが使える例として、pagesディレクトリ直下に、index.module.scss ファイルを作成します。
(CSS Modulesとして使用するため、.module.scssとしています。)
p {
  &.scss_test {
    font-size: 3em;
  }
}
次に、pages/index.tsx ファイルで、import styles from './index.module.scss' の記述を追加することで、.scssファイルをロードできるようになり、mainタグ中程、<p className={styles.scss_test}> の通り、.scssファイルで定義したclassを適用しています。
import Head from 'next/head'
import styles from './index.module.scss'

export default function Home() {
  return (
    <div className="container">
      <Head>
        <title>Create Next App</title>
        <link rel="icon" href="/favicon.ico" />
      </Head>

      <main>
        <h1 className="title">
          Welcome to <a href="https://nextjs.org">Next.js!</a>
        </h1>

        <p className={styles.scss_test}>
          Scss Test
        </p>

        <p className="description">
          Get started by editing <code>pages/index.js</code>
        </p>
{/* 〜中略〜 */}
      </main>
{/* 〜中略〜 */}
    </div>
  )
}
そうして、再びyarn dev -p 5000 を叩き、http://localhost:5000 にアクセスすれば、.scssファイルで定義した内容が適用されていることが下記の通り確認できます。
4. Next.jsのアプリケーションにGlobalなStyleを適用する方法
ここでも、まずはじめにControl + cでdevサーバーは落としておきます。
リセットCSSなど、GlobalなStyleを適用したいケースでは、Next.js内で特別に扱われるファイル、pages/_app.tsx を作成する必要があります。
下記の通り、まずは空っぽのpages/_app.tsxを作成し・・・
[sho@mac] ~/src/github.com/shoutatani/next-js-template % touch pages/_app.tsx
[sho@mac] ~/src/github.com/shoutatani/next-js-template %
例としてGlobalに適用したいスタイルシートも作成します。
[sho@mac] ~/src/github.com/shoutatani/next-js-template % mkdir -p assets/styles/
[sho@mac] ~/src/github.com/shoutatani/next-js-template % touch assets/styles/global.scss
assets/styles/global.scss は、例としてoutlineプロパティを設定してみました。
* {
  outline: 1px solid #000;
}
その後、pages/_app.tsx の中身を以下の通り埋めます。import '../assets/styles/global.scss' としている箇所が、Globalでスタイルシートを読み込んでいる箇所になります。
import { AppProps } from 'next/app'
import '../assets/styles/global.scss'

function MyApp({ Component, pageProps }: AppProps) {
  return <Component {...pageProps} />
}

export default MyApp
再びyarn dev -p 5000 を叩き、http://localhost:5000 にアクセスすれば、下記の通りGlobalで設定したスタイルが適用されていることがわかるかと思います。

5. Next.jsのアプリケーションで、html要素の属性を変更する方法
htmlタグの内容を変更したい場合には、またしても特別なファイル、pages/_document.tsx に手を加えます。
ここでも、もう一度Control + cでdevサーバーは落としておきます。
pages/_document.tsx ファイルを作成し・・・
[sho@mac] ~/src/github.com/shoutatani/next-js-template % touch pages/_document.tsx
pages/_document.tsx ファイルの中身を下記の通り記述します。
<Html lang="ja"> としている箇所が、今回手を加えてlang属性を設定しました。
import Document, { Head, Html, Main, NextScript } from 'next/document'

class MyDocument extends Document {
  static async getInitialProps(ctx) {
    const initialProps = await Document.getInitialProps(ctx)
    return { ...initialProps }
  }

  render() {
    return (
      <Html lang="ja">
        <Head />
        <body>
          <Main />
          <NextScript />
        </body>
      </Html>
    )
  }
}

export default MyDocument
再びyarn dev -p 5000 を叩き、http://localhost:5000 にアクセスすれば、下記の通りlang属性が正しく反映されていることが確認できます。

6. Next.jsのアプリケーションを、Vercelでホストする方法
ホスト前に、一旦上記Scssのoutlineプロパティの値は外しておきます。(そのままでもいいですが。)
今回、新規に作成したGitリポジトリで作業しているかと思いますので、作成したファイルをコミットします。
[sho@mac] ~/src/github.com/shoutatani/next-js-template % git add -A
[sho@mac] ~/src/github.com/shoutatani/next-js-template % git status
On branch master

No commits yet

Changes to be committed:
  (use "git rm --cached <file>..." to unstage)
	new file:   .gitignore
	new file:   README.md
	new file:   assets/styles/global.scss
	new file:   next-env.d.ts
	new file:   package.json
	new file:   pages/_app.tsx
	new file:   pages/_document.tsx
	new file:   pages/api/hello.ts
	new file:   pages/index.module.scss
	new file:   pages/index.tsx
	new file:   public/favicon.ico
	new file:   public/vercel.svg
	new file:   tsconfig.json
	new file:   yarn.lock

[sho@mac] ~/src/github.com/shoutatani/next-js-template % git commit -m "Created Next.js project with TypeScript and Scss"
[master (root-commit) b0cfe8d] Created Next.js project with TypeScript and Scss
 14 files changed, 5998 insertions(+)
 create mode 100644 .gitignore
 create mode 100644 README.md
 create mode 100644 assets/styles/global.scss
 create mode 100644 next-env.d.ts
 create mode 100644 package.json
 create mode 100644 pages/_app.tsx
 create mode 100644 pages/_document.tsx
 create mode 100644 pages/api/hello.ts
 create mode 100644 pages/index.module.scss
 create mode 100644 pages/index.tsx
 create mode 100644 public/favicon.ico
 create mode 100644 public/vercel.svg
 create mode 100644 tsconfig.json
 create mode 100644 yarn.lock
[sho@mac] ~/src/github.com/shoutatani/next-js-template % git push origin master
Enumerating objects: 21, done.
Counting objects: 100% (21/21), done.
Delta compression using up to 8 threads
Compressing objects: 100% (16/16), done.
Writing objects: 100% (21/21), 97.77 KiB | 782.00 KiB/s, done.
Total 21 (delta 0), reused 0 (delta 0)
To ssh://github.com/shoutatani/next-js-template.git
 * [new branch]      master -> master
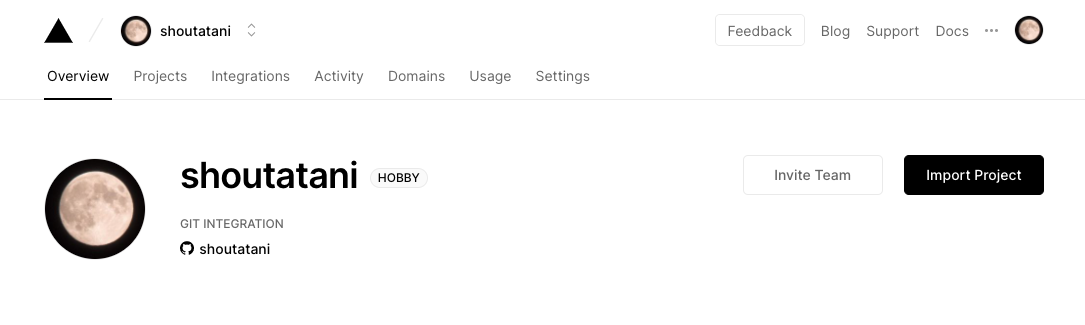
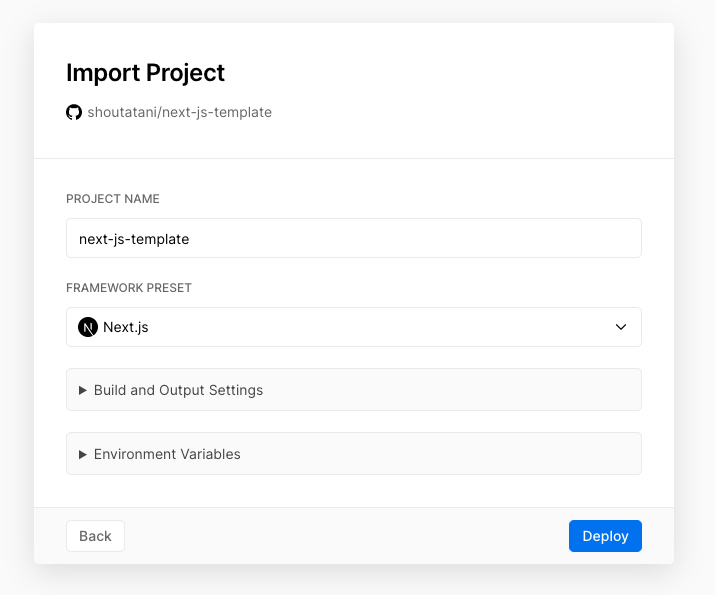
コミット後、Vercelのサイトにサインアップし、「Import Project」を押します。
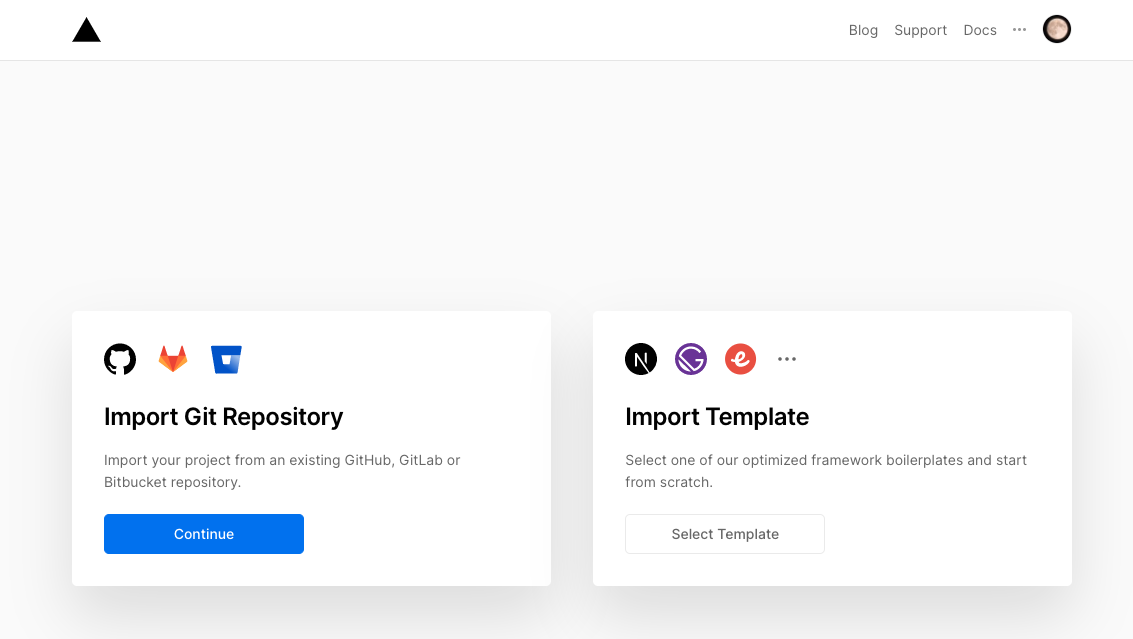
次に、「Import Git Repository」を押します。
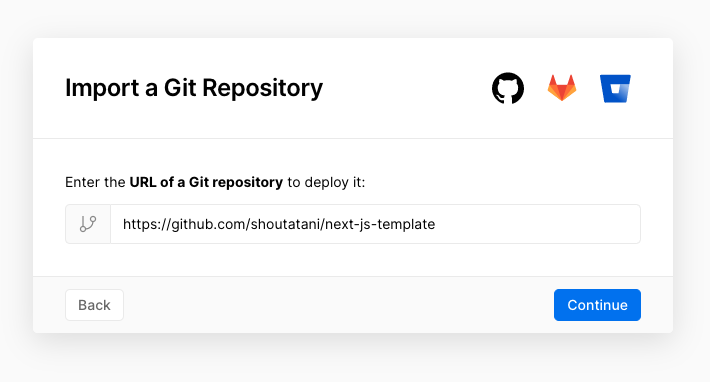
テキストボックスには、今回作成したリポジトリのURLを入力します。
特に設定は変えず、「Deploy」ボタンを押します。
ビルド&デプロイが自動で行われます。ビルド&デプロイが終了したら、「Visit」ボタンを押せば、実際にデプロイされているサイトにアクセスできます!
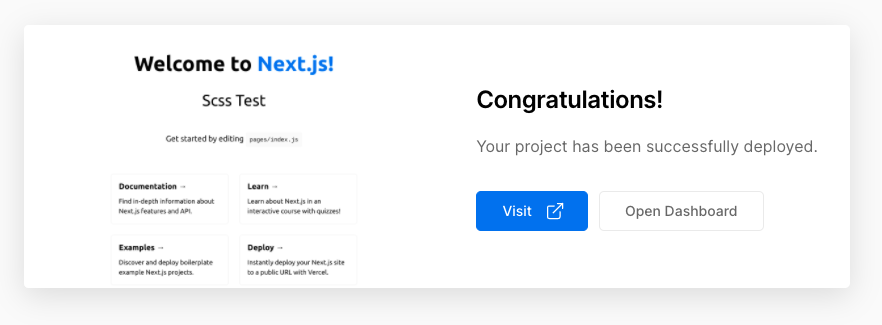
Welcome to Vercel!

これで、Next.jsのアプリケーションを作成し、TypeScript化も行え、Scssも使えるようになりました。
修正してコミットすれば、修正分も自動で再デプロイされます。
お疲れ様でした。
参考
成果物
今回作成したテンプレートリポジトリ:[shoutatani/next-js-template] (https://github.com/shoutatani/next-js-template)
後記
複雑なSSRやwebpack, TypeScriptの構成を内包してくれるNext.js、本当に素晴らしいものです。
アプリケーションエンジニアがビジネス価値を素早く提供できるようになるという点、webpack.config等の各種ライブラリのメンテンスコストが最小限で済むという点の両面で、Next.jsがもたらしてくれる価値というものは大きいように感じています。