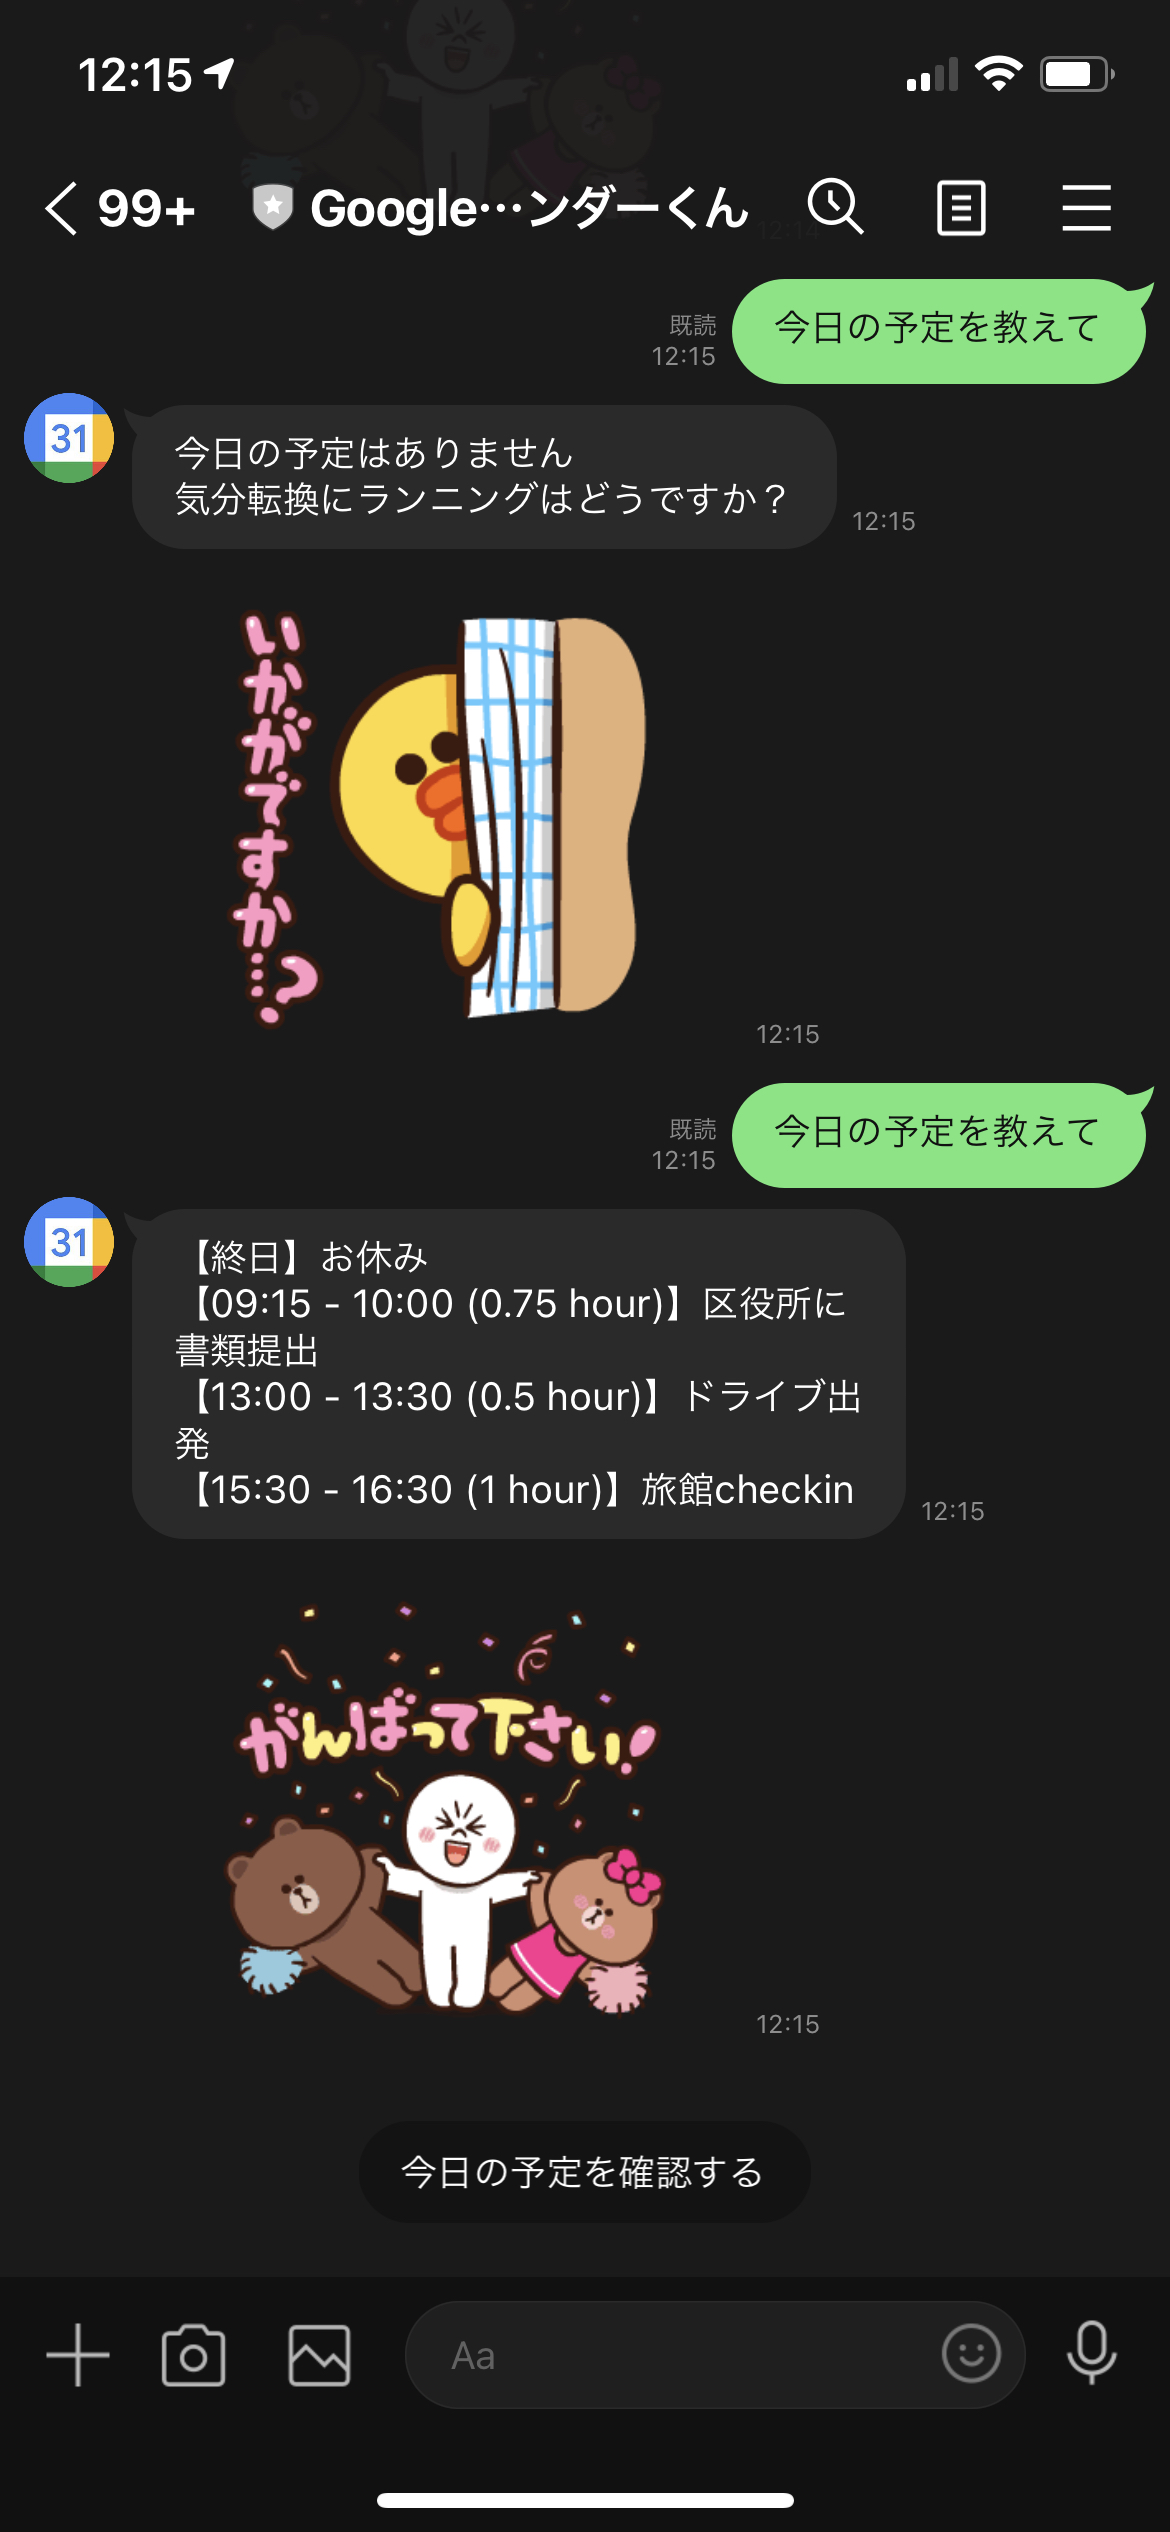
今日の予定を応答するLINE BOT

処理の流れ
やること
- LINE Developersに登録し、 ボットを作成する
- 連携するGoogle CalendarIDを取得する
- Google Apps Scriptを作成する
- Google Apps Scriptを公開する
- LINE DevelopersコンソールでボットのWebhook URLを登録する
ポイント説明
LINE Developersに登録し、 ボットを作成する
ここは、すでに数々のサイトで公開されているので、先人の知恵を参考にしてください。
ここで、Channel Access Tokenを取得してください
連携するGoogle CalendarIDを取得する
Google Apps Scriptを作成する
messaging_api.gs
// LINE Developers : Messaging API -> Channel access token
const ACCESS_TOKEN = ''
// Google Calendar : 設定 -> カレンダー ID
const CALENDAR_ID = ''
const quickReply = {
  items: [
    {
      type: 'action',
      action: {
        type: 'message',
        label: '今日の予定を確認する',
        text: '今日の予定を教えて'
      }
    },
  ]
}
const reply = ({replyToken, messages}) => {
  UrlFetchApp.fetch('https://api.line.me/v2/bot/message/reply', {
    method: 'POST',
    headers: {
      'Content-Type': 'application/json; charset=UTF-8',
      Authorization: `Bearer ${ACCESS_TOKEN}`
    },
    payload: JSON.stringify({replyToken, messages})
  })
}

const doPost = (e) => {
  const requestContent = JSON.parse(e.postData.contents).events[0]
  if (requestContent.message?.text === '今日の予定を教えて') actionToday({replyToken: requestContent.replyToken})

  reply({
      replyToken: requestContent.replyToken,
      messages: [
        {
          type: 'text',
          text: 'まだ、今日の予定を確認することしかできないよ。'
        },
        {
          type: 'sticker',
          packageId: '6136',
          stickerId: '10551397',
          quickReply,
        }
      ]
  })
}

const actionToday = ({replyToken}) => {
  const calender = CalendarApp.getCalendarById(CALENDAR_ID)
  const events = calender.getEventsForDay(new Date())
  reply({
    replyToken,
    messages: [
      {
        type: 'text',
        text: events.length ? events.map(event => {
          const hour = (event.getEndTime().getTime() - event.getStartTime().getTime()) / 3600000
          return `【${hour === 24 && event.getStartTime().getHours() === 9 ? '終日' :
              [
                Utilities.formatDate(event.getStartTime(), 'Asia/Tokyo', 'HH:mm'),
                Utilities.formatDate(event.getEndTime(), 'Asia/Tokyo', 'HH:mm'),
              ].join(' - ') + ` (${hour} hour)`
            }】${event.getTitle()}`
        }).join('\n') : '今日の予定はありません\n気分転換にランニングはどうですか?',
      },
      {
        type: 'sticker',
        ...events.length ? {packageId: '8515', stickerId: '16581265'}
          : {packageId: '8515', stickerId: '16581246'},
        quickReply,
      }
    ]
  })
}
Google Apps Scriptを公開する
LINE Developersコンソールでボットの Webhook URLを登録する
感想
これだけだと、あまり使えないので、カレンダー登録機能など今後拡張していきます。
自分だけのBOTっていうのがやっぱり愛着湧いて楽しかったです。
何より、試しに作ってみるのは楽しかったです!


