目的
TableViewを使用するときに毎回検索しているため、一通りの流れとしてメモを残す
環境
Xcode12.1
Swift5
流れ
・Main.storyboadの設定
・TableViewのコードを記述
・TableViewCellの作成
・TableViewCellのコードを記述
・Assetsに画像を設定
・実行
Main.storyboadの設定
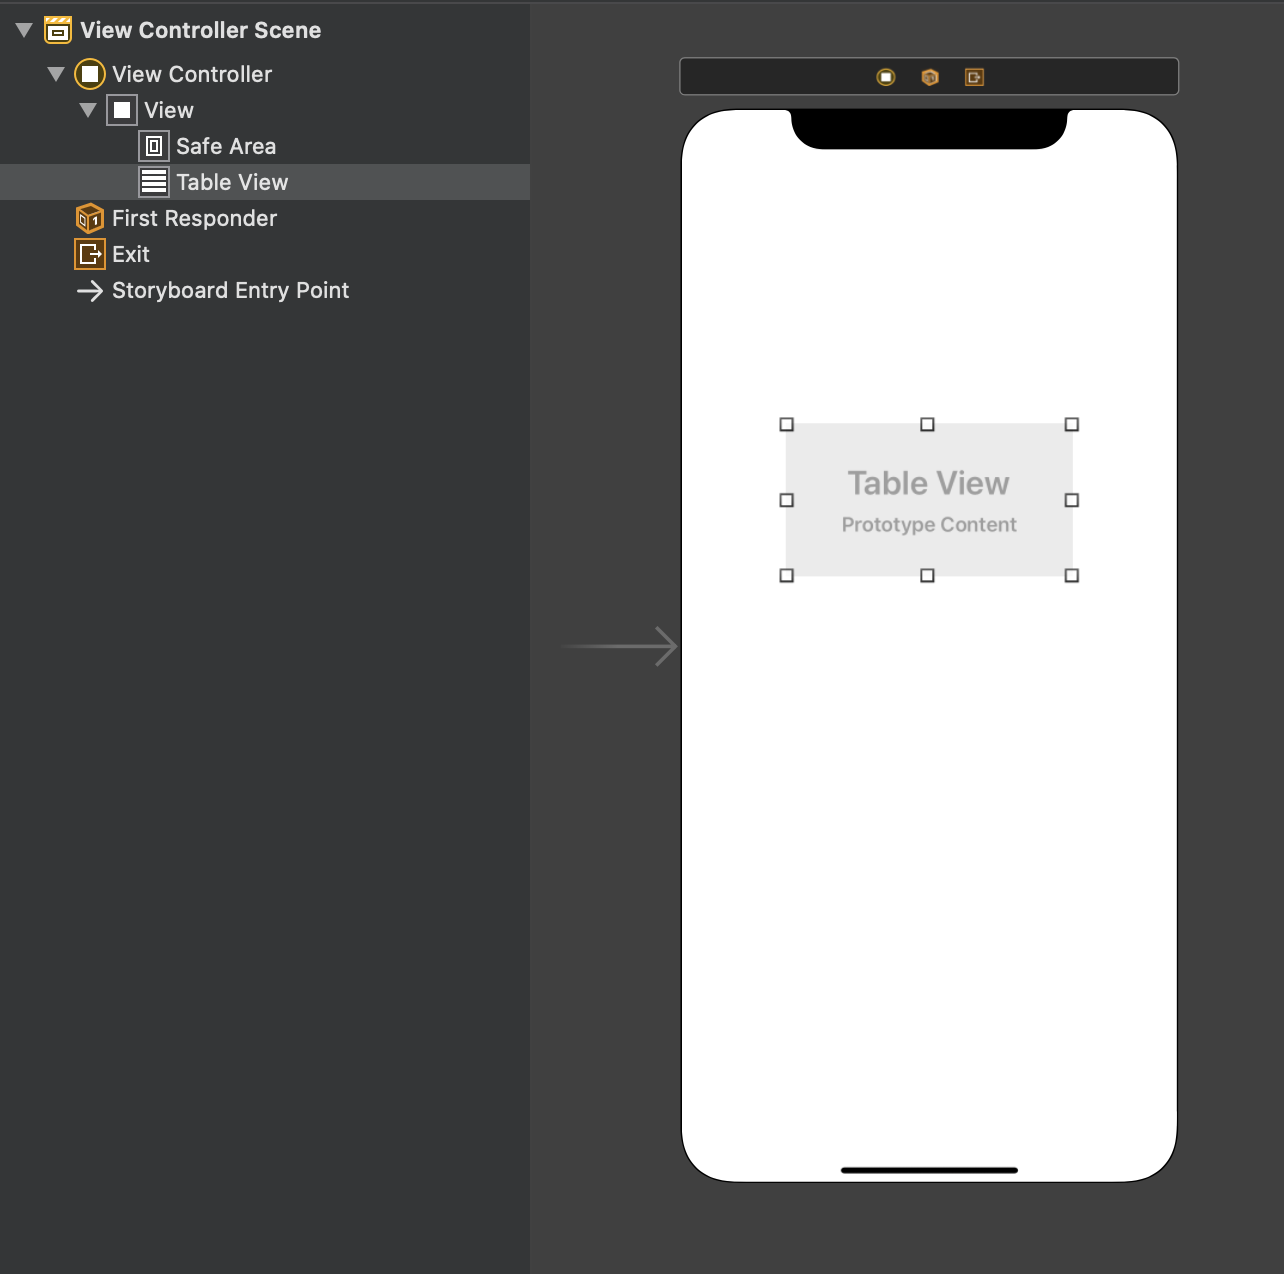
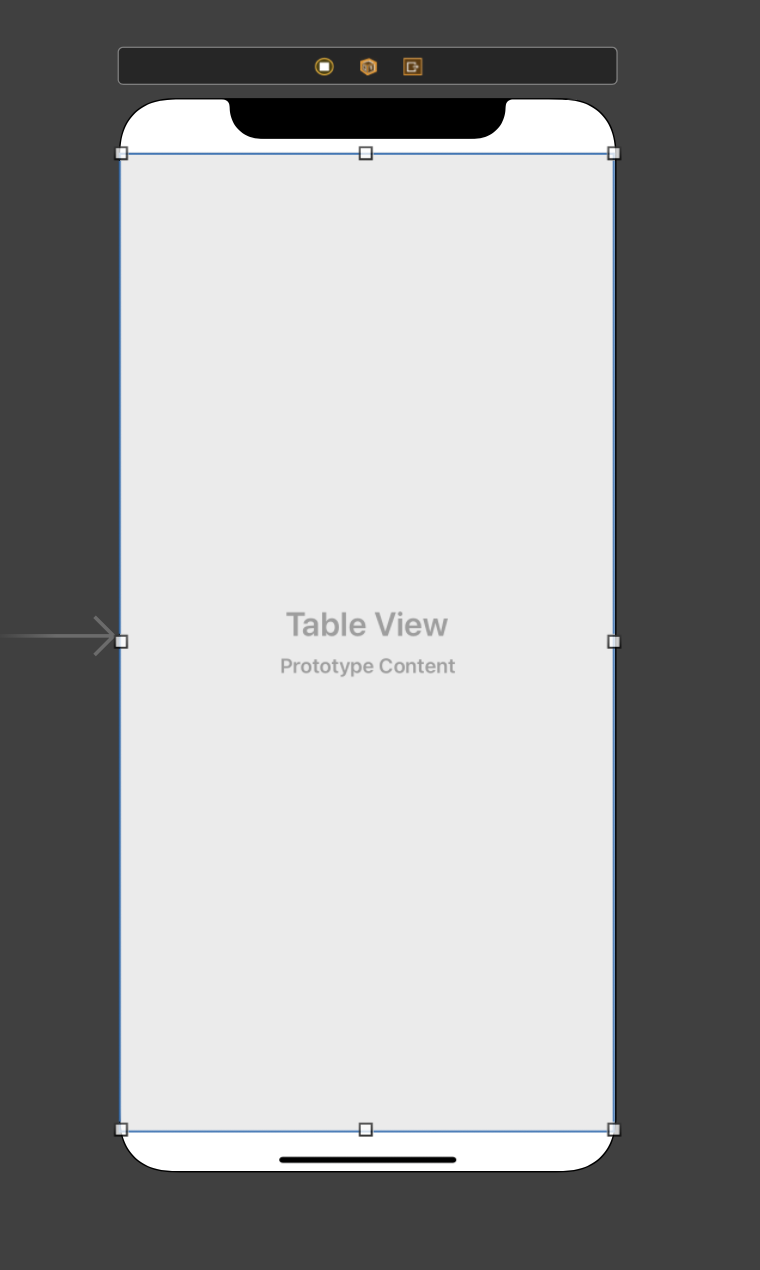
Main.storyboadにあるViewControllerにTableViewを設定します。
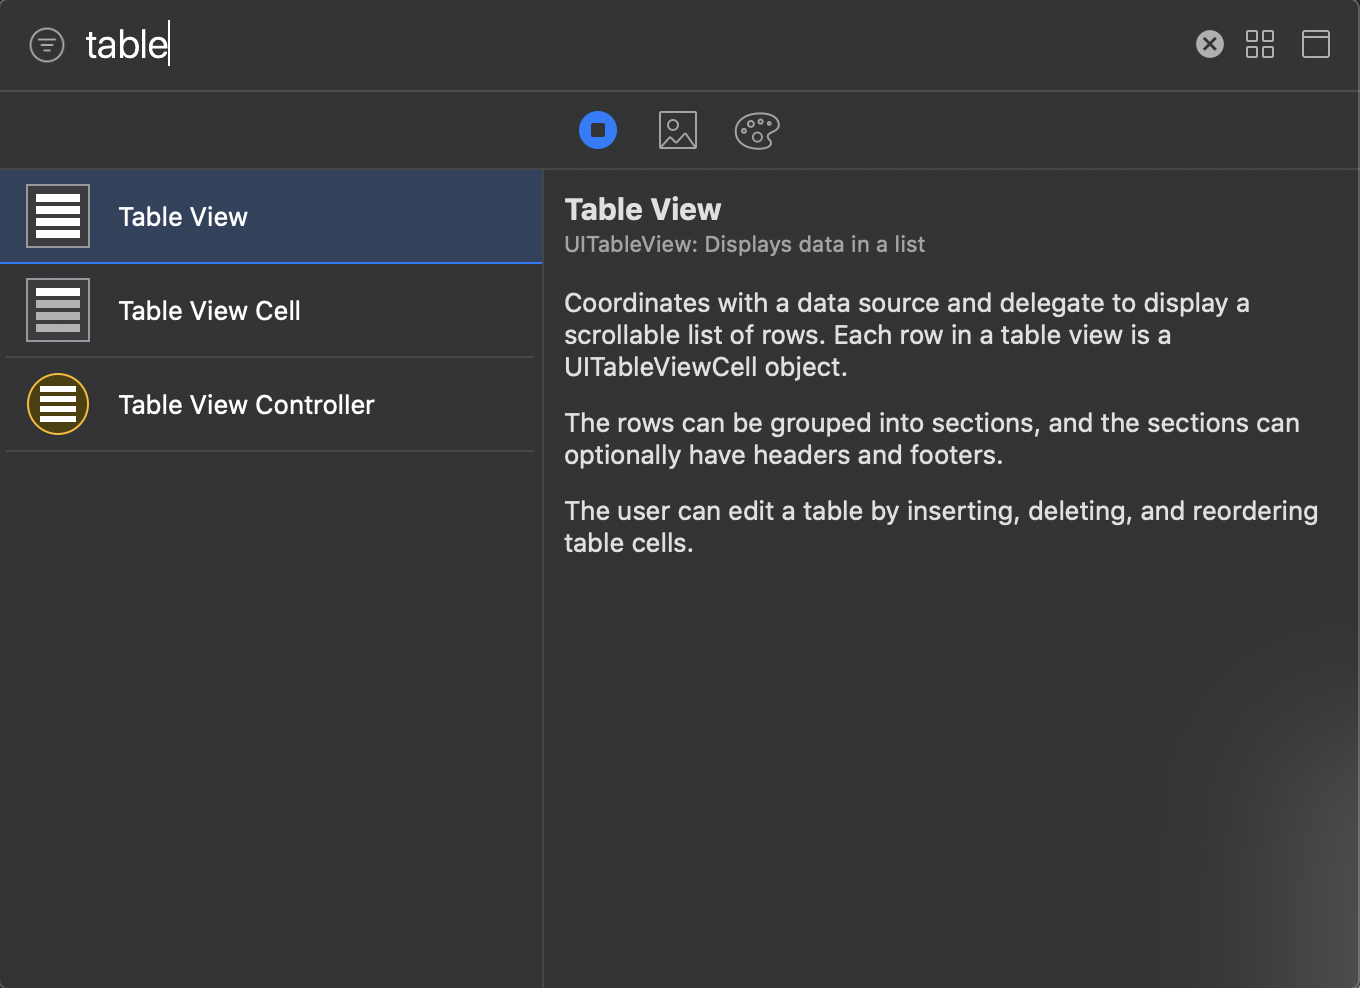
Xcodeの右上にある+ボタンからTableViewを検索し、ViewControllerにドラッグします。
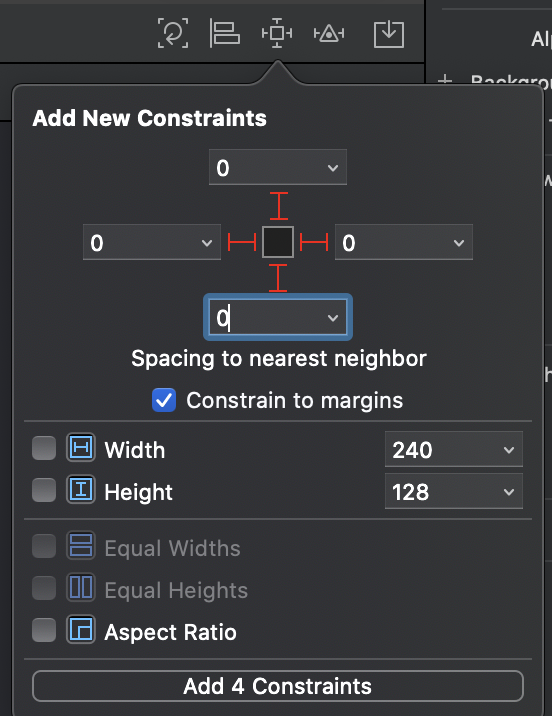
右下のAdd New Constraintsから制約を設定します。
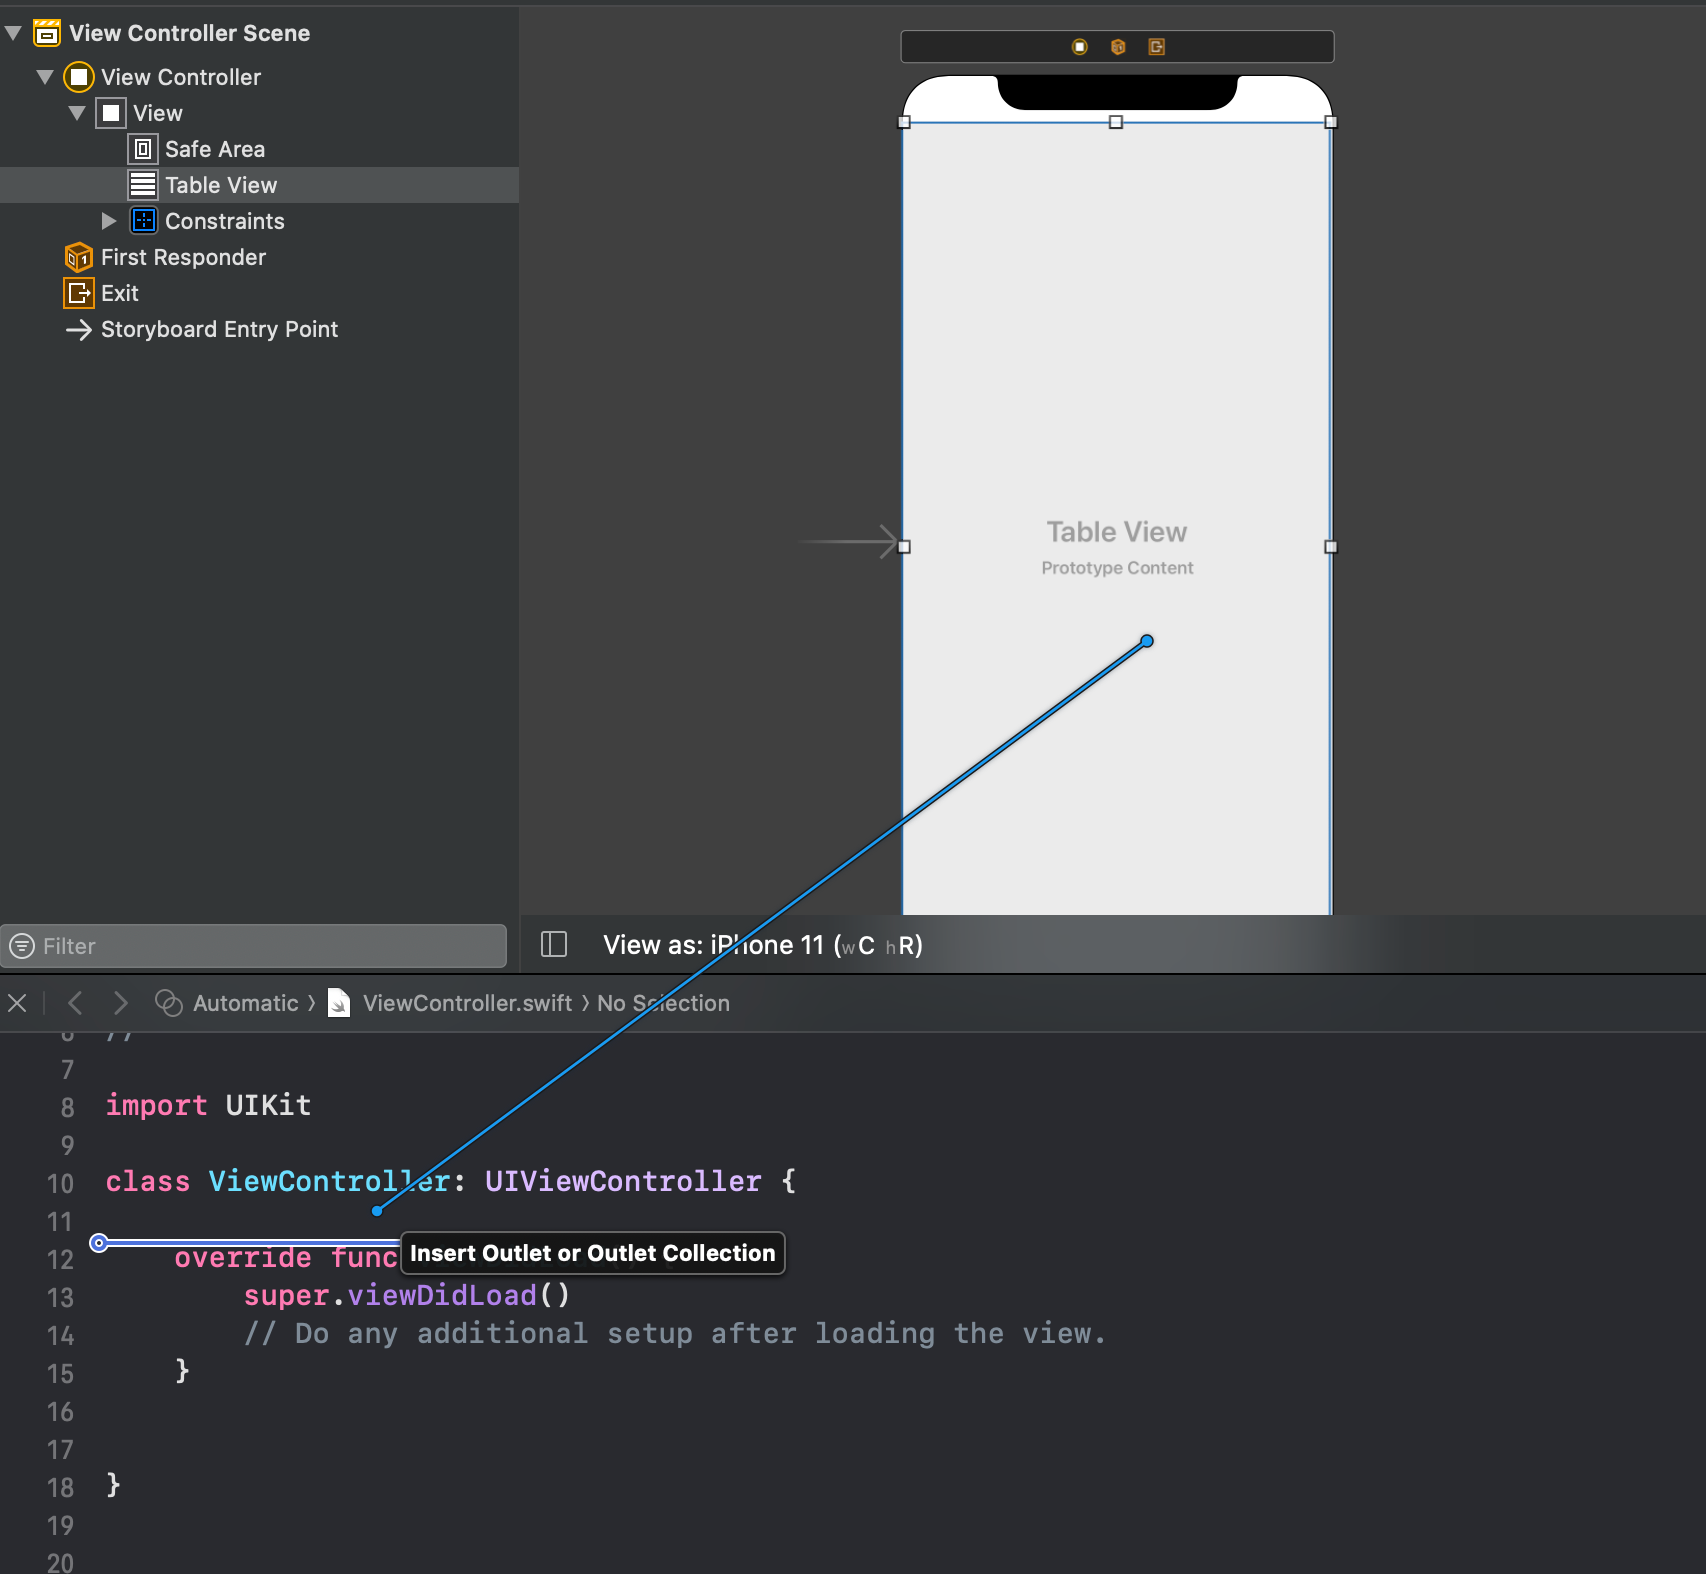
アシスタントエディタを開きます。
キーボードのをCmd、Opt、Ctr、Enterを同時に押し、アシスタントエディタを開きます。
stroyboadのTableViewをCtrを押しながら、エディタにドラッグし、outletを設定します。
変数名はtableViewとしました。
TableViewのコードを記述
以下のようにコードを記述します。
tableView(:numberOfRowsInSection:)は、セルの個数を設定し、
tableView(:cellForRowAt:)はセルの内容を設定します。
import UIKit

class ViewController: UIViewController {

    private let languageArray = ["Swift","Kotlin","AWS","HTML","CSS","JavaScript"]
    private let cellId = "cell"
    @IBOutlet weak var tableView: UITableView!
    override func viewDidLoad() {
        super.viewDidLoad()
        tableView.dataSource = self
        tableView.delegate = self
        let nib = UINib(nibName: "CustomViewCell", bundle: nil)
        tableView.register(nib, forCellReuseIdentifier: cellId)
        tableView.reloadData()
    }


}
extension ViewController:UITableViewDelegate,UITableViewDataSource{
    func tableView(_ tableView: UITableView, numberOfRowsInSection section: Int) -> Int {
        return languageArray.count
    }

    func tableView(_ tableView: UITableView, cellForRowAt indexPath: IndexPath) -> UITableViewCell {
        let cell = tableView.dequeueReusableCell(withIdentifier: cellId, for: indexPath) as! CustomViewCell
        cell.setLayout(languageName: languageArray[indexPath.row])
        return cell

    }
    func tableView(_ tableView: UITableView, heightForRowAt indexPath: IndexPath) -> CGFloat {
        return 100
    }
}
TableViewCellの作成
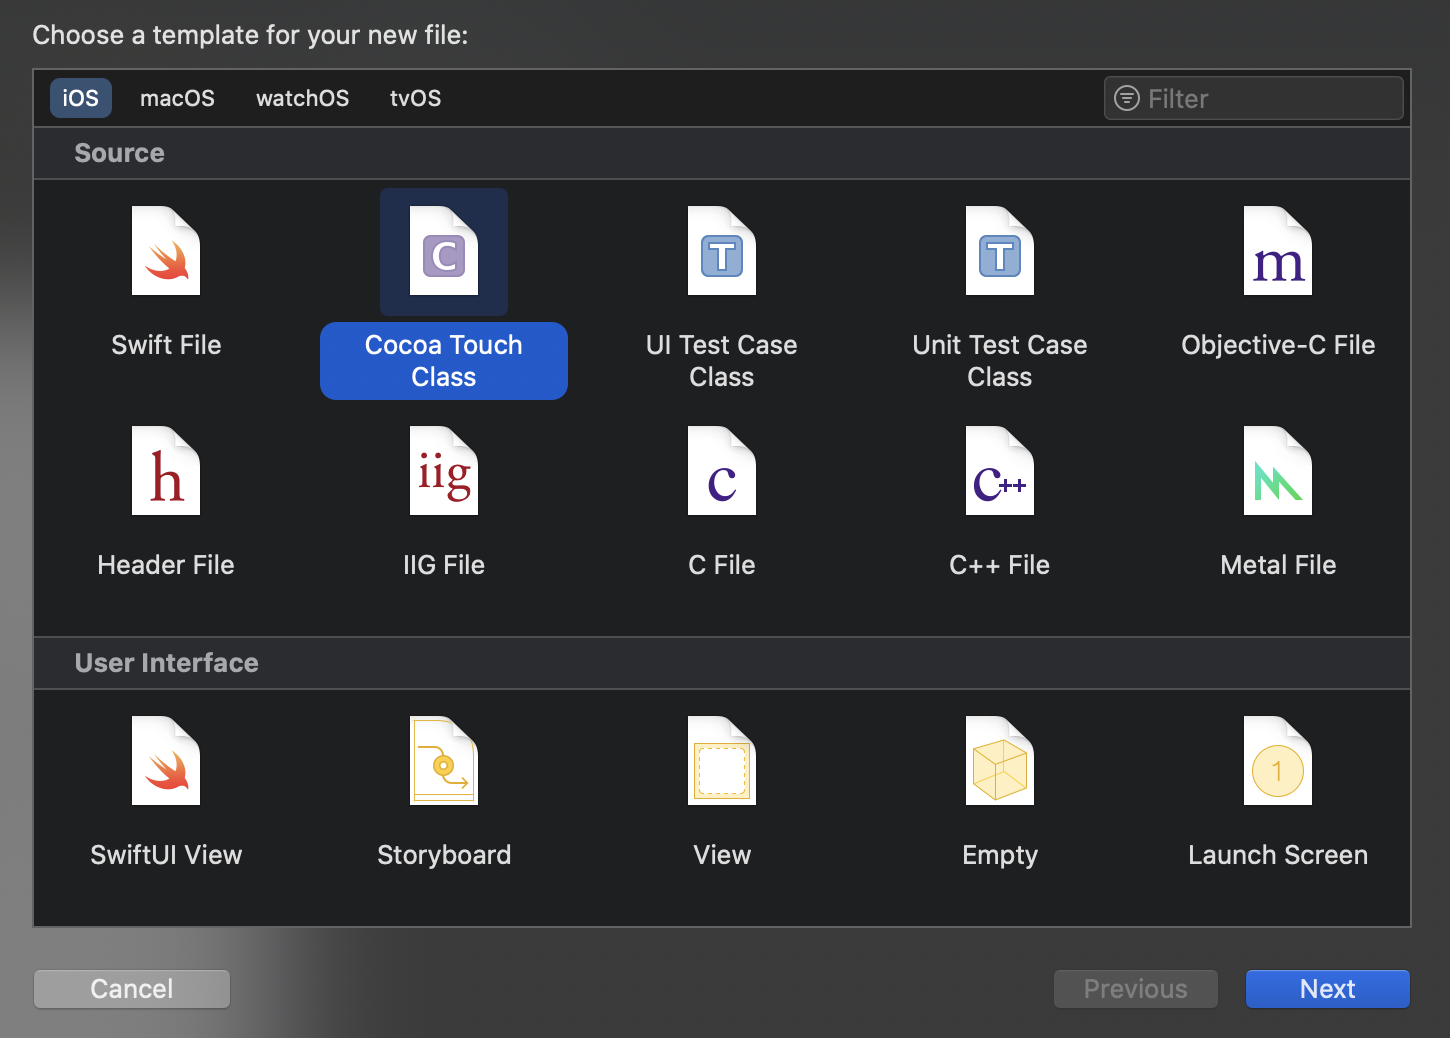
XcodeのナビゲーションエリアでCmd + Nを押します。
Cocoa Touch Class を選択しNext
CalssにCustomViewCell
SubClass ofにUITableViewCell
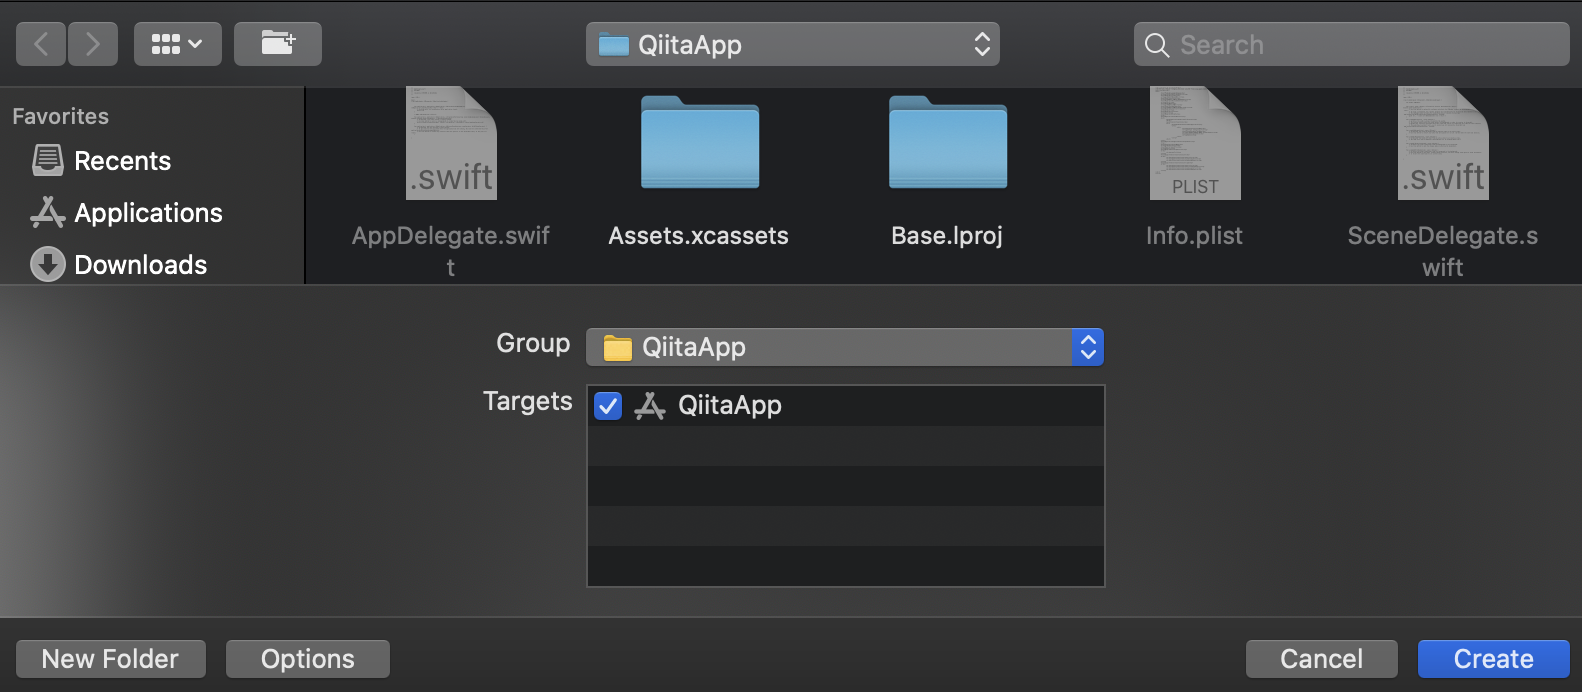
Also create XIB fileにチェックをつけてNext
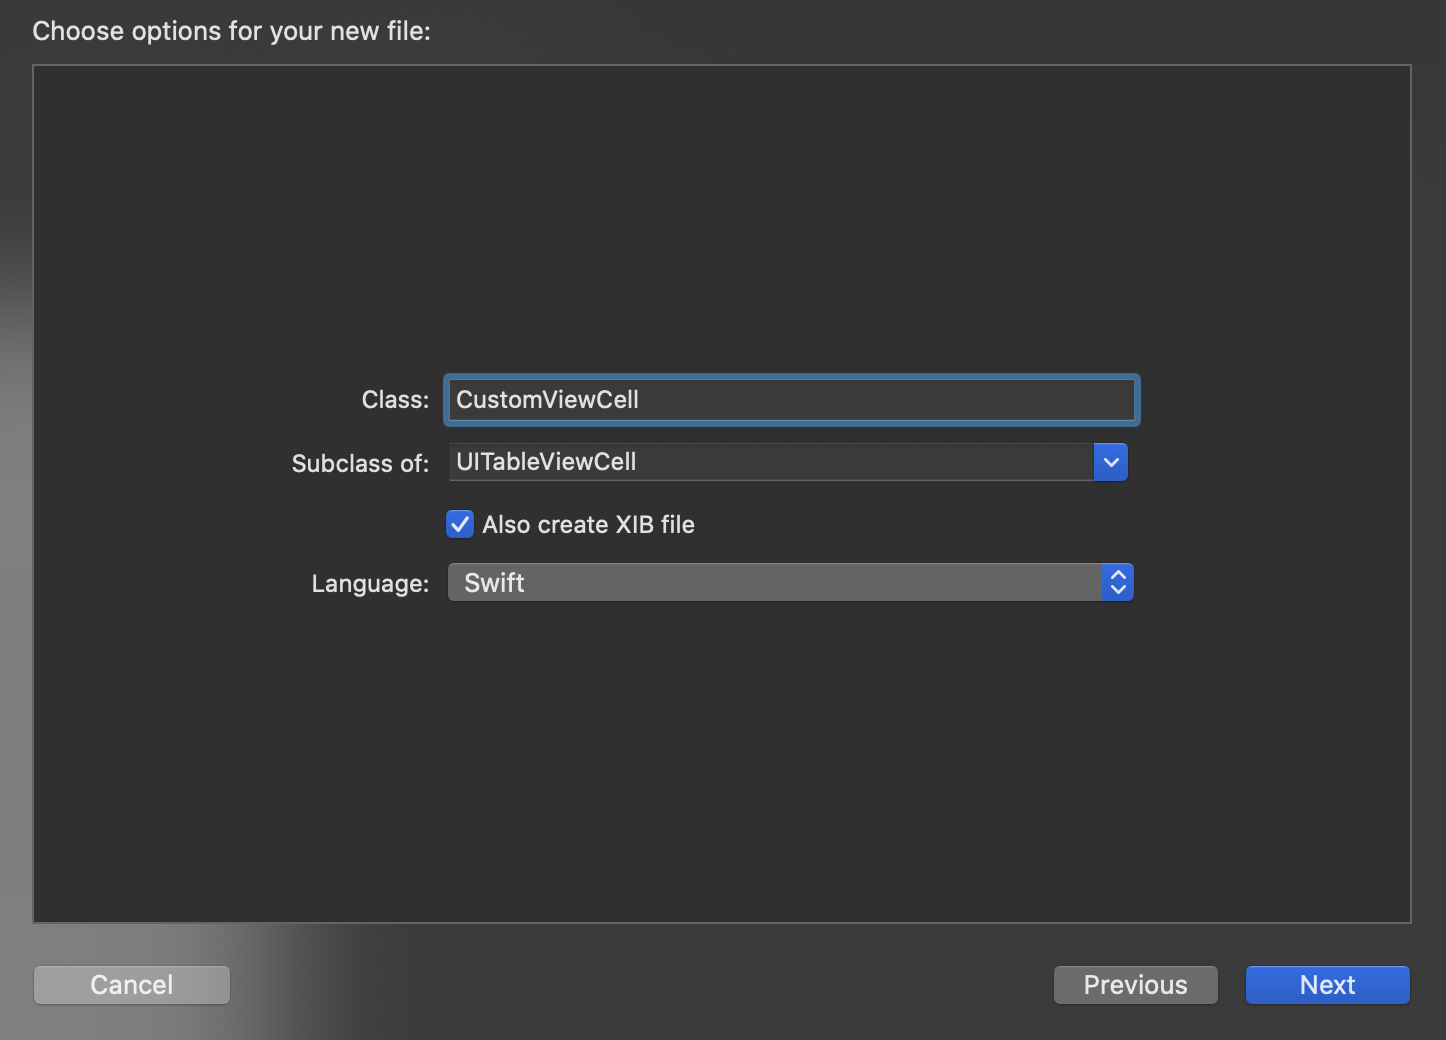
保存場所はそのままでCreate
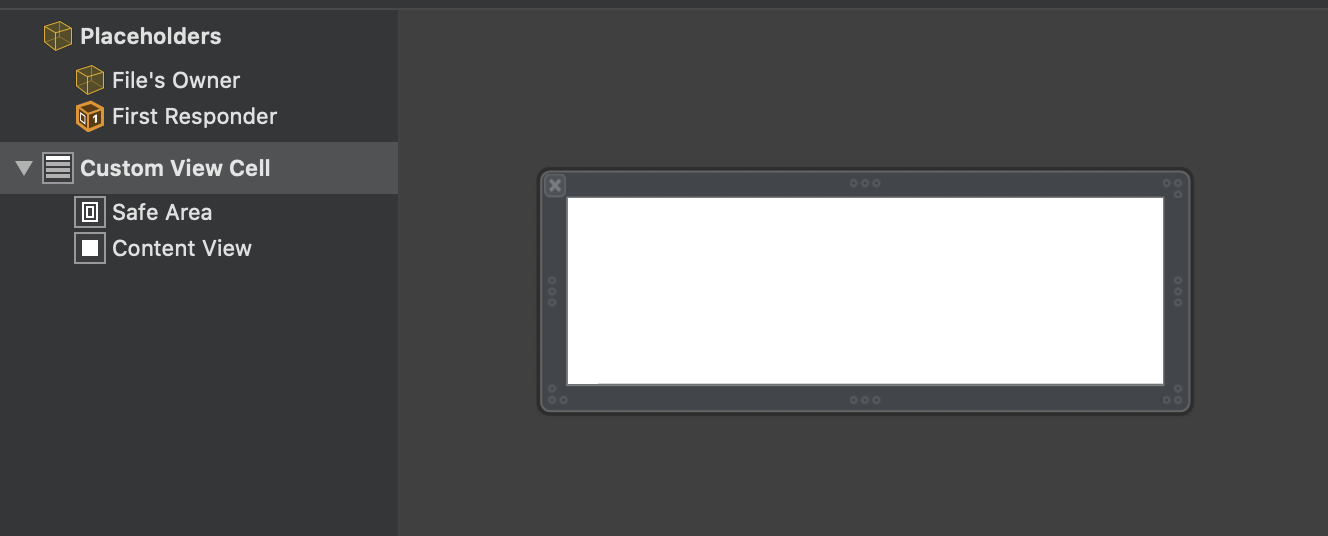
生成されたCustomViewCell.xibを開き、ドラッグして大きさを調整します。
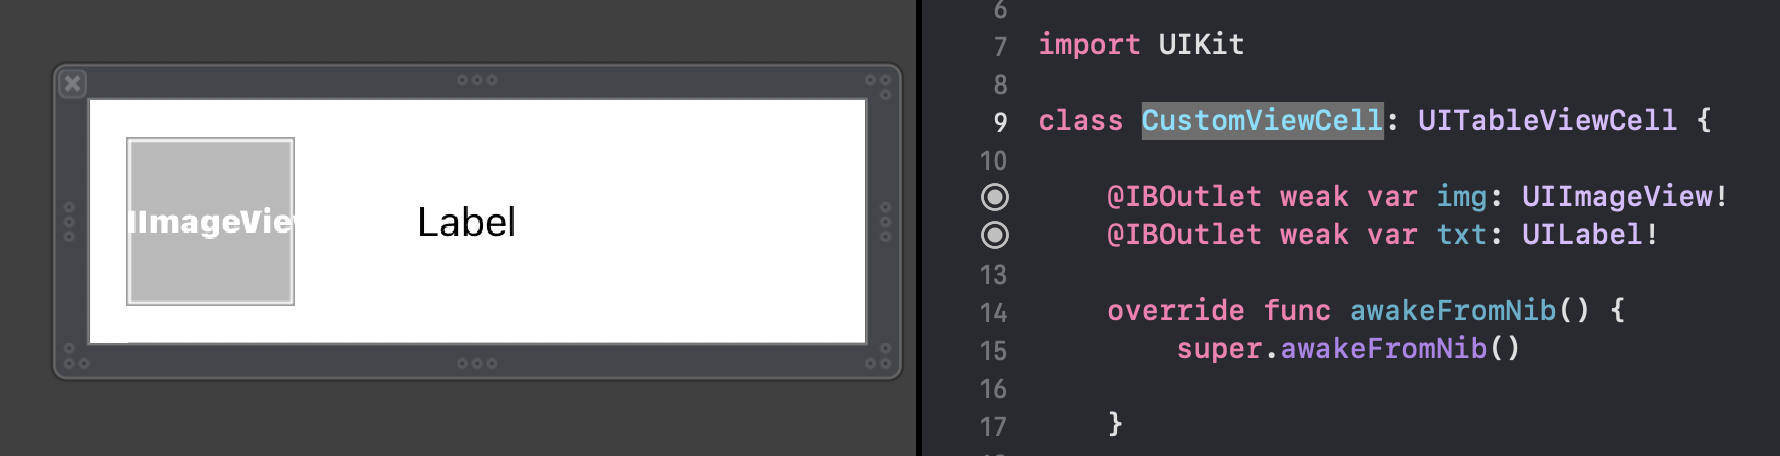
中にTextLabelやImageViewなどCellに配置する部品を配置し、コードとoutlet接続を行います。
TableViewCellのコードを記述
以下のようにコードを記述します。
setLayoutメソッドの中でセルのLabelとImageを設定します。
import UIKit

class CustomViewCell: UITableViewCell {

    @IBOutlet weak var logoImage: UIImageView!
    @IBOutlet weak var languageName: UILabel!

    override func awakeFromNib() {
        super.awakeFromNib()
        logoImage.layer.cornerRadius = logoImage.frame.size.width / 2
        logoImage.contentMode = .scaleAspectFill
    }

    override func setSelected(_ selected: Bool, animated: Bool) {
        super.setSelected(selected, animated: animated)
    }

    func setLayout(languageName:String){
        self.languageName.text = languageName
        self.logoImage.image =  UIImage(named: languageName)
    }

}
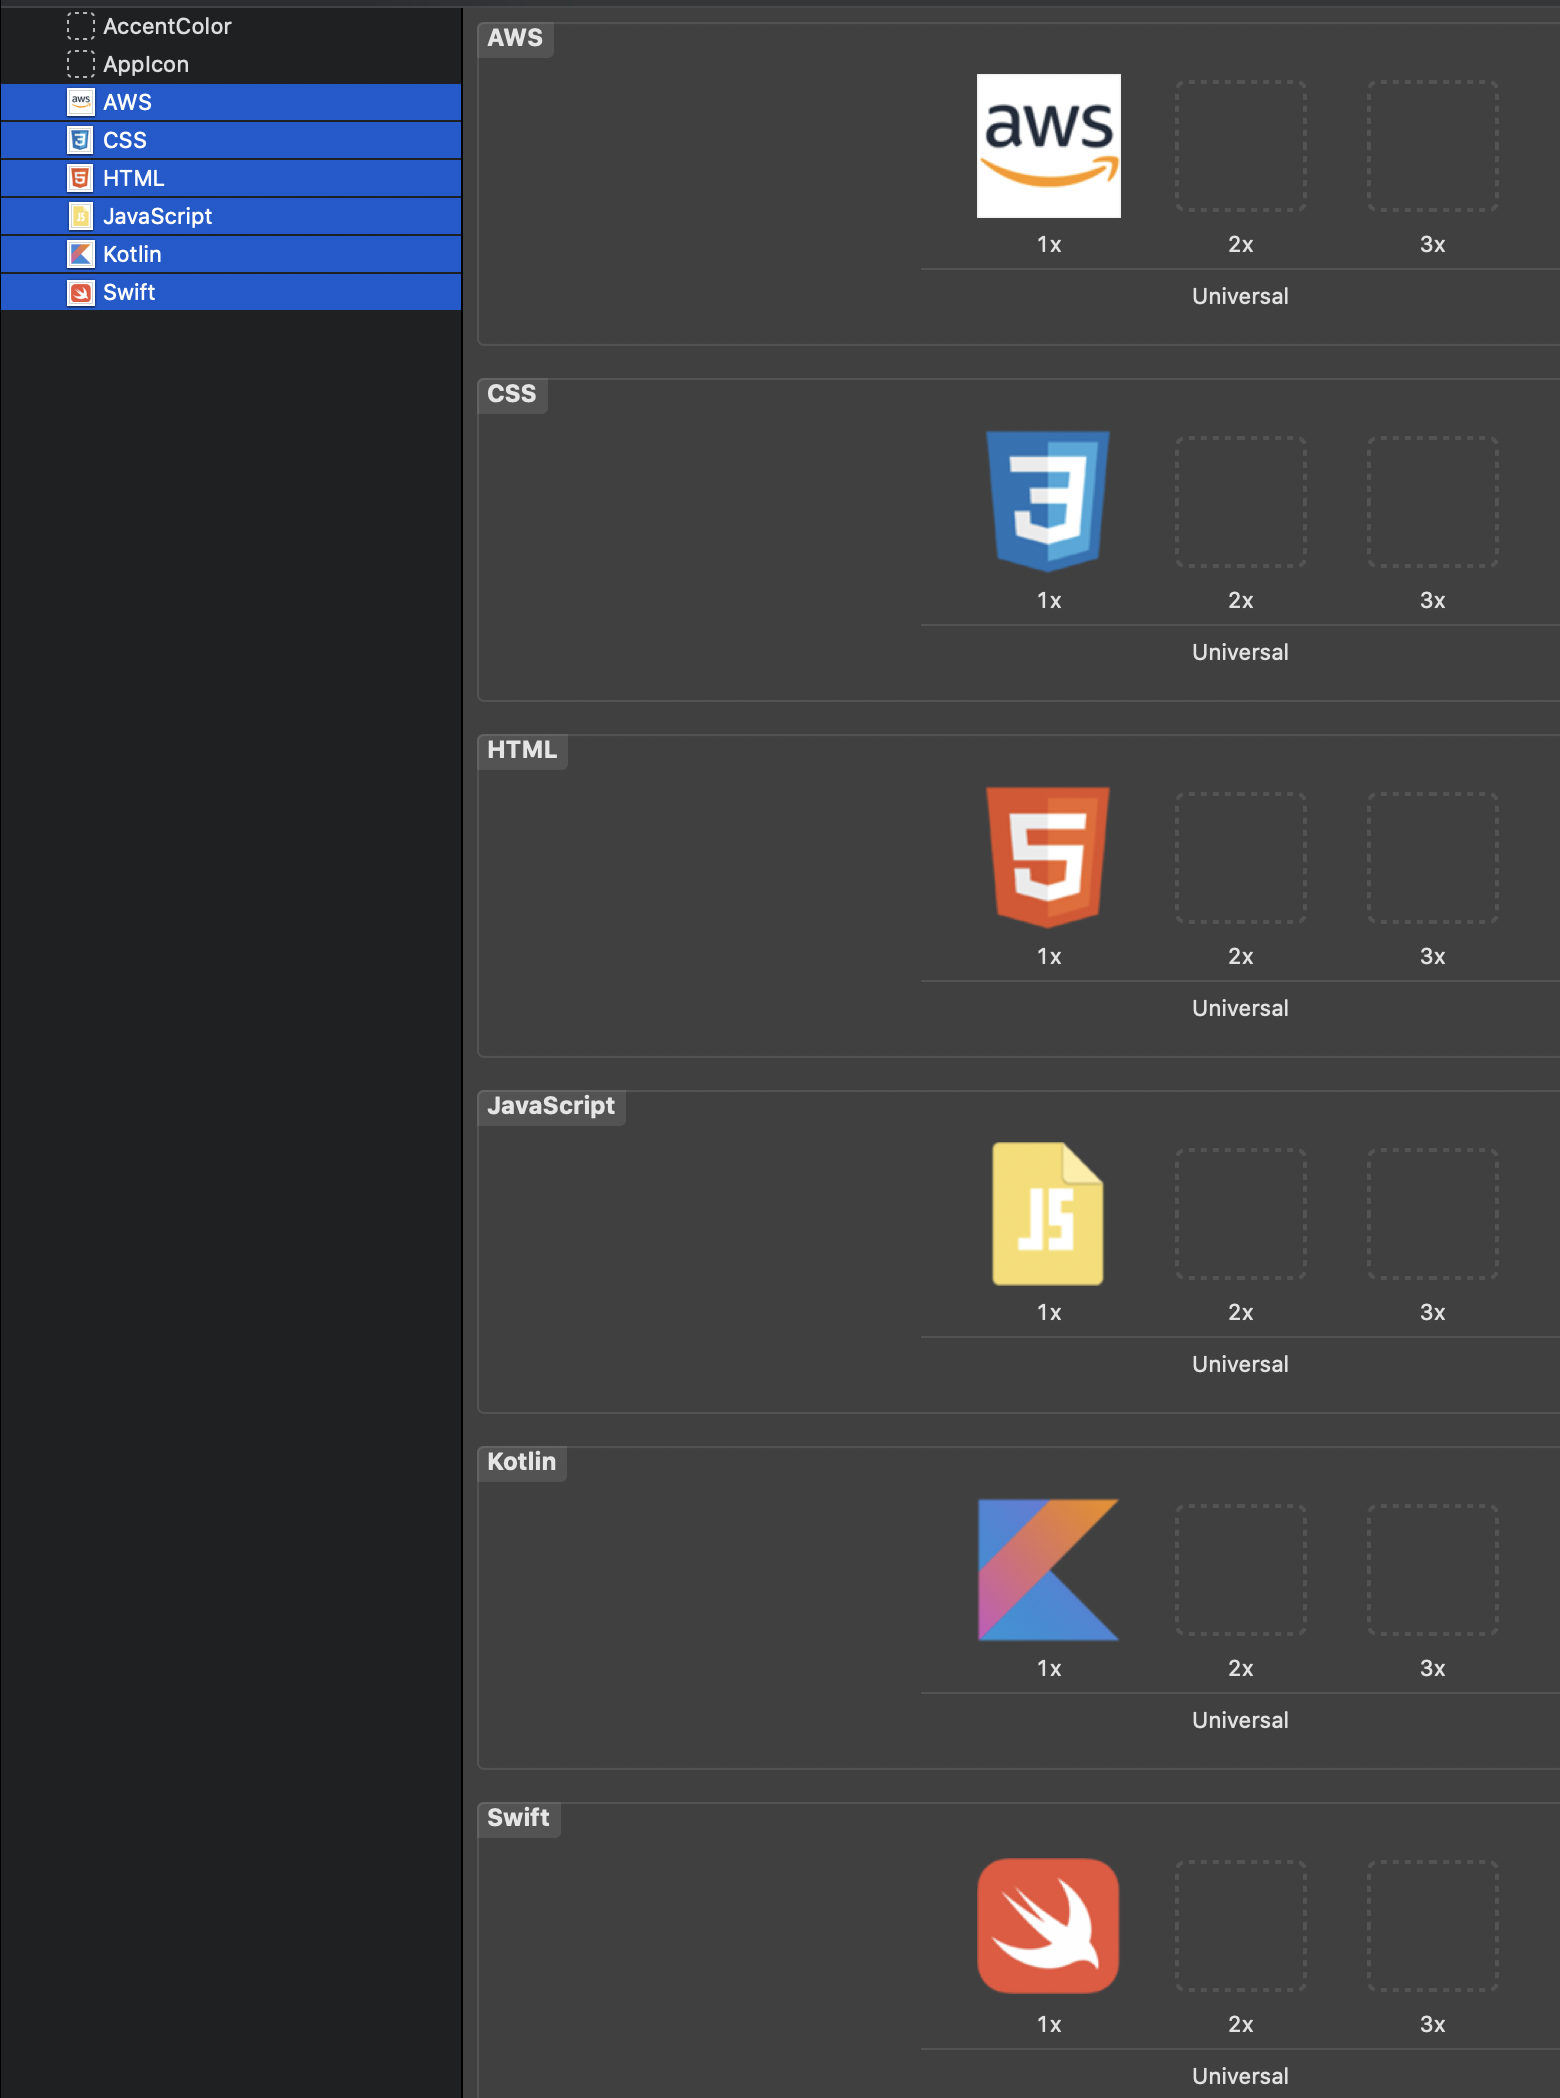
Assetsに画像を設定
Assetsに使用する画像を保存します。
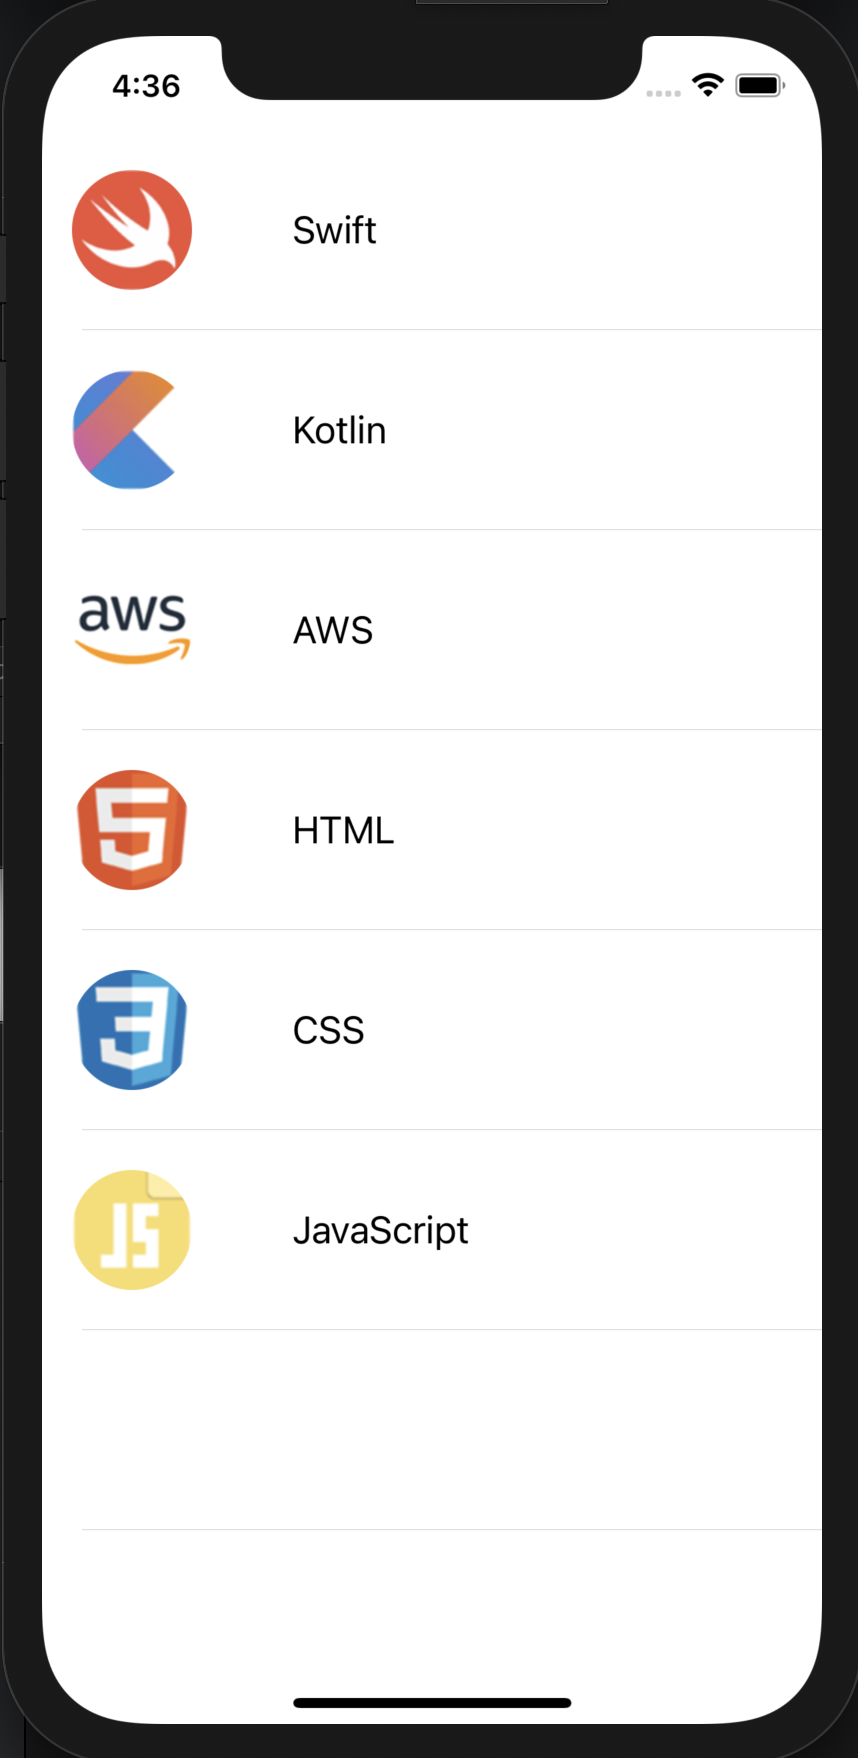
実行
完成です。