完全にcomposeとkotlin触ったことない人間が書いているので温かい目で見ていただけると助かります。
composeで画面遷移
アニメーションつける前に画面遷移がないと話にならないので、画面遷移を作ります。
package com.example.composesample.android

import android.os.Bundle
import androidx.activity.ComponentActivity
import androidx.activity.compose.setContent
import androidx.compose.foundation.layout.*
import androidx.compose.material3.*
import androidx.compose.runtime.*
import androidx.compose.ui.Alignment
import androidx.compose.ui.Modifier
import androidx.compose.ui.tooling.preview.Preview
import androidx.navigation.NavHostController
import androidx.navigation.compose.NavHost
import androidx.navigation.compose.composable
import androidx.navigation.compose.rememberNavController

class MainActivity : ComponentActivity() {
    override fun onCreate(savedInstanceState: Bundle?) {
        super.onCreate(savedInstanceState)
        setContent {
            MyApplicationTheme {
                Surface(
                    modifier = Modifier.fillMaxSize(),
                    color = MaterialTheme.colorScheme.background
                ) {
                    val navController = rememberNavController()
                    NavigationGraph(navController)
                }
            }
        }
    }
}

@Composable
fun NavigationGraph(navController: NavHostController) {
    NavHost(navController = navController, startDestination = "screen1") {
        composable(route = "screen1") {
            Screen1(onClickButton = {
                navController.navigate("screen2")
            })
        }
        composable(route = "screen2") {
            Screen2(onClickButton = { navController.navigateUp() })
        }
    }
}

@Composable
fun Screen1(onClickButton: () -> Unit) {

    Column(
        modifier = Modifier.fillMaxSize(),
        horizontalAlignment = Alignment.CenterHorizontally,
        verticalArrangement = Arrangement.Center
    ) {
        Text(text = "Screen 1")
        Button(onClick = {
                onClickButton()
        }) {
            Text(text = "Go to Screen 2")
        }
    }
}

@Composable
fun Screen2(onClickButton: () -> Unit) {
    Column(
        modifier = Modifier.fillMaxSize(),
        horizontalAlignment = Alignment.CenterHorizontally,
        verticalArrangement = Arrangement.Center
    ) {
        Text(text = "Screen 2")
        Button(onClick = onClickButton) {
            Text(text = "Back to Screen 1")
        }
    }
}

@Preview(showBackground = true)
@Composable
fun DefaultPreview() {
    MyApplicationTheme {
        Screen1(onClickButton = {})
    }
}
⇧こんな感じでコードを作成しました。
ファイル構成とか苦手なので、一旦MainActivity.ktにもともとあったMyApplicationTheme以外全部書いてます。
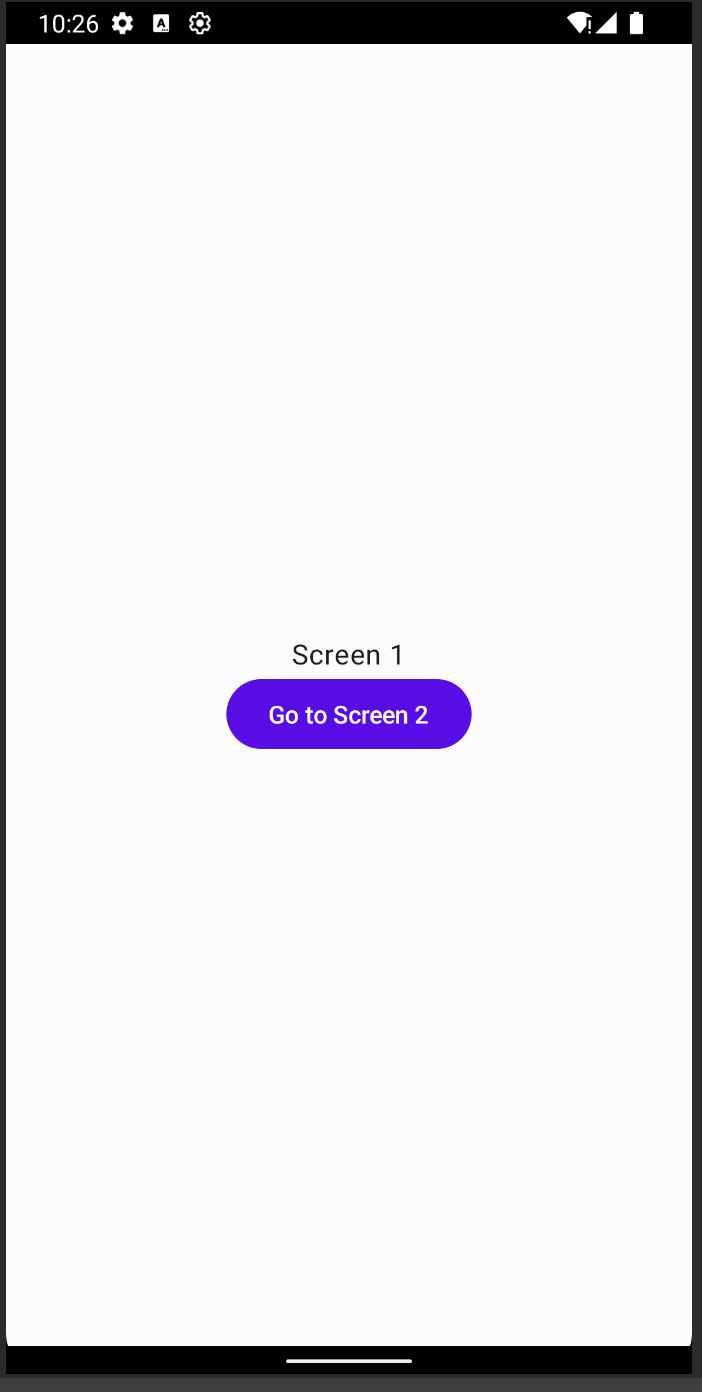
画面はこんな感じになってます。
ローディング追加
今のままだと画面遷移のアニメーションも無いので、押してもテキストの値変わったぐらいにしか感じられないので、画面遷移前にローディングを追加しようと思います。
今回は
CircularProgressIndicator
っていう円形のローディングインジケーターを使用しました。
以下が追加したコードです。
package com.example.composesample.android

import android.os.Bundle
import androidx.activity.ComponentActivity
import androidx.activity.compose.setContent
import androidx.compose.foundation.layout.*
import androidx.compose.material3.*
import androidx.compose.runtime.*
import androidx.compose.ui.Alignment
import androidx.compose.ui.Modifier
import androidx.compose.ui.tooling.preview.Preview
import androidx.navigation.NavHostController
import androidx.navigation.compose.NavHost
import androidx.navigation.compose.composable
import androidx.navigation.compose.rememberNavController
import kotlinx.coroutines.CoroutineScope
import kotlinx.coroutines.Dispatchers
import kotlinx.coroutines.delay
import kotlinx.coroutines.launch

class MainActivity : ComponentActivity() {
    override fun onCreate(savedInstanceState: Bundle?) {
        super.onCreate(savedInstanceState)
        setContent {
            MyApplicationTheme {
                Surface(
                    modifier = Modifier.fillMaxSize(),
                    color = MaterialTheme.colorScheme.background
                ) {
                    val navController = rememberNavController()
                    NavigationGraph(navController)
                }
            }
        }
    }
}

@Composable
fun NavigationGraph(navController: NavHostController) {
    NavHost(navController = navController, startDestination = "screen1") {
        composable(route = "screen1") {
            Screen1(onClickButton = {
                navController.navigate("screen2")
            })
        }
        composable(route = "screen2") {
            Screen2(onClickButton = { navController.navigateUp() })
        }
    }
}

@Composable
fun Screen1(onClickButton: () -> Unit) {
    var isLoading by remember { mutableStateOf(false) }

    Column(
        modifier = Modifier.fillMaxSize(),
        horizontalAlignment = Alignment.CenterHorizontally,
        verticalArrangement = Arrangement.Center
    ) {
        Text(text = "Screen 1")
        Button(onClick = {
            isLoading = true
            // 一時的にローディングを表示
            CoroutineScope(Dispatchers.Main).launch {
                delay(3000) // 3秒表示する
                isLoading = false
                onClickButton()
            }

        }) {
            Text(text = "Go to Screen 2")
        }

        if (isLoading) {
            // ローディングインジケーター
            CircularProgressIndicator()
        }
    }
}

@Composable
fun Screen2(onClickButton: () -> Unit) {
    Column(
        modifier = Modifier.fillMaxSize(),
        horizontalAlignment = Alignment.CenterHorizontally,
        verticalArrangement = Arrangement.Center
    ) {
        Text(text = "Screen 2")
        Button(onClick = onClickButton) {
            Text(text = "Back to Screen 1")
        }
    }
}

@Preview(showBackground = true)
@Composable
fun DefaultPreview() {
    MyApplicationTheme {
        Screen1(onClickButton = {})
    }
}
これをRunして再度ボタン押下するとScreen1からScreen2に遷移する前にローディングを3秒表示できました!!
画面はこんな感じです。

最後に
正直まだまだこのコード自体も完全に理解したわけでは無いですが、無事画面遷移とローディングの表示ができました。
他にもローディング等がありそうなので気になる方は調べてみてください!!