経緯
アプリ初回起動時によく見る操作説明画面など
画像とちょっとした説明文を使った複数の連続した画面を作成する際、
CollectionViewを使うと楽に実装できるのかと思い
サンプルを作成してみました。
Cellのサイズを画面サイズに合わせることで
ページ遷移をしているように見せます。
| 1 | 2 | 3 | 4 |
|---|---|---|---|
 |
 |
 |
 |
作成したサンプル
https://github.com/stzn/CollectionViewTutorial
実装
Tutorial.swift
struct Tutorial {
    let imageName: String
    let summary: String
    let detail: String
}
CollectionViewController.swift
private let reuseIdentifier = "Cell"
final class CollectionViewController: UICollectionViewController {
let tutorials = [
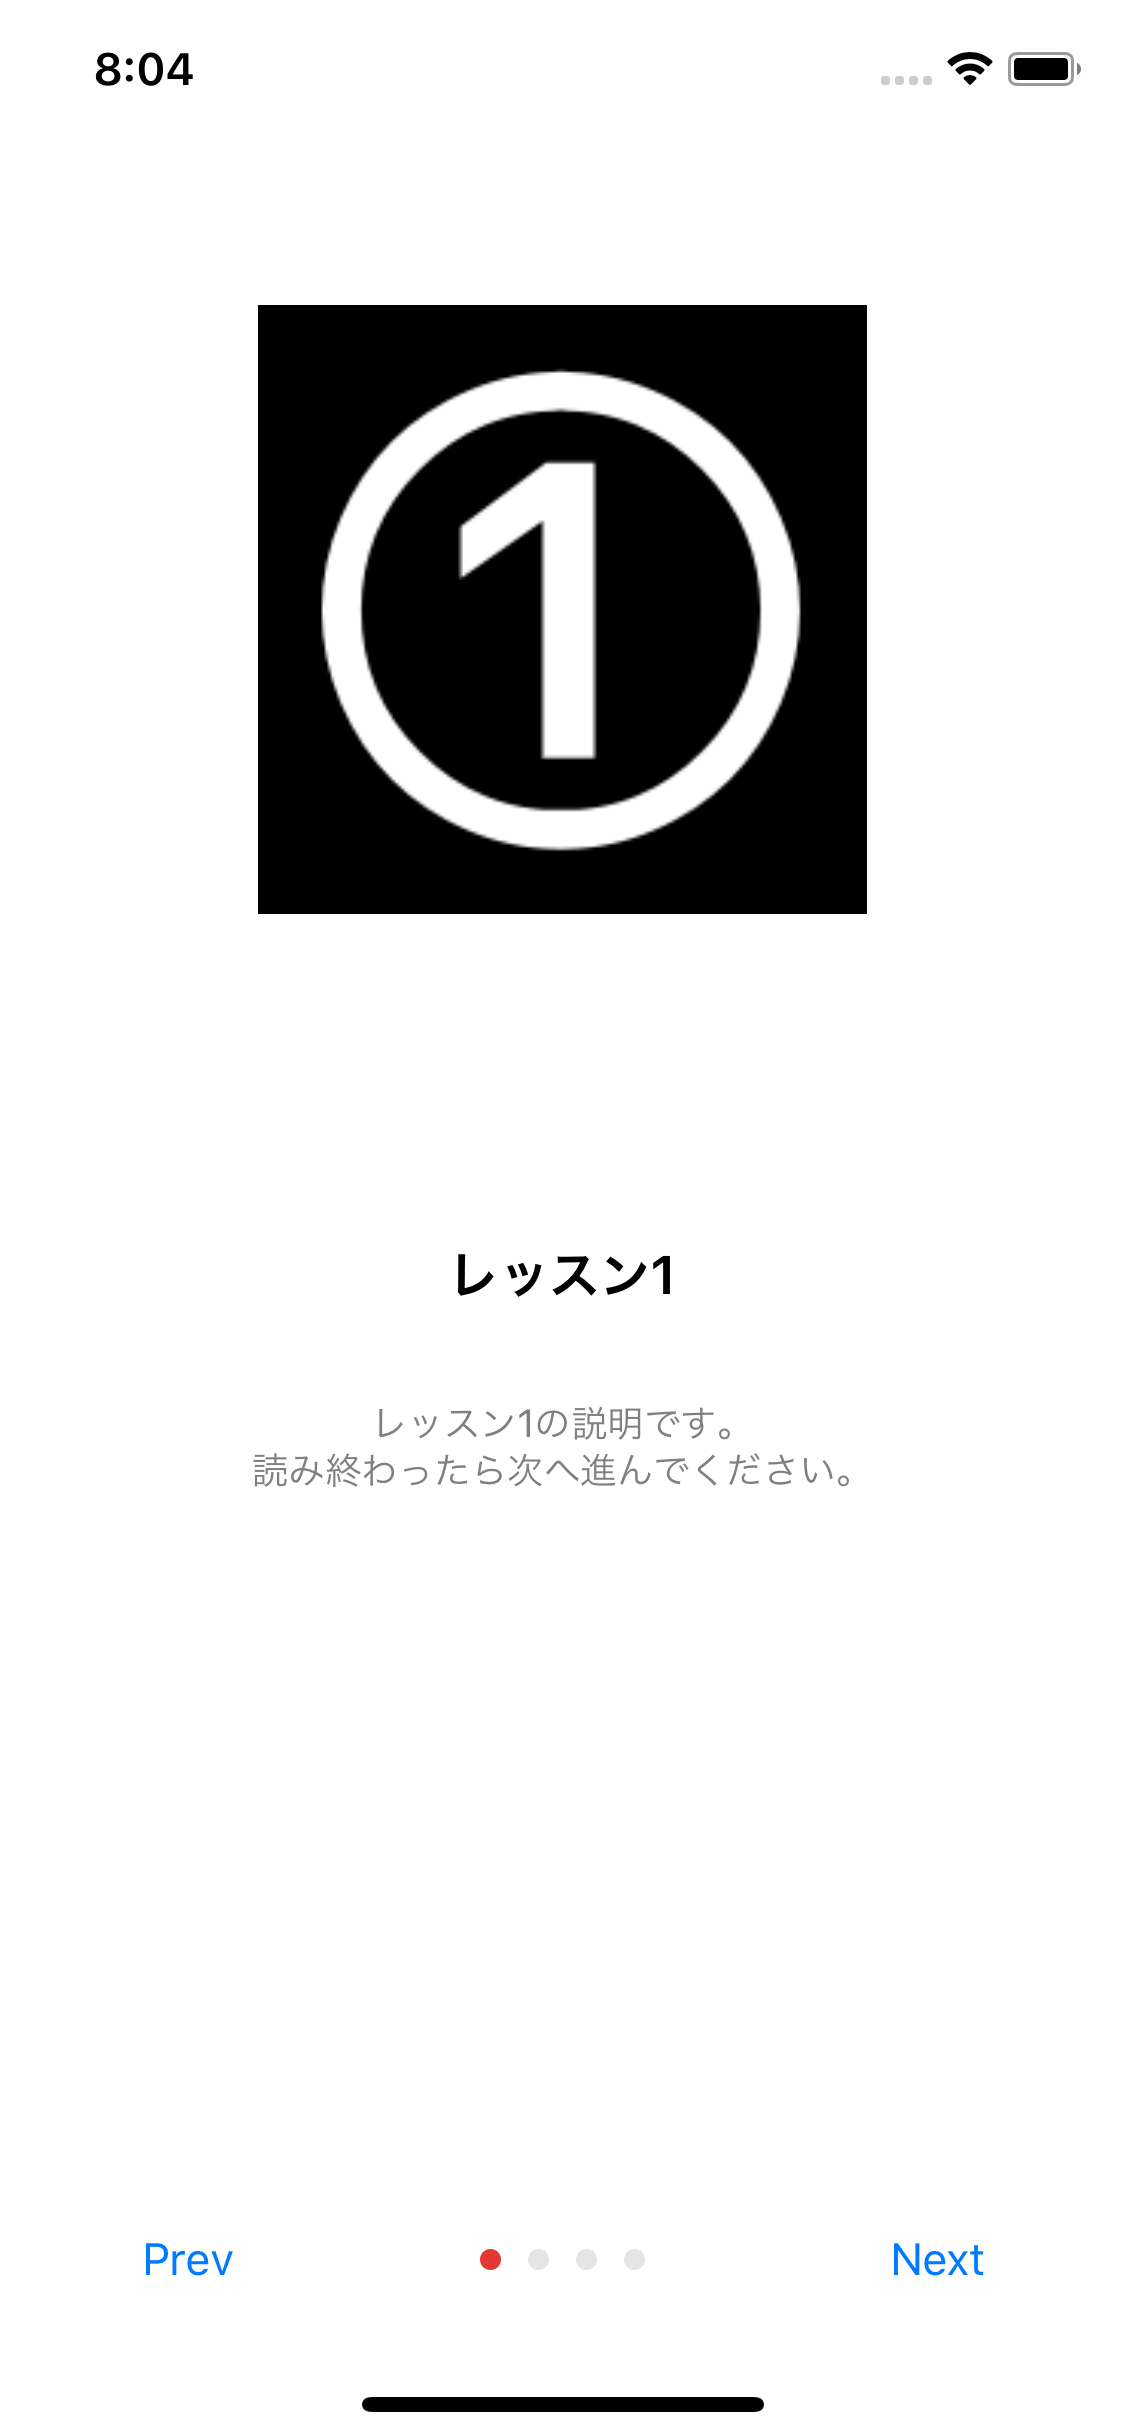
Tutorial(imageName: "1", summary: "レッスン1", detail: "レッスン1の説明です。\n読み終わったら次へ進んでください。"),
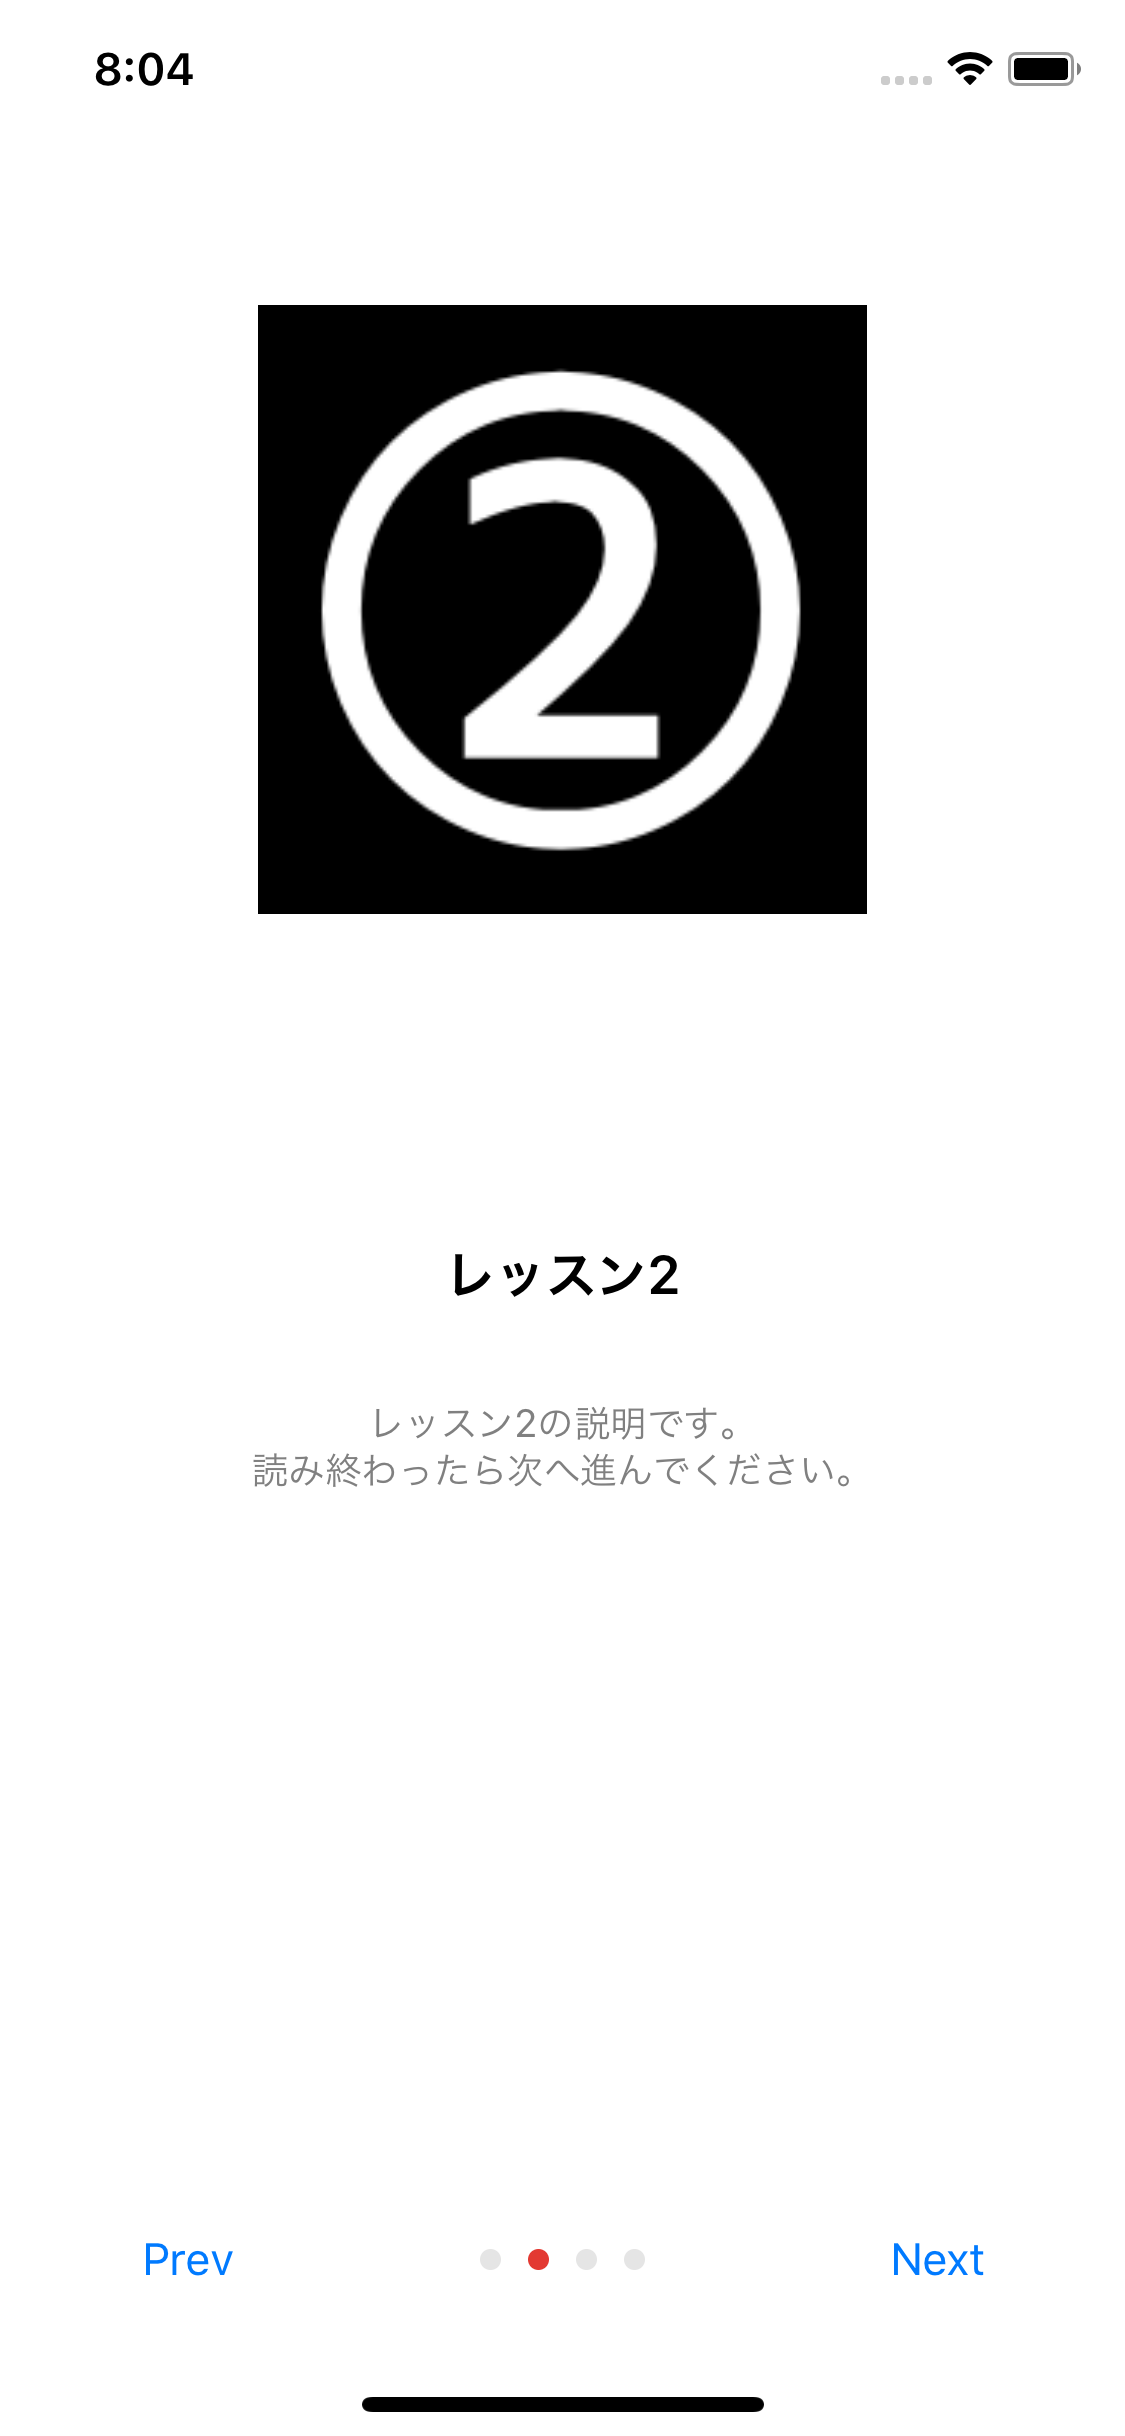
Tutorial(imageName: "2", summary: "レッスン2", detail: "レッスン2の説明です。\n読み終わったら次へ進んでください。"),
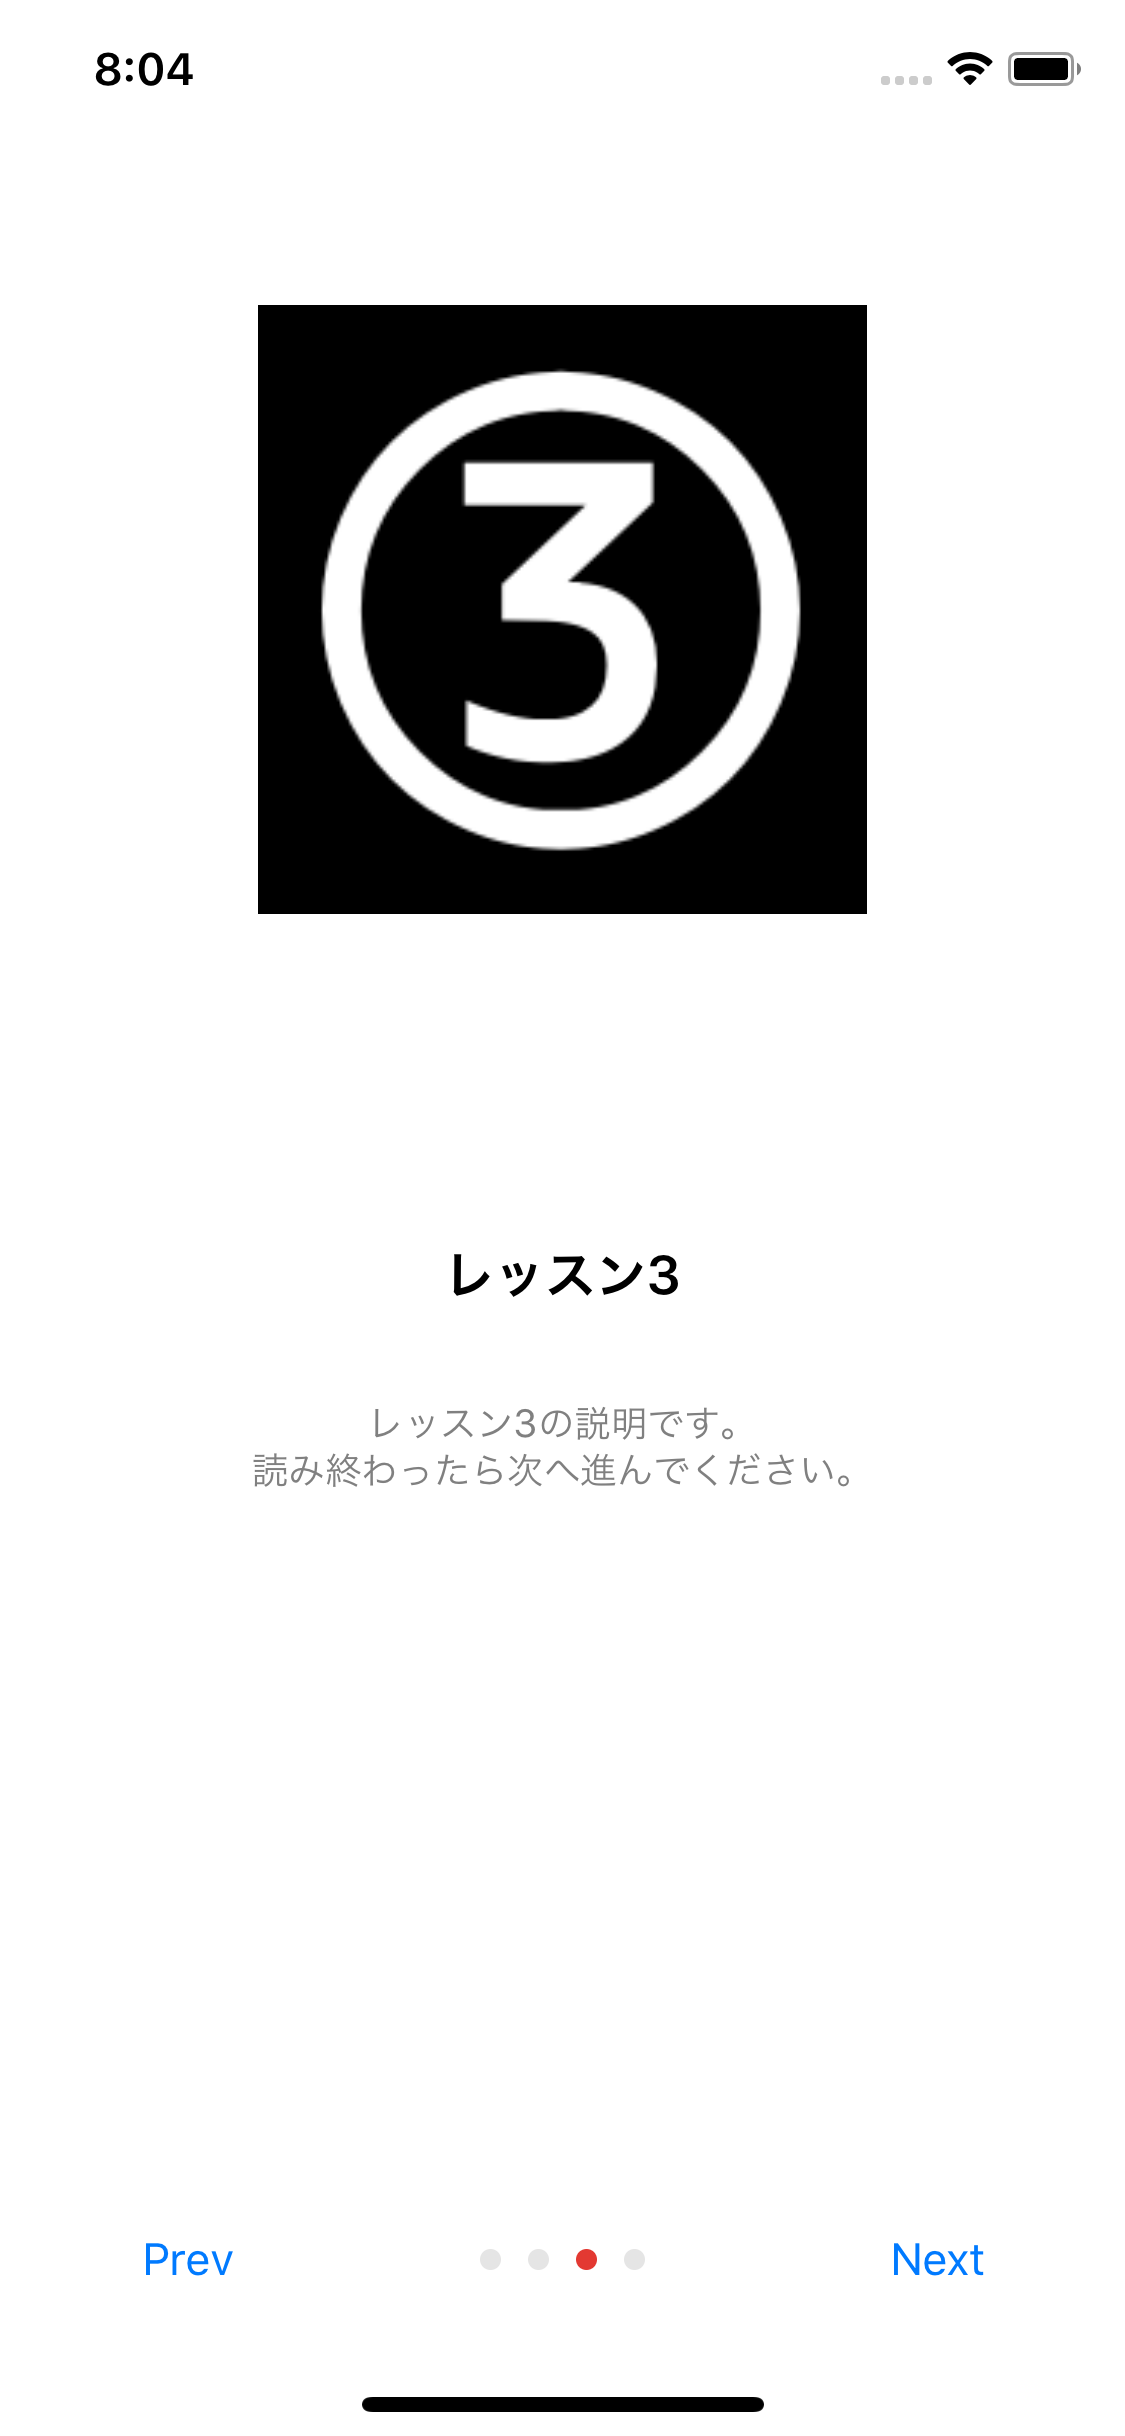
Tutorial(imageName: "3", summary: "レッスン3", detail: "レッスン3の説明です。\n読み終わったら次へ進んでください。"),
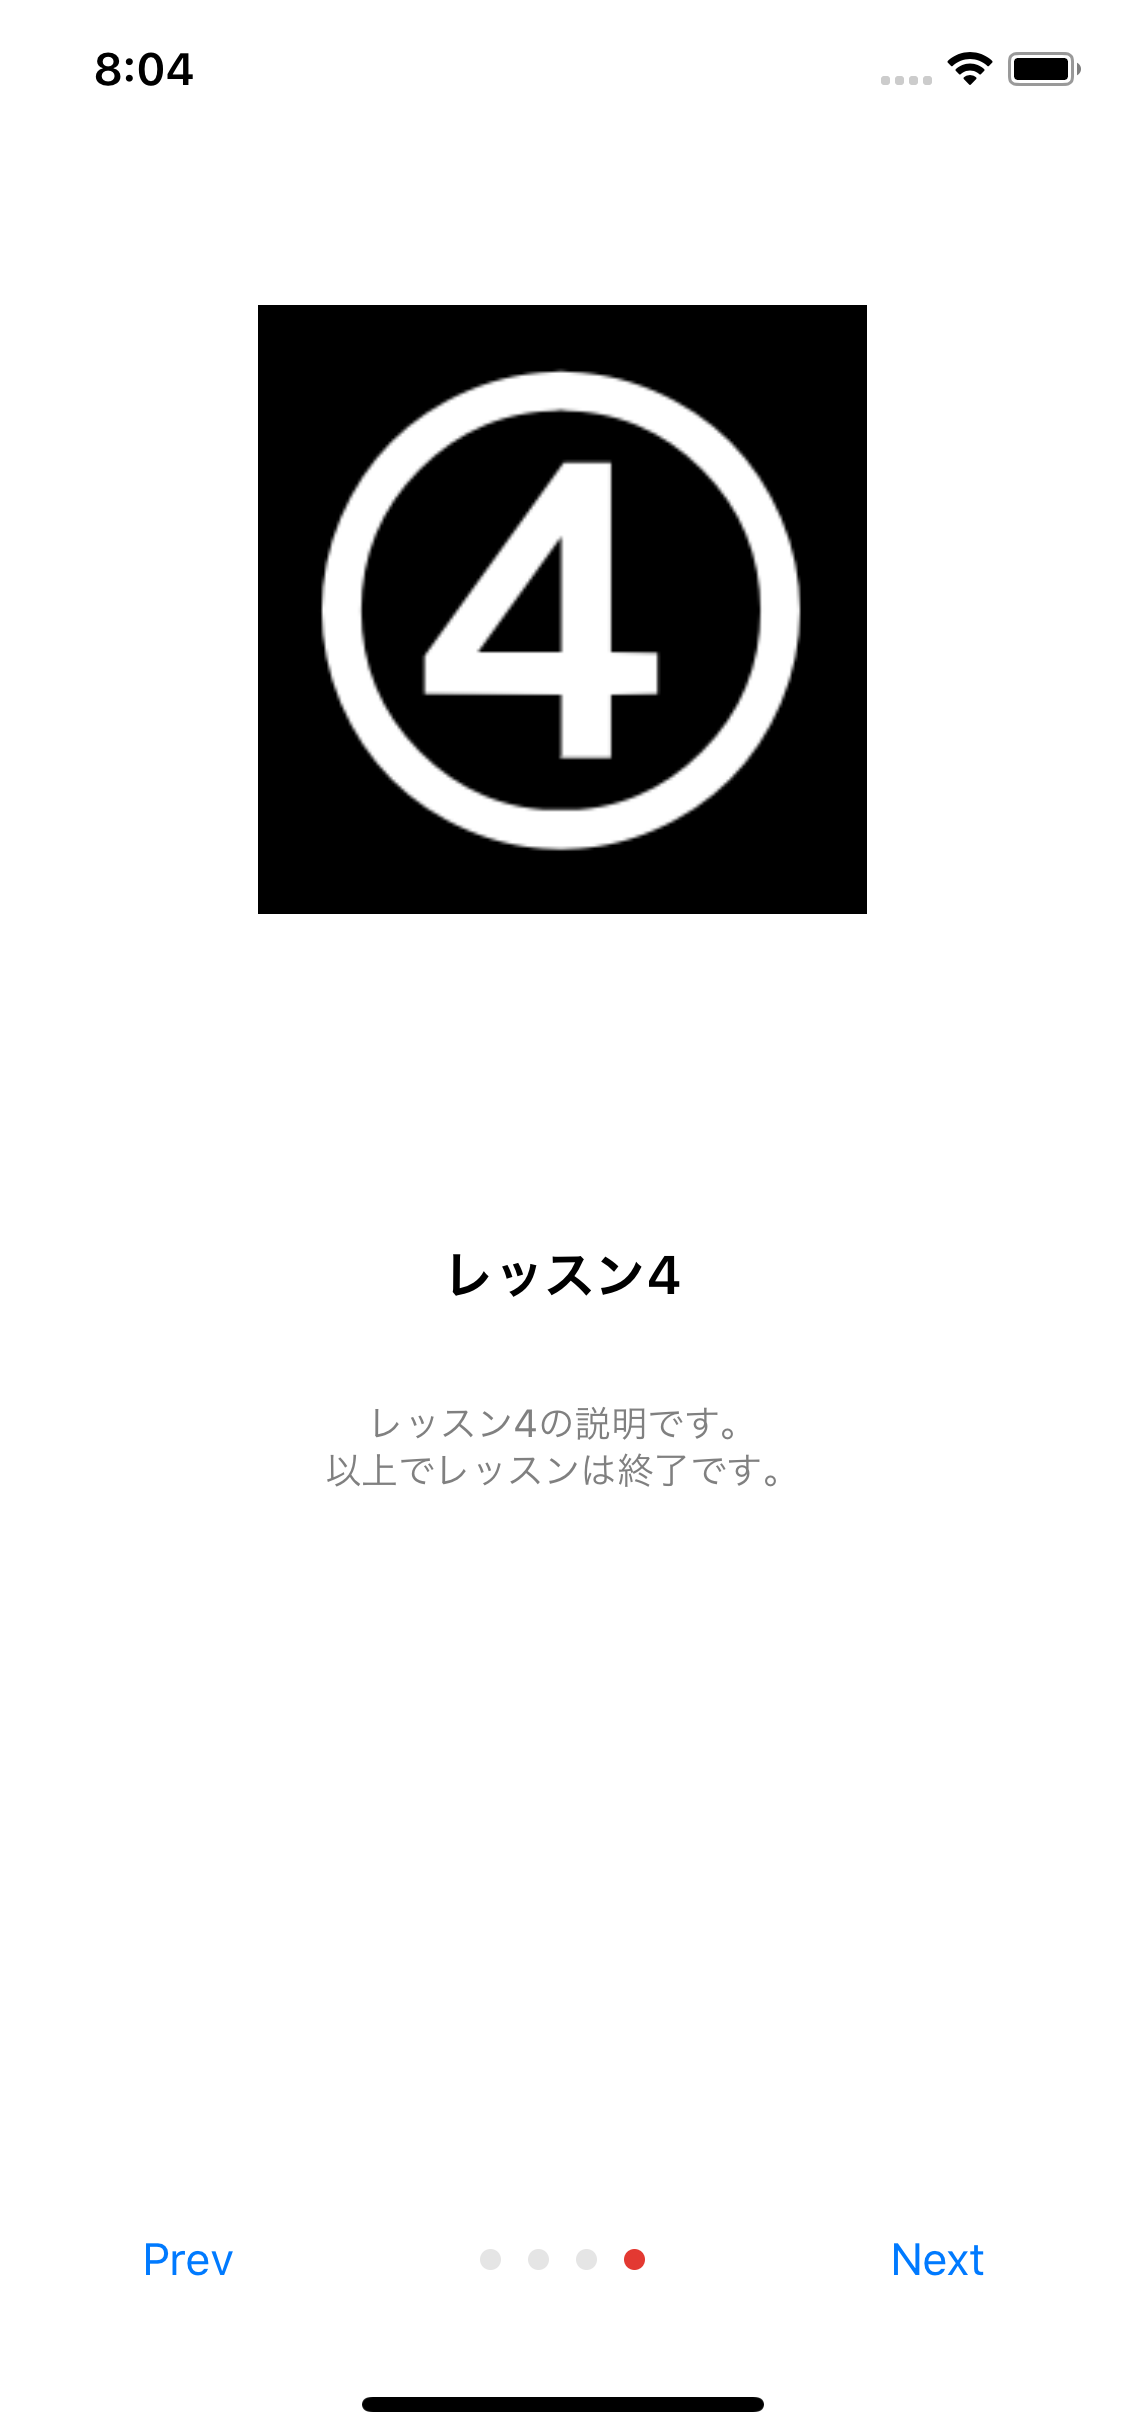
Tutorial(imageName: "4", summary: "レッスン4", detail: "レッスン4の説明です。\n以上でレッスンは終了です。")
]
private let previousButton: UIButton = {
let button = UIButton(type: .system)
button.setTitle("PREV", for: .normal)
button.translatesAutoresizingMaskIntoConstraints = false
button.titleLabel?.font = UIFont.boldSystemFont(ofSize: 14)
button.setTitleColor(.gray, for: .normal)
button.addTarget(self, action: #selector(handlePrev), for: .touchUpInside)
return button
}()
@objc private func handlePrev() {
let prev = max(0, pageControl.currentPage - 1)
let index = IndexPath(row: prev, section: 0)
pageControl.currentPage = prev
collectionView?.scrollToItem(at: index, at: .centeredHorizontally, animated: true)
}
private let nextButton: UIButton = {
let button = UIButton(type: .system)
button.setTitle("NEXT", for: .normal)
button.translatesAutoresizingMaskIntoConstraints = false
button.titleLabel?.font = UIFont.boldSystemFont(ofSize: 14)
button.setTitleColor(.gray, for: .normal)
button.addTarget(self, action: #selector(handleNext), for: .touchUpInside)
return button
}()
@objc private func handleNext() {
let next = min(pageControl.currentPage + 1, tutorials.count - 1)
let index = IndexPath(row: next, section: 0)
pageControl.currentPage = next
collectionView?.scrollToItem(at: index, at: .centeredHorizontally, animated: true)
}
lazy var pageControl: UIPageControl = {
let pc = UIPageControl()
pc.currentPage = 0
pc.numberOfPages = tutorials.count
pc.currentPageIndicatorTintColor = .red
pc.pageIndicatorTintColor = .gray
return pc
}()
private func setupBottomControls() {
let stackView = UIStackView(arrangedSubviews: [previousButton, pageControl, nextButton])
stackView.translatesAutoresizingMaskIntoConstraints = false
stackView.distribution = .fillEqually
view.addSubview(stackView)
NSLayoutConstraint.activate([
stackView.bottomAnchor.constraint(equalTo: view.safeAreaLayoutGuide.bottomAnchor),
stackView.leadingAnchor.constraint(equalTo: view.safeAreaLayoutGuide.leadingAnchor),
stackView.trailingAnchor.constraint(equalTo: view.safeAreaLayoutGuide.trailingAnchor),
stackView.heightAnchor.constraint(equalToConstant: 50)
])
}
// スクロールの位置とpageControlのページを合わせる
override func scrollViewWillEndDragging(_ scrollView: UIScrollView, withVelocity velocity: CGPoint, targetContentOffset: UnsafeMutablePointer<CGPoint>) {
let x = targetContentOffset.pointee.x
pageControl.currentPage = Int(x / view.frame.width)
}
override func viewDidLoad() {
super.viewDidLoad()
setupBottomControls()
collectionView?.backgroundColor = .white
self.collectionView?.register(CollectionViewCell.self, forCellWithReuseIdentifier: reuseIdentifier)
collectionView?.isPagingEnabled = true
}
}
extension CollectionViewController {
func collectionView(_ collectionView: UICollectionView, layout collectionViewLayout: UICollectionViewLayout, minimumLineSpacingForSectionAt section: Int) -> CGFloat {
return 0
}
override func numberOfSections(in collectionView: UICollectionView) -> Int {
return 1
}
override func collectionView(_ collectionView: UICollectionView, numberOfItemsInSection section: Int) -> Int {
return tutorials.count
}
override func collectionView(_ collectionView: UICollectionView, cellForItemAt indexPath: IndexPath) -> UICollectionViewCell {
let cell = collectionView.dequeueReusableCell(withReuseIdentifier: reuseIdentifier, for: indexPath) as! CollectionViewCell
let item = tutorials[indexPath.item]
cell.tutorial = item
return cell
}
}
extension CollectionViewController: UICollectionViewDelegateFlowLayout {
// セルを画面のサイズに合わせる
func collectionView(_ collectionView: UICollectionView, layout collectionViewLayout: UICollectionViewLayout, sizeForItemAt indexPath: IndexPath) -> CGSize {
return CGSize(width: view.frame.width, height: view.frame.height)
}
}
extension CollectionViewController {
// 画面の回転に合わせてcollectionViewとpageControlの位置を合わせる
override func viewWillTransition(to size: CGSize, with coordinator: UIViewControllerTransitionCoordinator) {
coordinator.animate(alongsideTransition: { (_) in
self.collectionViewLayout.invalidateLayout()
if self.pageControl.currentPage == 0 {
self.collectionView?.contentOffset = .zero
} else {
let indexPath = IndexPath(item: self.pageControl.currentPage, section: 0)
self.collectionView?.scrollToItem(at: indexPath, at: .centeredHorizontally, animated: true)
}
})
}
}
CollectionViewCell.swift
final class CollectionViewCell: UICollectionViewCell {

    var tutorial: Tutorial? = nil {

        didSet {

            guard let tutorial = tutorial else {
                return
            }
            pageImageView.image = UIImage(named: tutorial.imageName)

            let attributedText = NSMutableAttributedString(
                                    string: tutorial.summary,
                                    attributes: [NSAttributedStringKey.font: UIFont.boldSystemFont(ofSize: 18)])

            attributedText
                .append(NSAttributedString(
                                    string: "\n\n\n\(tutorial.detail)",
                                    attributes: [NSAttributedStringKey.font: UIFont.systemFont(ofSize: 13),
                                                 NSAttributedStringKey.foregroundColor: UIColor.gray]))
            descriptionTextView.attributedText = attributedText
            descriptionTextView.textAlignment = .center
        }
    }

    let pageImageView: UIImageView = {
        let imageView = UIImageView(image: #imageLiteral(resourceName: "1"))  // 適当です
        imageView.translatesAutoresizingMaskIntoConstraints = false
        imageView.contentMode = .scaleAspectFit
        return imageView
    }()

    let descriptionTextView: UITextView = {
        let textView = UITextView()

        textView.text = "aaaaa" // 適当です
        textView.font = UIFont.systemFont(ofSize: 20)
        textView.textAlignment = .center
        textView.isEditable = false
        textView.isScrollEnabled = false
        textView.translatesAutoresizingMaskIntoConstraints = false
        return textView
    }()

    override init(frame: CGRect) {
        super.init(frame: frame)
        setupLayout()
    }

    required init?(coder aDecoder: NSCoder) {
        fatalError("init(coder:) has not been implemented")
    }

    private func setupLayout() {


        let containerView = UIView()
        addSubview(containerView)
        containerView.translatesAutoresizingMaskIntoConstraints = false

        NSLayoutConstraint.activate([
            containerView.topAnchor.constraint(equalTo: topAnchor),
            containerView.leadingAnchor.constraint(equalTo: leadingAnchor),
            containerView.trailingAnchor.constraint(equalTo: trailingAnchor),
            containerView.heightAnchor.constraint(equalTo: heightAnchor, multiplier: 0.5)
            ])

        containerView.addSubview(pageImageView)

        NSLayoutConstraint.activate([
            pageImageView.centerXAnchor.constraint(equalTo: containerView.centerXAnchor),
            pageImageView.centerYAnchor.constraint(equalTo: containerView.centerYAnchor),
            pageImageView.heightAnchor.constraint(equalTo: containerView.heightAnchor, multiplier: 0.5)
            ])


        addSubview(descriptionTextView)
        NSLayoutConstraint.activate([
            descriptionTextView.topAnchor.constraint(equalTo: pageImageView.bottomAnchor),
            descriptionTextView.leadingAnchor.constraint(equalTo: leadingAnchor, constant: 24),
            descriptionTextView.trailingAnchor.constraint(equalTo: trailingAnchor, constant: -24),
            descriptionTextView.bottomAnchor.constraint(equalTo: bottomAnchor, constant: 0)
            ])
    }
}
まとめ
IBを使用した場合に比べコード量は増えますが、
何をしているのかが全てコードに書かれているので
将来的な拡張や修正などやりやすいのかなと感じました。
※IBで作成したときにiPhoneXで問題が出てきたので
それがやっかいだなと思ったこともあるかもしれませんが
レイアウトが複雑になったとき、
コード量が増えるのと、IBで複雑な制約を設定していくことのどちらを取るのか、
意見が分かれるところかもしれませんね。