経緯
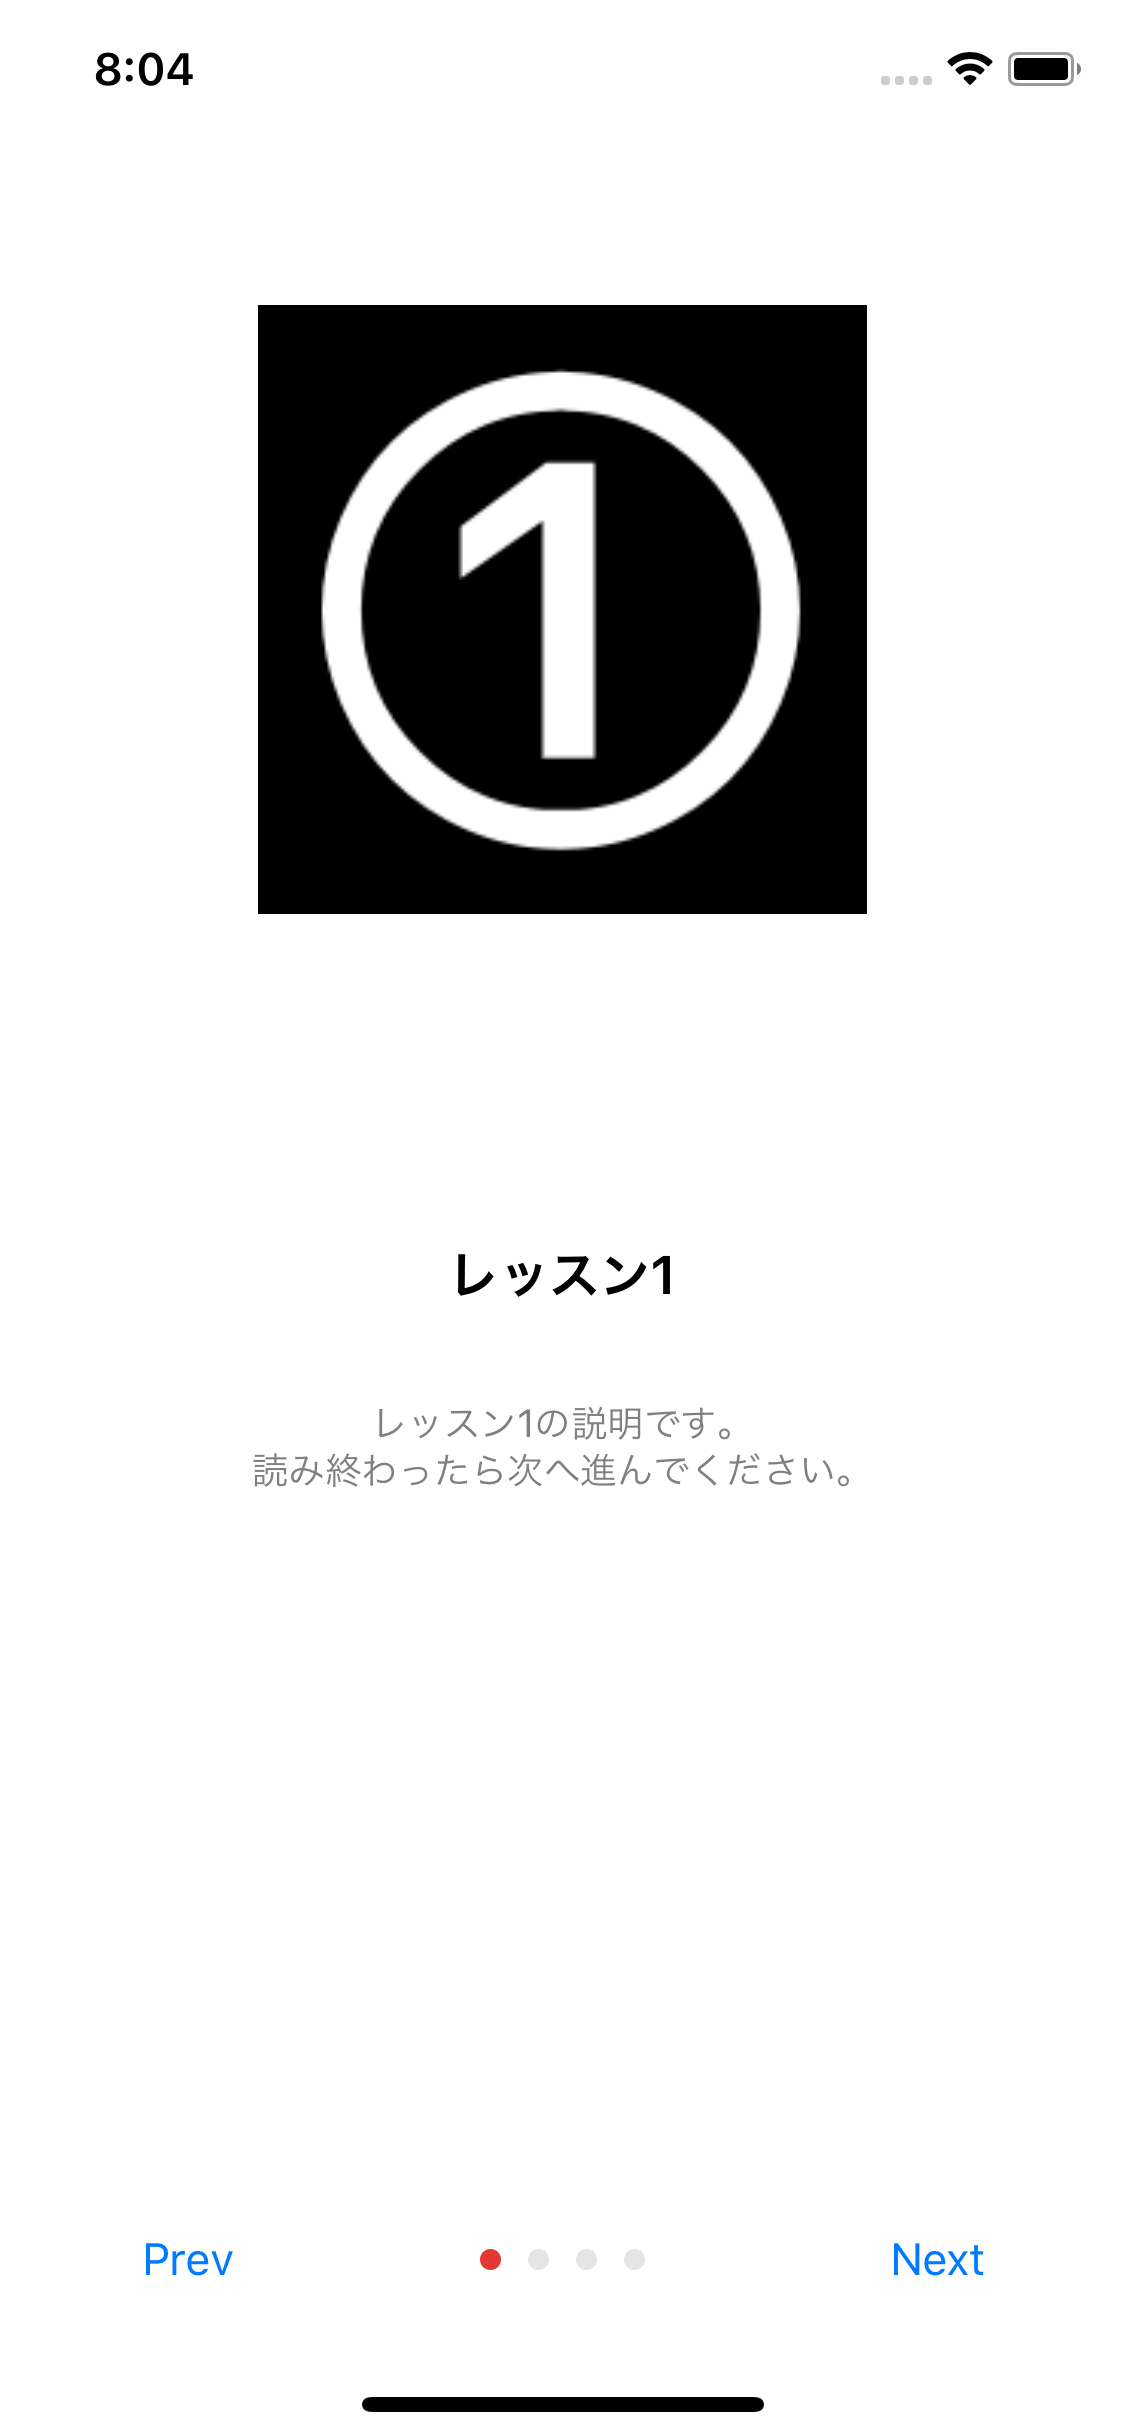
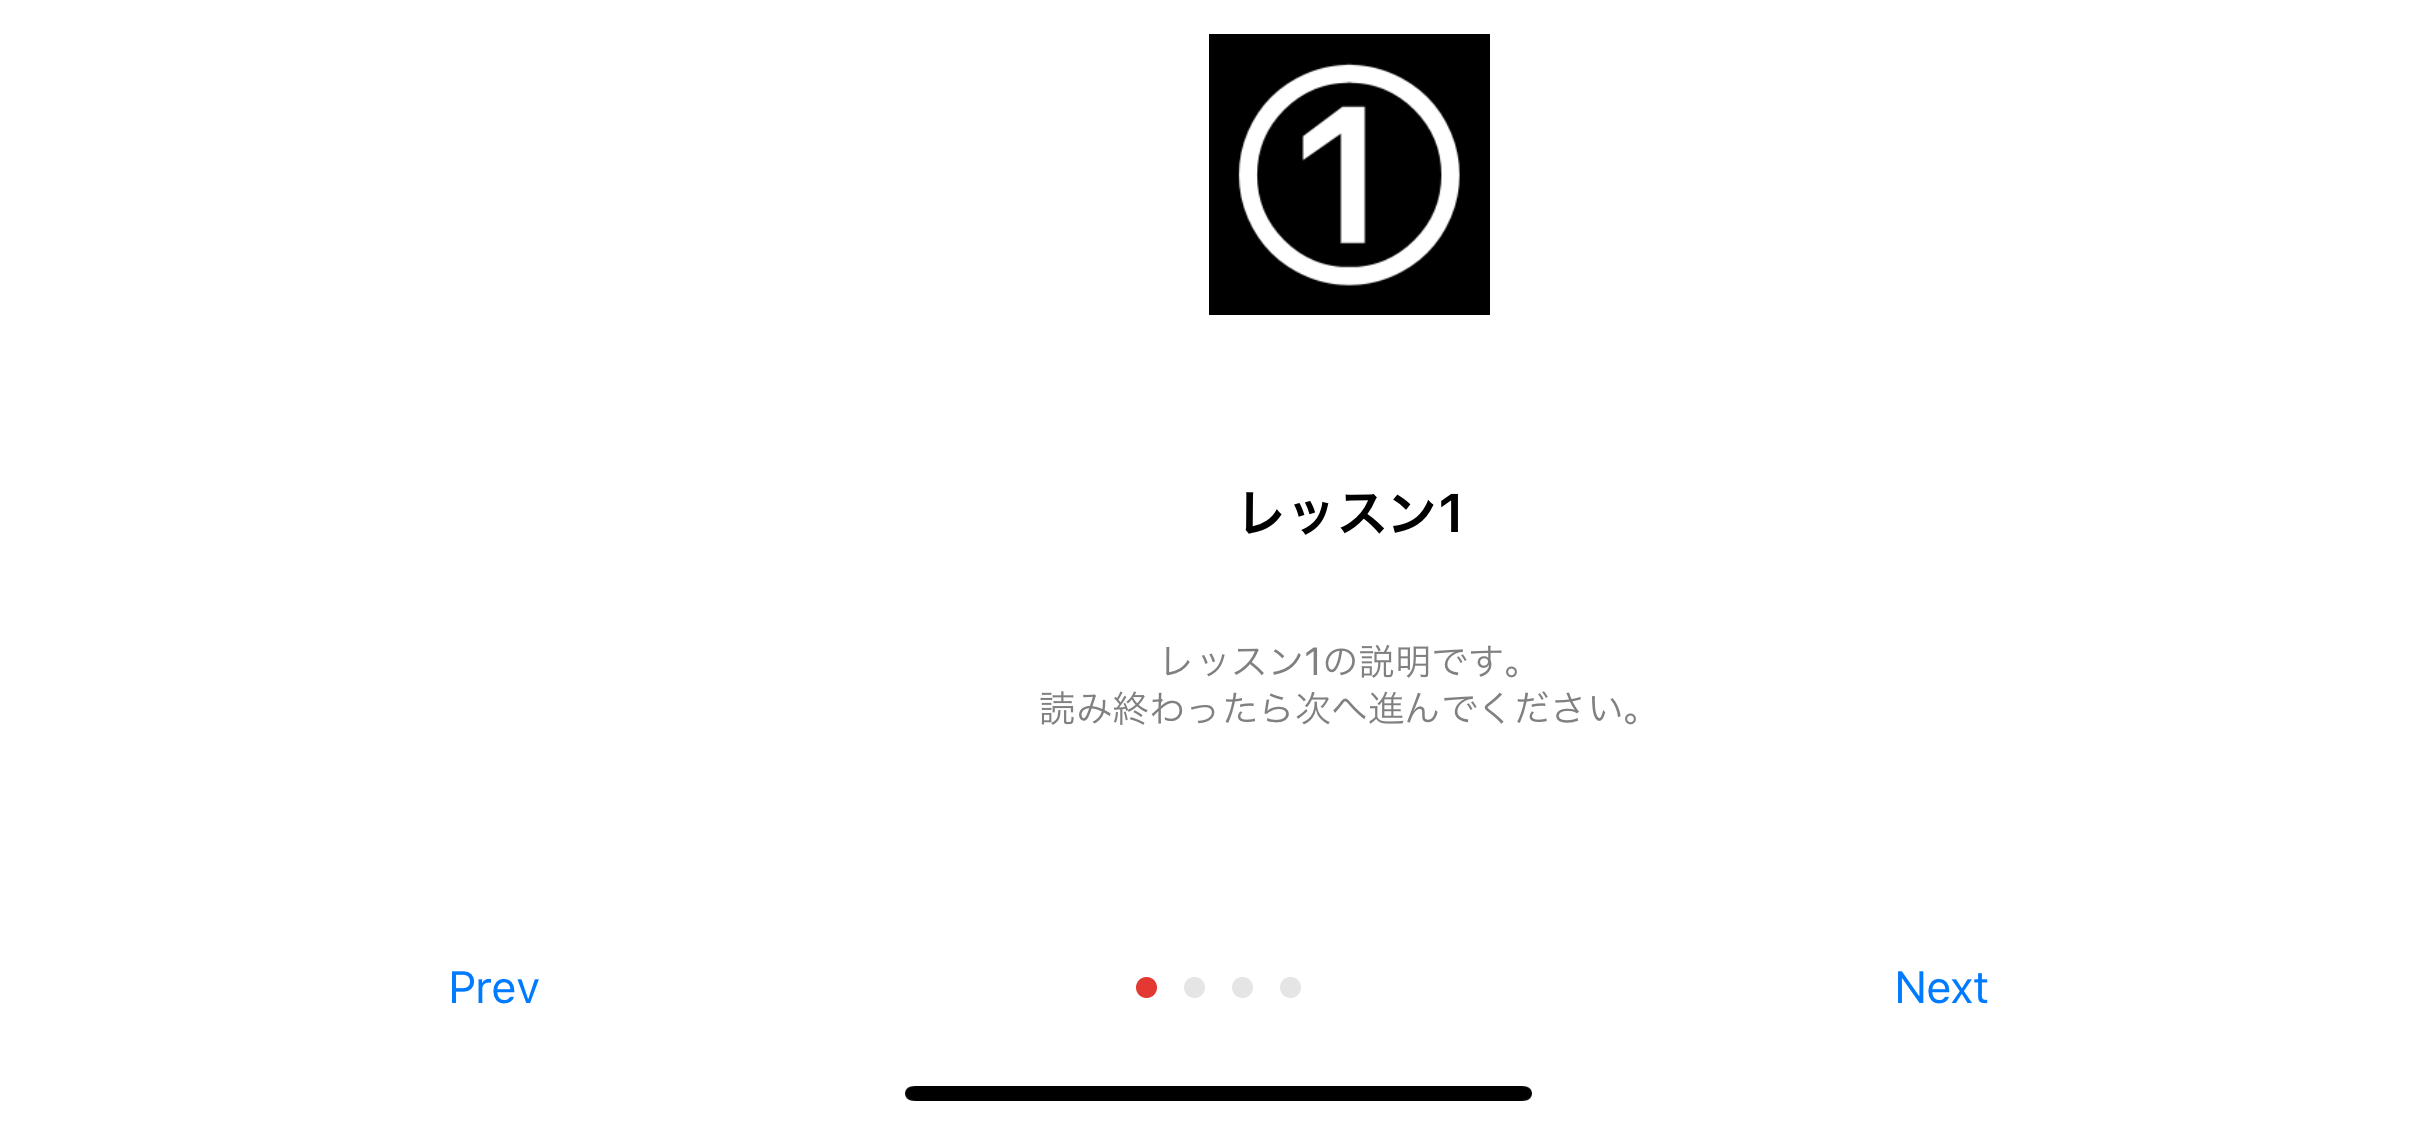
アプリ初回起動時によく見る操作説明画面など
画像とちょっとした説明文を使った複数の連続した画面を作成する際、
CollectionViewを使うと楽に実装できるのかと思い
サンプルを作成してみました。
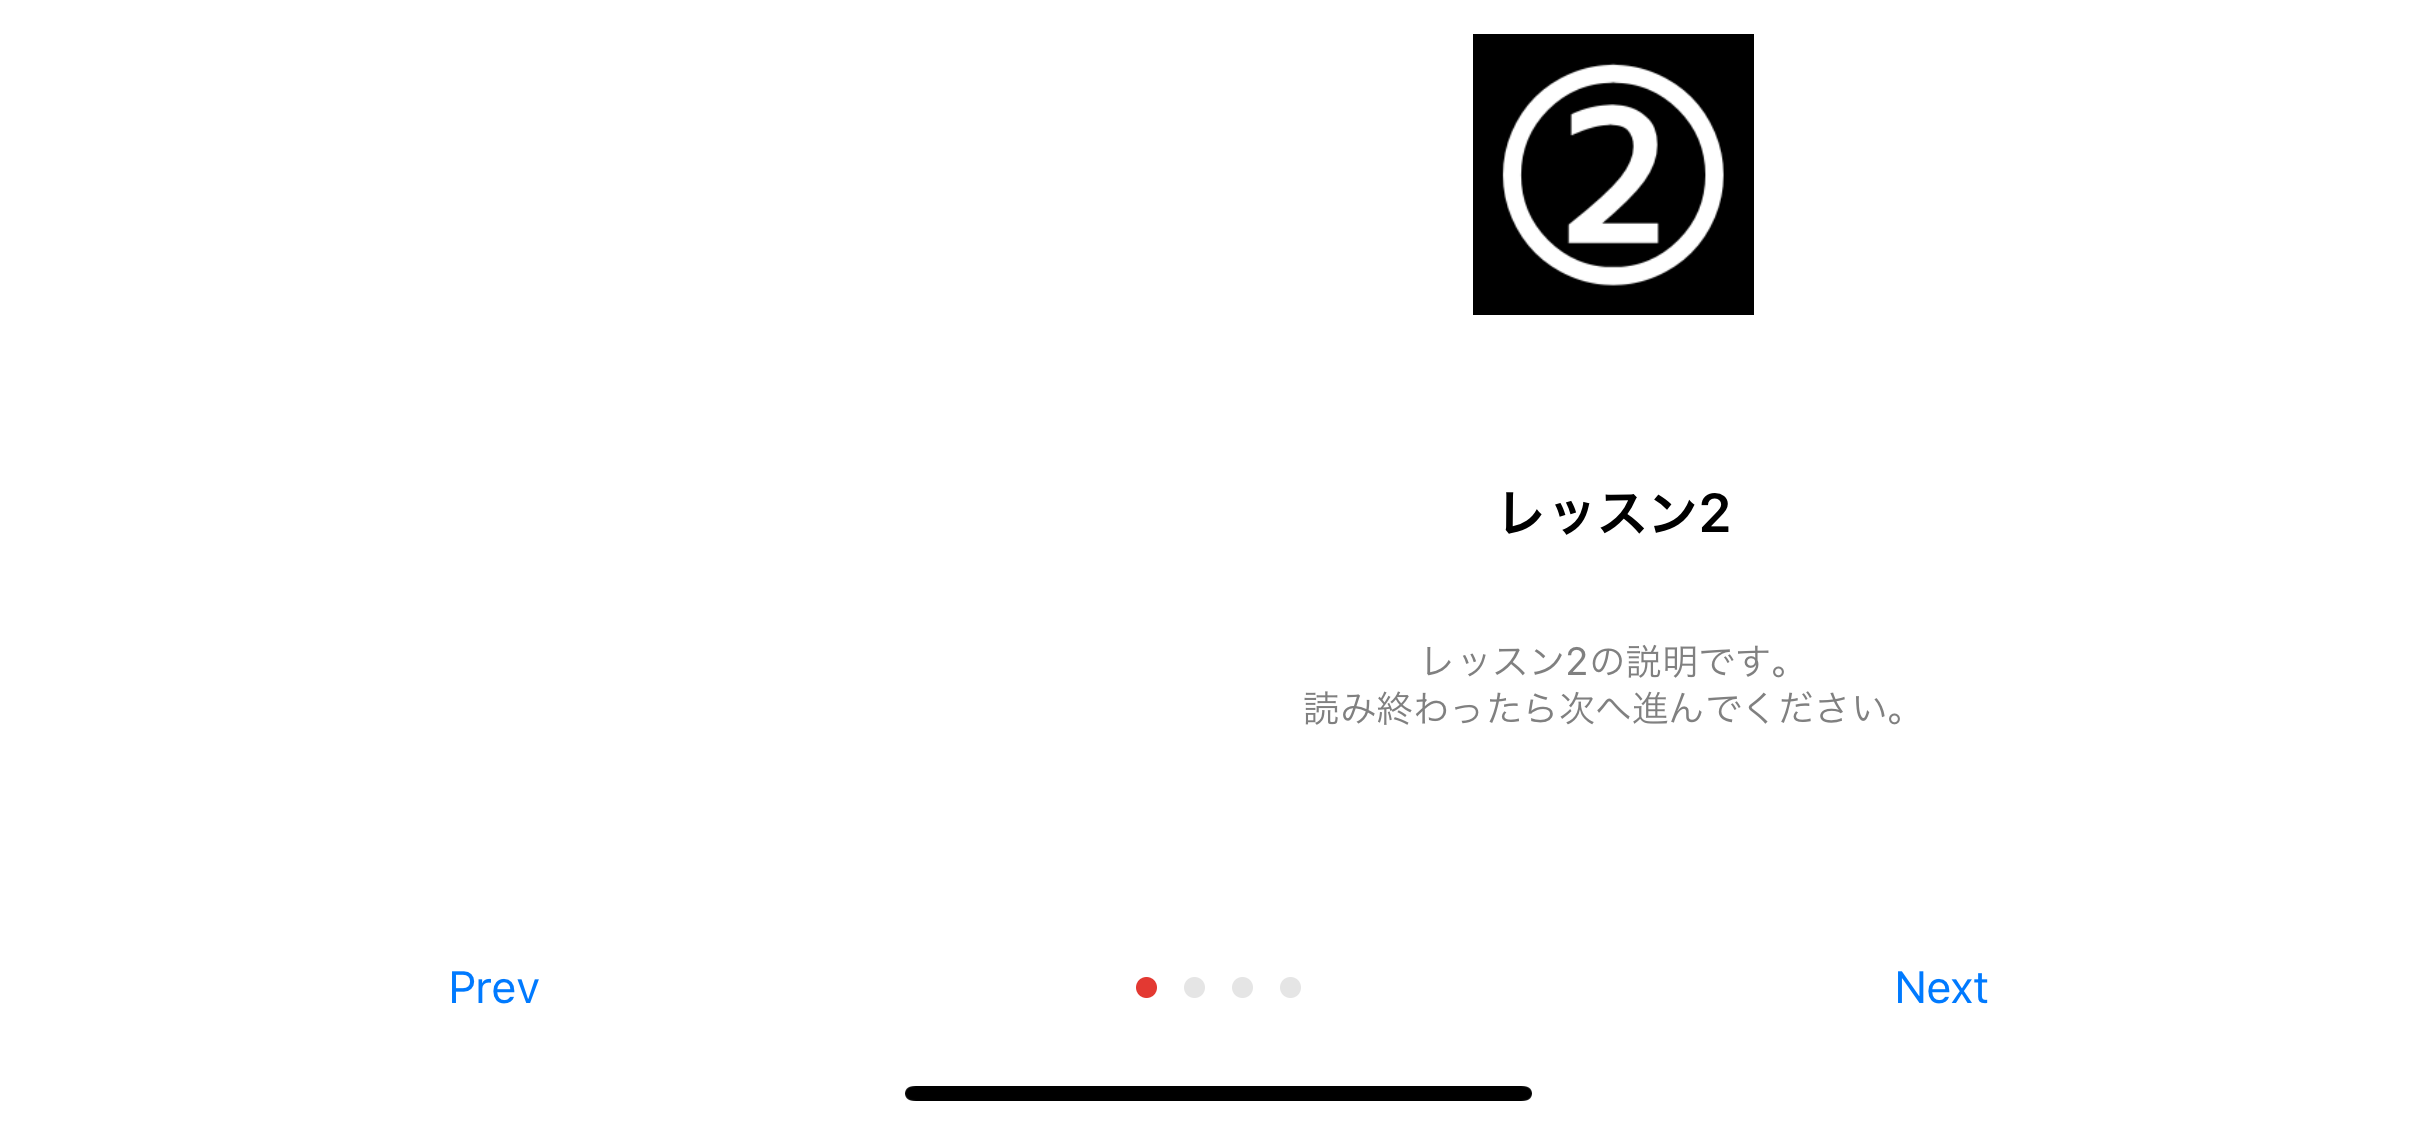
Cellのサイズを画面サイズに合わせることで
ページ遷移をしているように見せます。
| 1 | 2 | 3 | 4 |
|---|---|---|---|
 |
 |
 |
 |
作成したサンプル
https://github.com/stzn/CollectionViewTutorial/tree/storyboard
実装
Tutorial.swift
struct Tutorial {
    let imageName: String
    let summary: String
    let detail: String
}
ViewController.swift
final class ViewController: UIViewController {

    @IBOutlet weak var collectionView: UICollectionView!
    @IBOutlet weak var pageControl: UIPageControl!

    let reuseIdentifier = "CollectionViewCell"

    let tutorials = [
        Tutorial(imageName: "1", summary: "レッスン1", detail: "レッスン1の説明です。\n読み終わったら次へ進んでください。"),
        Tutorial(imageName: "2", summary: "レッスン2", detail: "レッスン2の説明です。\n読み終わったら次へ進んでください。"),
        Tutorial(imageName: "3", summary: "レッスン3", detail: "レッスン3の説明です。\n読み終わったら次へ進んでください。"),
        Tutorial(imageName: "4", summary: "レッスン4", detail: "レッスン4の説明です。\n以上でレッスンは終了です。")
    ]

    override func viewDidLoad() {
        super.viewDidLoad()
        setPageControl()
        setCollectionView()
    }

    // ※1
    override func viewDidLayoutSubviews() {
        super.viewDidLayoutSubviews()
        collectionView.frame = view.bounds
    }

    private func setCollectionView() {

        collectionView.register(UINib.init(nibName: reuseIdentifier, bundle: nil), forCellWithReuseIdentifier: reuseIdentifier)
        collectionView.dataSource = self
        collectionView.delegate = self
    }

    private func setPageControl() {
        pageControl.currentPage = 0
        pageControl.numberOfPages = tutorials.count
    }

    @IBAction func prevButtonTapped(_ sender: Any) {
        let prev = max(0, pageControl.currentPage - 1)
        let index = IndexPath(row: prev, section: 0)
        self.pageControl.currentPage = prev
        collectionView.scrollToItem(at: index, at: .centeredHorizontally, animated: true)
    }

    @IBAction func nextButtonTapped(_ sender: Any) {
        let next = min(pageControl.currentPage + 1, tutorials.count - 1)
        let index = IndexPath(row: next, section: 0)
        self.pageControl.currentPage = next
        collectionView.scrollToItem(at: index, at: .centeredHorizontally, animated: true)
    }
}

extension ViewController {

    // 画面の回転とscrollの位置とpageControlのページを合わせる
    override func viewWillTransition(to size: CGSize, with coordinator: UIViewControllerTransitionCoordinator) {
        coordinator.animate(alongsideTransition: { _ in

            self.collectionView.collectionViewLayout.invalidateLayout()
            let indexPath = IndexPath(row: self.pageControl.currentPage, section: 0)
            self.collectionView.scrollToItem(at: indexPath, at: .centeredHorizontally, animated: true)
        })
    }

    // scrollの位置とpageControlのページを合わせる
    func scrollViewWillEndDragging(_ scrollView: UIScrollView, withVelocity velocity: CGPoint, targetContentOffset: UnsafeMutablePointer<CGPoint>) {
        let x = targetContentOffset.pointee.x
        let index = Int(x / view.frame.width)
        pageControl.currentPage = index
    }
}

extension ViewController: UICollectionViewDataSource {

    func numberOfSections(in collectionView: UICollectionView) -> Int {
        return 1
    }

    func collectionView(_ collectionView: UICollectionView, numberOfItemsInSection section: Int) -> Int {
        return tutorials.count
    }

    func collectionView(_ collectionView: UICollectionView, cellForItemAt indexPath: IndexPath) -> UICollectionViewCell {

        let cell = collectionView.dequeueReusableCell(withReuseIdentifier: reuseIdentifier, for: indexPath) as! CollectionViewCell

        let item = tutorials[indexPath.item]

        cell.configure(tutorial: item)
        return cell
    }

    func collectionView(_ collectionView: UICollectionView, layout collectionViewLayout: UICollectionViewLayout, minimumLineSpacingForSectionAt section: Int) -> CGFloat {
        return 0
    }
}

extension ViewController: UICollectionViewDelegateFlowLayout {

    // Cellのサイズを画面サイズに合わせる
    func collectionView(_ collectionView: UICollectionView, layout collectionViewLayout: UICollectionViewLayout, sizeForItemAt indexPath: IndexPath) -> CGSize {
        return CGSize(width: view.frame.width, height: view.frame.height)
    }
}
CollectionViewCell.swift
final class CollectionViewCell: UICollectionViewCell {

    @IBOutlet weak var pageImageView: UIImageView!
    @IBOutlet weak var descriptionTextView: UITextView!

    override func awakeFromNib() {
        super.awakeFromNib()
        // Initialization code
    }

    func configure(tutorial: Tutorial) {

        pageImageView.image = UIImage(named: tutorial.imageName)

        let attributedText = NSMutableAttributedString(
            string: tutorial.summary,
            attributes: [NSAttributedStringKey.font: UIFont.boldSystemFont(ofSize: 18)])

        attributedText
            .append(NSAttributedString(
                string: "\n\n\n\(tutorial.detail)",
                attributes: [NSAttributedStringKey.font: UIFont.systemFont(ofSize: 13),
                             NSAttributedStringKey.foregroundColor: UIColor.gray]))
        descriptionTextView.attributedText = attributedText
        descriptionTextView.textAlignment = .center
    }
}
※1
iPhoneXで画面を横にした場合、スクロール位置が下記のようにずれてしまいました。
調べた結果、
override func viewDidLayoutSubviews() {
    super.viewDidLayoutSubviews()
    collectionView.frame = view.bounds
}
を追加することで解決することができました。
これはsafeAreaInsetsの値を取得できるタイミングが
viewWillLayoutSubviews以降であることに起因していると思われます。
まとめ
コードで作成した場合と比べるとコード量が少なく
簡単なレイアウトの際はすぐに組み立てることができるので
楽に感じました。
一方で、
実際の開発になるとレイアウトがより複雑になり、
制約がぶつかったり、状態によって全く異なるデザインが必要になったりなど
難しい部分も出てくるので慣れないと苦労することが多々あります。
※最近iPhoneX問題にぶつかることが多いような気がします。。。
今までコードかIBかのどちらか一方で統一しようと考えていましたが、
部分部分で使い分けていけるようになると
もっと開発がしやすくなるのかもしれません。