はじめに
「何番煎じのアイデアだよ」とツッコみたくなりますが🙄、
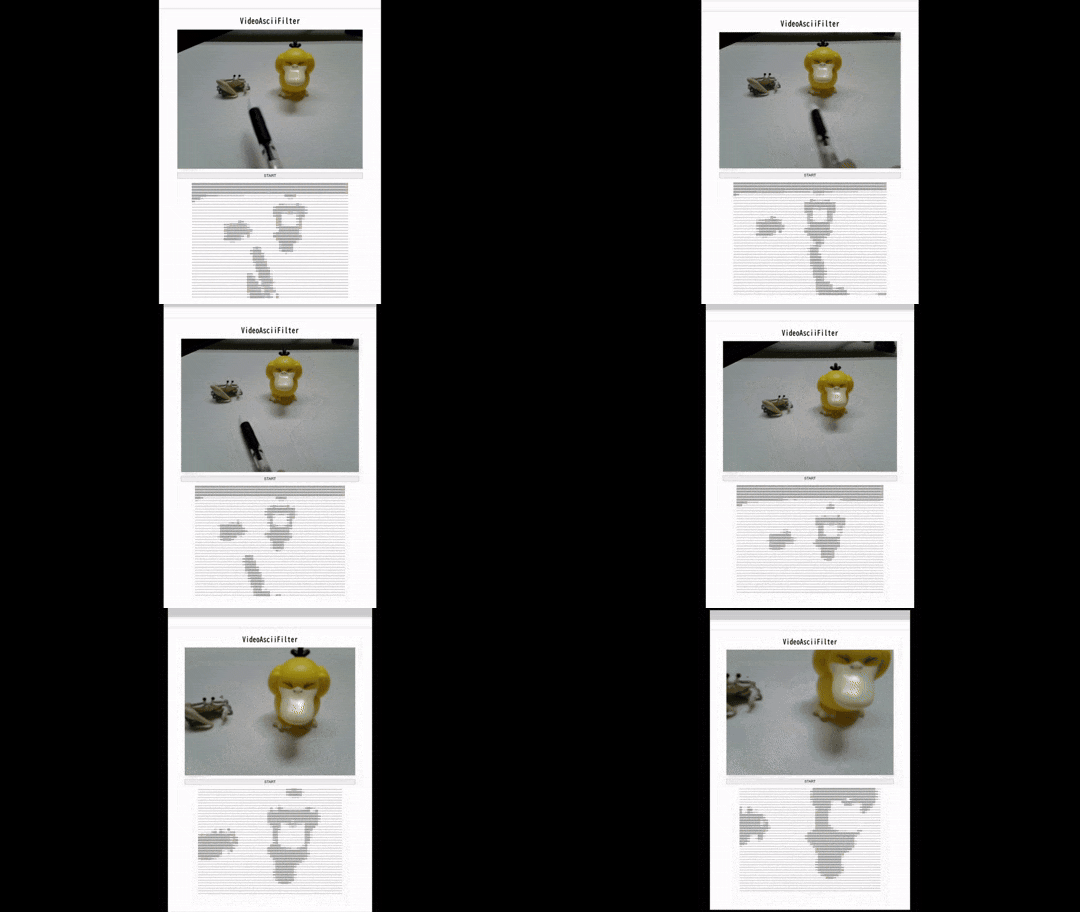
WebCameraの映像を適当な文字列に変換して出力するようなアプリを作ってみる。
プロジェクトの作成
大まかな手順としては入力映像をグレースケール化し、
指定されたドットサイズでセルに分割して、
各セルを適当な文字に変換することで、ASCII アート風の文字列を生成し出力する
グレースケールの設定
グレースケール時の重みは検索してみたら「ITU-R Rec BT.601」というSDTVの規格があるようなので採用してみる。
let gray = (r * 0.299 + g * 0.587 + b * 0.114) as u8; // 相対輝度の計算式
(グレースケールについて下記Qiitaを見た感じ奥が深そう。。。🤯)
文字濃度の設定
濃度順に設定する文字は下記から適当な文字を採用してみる。
(今回の文字の濃度順は、特に根拠はなく、主観です。🙇♂️)
  if black_ratio > 0.8 {
        '@'
    } else if black_ratio > 0.6 {
        '#'
    } else if black_ratio > 0.4 {
        '*'
    } else if black_ratio > 0.2 {
        '+'
    } else {
        '-'
    }
下記全体のコード
// 省略

#[wasm_bindgen]
pub fn ascii_filter(buffer: Vec<u8>, canvas_width: u32, canvas_height: u32, dot_size: u32) -> String {
    let width = canvas_width as usize;
    let height = canvas_height as usize;
    let dot_size = dot_size as usize;

    // グレースケール化
    let mut new_buffer = vec![0; buffer.len()];
    for y in 1..height - 1 {
        for x in 1..width - 1 {
            let index = (y * width + x) * 4;
            let r = buffer[index] as f32;
            let g = buffer[index + 1] as f32;
            let b = buffer[index + 2] as f32;
            let gray = (r * 0.299 + g * 0.587 + b * 0.114) as u8; // 相対輝度の計算式

            new_buffer[index] = gray;
            new_buffer[index + 1] = gray;
            new_buffer[index + 2] = gray;
            new_buffer[index + 3] = buffer[index + 3];
        }
    }

    // 文字変換
    let mut result = String::new();
    for y in (0..height).step_by(dot_size) {
        for x in (0..width).step_by(dot_size) {
            let cell = extract_cell(&new_buffer, x, y, width, height, dot_size);
            let recognized_char = analyze_cell(&cell);
            result.push(recognized_char);
            result.push(recognized_char); // 横幅を持たせる
        }
        result.push('\n');
    }
    result
}

fn extract_cell(buffer: &[u8], x: usize, y: usize, width: usize, height: usize, dot_size: usize) -> Vec<u8> {
    let mut cell = Vec::new();
    for dy in 0..dot_size {
        for dx in 0..dot_size {
            let px = x + dx;
            let py = y + dy;
            if px < width && py < height {
                let index = (py * width + px) * 4;
                if index + 4 <= buffer.len() {
                    cell.extend_from_slice(&buffer[index..index + 4]);
                } else {
                    // バッファの範囲外の場合は、透明ピクセルを追加
                    cell.extend_from_slice(&[0, 0, 0, 0]);
                }
            }
        }
    }
    cell
}

fn analyze_cell(cell: &[u8]) -> char {
    let black_pixels = cell.chunks(4)
        .filter(|p| p[0] < 128 && p[1] < 128 && p[2] < 128 && p[3] > 0)
        .count();

    let total_pixels = cell.len() / 4;
    let black_ratio = black_pixels as f32 / total_pixels as f32;

    if black_ratio > 0.8 {
        '@'
    } else if black_ratio > 0.6 {
        '#'
    } else if black_ratio > 0.4 {
        '*'
    } else if black_ratio > 0.2 {
        '+'
    } else {
        '-'
    }
}

// 省略
(まだまだ微妙なところもあるが)とりあえず完成!
今回の成果物
デモURL
デモ動画
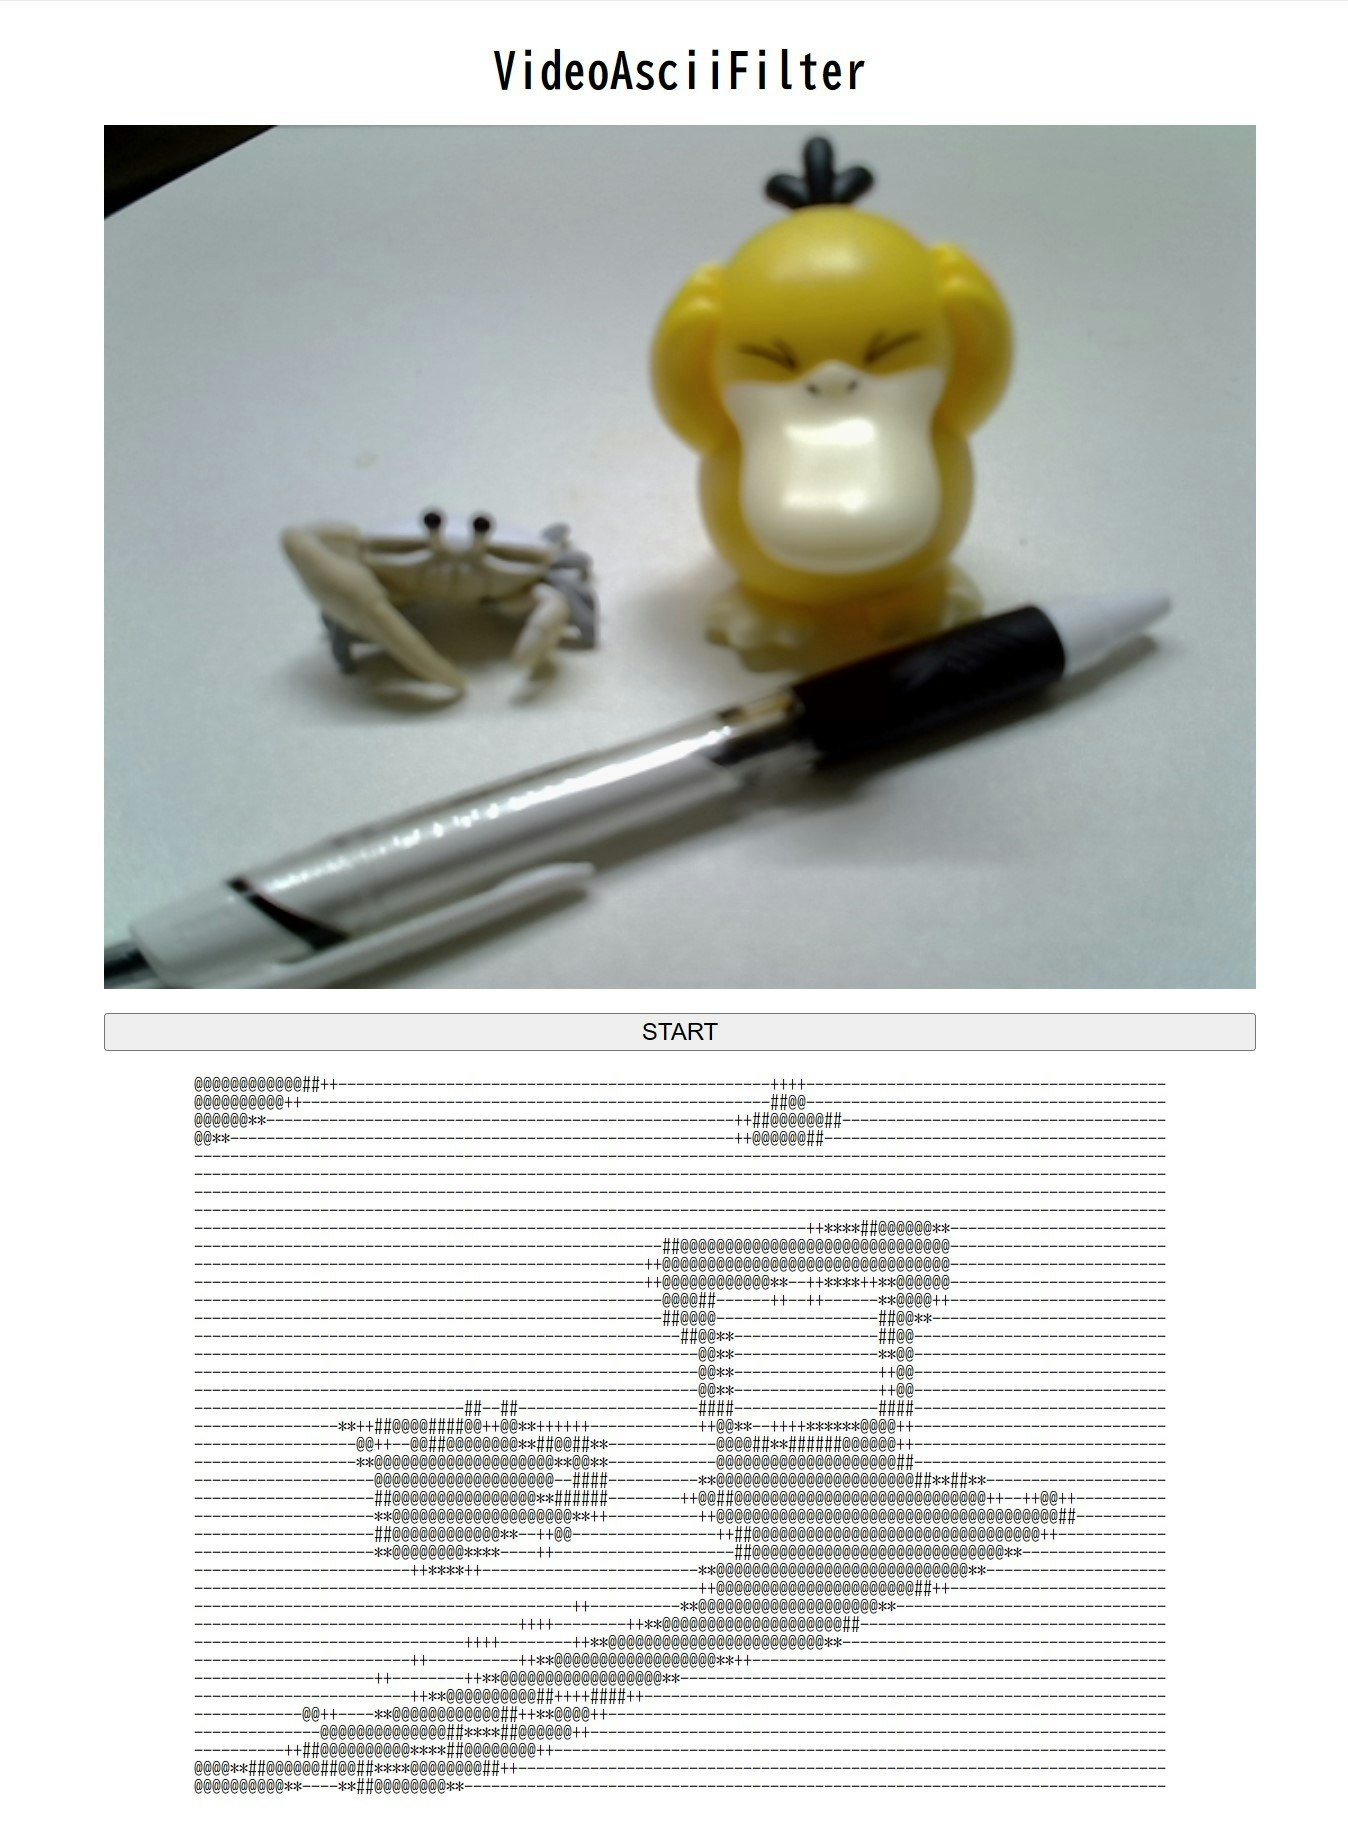
デモ画像
ソース
まとめ
今回は入力映像をAsciiアート風のVideoにしてみた。
背景にメリハリがないところだと、エッジ検出が甘く、つぶれたりして表現できない場合もあった。
もう少し立体感をAsciiアートで表現できると綺麗に見えるようになるかもです。

