Intel NUC (Next Unit of Computing) は 、サーバー、ゲーム用 PC、および商用スペースなどの多くのユースケースに対応し、インテル の高い品質と信頼性により、さまざまなワークロードに対応するように設計された持ち運びも容易な小型PCです。
VMware ESXi 8 から Community Driver不要で Intel NUCのドライバーが使えます。
夏休みの宿題工作ということで、Intel NUC 13 へ VMware vSphere Hypervisor (ESXi) 8 をインストールしてみてみます。
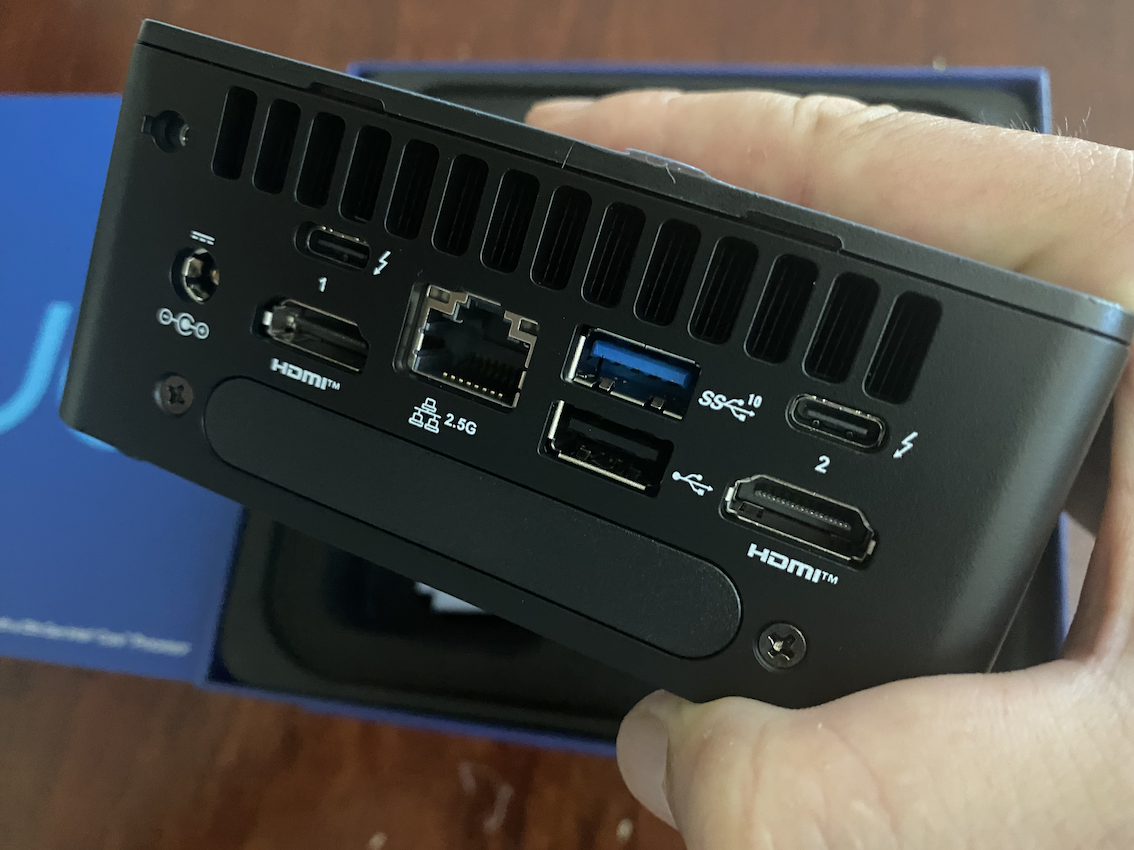
Intel NUC 13では、4K解像度HDMIを2基と 2.5Gbps有線LANポート、USB 3.1ポートと Thunderbolt 4 を2基装備しています。
ASUS Officially Takes Over Intel NUC Product Lines at Signing Ceremonyより~
2023年10月2日 — ASUSは、Intel® Next Unit of Computing (NUC) 製品ラインの引き渡しを記念するIntel Corporationとの正式な調印式が無事に完了したことを発表しました。ASUSは今後、Intel NUC第10~13世代システム製品ラインの製造・販売を行うとともに、将来のNUCシステムの開発も行っていきます。
ASUS NUC 製品ページ
■ Intel NUC 13セットアップ
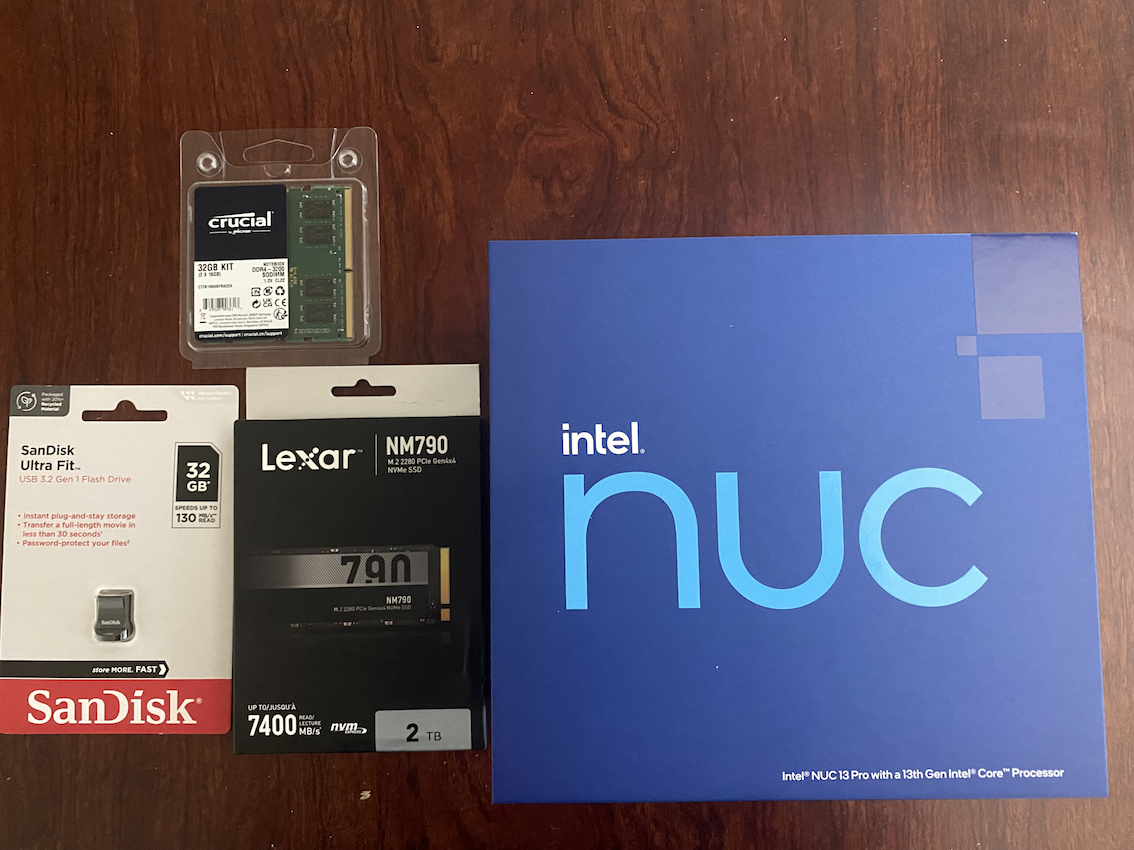
Intel NUCは自作ベアボーンキットです。メモリー(DDR4-3200 1.2V SODIMMs)、M.2 (22x80 NVMe)ストレージを追加して組み上げます。
今回使用するパーツは次のものになります。
・ Intel NUC: Intel NUC 13 Pro Kit NUC13ANHi3
・ メモリー: Crucial CT2K16G4SFD8266 32GB x2
・ ストレージ M.2 2280: Lexar® NM790 M.2 2280 PCIe Gen 4×4 NVMe SSD
・ ストレージ M.2 2242: TS1TMTE400S(オプション)
・ 2.5インチ SSD: THNSNJ512GCSU(オプション)
・ USB Flash Drive: SanDisk Ultra Fit USB 3.2 Flash Drive
・ 英語配列USBキーボード: SKB-E3UN
⚫︎ Intel NUC セットアップ
次のドキュメントを参考にセットアップします。
・ Integration and User Guides for Intel® NUC Products
・ Integration Guide
・ User Guide
1) 分解
プラスドライバーで Intel NUC の底面を外します。
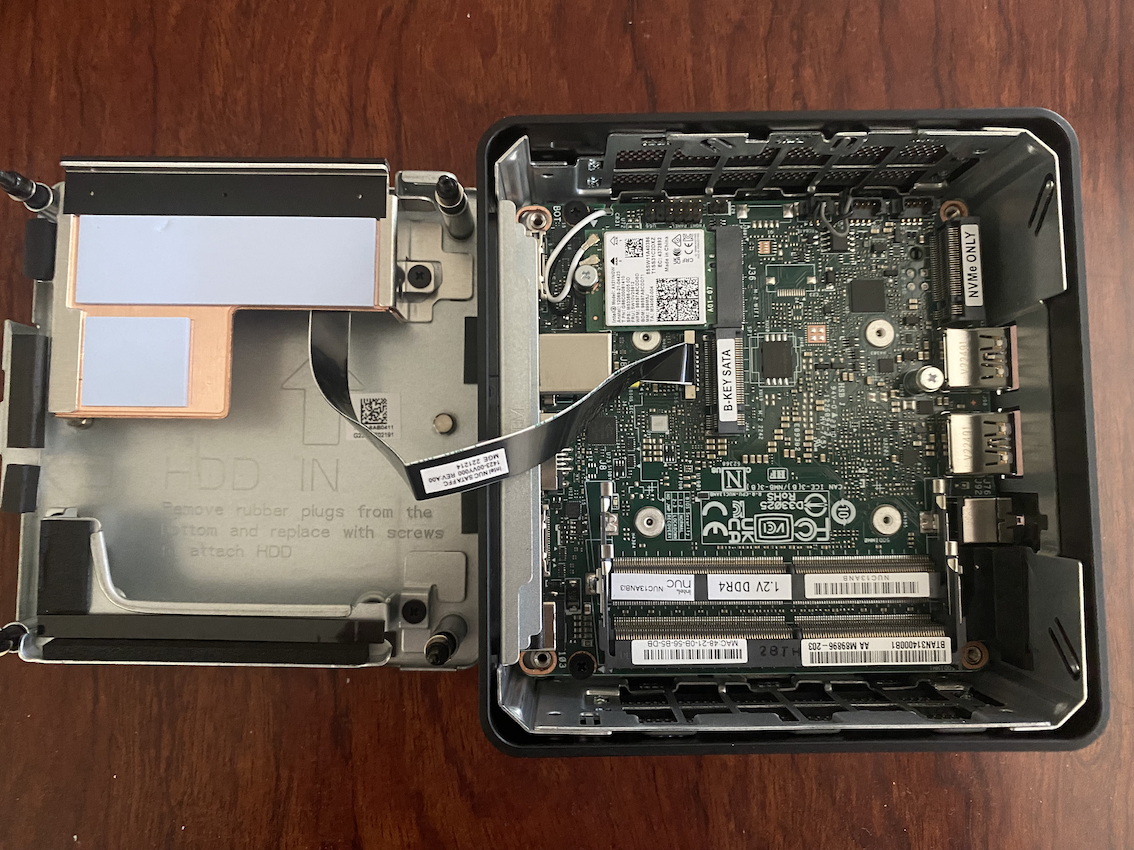
2) セットアップ
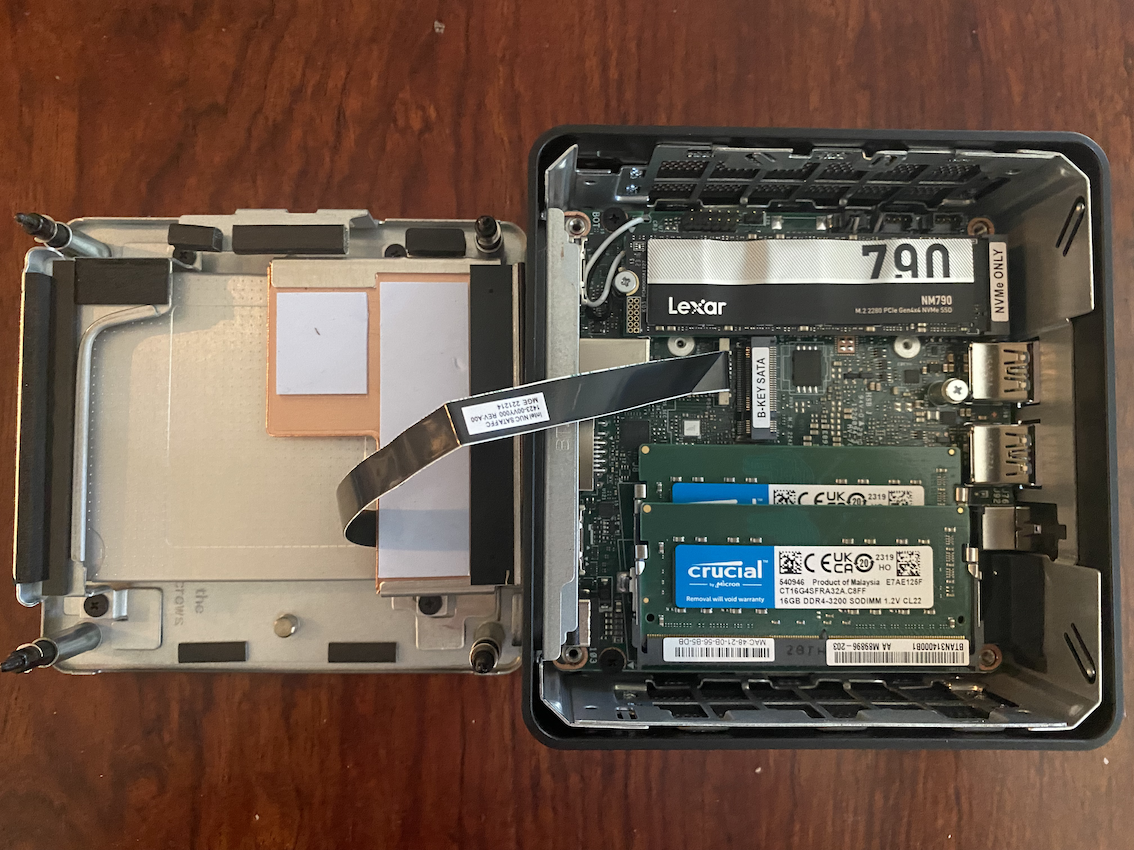
メモリーと M.2ストレージを追加します。
今回余っていた 2.5インチSSD も追加しときます。
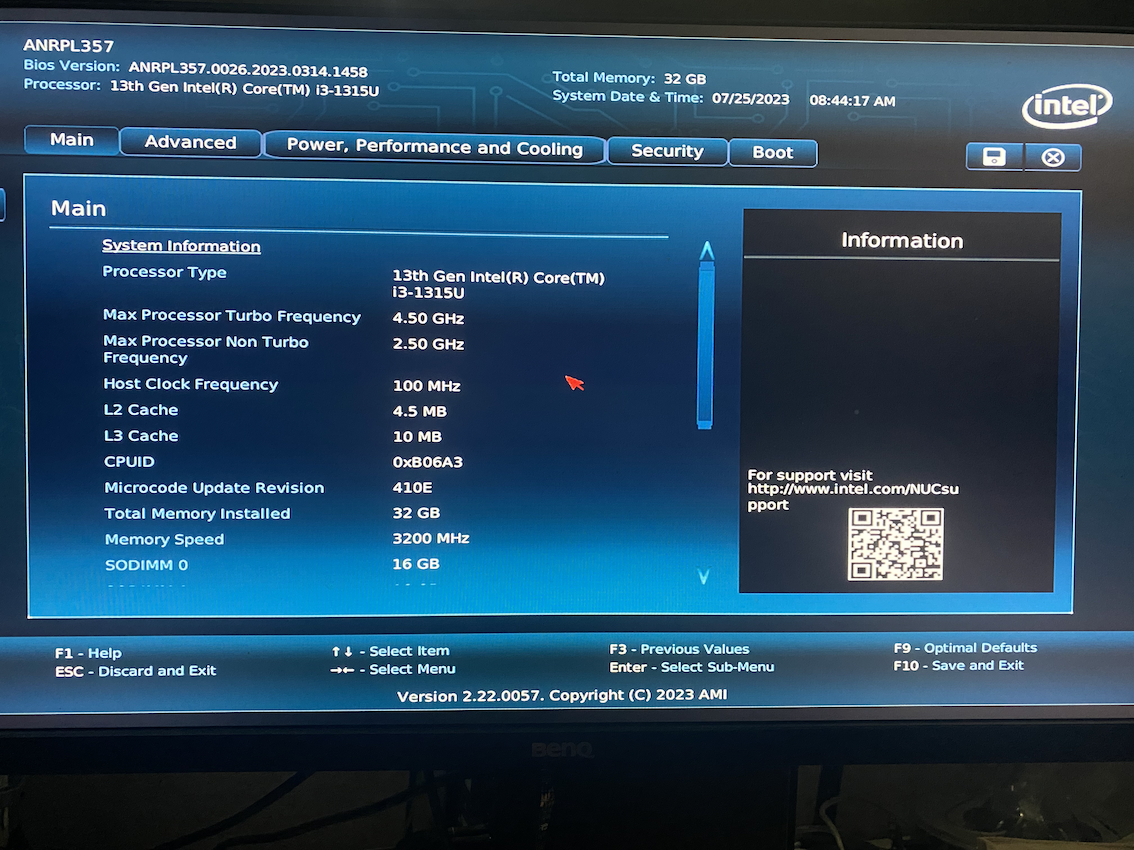
3) セットアップ完了
キーボードとモニターを繋げて電源ON
システムが起動する前に F2 キーを押すとBIOS画面になります。
■ VMware vSphere Hypervisor (ESXi) 8.0 Download
最新リリースの VMware ESXi 8.0 Update 1a をダウンロードします。
⚫︎ ダウンロード
1) VMware Customer Connectへログイン
Customer Connectへログイン

2) Product Evaluation Center for VMware vSphere 8 画面
Product Evaluation Center for VMware vSphere 8へ遷移
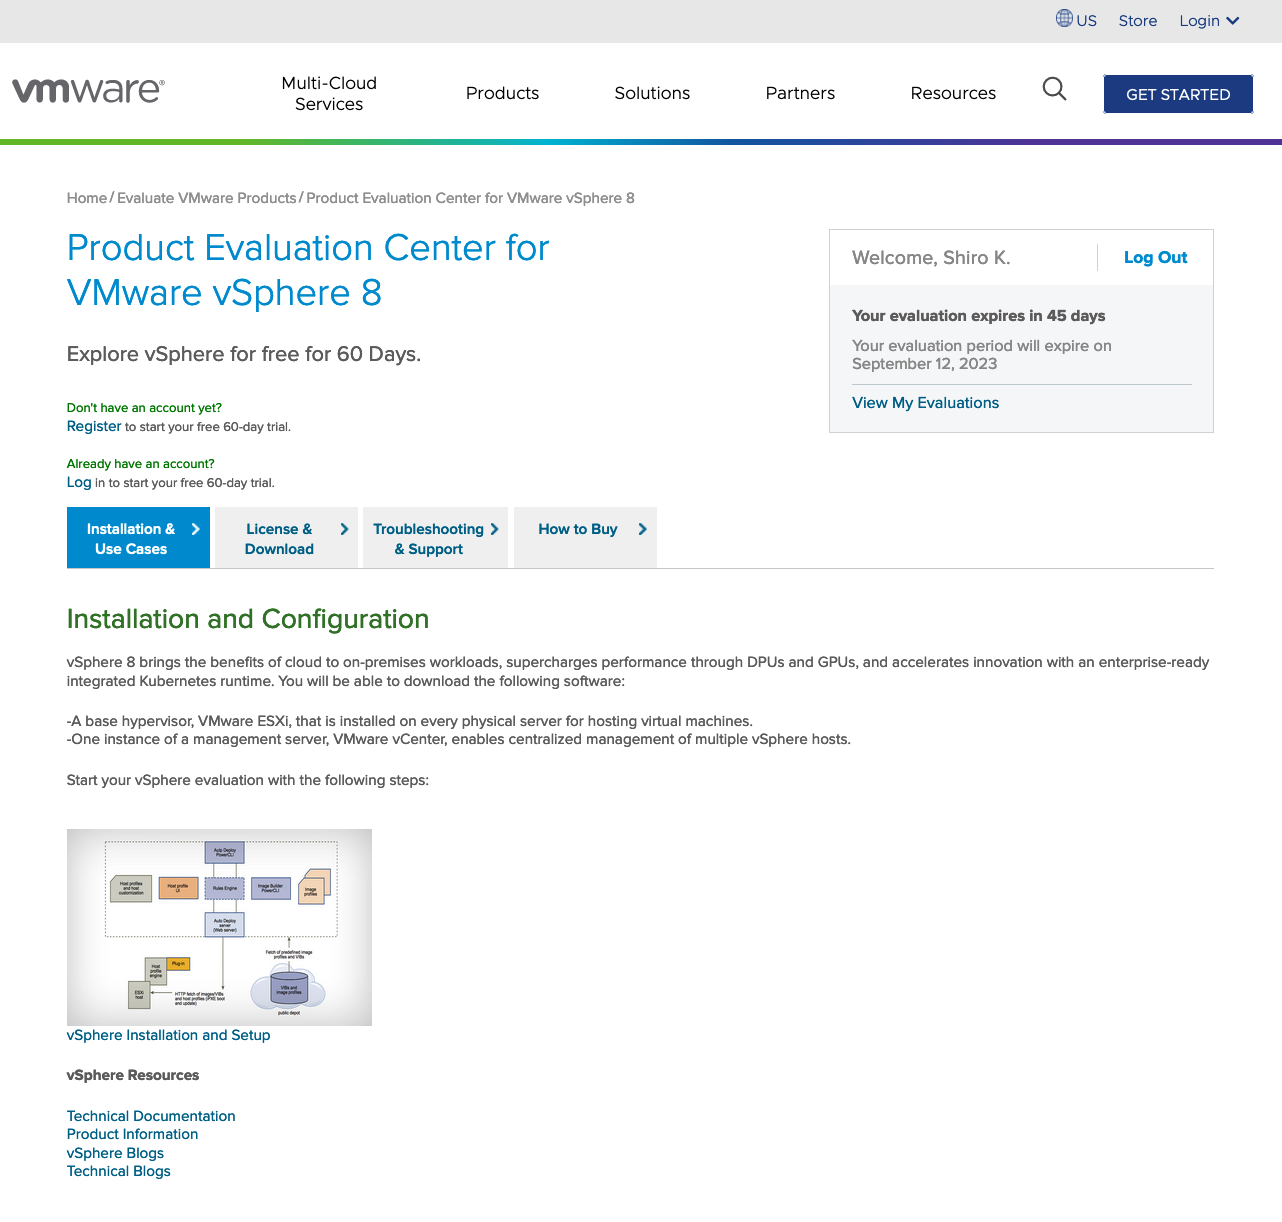
3) VMware vSphere Hypervisor (ESXi) 8.0U1a ダウンロード
[License & Download] をクリックし VMware vSphere Hypervisor (ESXi ISO) image をダウンロード

vmware のサイトにログインして下記リンクからダウンロードする (要アカウント登録(無料))
4) md5sum 確認
md5sum が正しいことを確認
VMware vSphere Hypervisor (ESXi ISO) image 2023-06-01 8.0U1a 599.47 MB iso の md5sum は次になります。
md5sum: 05768de15c1cf8790af9702c077493e5
・MD5確認
shirok@macbook Downloads % md5 VMware-VMvisor-Installer-8.0U1a-21813344.x86_64.iso
    MD5 (VMware-VMvisor-Installer-8.0U1a-21813344.x86_64.iso) = 05768de15c1cf8790af9702c077493e5
■ USBインストールメディア作成
今回は、Macbookを使用して ダウンロードした ISOファイルを balenaEtcherソフトウェアもしくは ddコマンドでUSBへ書き込みます。
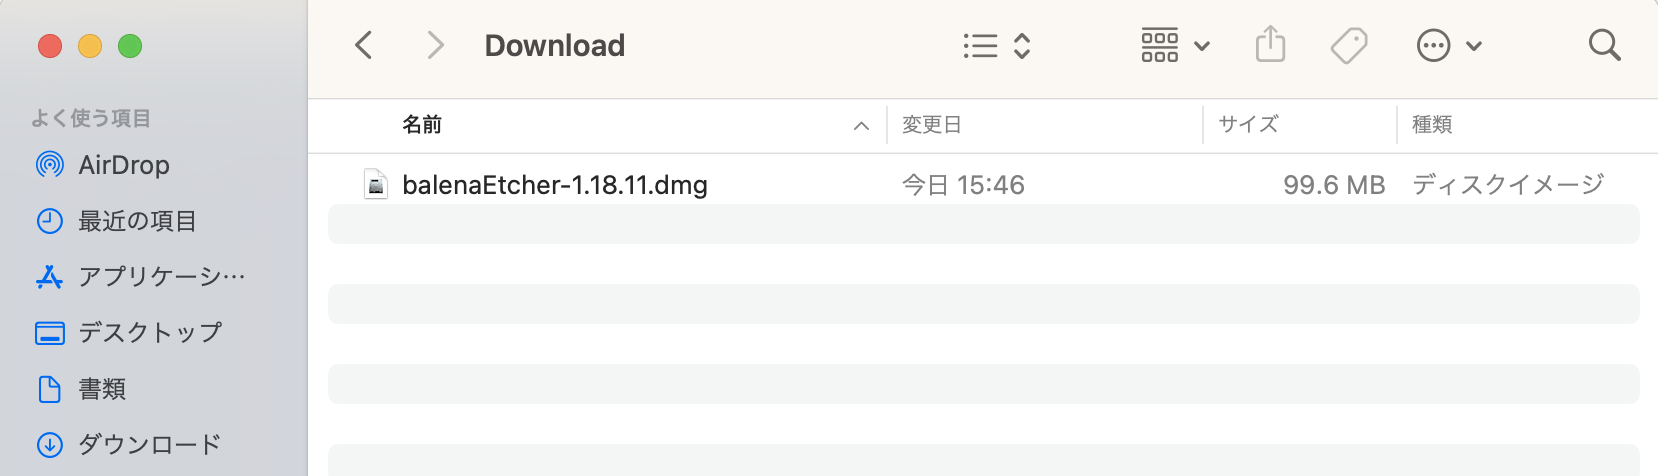
⚫︎ USB確認
Macbook へ USBをアタッチ
shirok@macbook ~ % diskutil list
/dev/disk5 (synthesized):
   #:                       TYPE NAME                    SIZE       IDENTIFIER
   0:      APFS Container Scheme -                      +30.6 GB    disk5
                                 Physical Store disk4s2
   1:                APFS Volume USB                     950.3 KB   disk5s1
⚫︎ 方法1: balenaEtcher で ISOファイルをUSBへ書き込み
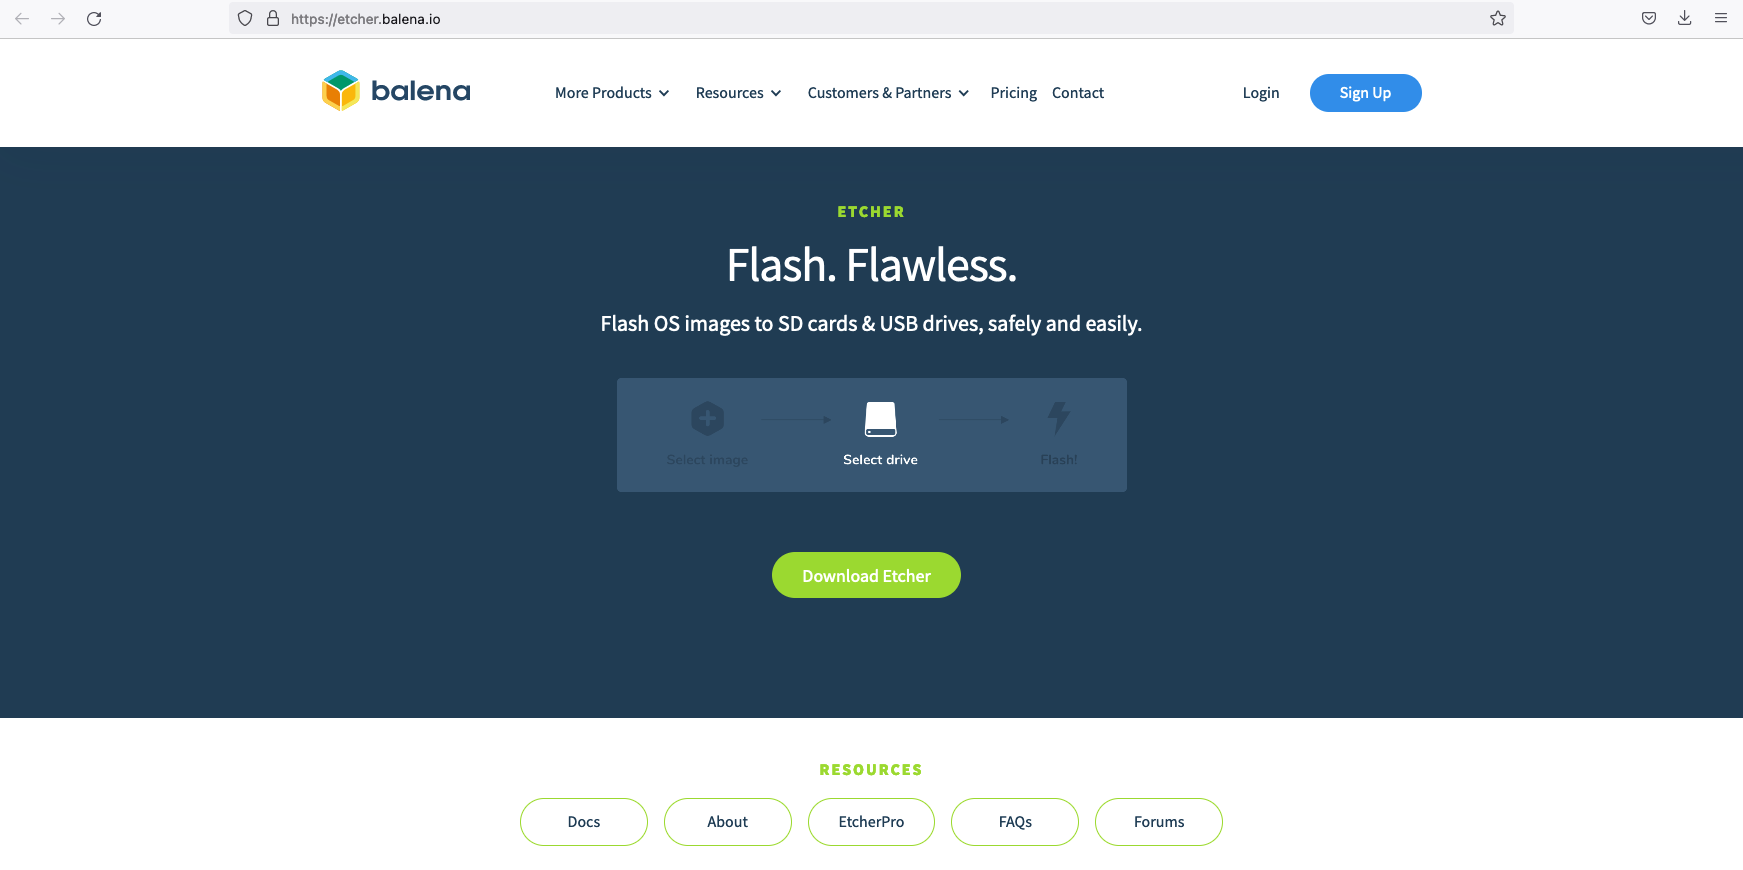
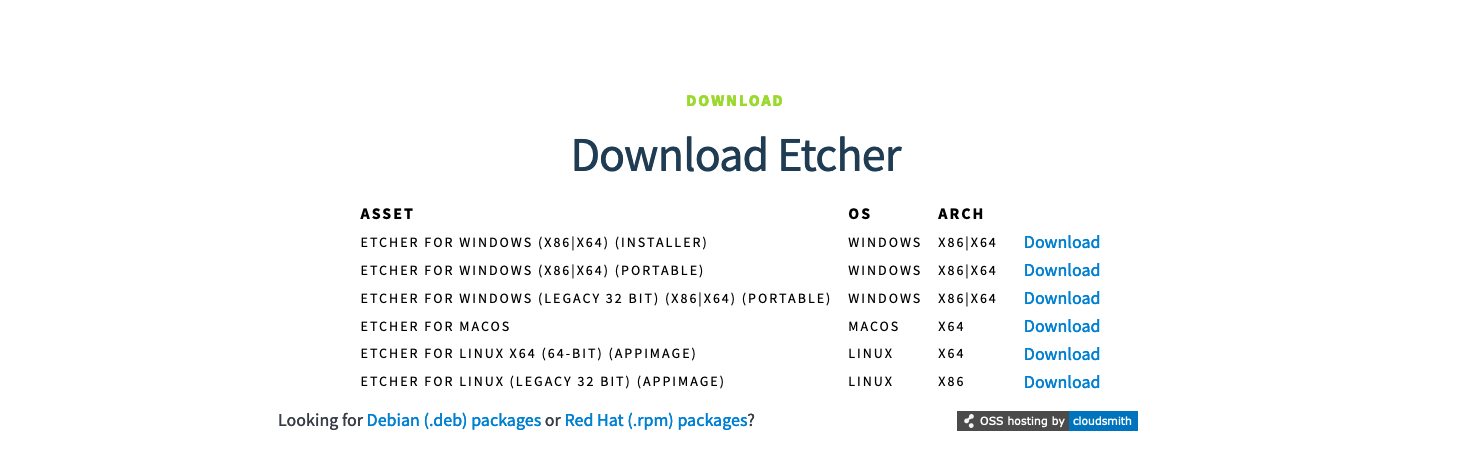
1) balenaEtcher ダウンロード
https://etcher.balena.io/ へアクセスし Download
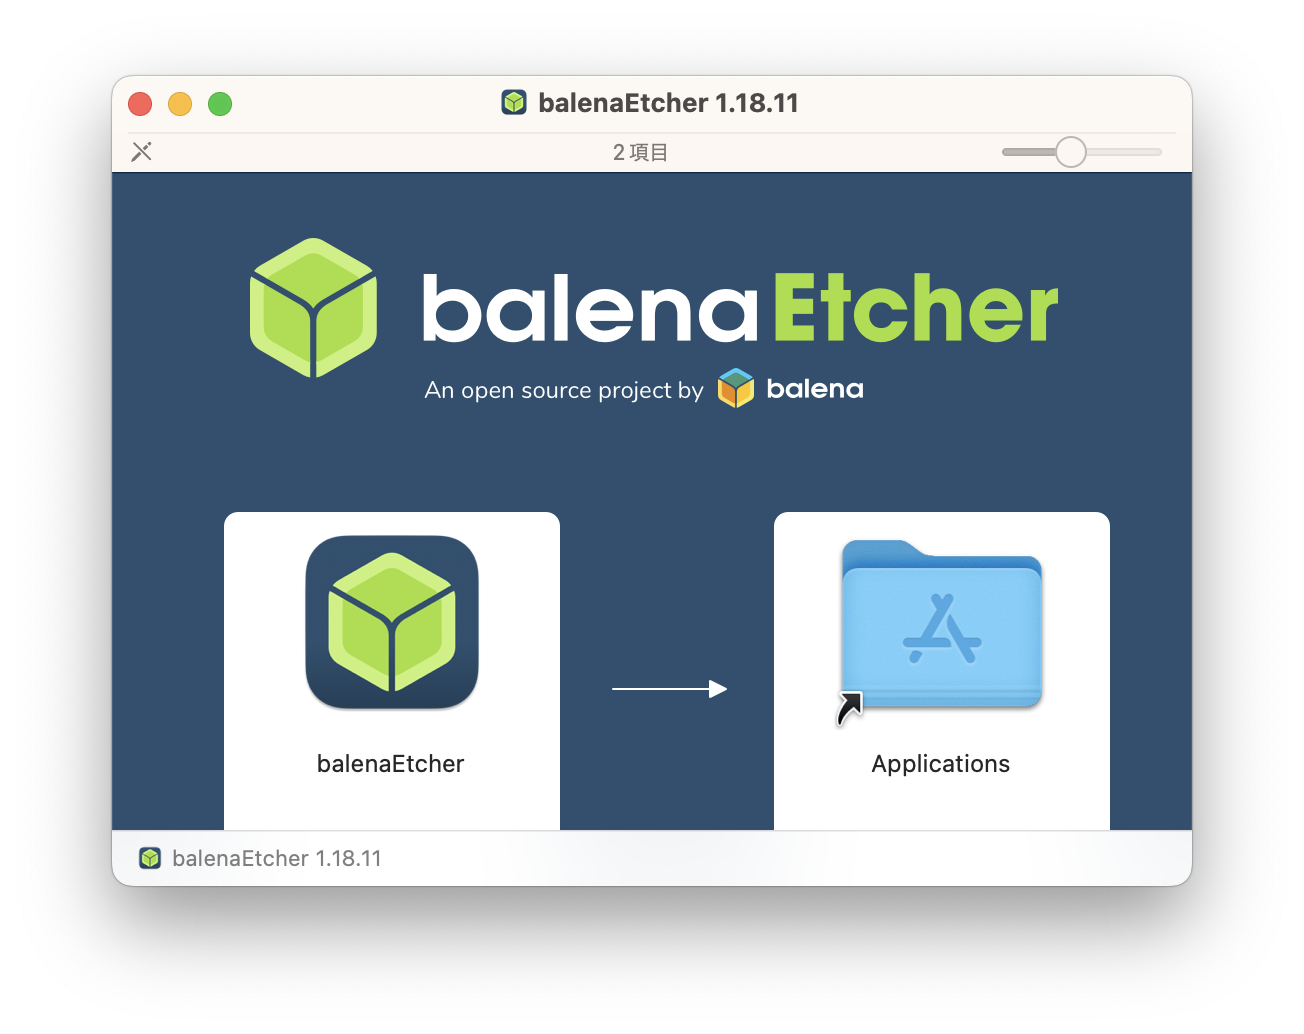
2) balenaEtcher インストール
balenaEtcher アイコンをドラッグ&ドロップでインストール
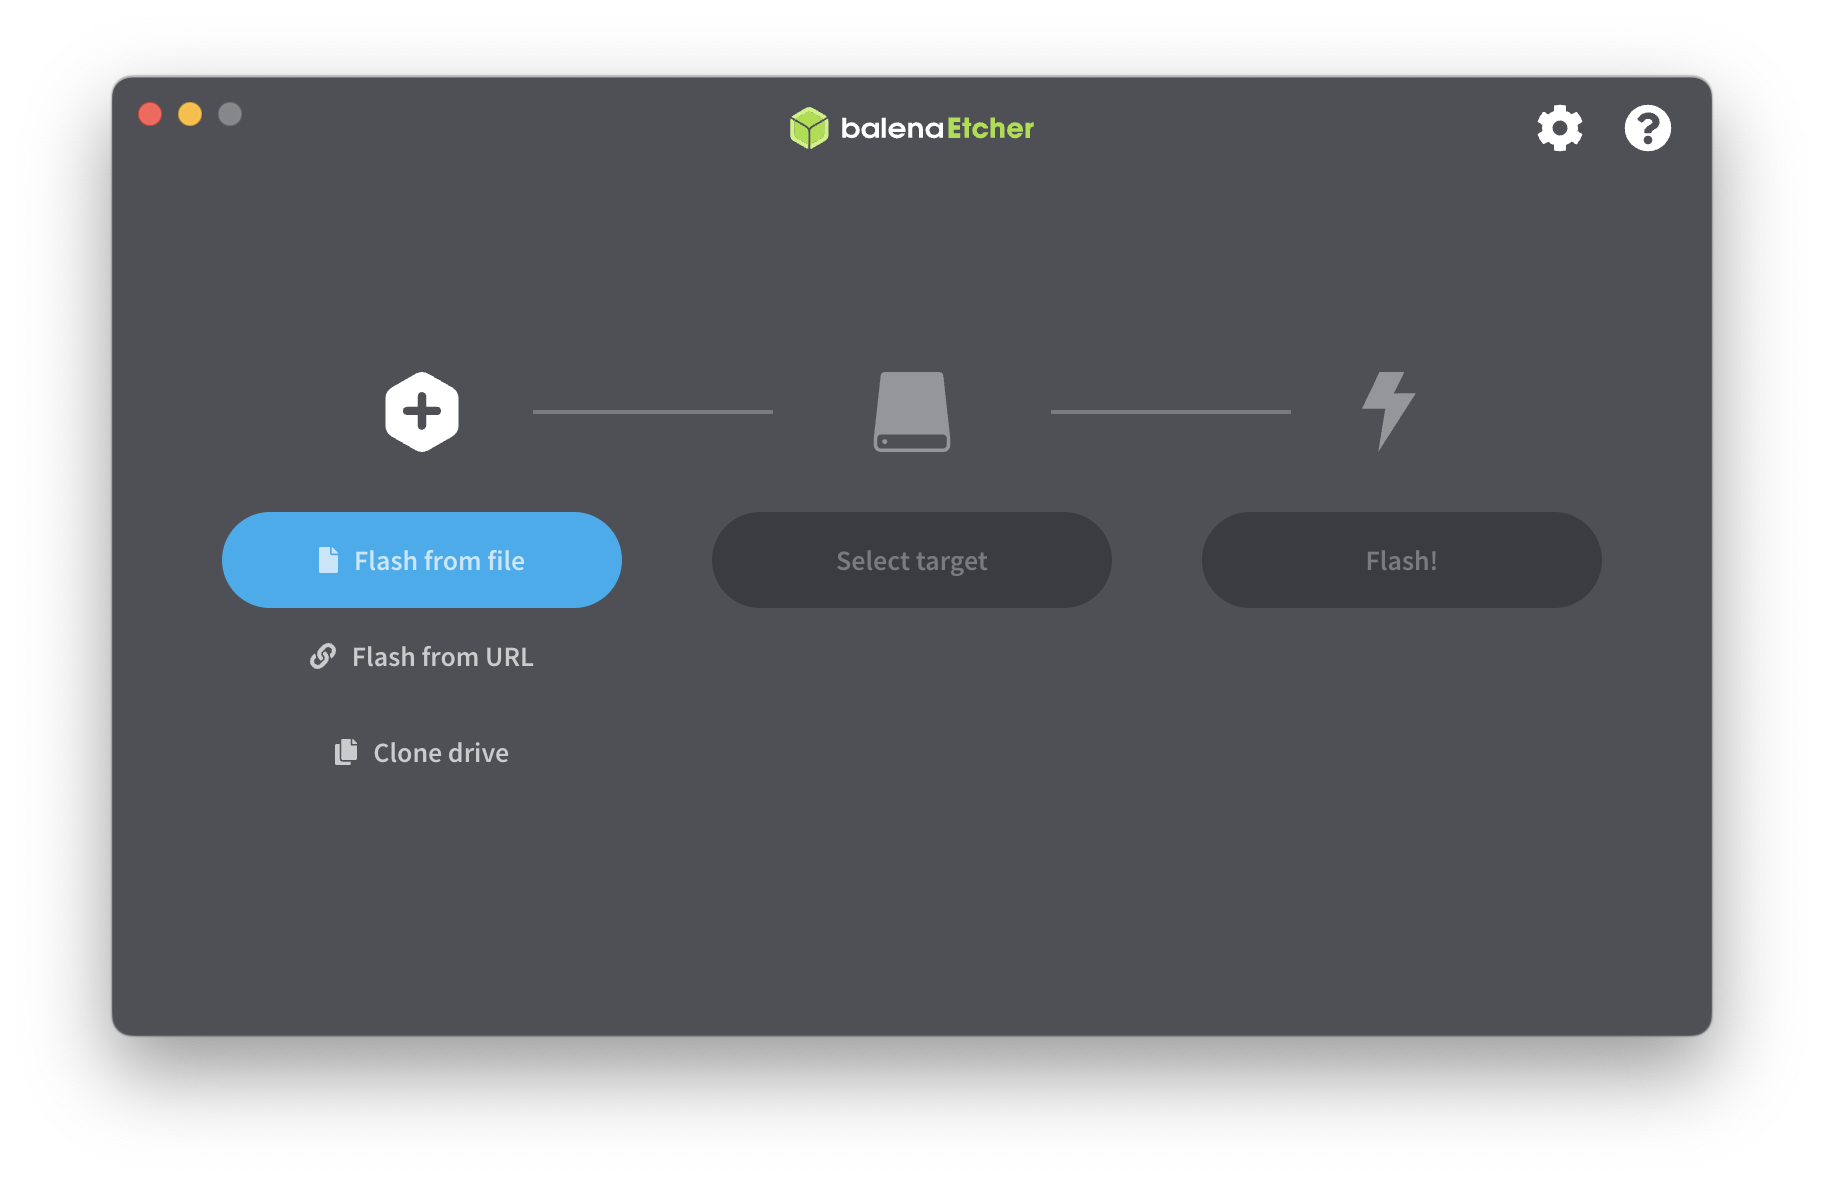
3) balenaEtcher実行

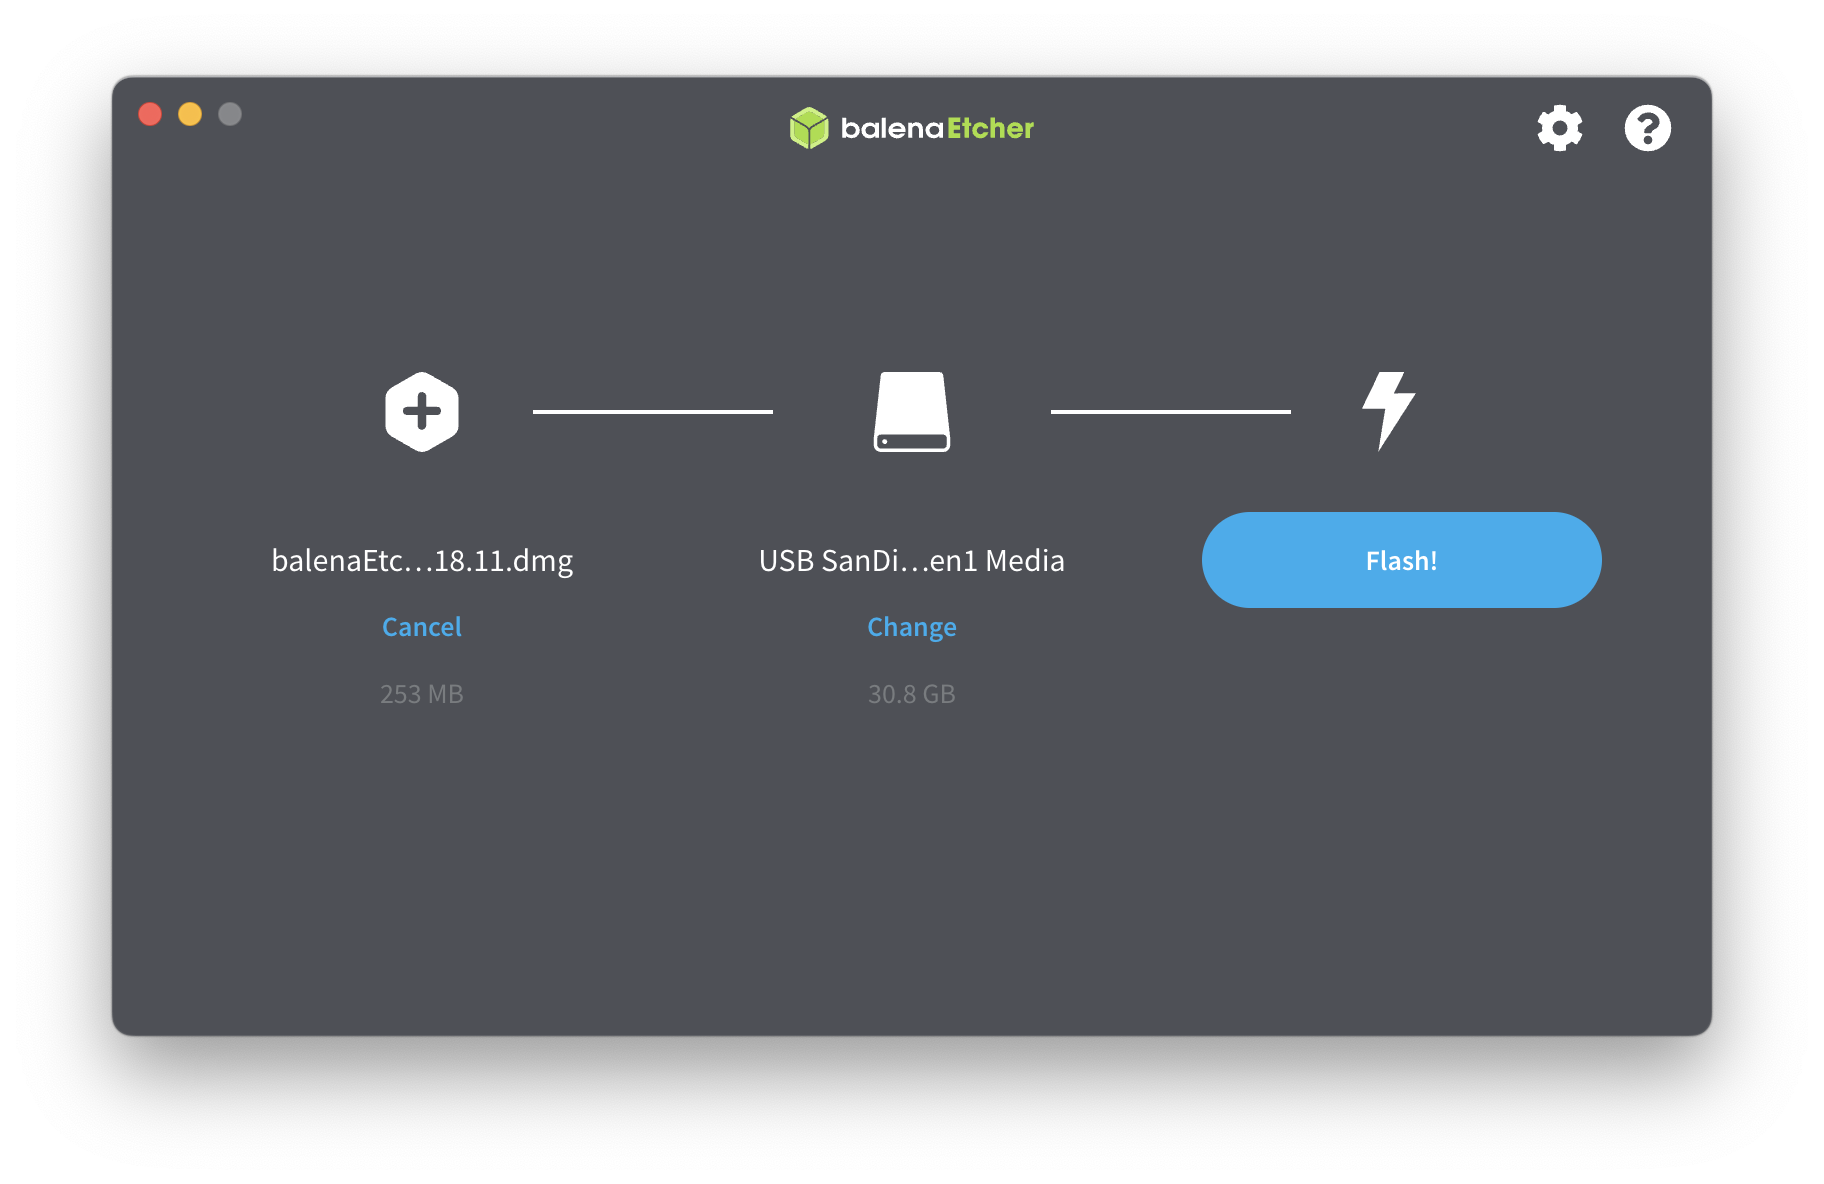
4) balenaEtcher画面
[Flash from file]を実行し、ダウンローしたESXi ISOファイルを選択
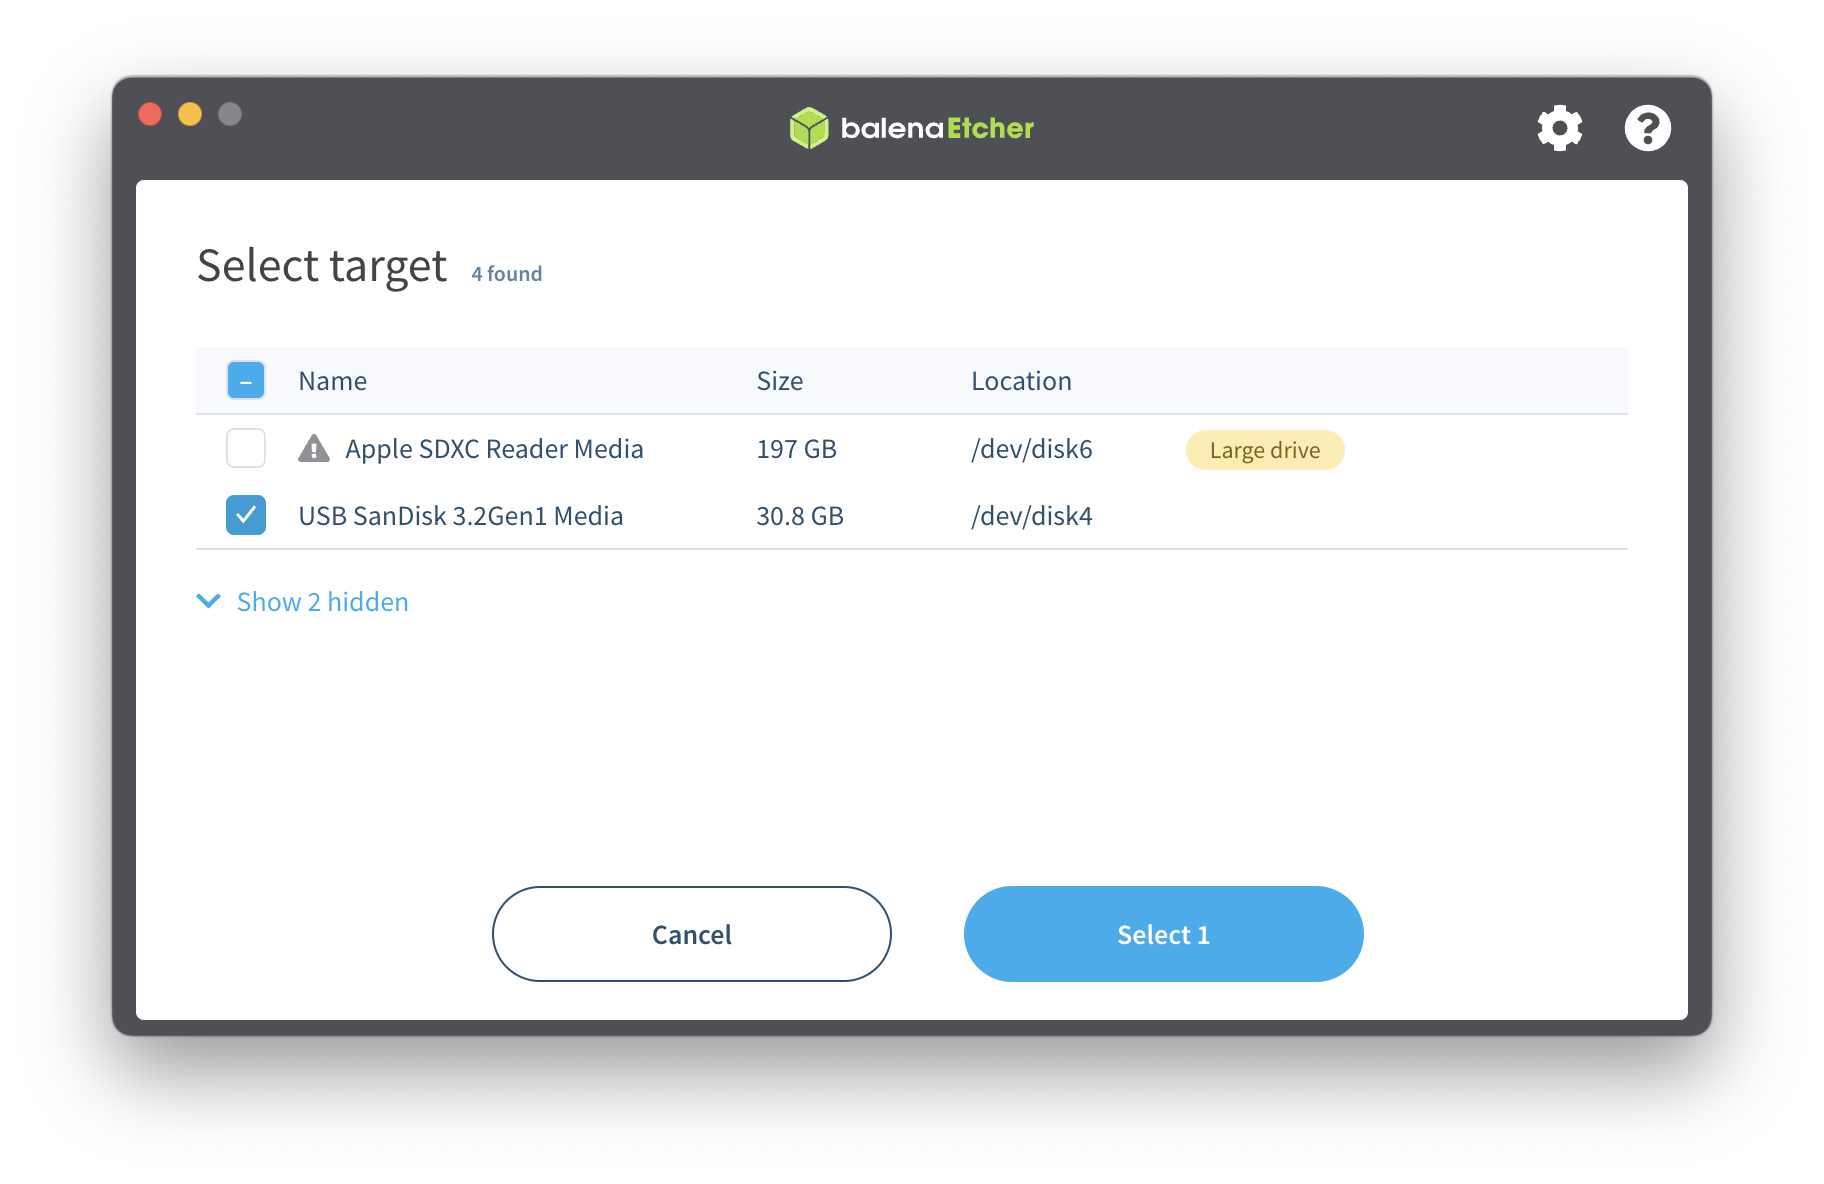
5) balenaEtcher: Slect target 画面
[Select target]をクリックしISOイメージを書き込むUSBを選択
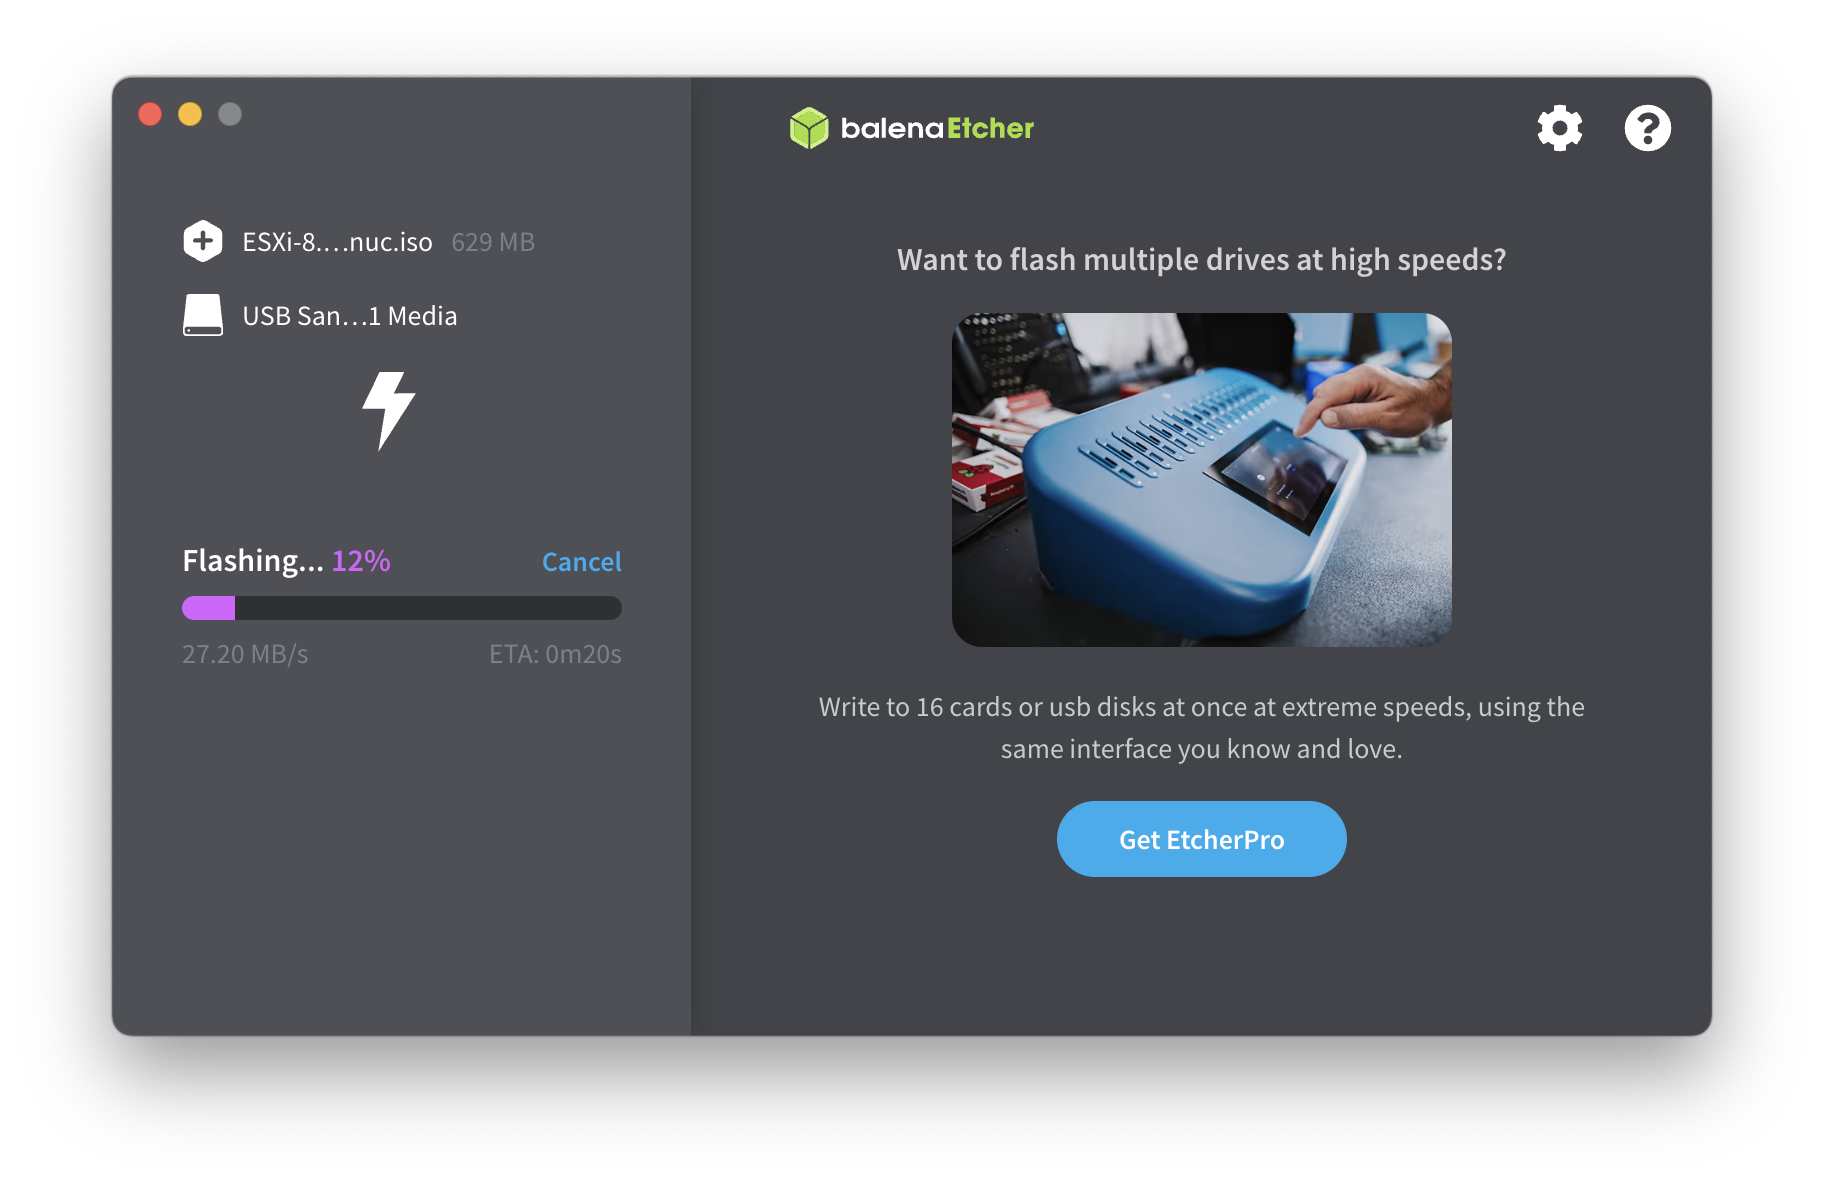
6) balenaEtcher:Flash
Flashをクリックし書き込み実行
7) Type your password to allow this.
この画面でパスワードを求められた場合、次の手順を参考に sudoコマンド実行できるようにしておく必要があります。
8) 書き込み中
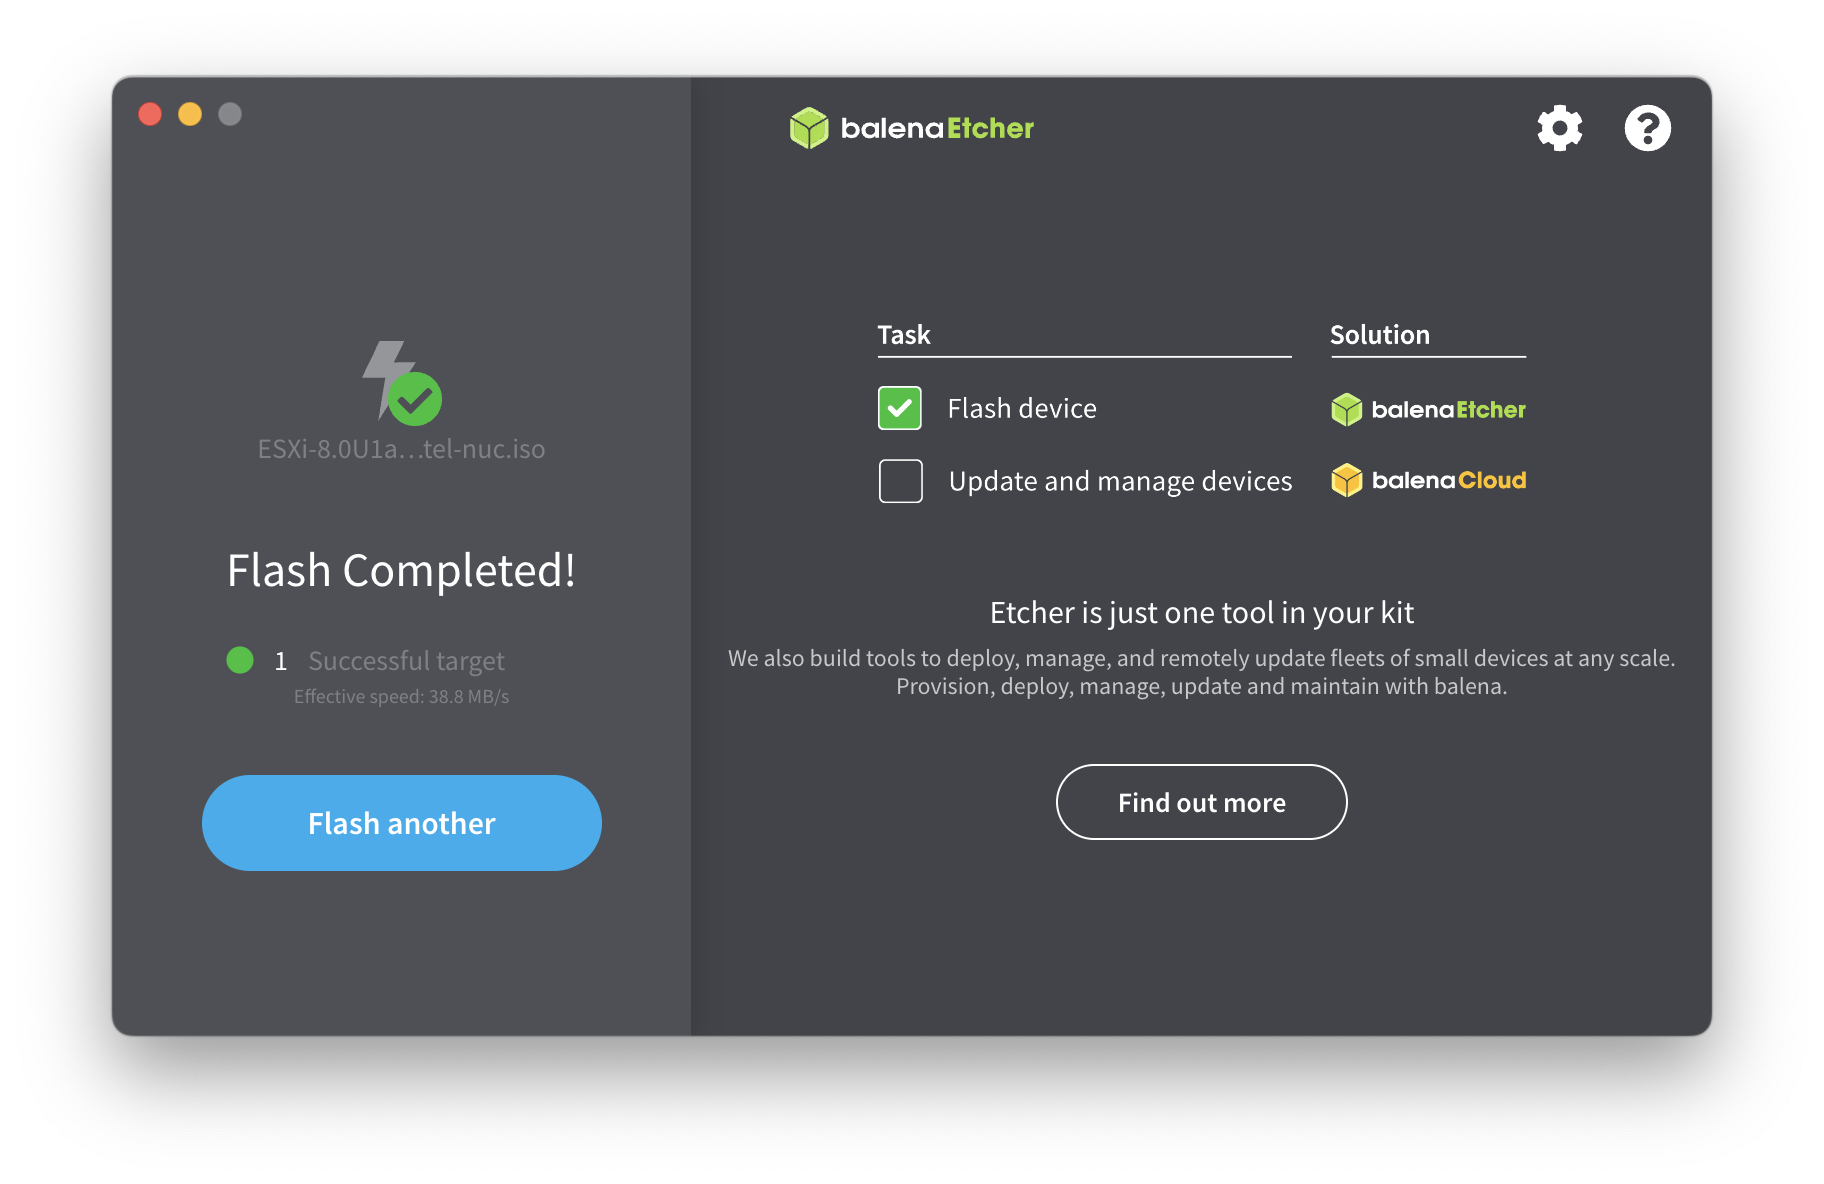
9) 書き込み完了
⚫︎ 方法2: ddコマンドでISOファイルをUSBへ書き込み
1) USB初期化
shirok@macbook ~ % diskutil eraseDisk MS-DOS "ESXI8" MBR disk2
2) USB メモリをアンマウント
shirok@macbook ~ % diskutil unmountDisk /dev/disk2
3) USB ドライブ全体を ISO イメージで上書きする
shirok@macbook ~ % sudo dd bs=10M if=~/Downloads/VMware-VMvisor-Installer-8.0-20513097.x86_64.iso of=/dev/disk2
Password:
4) USB メモリを取り出す
shirok@macbook ~ % diskutil eject /dev/disk2
■ ESXi 8.0 Install
ESXが起動し始めたら、'Fatal CPU mismatch on feature' が出力された パープルスクリーンになります。
そうならないようにカーネルパラメーターを設定して起動できるようにします。
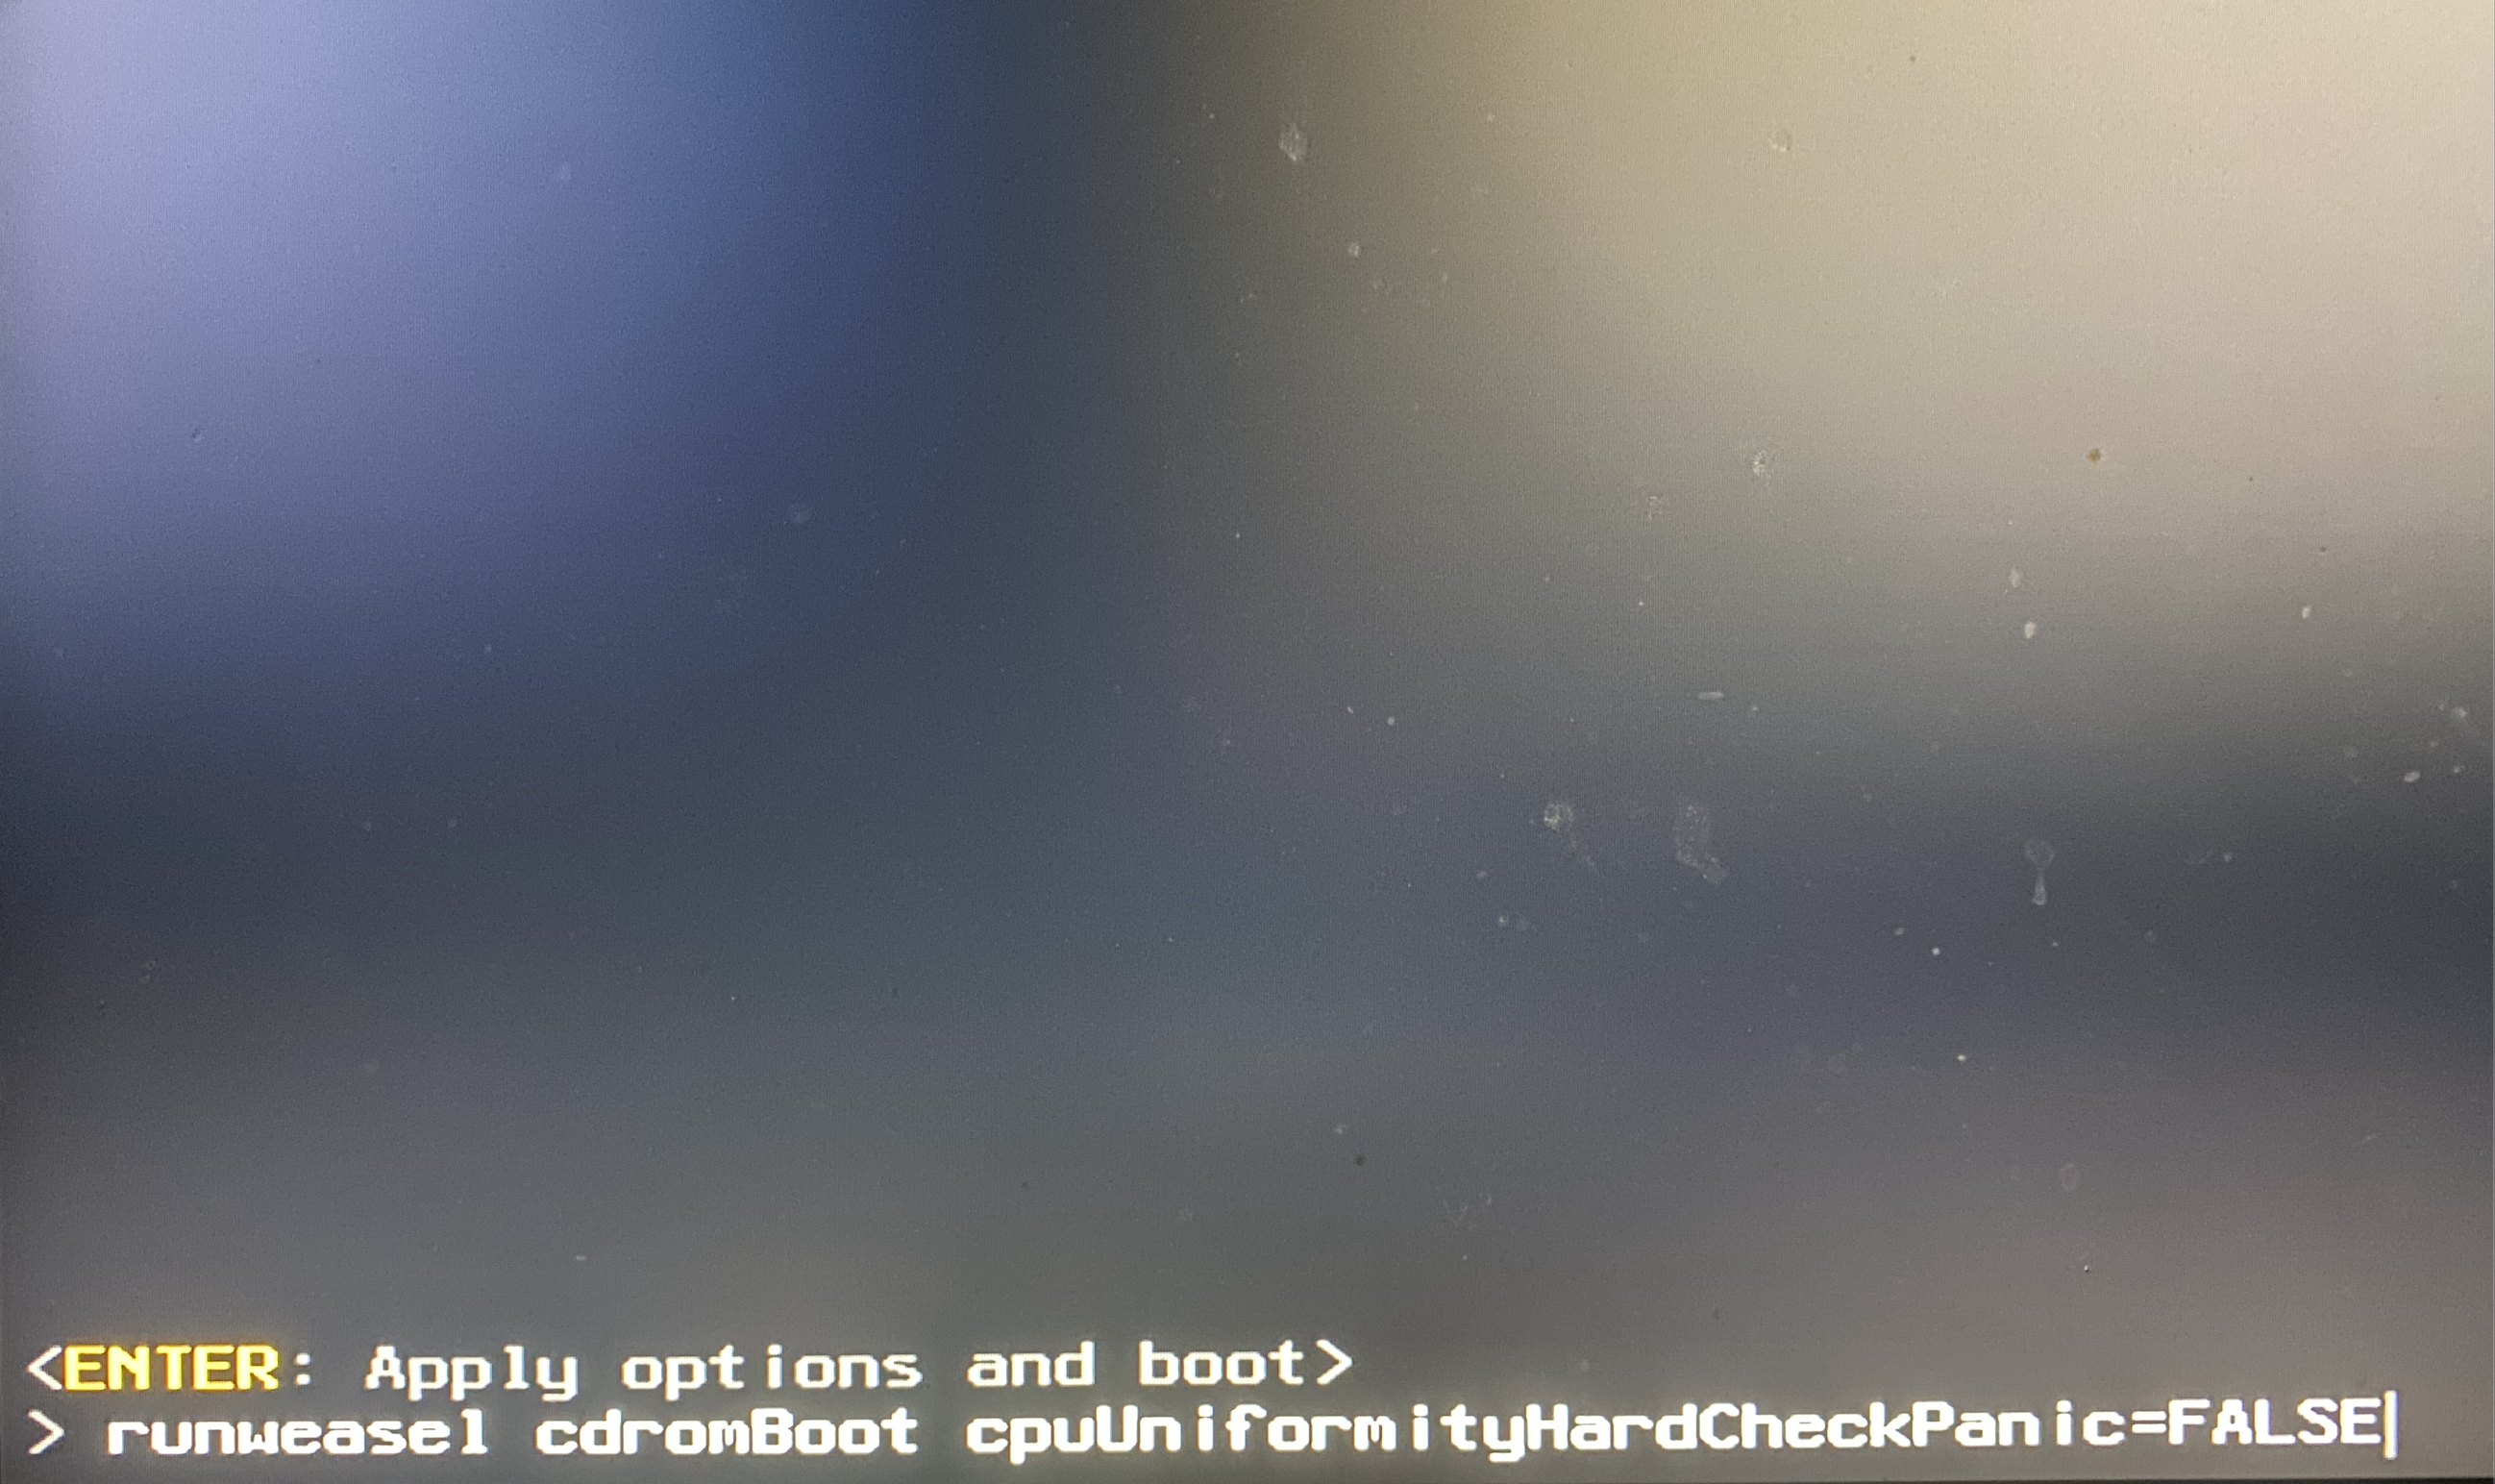
cpuUniformityHardCheckPanic=FALSE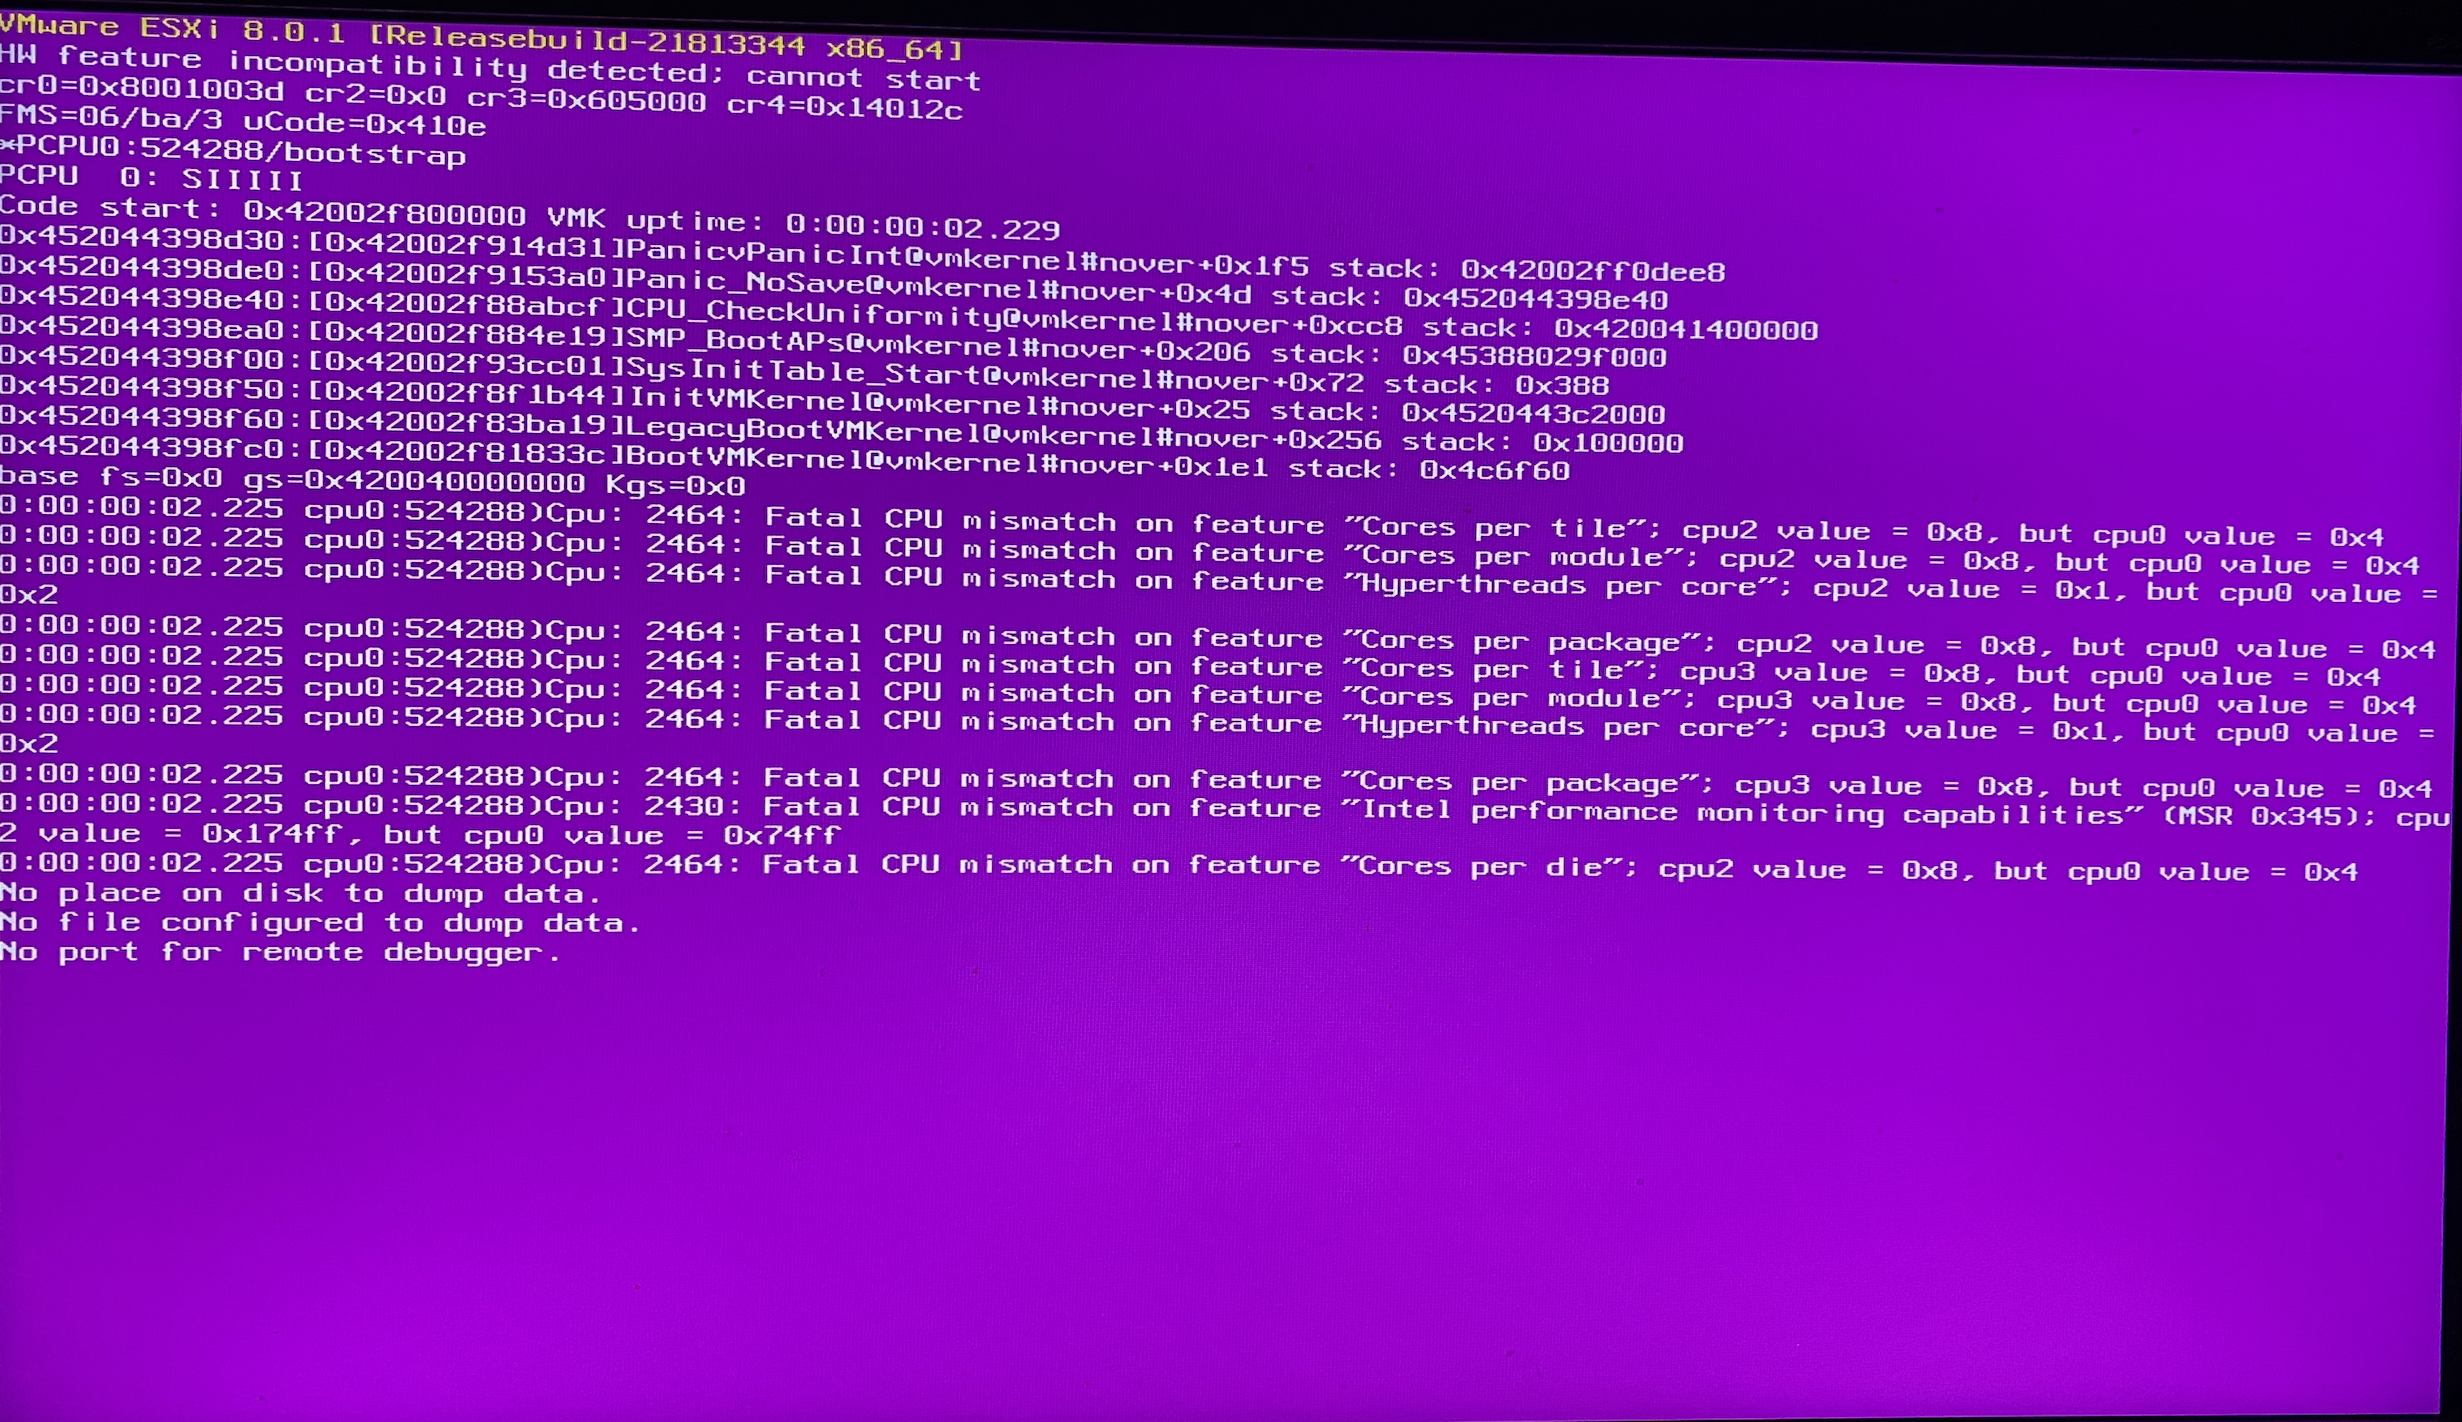
1) ESXi 起動時のカーネルパラメーター設定
ESXiが起動し始めたら、Shift+Oで、カーネルパラメーターを追加する。
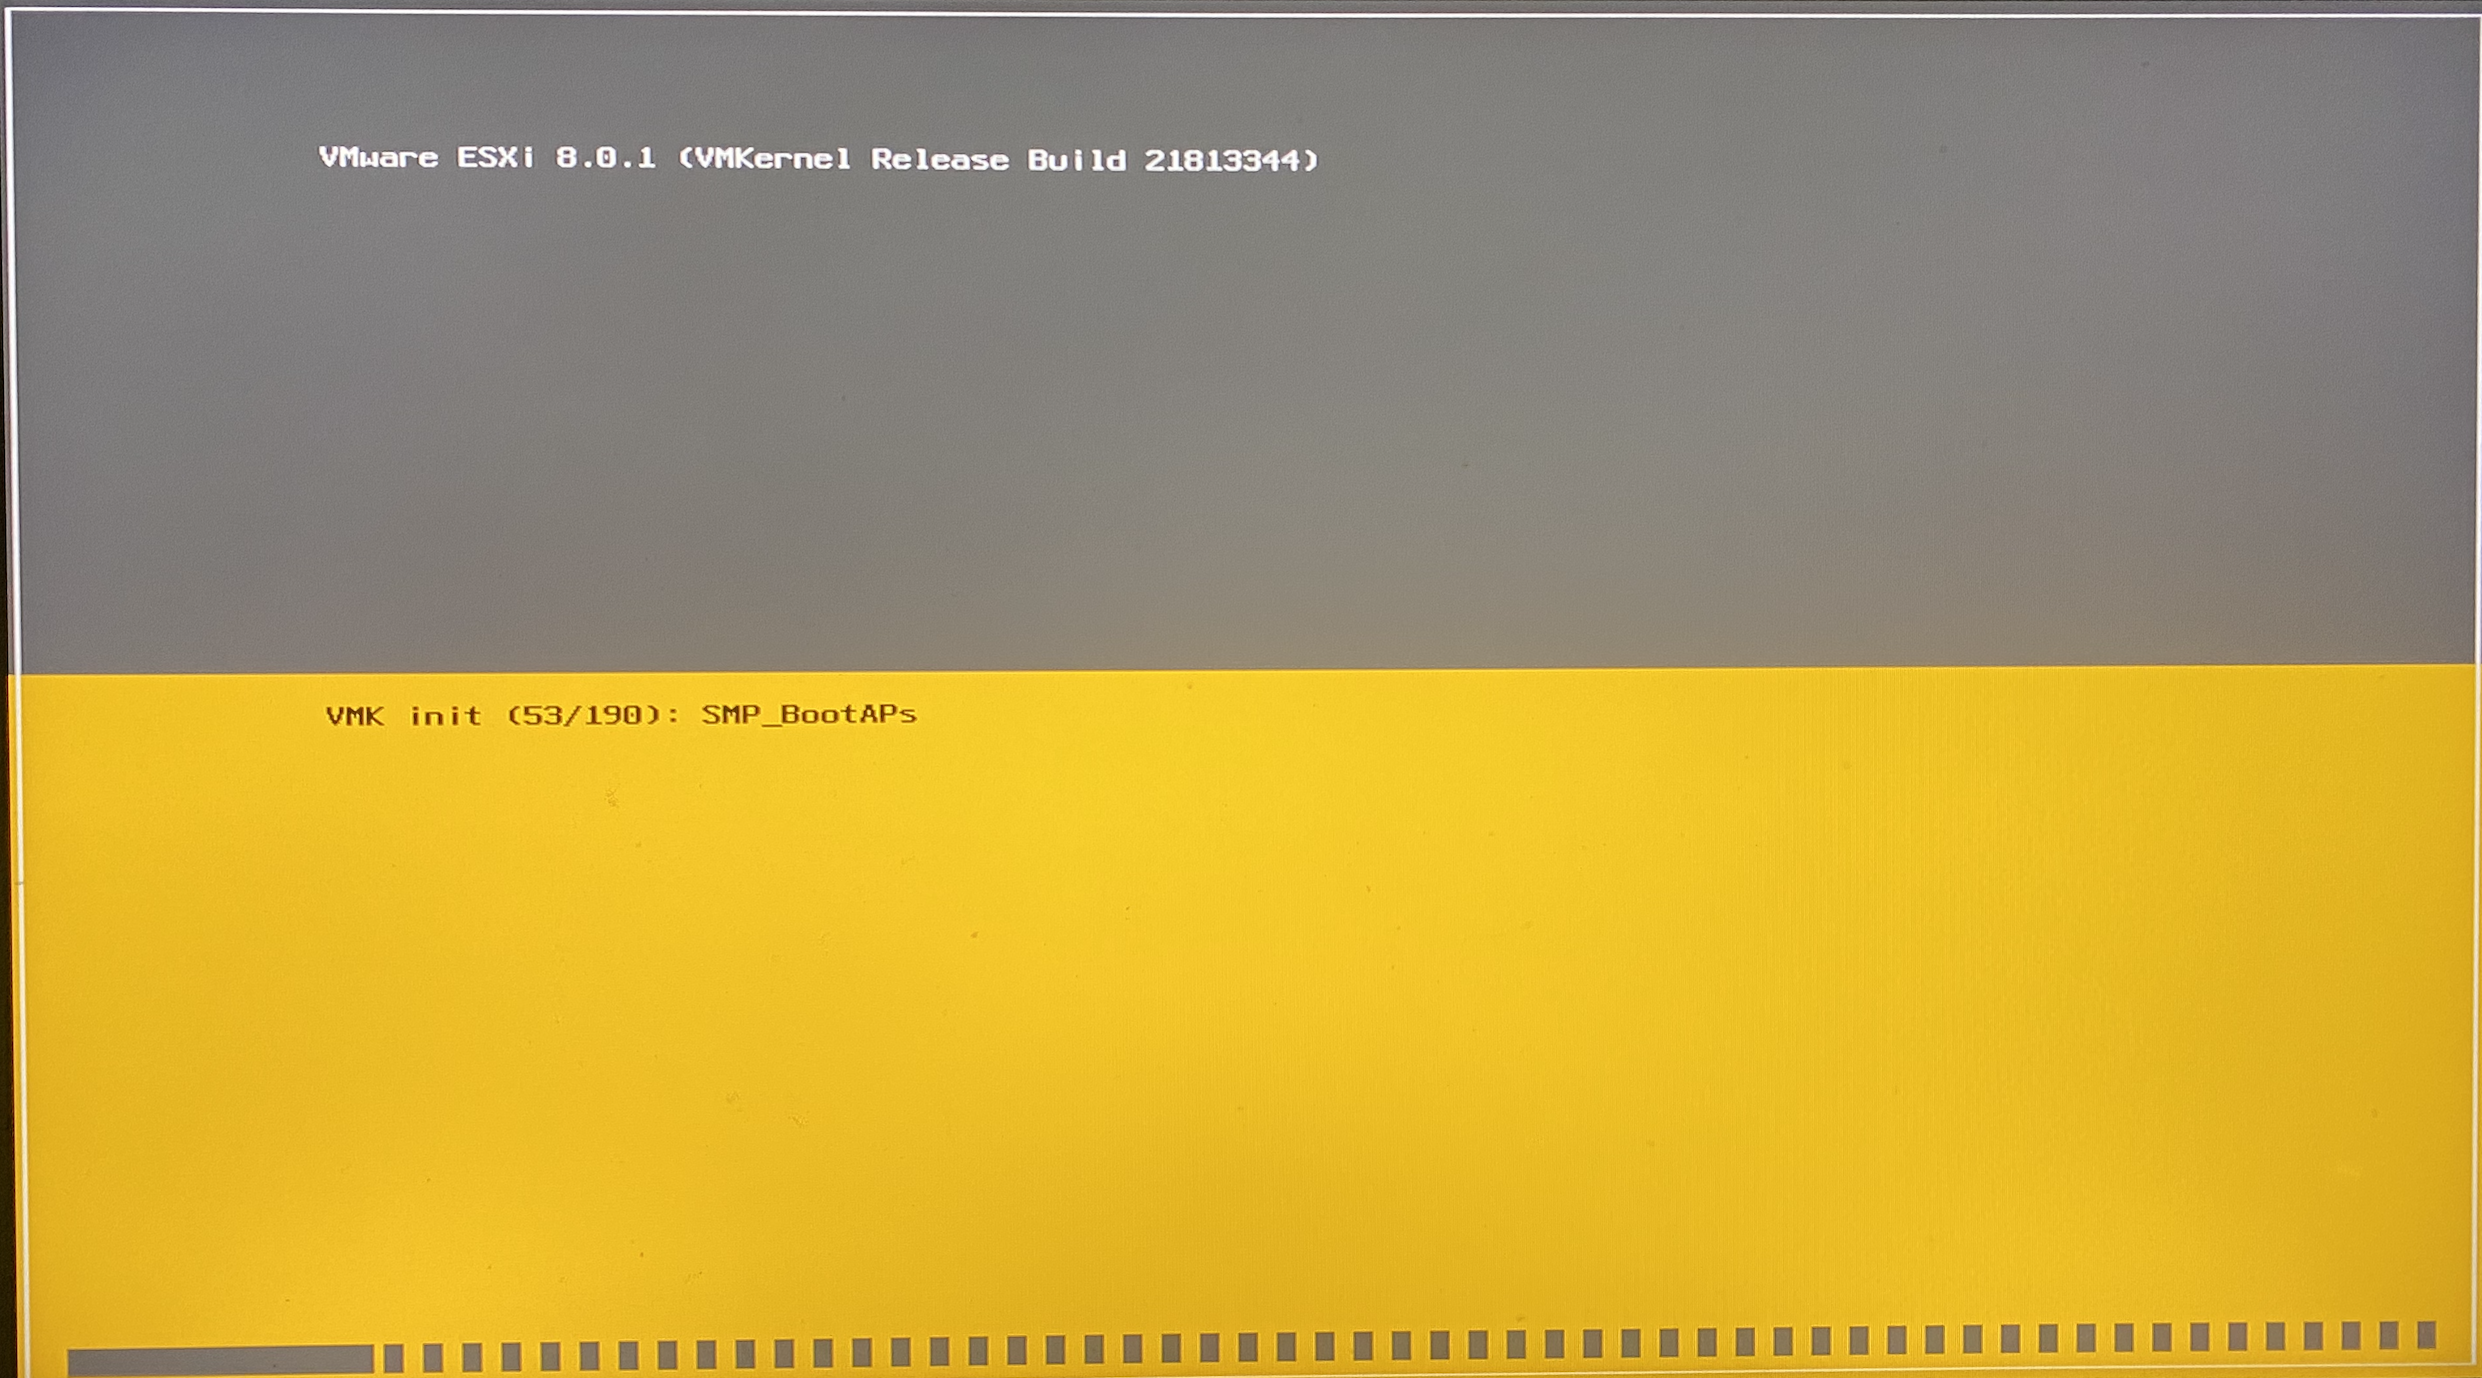
2) セットアップ準備中・・・
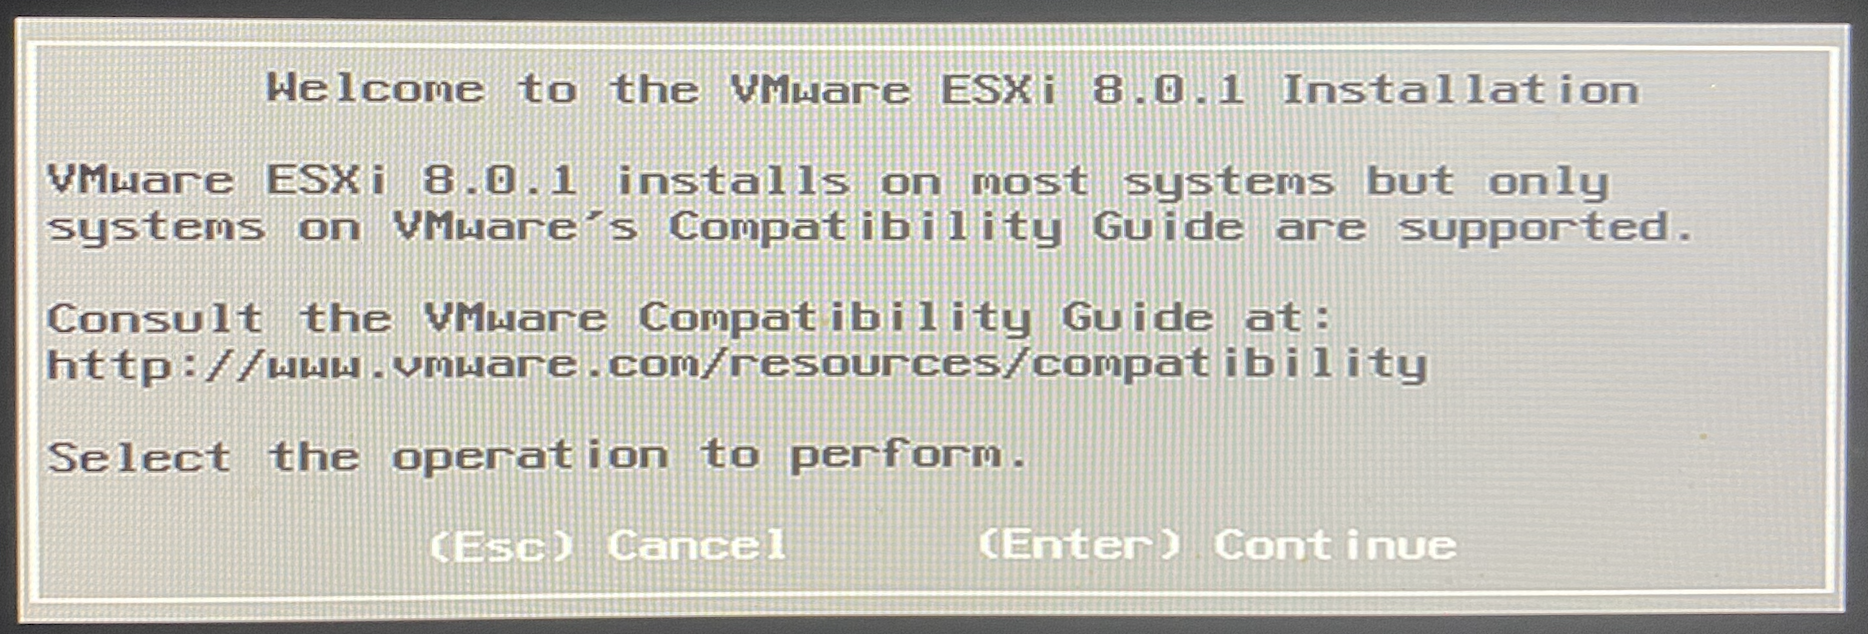
3) Welcome to the VMware ESXi Instration 画面
'Contine' するために [Enter] を押下
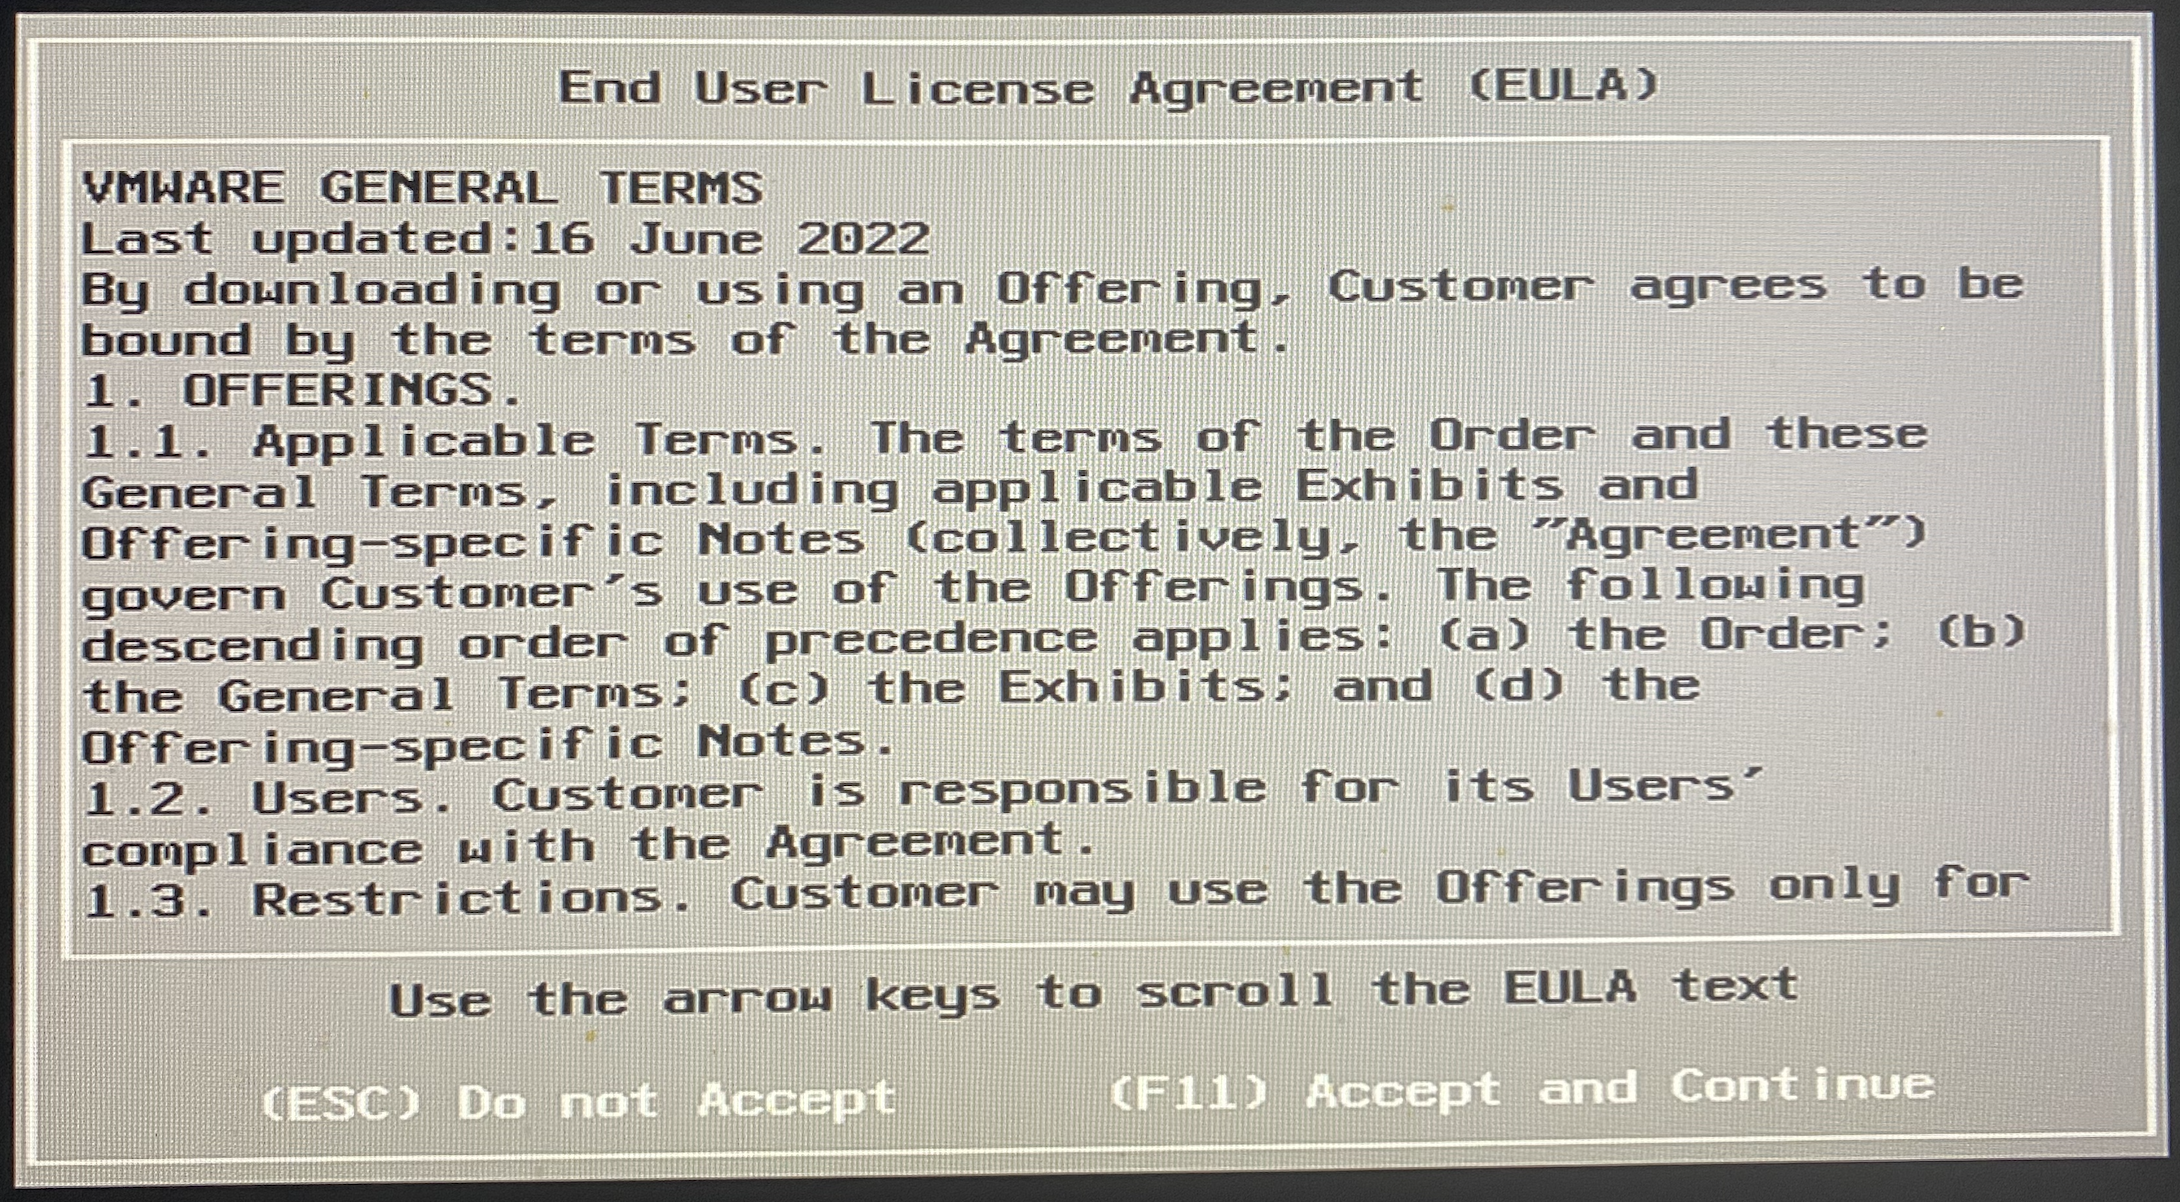
4) End User License Agreement (UELA) 画面
'Acsept and Continue' するために [F11] を押下
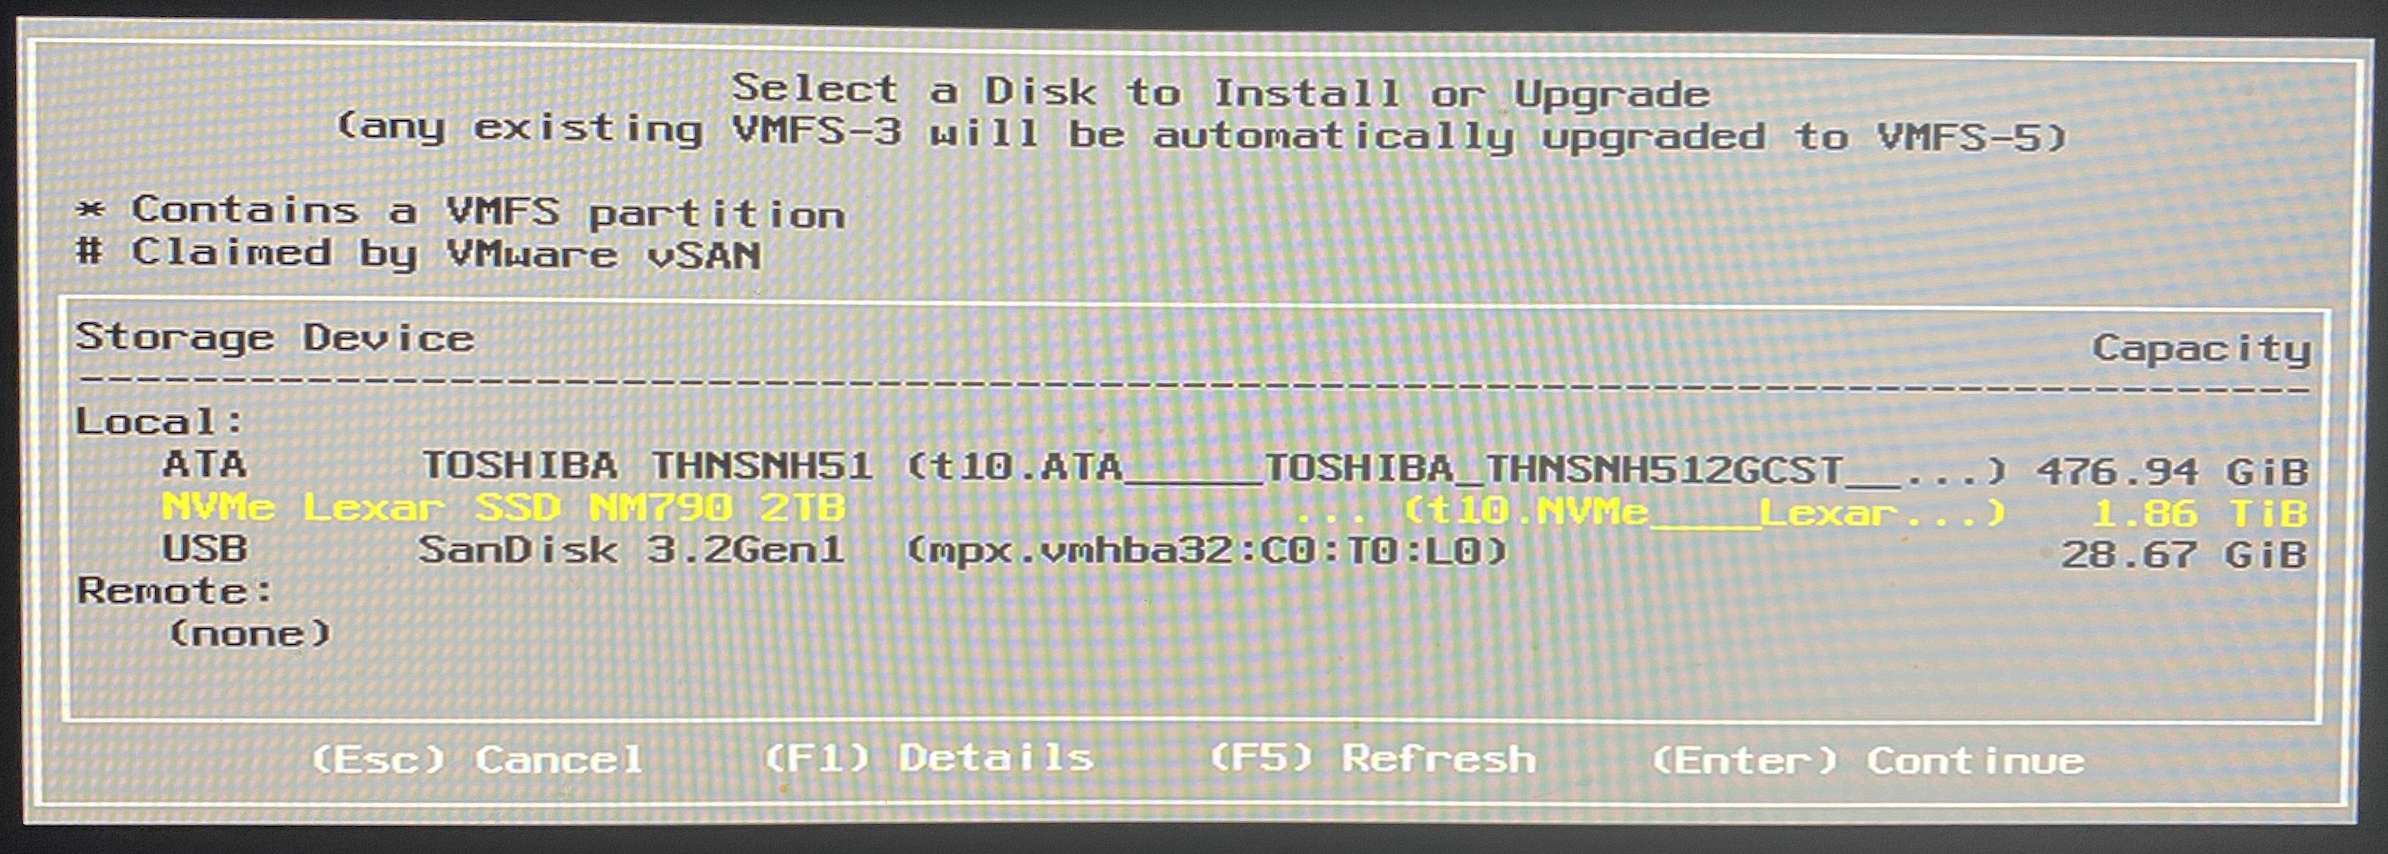
5) Select a Disk to Install or Upgrade 画面
Install する Storage を選択し、'Contine' するために [Enter] を押下
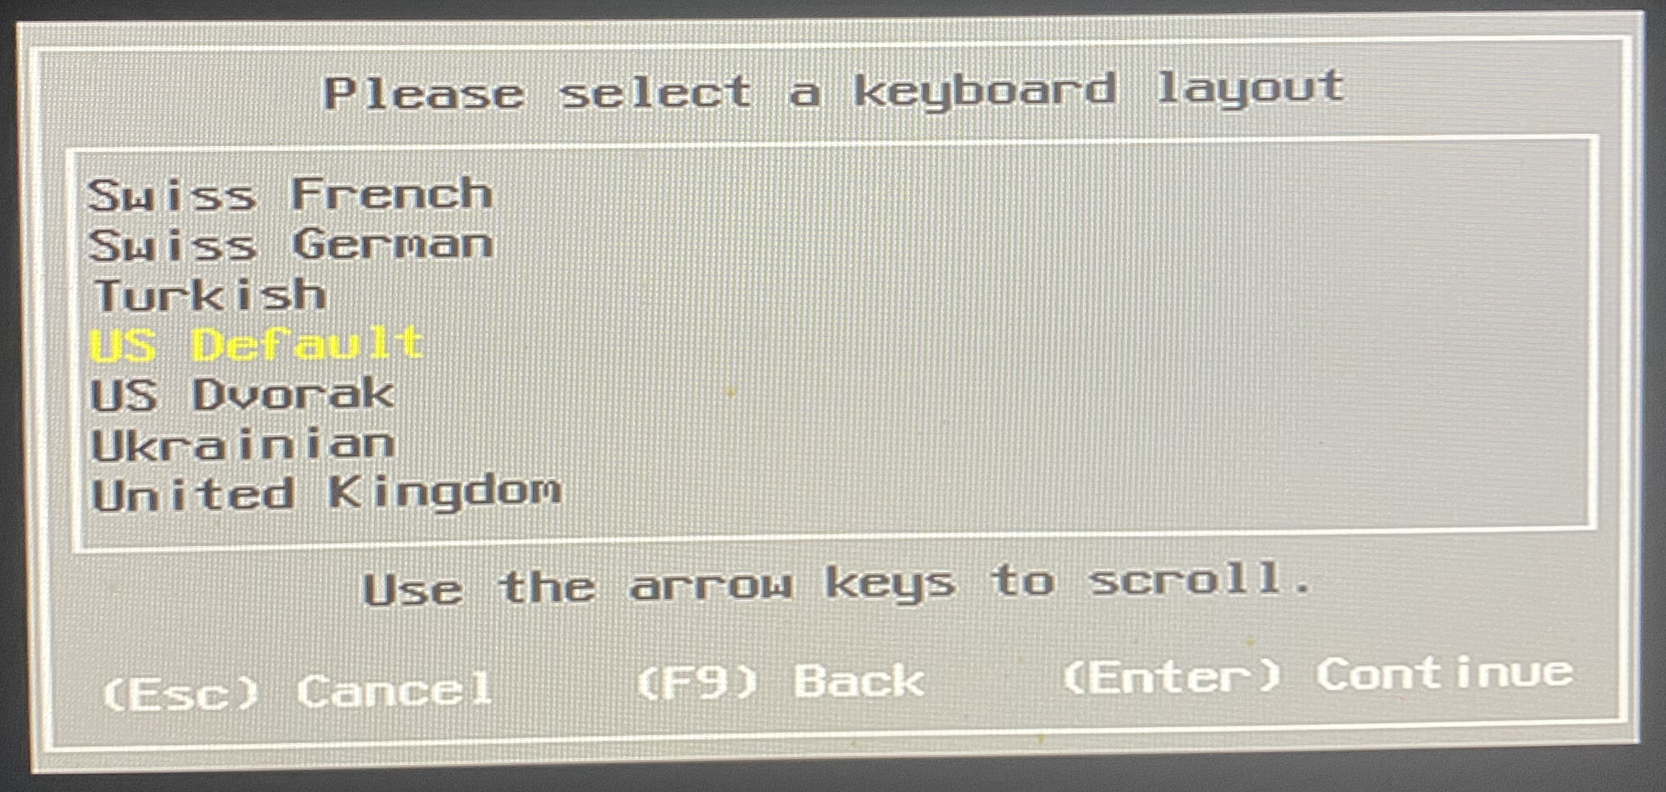
6) Please select a keyboad layout 画面
使用しているキーボードのレイアウトを選択し、'Contine' するために [Enter] を押下
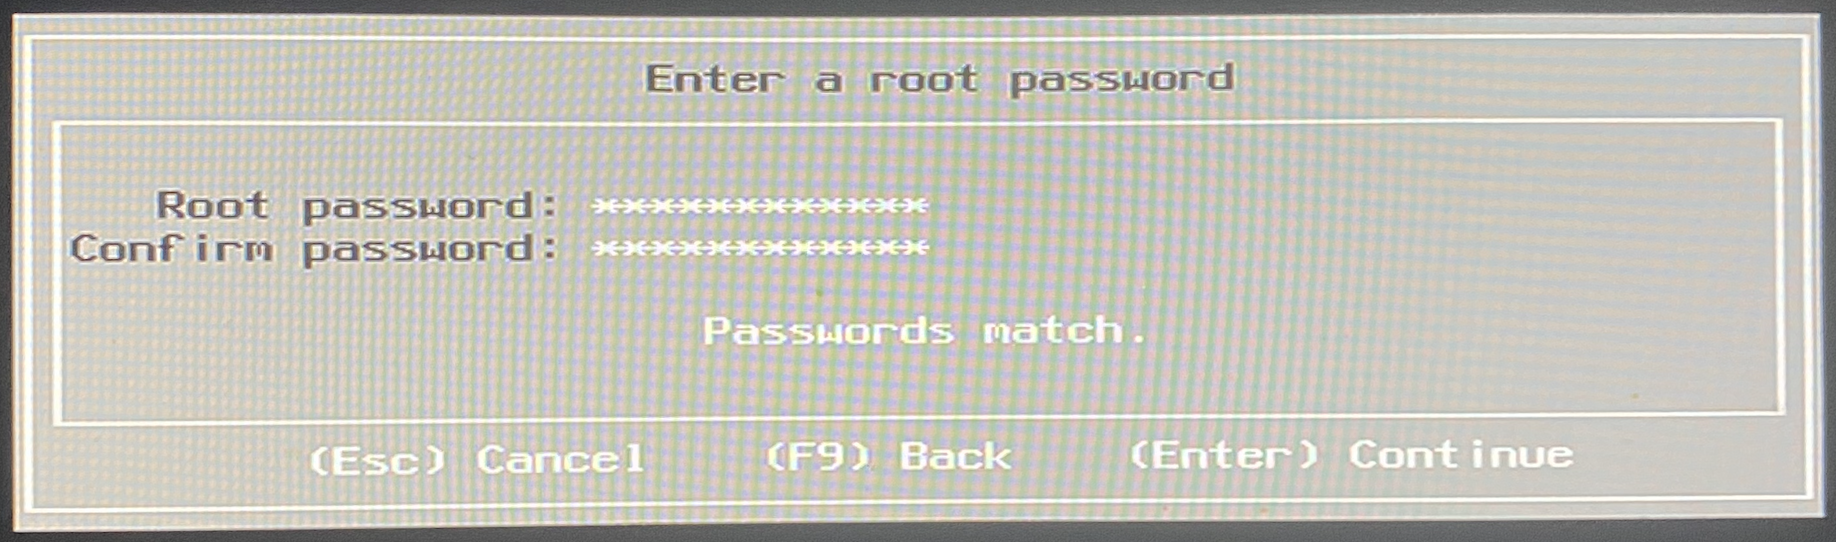
7) Enter a root password 画面
Root password を入力し、'Contine' するために [Enter] を押下
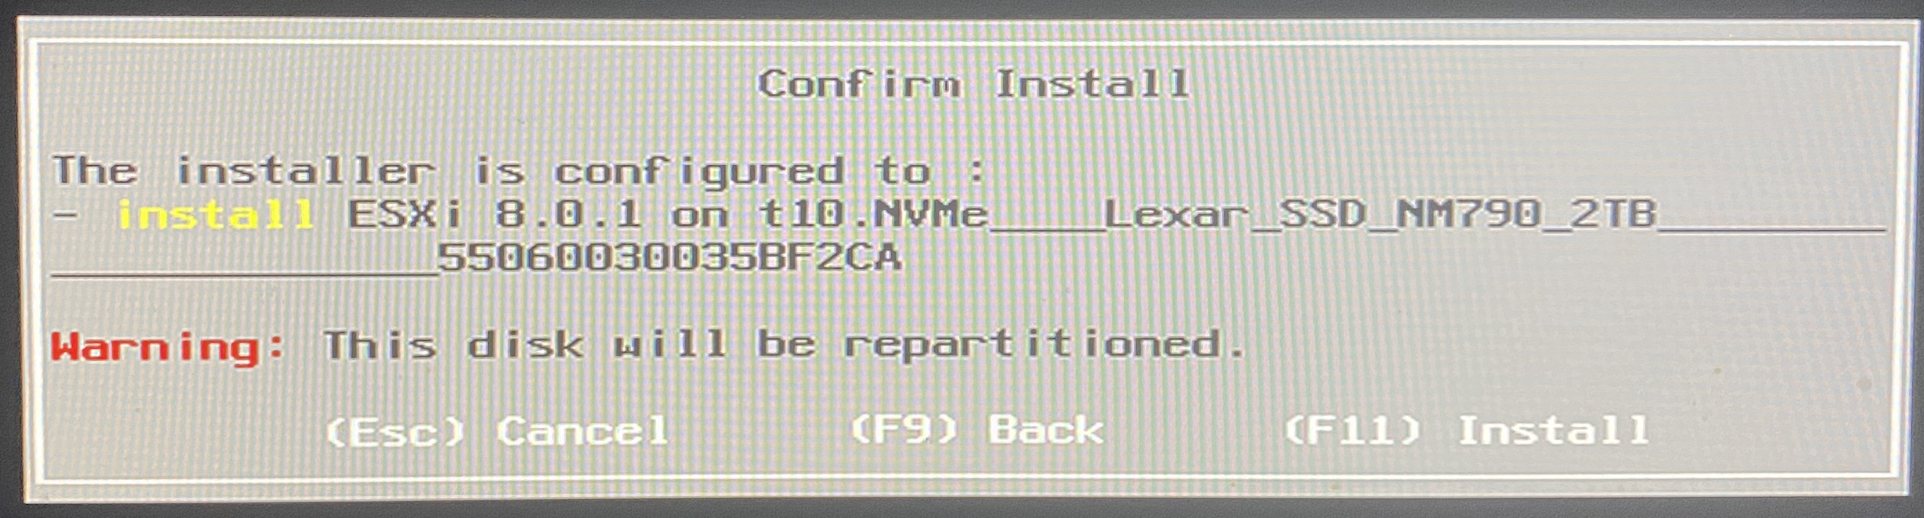
8) Confirm Install 画面
選択した Storage へ Install するために [Enter] を押下
9) Installation Progress 画面
インストール中・・・

10) Installtion Complete 画面
ISOイメージの USB を取り外し、Reboot するために [Enter] を押下
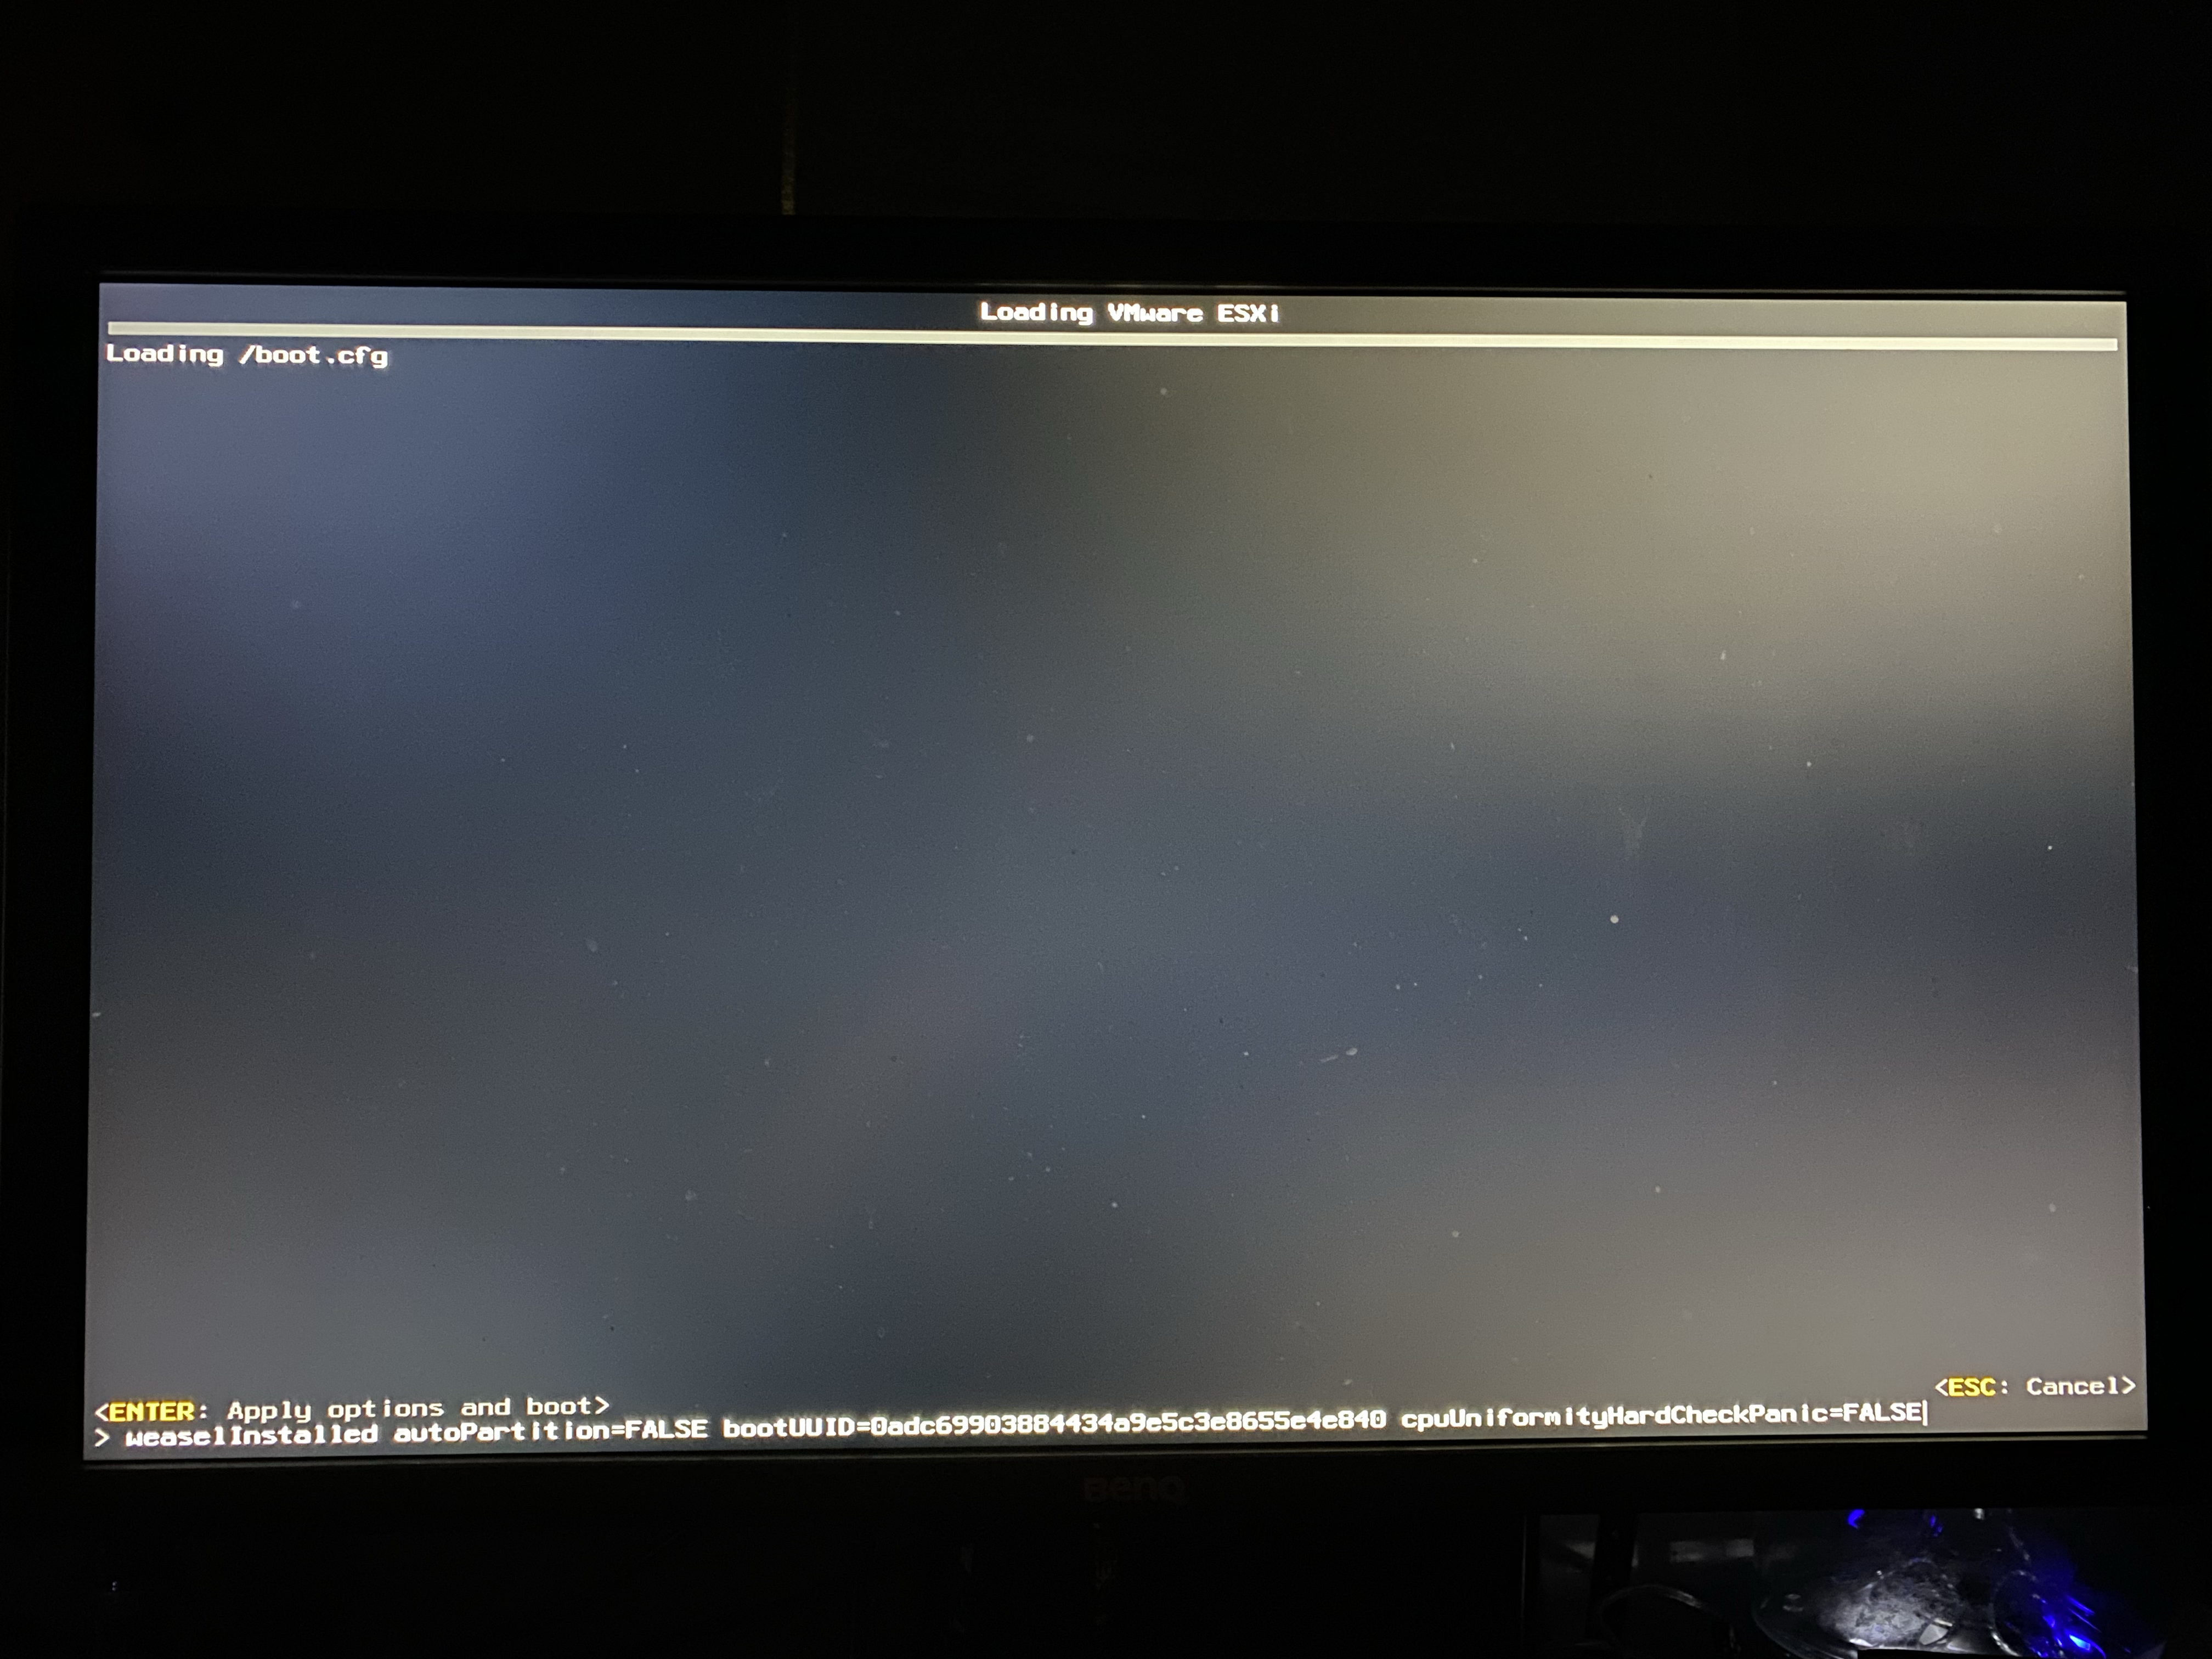
11) ESXi起動時のカーネルパラメーター設定
ESXi が起動し始めたら、Shift+Oで、カーネルパラメーターを追加する。
cpuUniformityHardCheckPanic=FALSE
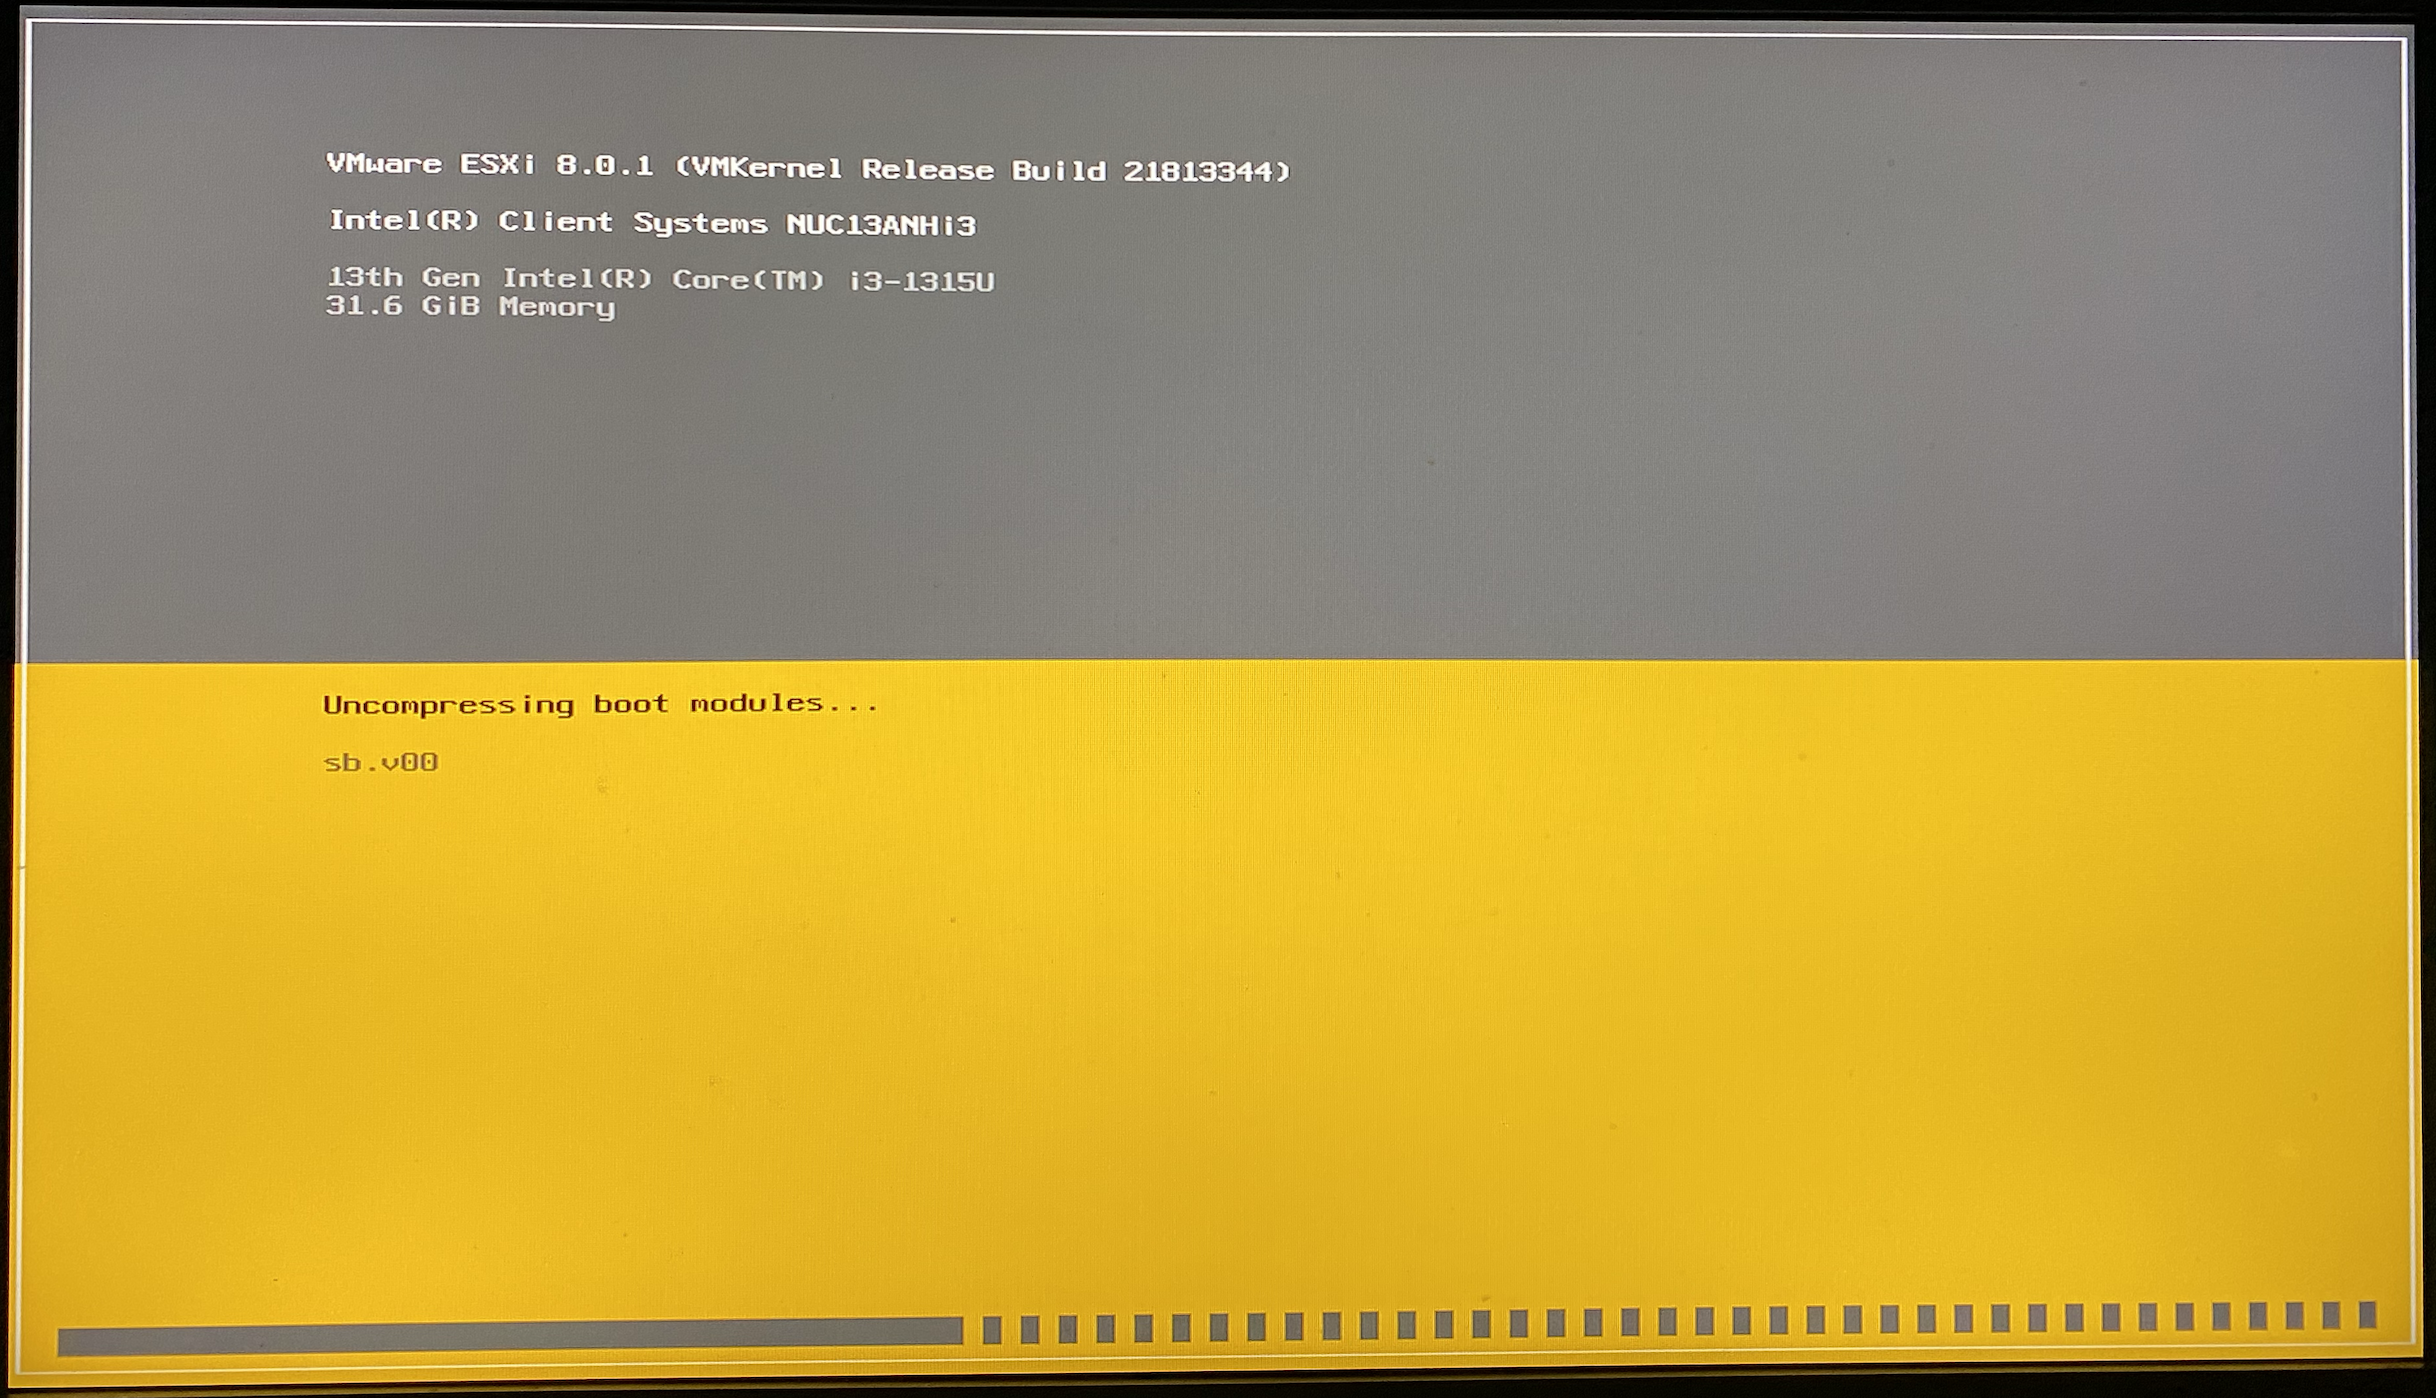
12) 起動中・・・
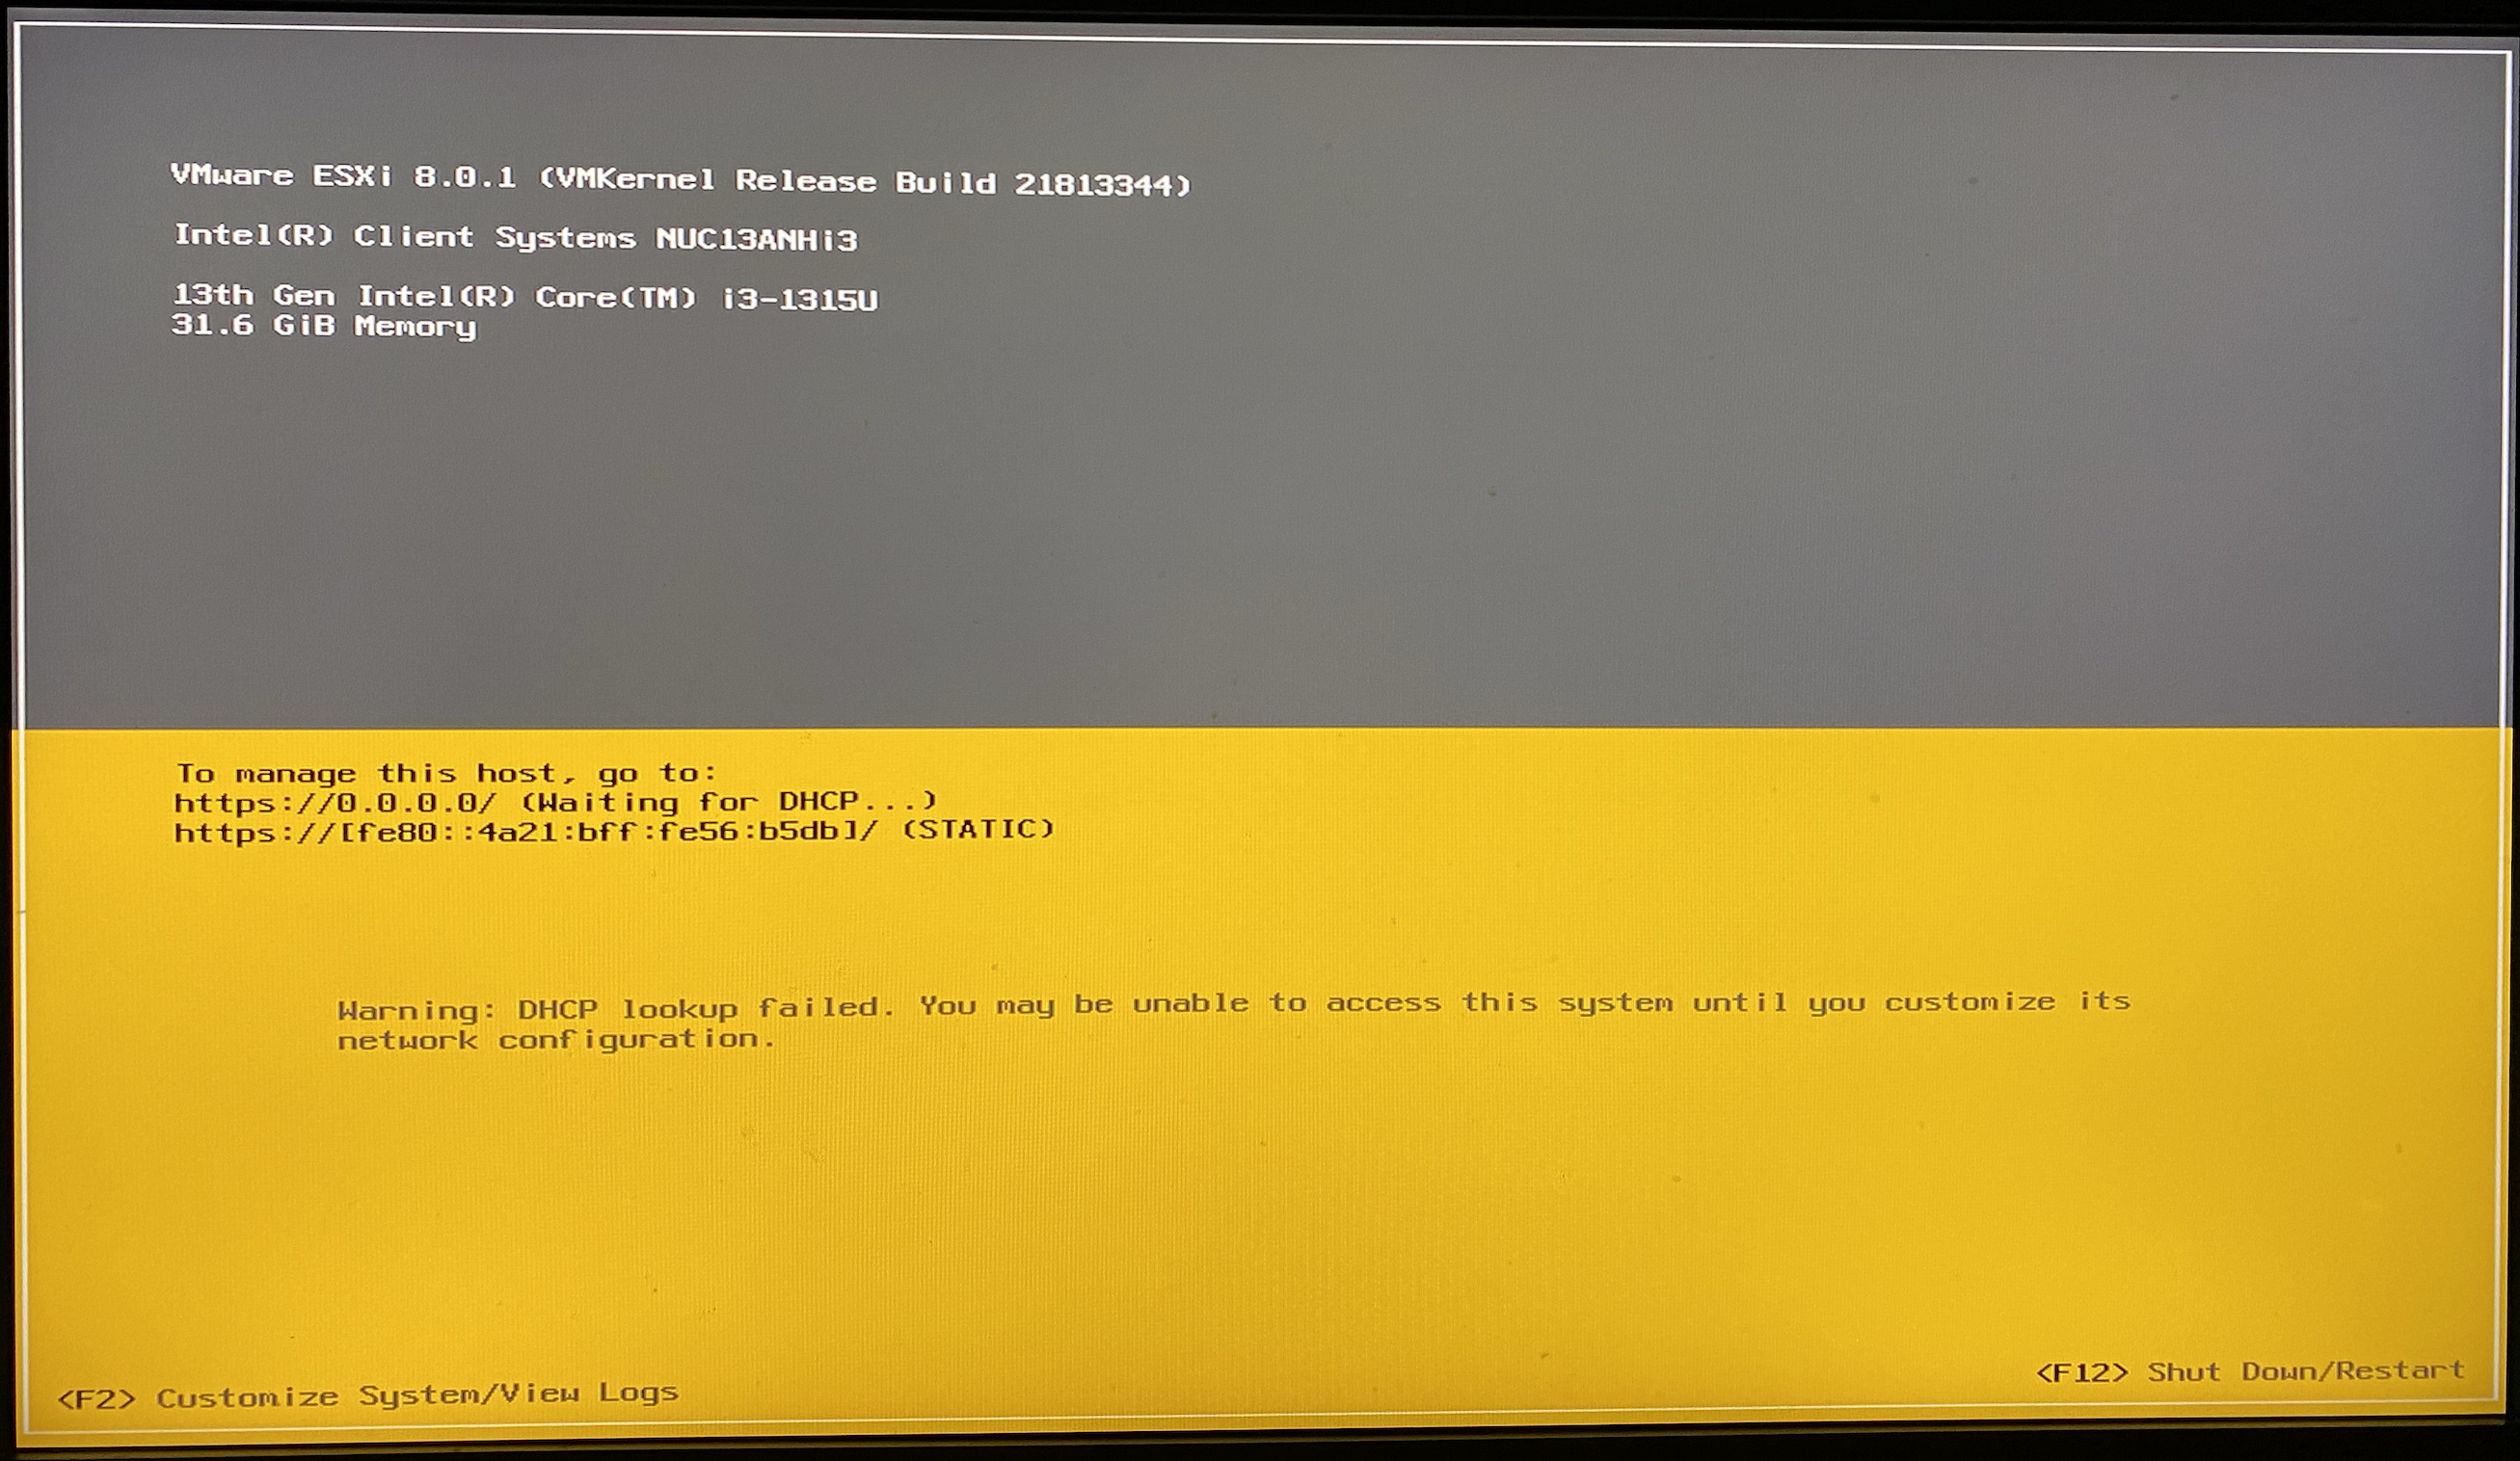
13) 起動完了
■ ESXi Host Client Webコンソール接続
⚫︎ ESXi Host Client ログイン
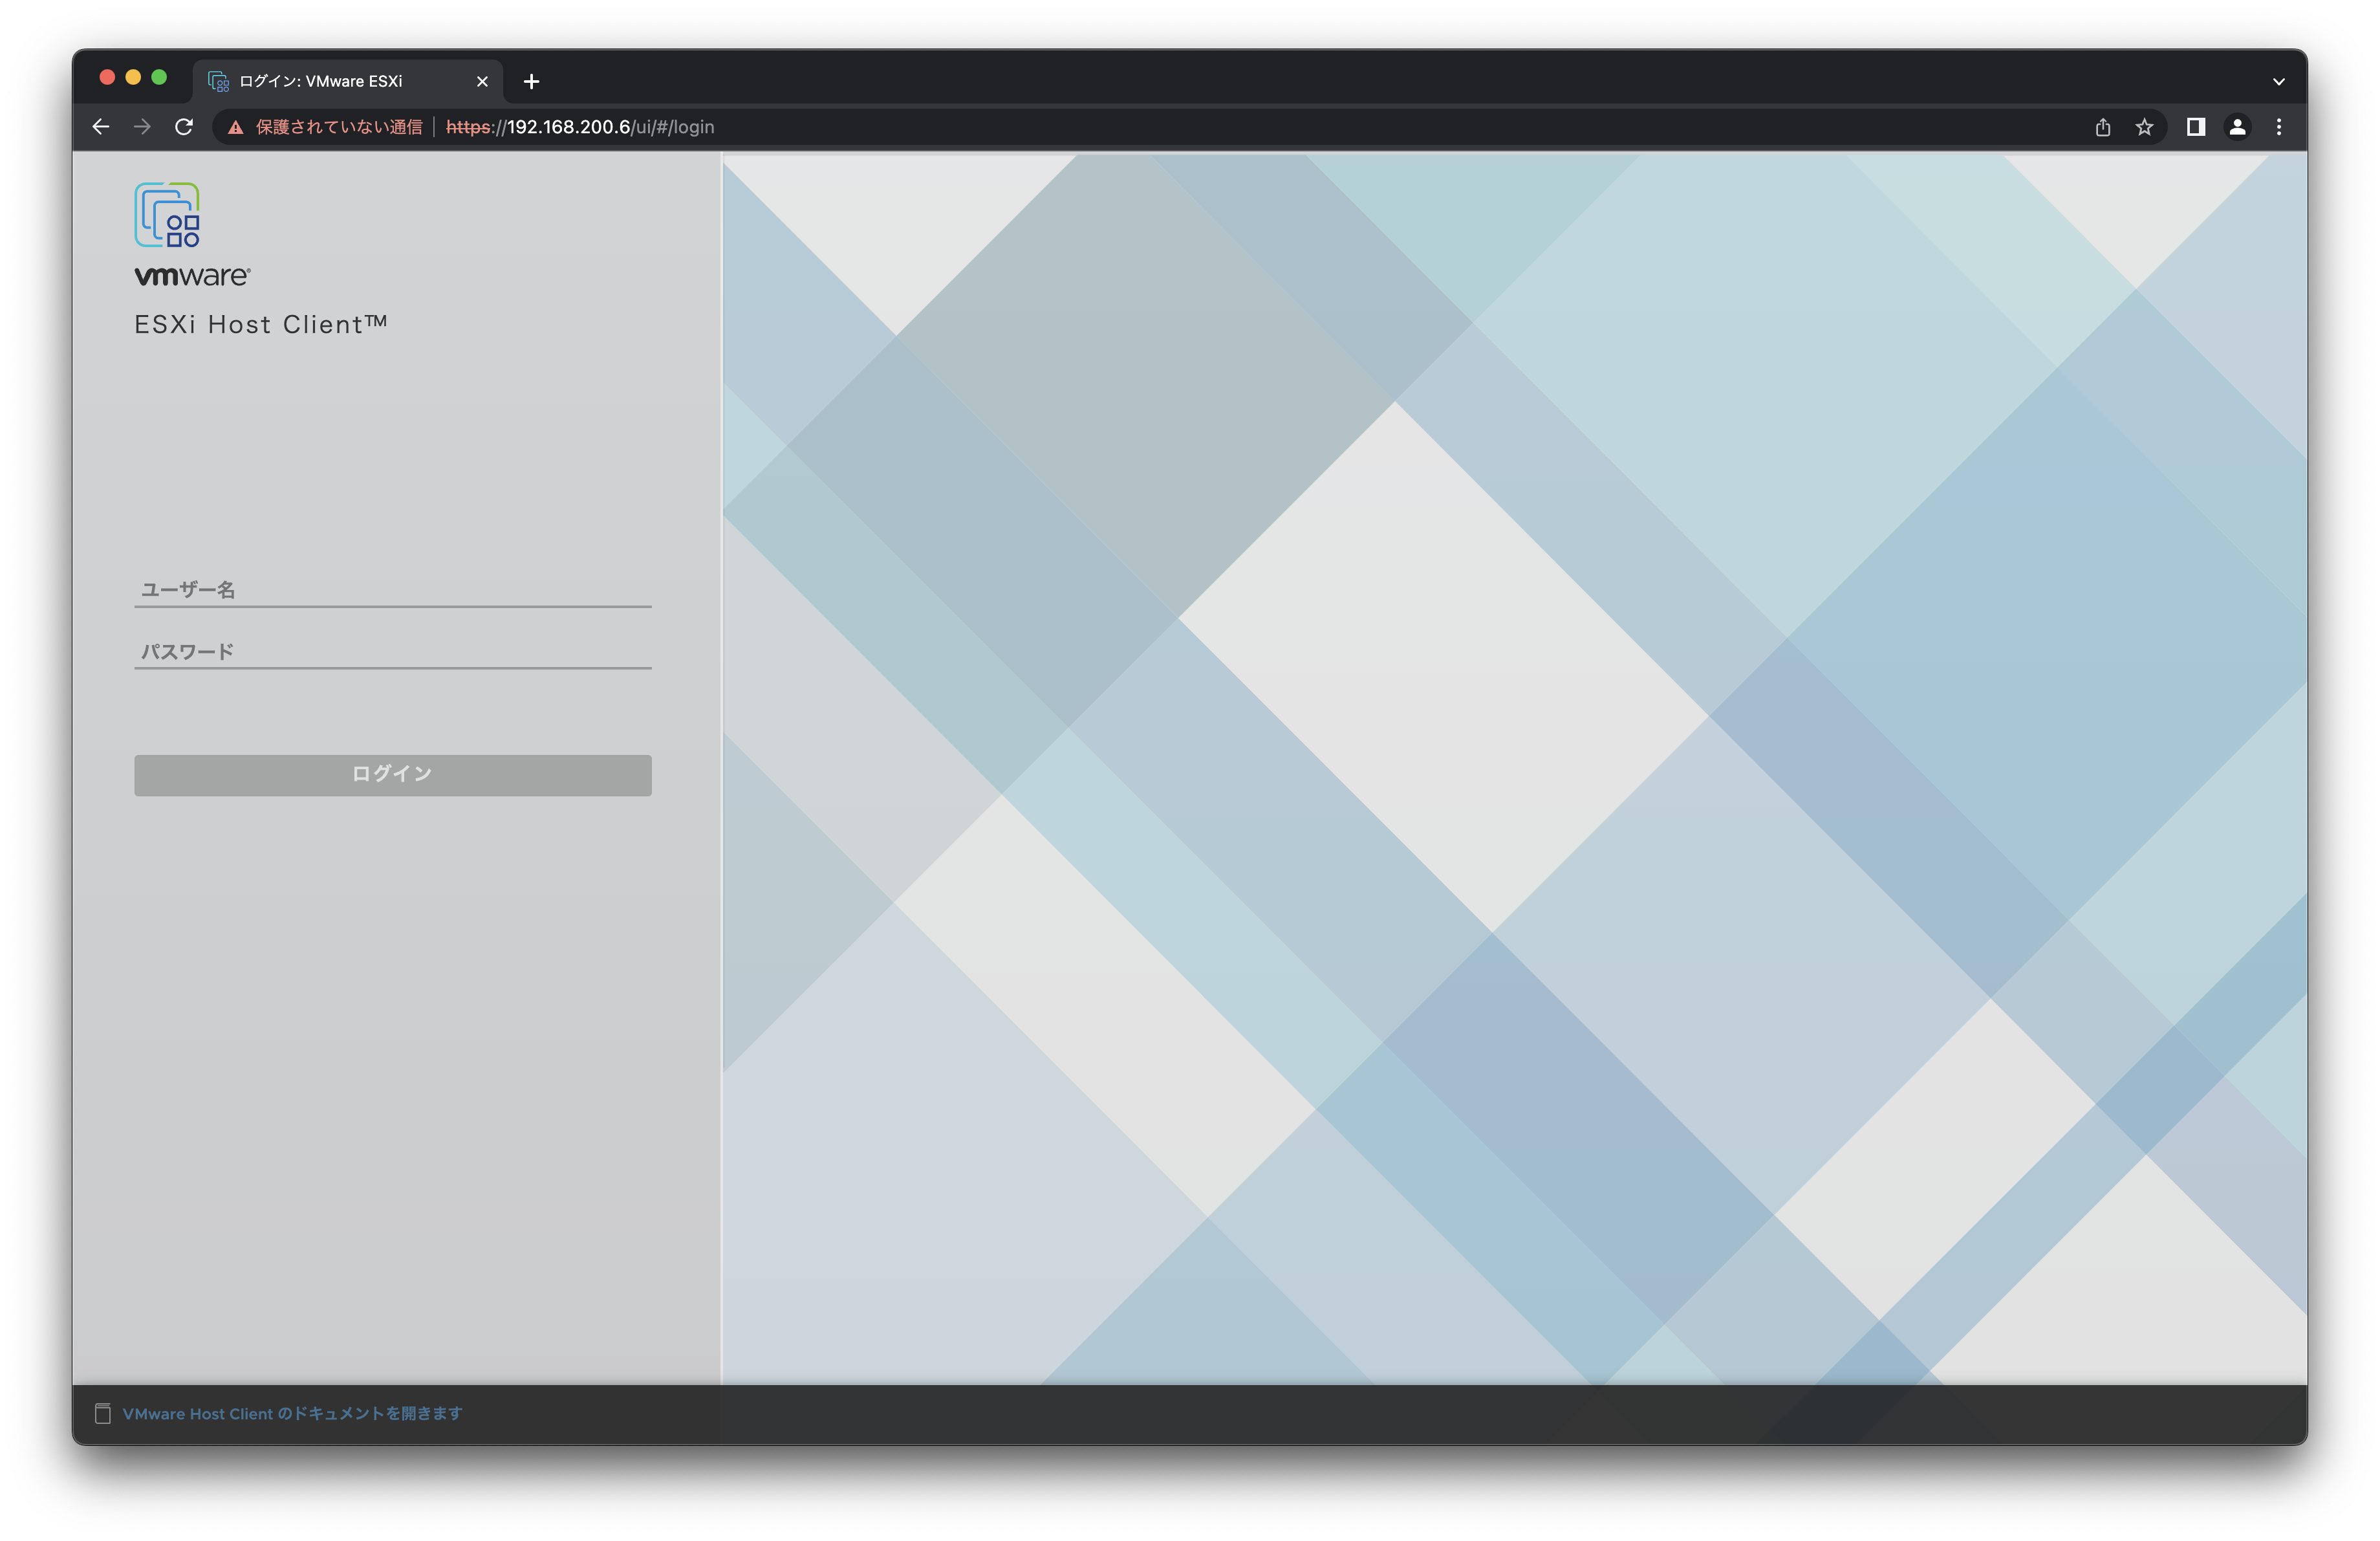
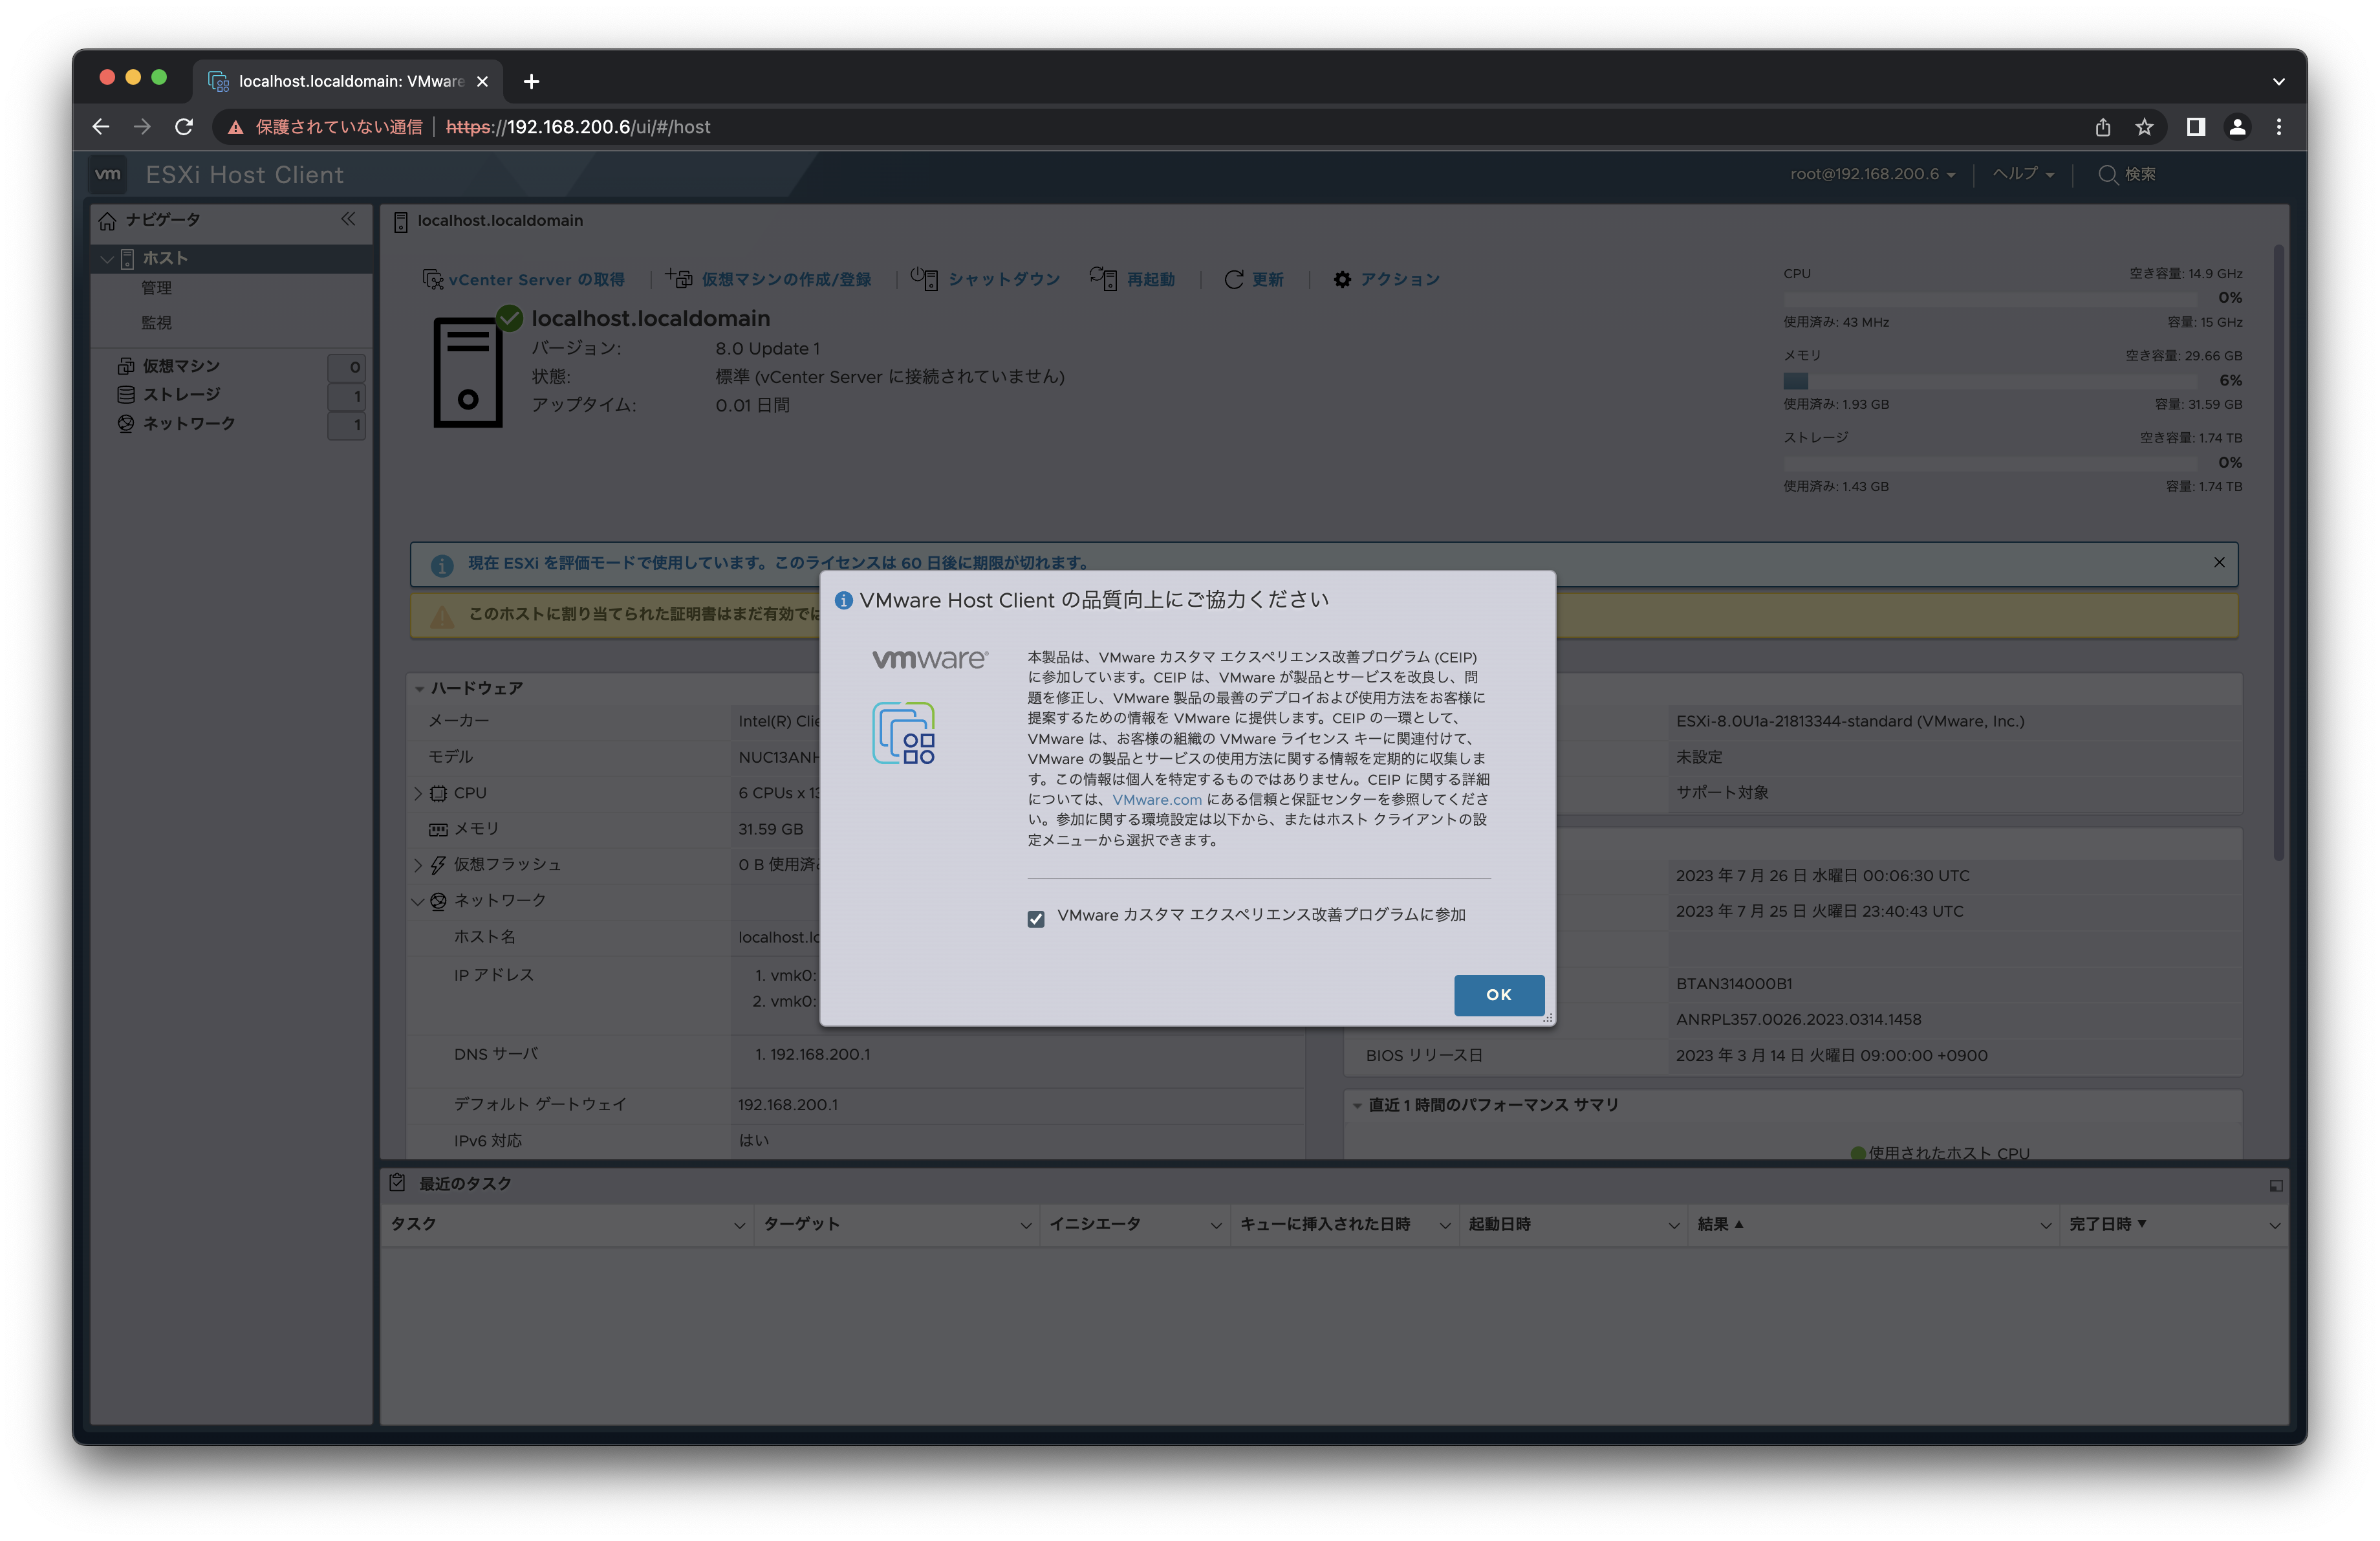
1) ESXi Host Client ログイン画面
2) ESXi Host Client 画面
■ ESXi Shell へのアクセスの有効化
ESXi Shell および SSH インターフェイスはデフォルトで無効になっています。今回カーネルパラメータ設定するために有効化します。
・参考: ESXi Shell へのアクセスの有効化
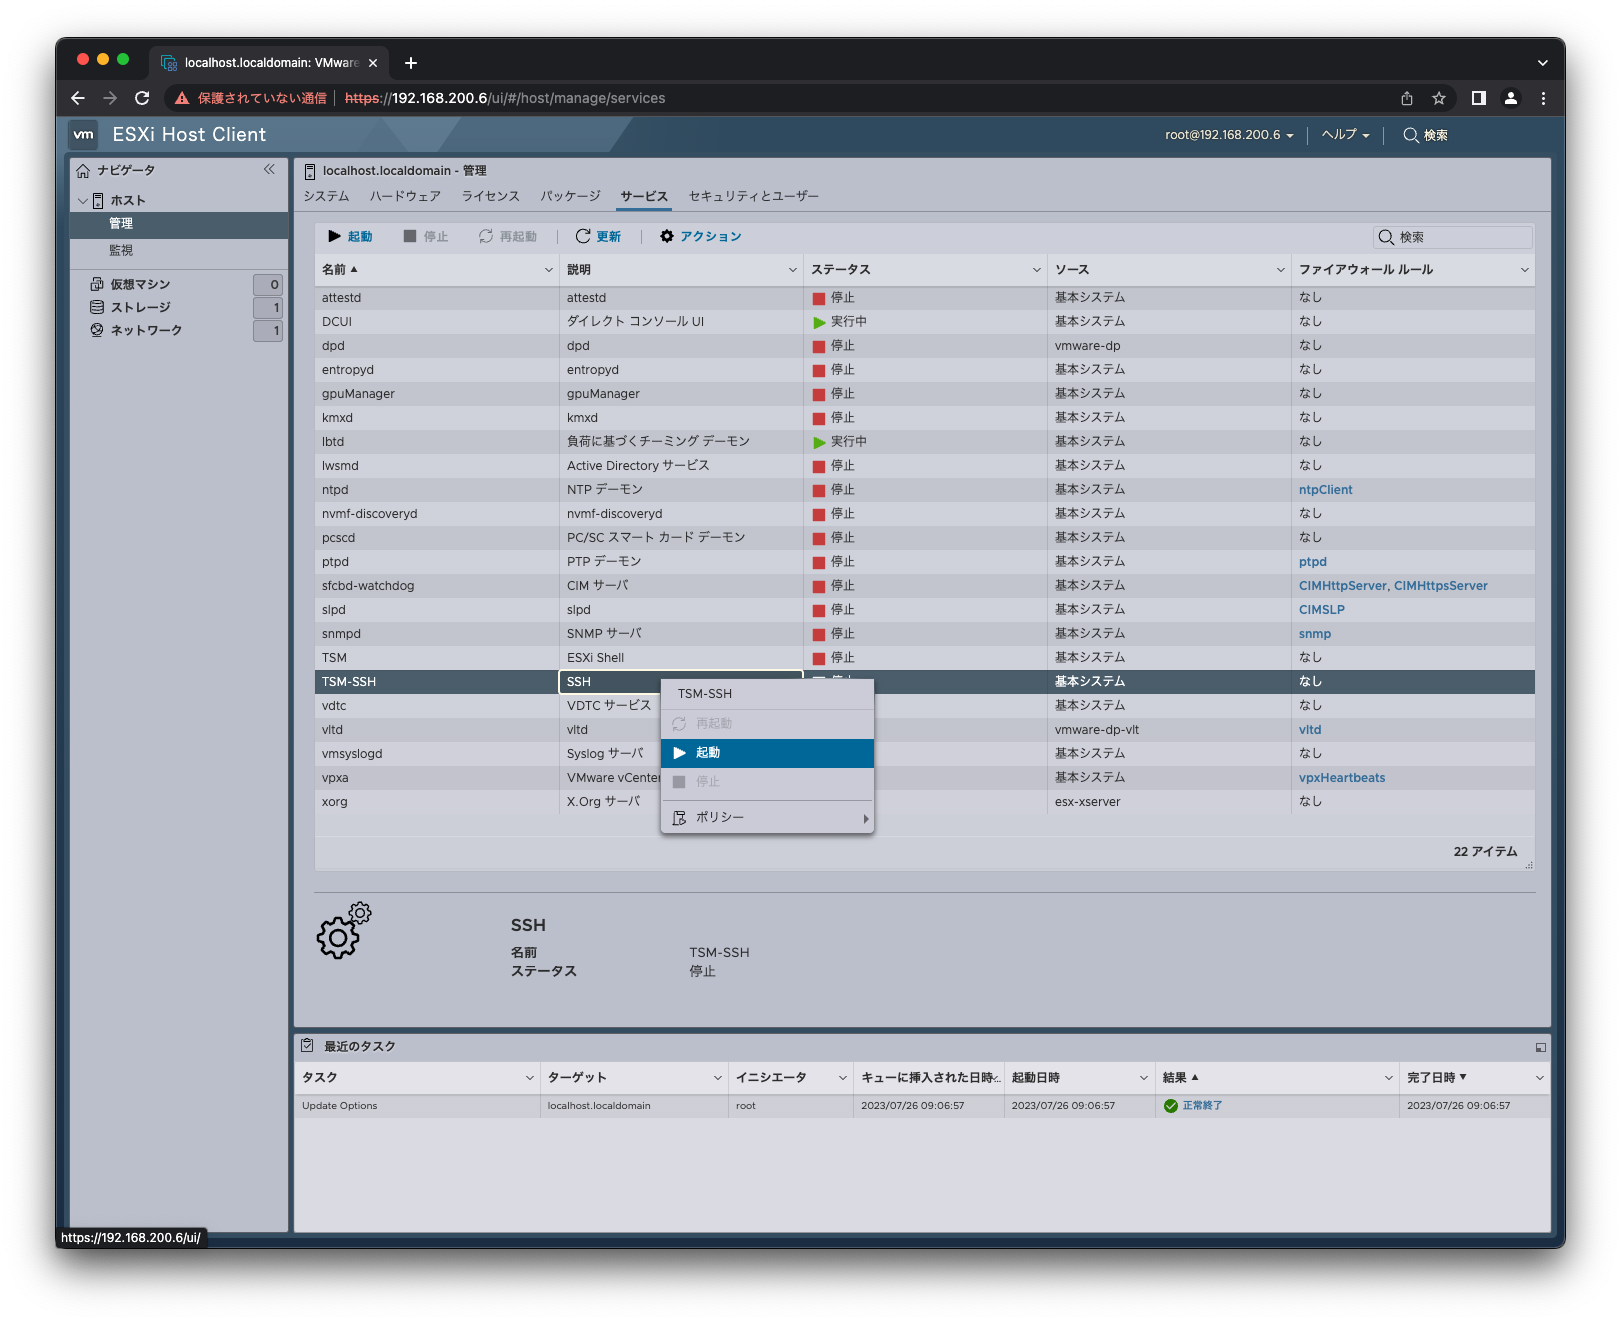
⚫︎ TSM-SSH サービス有効化
1) 管理画面
左ペインにある [ホスト] > [管理]をクリックし、TSM-SSH を右クリックして[起動]をクリック
⚫︎ ssh接続
1) ssh失敗
macOS のセキュリティで SHA-1 ハッシュアルゴリズムを使用した RSA署名 (ssh-rsa) がデフォルトで無効になってる場合、次のようなエラーが出力されます。
shirok@macbook ~ % ssh root@192.168.200.6
Unable to negotiate with 192.168.0.2 port 22: no matching host key type found. Their offer: rsa-sha2-512,rsa-sha2-256,ecdsa-sha2-nistp256
2) .ssh/config 設定
SSH接続エラー回避するために ~/.ssh/config ファイルへ次の内容を追加
HostKeyAlgorithms ssh-dss,ssh-rsa,rsa-sha2-512,rsa-sha2-256,ecdsa-sha2-nistp256
shirok@macbook ~ % head ~/.ssh/config
Host *
 serverAliveInterval 30
 ServerAliveCountMax 120
 HostKeyAlgorithms ssh-dss,ssh-rsa,rsa-sha2-512,rsa-sha2-256,ecdsa-sha2-nistp256
 PubkeyAcceptedAlgorithms +ssh-rsa
3) ログイン
shirok@macbook ~ % ssh root@192.168.200.6
The authenticity of host '192.168.0.2 (192.168.0.2)' can't be established.
RSA key fingerprint is SHA256:7VEF4MPVBeEgGm8mfURdyEdGnwu617lw.
This key is not known by any other names
Are you sure you want to continue connecting (yes/no/[fingerprint])? yes
Warning: Permanently added '192.168.0.2' (RSA) to the list of known hosts.
(root@192.168.0.2) Password:
The time and date of this login have been sent to the system logs.

WARNING:
   All commands run on the ESXi shell are logged and may be included in
   support bundles. Do not provide passwords directly on the command line.
   Most tools can prompt for secrets or accept them from standard input.

VMware offers powerful and supported automation tools. Please
see https://developer.vmware.com for details.

The ESXi Shell can be disabled by an administrative user. See the
vSphere Security documentation for more information.

[root@vSphere8:~]
■ cpuUniformityHardCheckPanic=FALSE 設定
ESXi へ ssh接続し、ESXi Shell で以下のコマンドを実行して、カーネルパラメーターを恒久的に有効にします。
1) cpuUniformityHardCheckPanicパラメータ確認
[root@vSphere8:~] esxcli system settings kernel list -o cpuUniformityHardCheckPanic
    Name                         Type  Configured  Runtime  Default  Description
    ---------------------------  ----  ----------  -------  -------  -----------
    cpuUniformityHardCheckPanic  Bool  TRUE        FALSE    TRUE     Panic if CPU uniformity hard check fails
2) cpuUniformityHardCheckPanicパラメータ設定
[root@vSphere8:~] esxcli system settings kernel set -s cpuUniformityHardCheckPanic -v FALSE
3) cpuUniformityHardCheckPanicパラメータ設定確認
[root@vSphere8:~] esxcli system settings kernel list -o cpuUniformityHardCheckPanic
    Name                         Type  Configured  Runtime  Default  Description
    ---------------------------  ----  ----------  -------  -------  -----------
    cpuUniformityHardCheckPanic  Bool  FALSE       FALSE    TRUE     Panic if CPU uniformity hard check fails
■ ignoreMsrFaults=TRUE 設定
Intel 第 13 世代 (Raptor Lake) CPU を使用していて、E コアまたは P コアを無効にしていない場合、PSOD(Purple Screen of Death) が発生する可能性があります。
ESXi はインテルのコンシューマ CPU アーキテクチャの効率コア Performance-core (P-Core) と Efficient-cores (E-Core) をサポートしていないため、BIOSで Pコア, Eコア を無効化します。できない場合、次を参考に ESXiへ ignoreMsrFaults=TRUE を設定します。
・参考: ESXi PSOD due to GP Exception 13 in world with Intel 13th Generation CPU
1) ignoreMsrFaults パラメータ確認
[root@vSphere8:~] esxcli system settings kernel list -o ignoreMsrFaults
    Name             Type  Configured  Runtime  Default  Description
    ---------------  ----  ----------  -------  -------  -----------
    ignoreMsrFaults  Bool  FALSE       FALSE    FALSE    Ignore general protection faults as a result of rdmsr and wrmsr instructions
2) ignoreMsrFaults パラメータ設定
[root@vSphere8:~] esxcli system settings kernel set -s ignoreMsrFaults -v TRUE
3) ignoreMsrFaults パラメータ設定確認
[root@vSphere8:~] esxcli system settings kernel list -o ignoreMsrFaults
    Name             Type  Configured  Runtime  Default  Description
    ---------------  ----  ----------  -------  -------  -----------
    ignoreMsrFaults  Bool  TRUE        FALSE    FALSE    Ignore general protection faults as a result of rdmsr and wrmsr instructions
■ ホスト名変更
次を参考にコマンドラインを使用して VMware ESXi ホストの名前を変更してみます。
・参考: ESXi ホストのホスト名の変更
1) 変更前確認
[root@localhost:~] hostname -s
    localhost

[root@localhost:~] hostname -f
    localhost.localdomain
2)ホスト名変更
[root@localhost:~] esxcli system hostname set --host=vSphere8
3)ホスト名変更確認
[root@vSphere8:~] hostname -f
    vSphere8

[root@vSphere8:~] hostname -s
    vSphere8

[root@vSphere8:~] cat /etc/hosts
    # Do not modify this file directly, please use esxcli.
    127.0.0.1	localhost.localdomain localhost
    ::1		localhost.localdomain localhost
    192.168.0.6	vSphere8 vSphere8
■ Datastore追加
2.5インチSSD 追加したので Datastore として使用できるようにします。
1) コンソール画面
ツリーから Storageを選択し、[New Datastore]をクリック

2) Select creation type画面
[Next]をクリック

3) Select device画面
追加したDiskが認識されていると表示されるので、選択して Name項目へ任意の名前を入力し、[Nect]をクリック

4) Select partitioning option
Partitioningとフォーマットするファイルシステムを選択できます。
ここでは全ての容量を割り当てるので、[UseFull Disk] と 最新のファイルシステム[VMFS6]を選択し、[Nect]をクリック

5) Ready to coplete画面
設定内容を確認し、[Finish]をクリック

6) Worning画面
内容を確認し問題なければ、[Finish]をクリックし、Diskを初期化フォーマット

7) 完了
新しいDatastoreが追加されたことを確認

8) 設定内容確認
新しいDatastoreを確認

■ 仮想マシン移行
VMware ESXi 7 から ESXi 8 への移行は、次の VMware ドキュメントを参考に仮想マシンの移行をしてみてみました。
・参考: VMware 環境内での仮想マシンの移動またはコピーに関する考慮事項と注意事項
■ 参考
⚫︎ Intel NUC Documents
・ インテル® NUC 13 Pro の製品概要
・ Intel NUC 13 Pro Kit
・ Integration and User Guides for Intel® NUC Products
・ Integration Guide
・ User Guide
⚫︎ VMware Documents
・ VMware vSphere Hypervisor 8 の製品評価センター
・ VMware vSphere 8.0 リリース ノート
・ VMware ESXi 8.0 Update 1 リリース ノート
・ ESXi のインストールとセットアップ
・ ESXi インストーラのダウンロード
・ ESXi Shell へのアクセスの有効化
・ ESXi ホストのホスト名の変更