サーバー管理するにあたって、通常 CLI(Command Line Interface)ですが、時々 GUI(Graphical User Interface)も使いたくなります。
そのときは よく X Window System を使うのですが、Virtual Network Computing (VNC)もやってみたくなります。
Virtual Network Computing (VNC) は、ネットワーク経由でキーボードおよびマウスのイベントを送信してリモート マシンを制御するグラフィカル デスクトップ共有システムです。VNC は、グラフィカル デスクトップ環境がインストールされている Oracle Linux サーバーをリモートで制御する場合に特に便利です。互換性のあるソフトウェア クライアントを使用して、VNC サーバーに接続できます。VNC は、複数のターミナルが Oracle Linux サーバーでホストされている同じハードウェア リソースを共有できるシン クライアント コンピューティングに適しています。
ということで、Oracle Cloud Infrastructure (OCI) の Oracle Linux Compute へ VNCサーバーをインストールし、VNCクライアントの Real VNCをインストールした MacBook から接続してみてみてみます。
■ 前提条件
・ 最新の Oracle Linux 8 以降がインストールされているシステム
・ RealVNC, TigerVNC などのクライアントソフトウェア
■ GUI デスクトップ環境インストール
1) GNOMEインストール
GNOME デスクトップ環境とそのすべての依存関係をインストールします。
[root@tokyo-inst01 ~]# dnf groupinstall "Server with GUI"
Last metadata expiration check: 2:05:15 ago on Thu 16 Jan 2025 08:06:07 AM GMT.
	Dependencies resolved.
	================================================================================================================================================
	 Package                                       Arch     Version                                                       Repository           Size
	================================================================================================================================================
	Installing:
	 kernel-uek                                    x86_64   5.15.0-304.171.4.el8uek                                       ol8_UEKR7           2.9 M
	 kernel-uek-core                               x86_64   5.15.0-304.171.4.el8uek                                       ol8_UEKR7            62 M
	 kernel-uek-modules                            x86_64   5.15.0-304.171.4.el8uek                                       ol8_UEKR7            71 M
	Upgrading:
	 NetworkManager                                x86_64   1:1.40.16-18.0.1.el8_10                                       ol8_baseos_latest   2.3 M
	 NetworkManager-config-server                  noarch   1:1.40.16-18.0.1.el8_10                                       ol8_baseos_latest   143 k
	 NetworkManager-libnm                          x86_64   1:1.40.16-18.0.1.el8_10                                       ol8_baseos_latest   1.9 M
	・・・

	  yelp-tools-3.28.0-3.el8.noarch
	  yelp-xsl-3.28.0-2.el8.noarch
	  zenity-3.28.1-2.el8.x86_64

	Complete!
■ GUI デスクトップ環境設定
● グラフィカル モード自動起動設定
ユーザー アカウントのデフォルトのログイン タイプとしてグラフィカル モードを設定し、サーバーを再起動します。
1) 事前確認
[root@tokyo-inst01 ~]# ls -l /etc/systemd/system/default.target
  lrwxrwxrwx. 1 root root 41 Jan 17  2023 /etc/systemd/system/default.target -> /usr/lib/systemd/system/multi-user.target

[root@tokyo-inst01 ~]# systemctl list-units --type target  | grep multi
  multi-user.target      loaded active active Multi-User System
2) グラフィカル モード自動起動設定
[root@tokyo-inst01 ~]# systemctl set-default graphical
  Removed /etc/systemd/system/default.target.
  Created symlink /etc/systemd/system/default.target → /usr/lib/systemd/system/graphical.target.
● X.org使用設定
VNC が Wayland ではなく X.org を使用するようにします。
1) /etc/gdm/custom.conf ファイル・バックアップ
[root@tokyo-inst01 ~]# cp /etc/gdm/custom.conf /etc/gdm/custom.conf.org
2) /etc/gdm/custom.conf ファイル変更前確認
[root@tokyo-inst01 ~]# cat /etc/gdm/custom.conf
    # GDM configuration storage

    [daemon]
    # Uncomment the line below to force the login screen to use Xorg
    #WaylandEnable=false

    [security]

    [xdmcp]

    [chooser]

    [debug]
    # Uncomment the line below to turn on debugging
    #Enable=true
3) /etc/gdm/custom.conf 編集
sedコマンドで /etc/gdm/custom.conf ファイル内の WaylandEnable=false行のコメントを解除
[root@tokyo-inst01 ~]# sed '/^#WaylandEnable/s/^#//g' /etc/gdm/custom.conf

    # GDM configuration storage

    [daemon]
    # Uncomment the line below to force the login screen to use Xorg
    WaylandEnable=false

    [security]

    [xdmcp]

    [chooser]

    [debug]
    # Uncomment the line below to turn on debugging
    #Enable=true
■ VNCパッケージをインストール
VNC サーバー パッケージとそのすべての依存関係をインストールします。
[root@tokyo-inst01 ~]# dnf install -y tigervnc-server tigervnc-server-module tigervnc
  Last metadata expiration check: 4:05:59 ago on Thu 16 Jan 2025 10:38:22 PM GMT.
	Dependencies resolved.
	================================================================================================================================================
	 Package                                   Architecture              Version                             Repository                        Size
	================================================================================================================================================
	Installing:
	 tigervnc-server                           x86_64                    1.13.1-14.el8_10                    ol8_appstream                    280 k
	 tigervnc-server-module                    x86_64                    1.13.1-14.el8_10                    ol8_appstream                    275 k
	Installing dependencies:
	 tigervnc-selinux                          noarch                    1.13.1-14.el8_10                    ol8_appstream                     51 k

	Transaction Summary
	================================================================================================================================================
	Install  3 Packages

	Total download size: 605 k
	Installed size: 1.3 M
	Downloading Packages:
	(1/3): tigervnc-server-1.13.1-14.el8_10.x86_64.rpm                                                              1.1 MB/s | 280 kB     00:00
	(2/3): tigervnc-server-module-1.13.1-14.el8_10.x86_64.rpm                                                       1.0 MB/s | 275 kB     00:00
	(3/3): tigervnc-selinux-1.13.1-14.el8_10.noarch.rpm                                                             166 kB/s |  51 kB     00:00
	------------------------------------------------------------------------------------------------------------------------------------------------
	Total                                                                                                           1.9 MB/s | 605 kB     00:00
	Running transaction check
	Transaction check succeeded.
	Running transaction test
	Transaction test succeeded.
	Running transaction
	  Preparing        :                                                                                                                        1/1
	  Running scriptlet: tigervnc-selinux-1.13.1-14.el8_10.noarch                                                                               1/3
	  Installing       : tigervnc-selinux-1.13.1-14.el8_10.noarch                                                                               1/3
	  Running scriptlet: tigervnc-selinux-1.13.1-14.el8_10.noarch                                                                               1/3
	  Installing       : tigervnc-server-1.13.1-14.el8_10.x86_64                                                                                2/3
	  Running scriptlet: tigervnc-server-1.13.1-14.el8_10.x86_64                                                                                2/3
	  Installing       : tigervnc-server-module-1.13.1-14.el8_10.x86_64                                                                         3/3
	  Running scriptlet: tigervnc-server-module-1.13.1-14.el8_10.x86_64                                                                         3/3
	  Verifying        : tigervnc-selinux-1.13.1-14.el8_10.noarch                                                                               1/3
	  Verifying        : tigervnc-server-1.13.1-14.el8_10.x86_64                                                                                2/3
	  Verifying        : tigervnc-server-module-1.13.1-14.el8_10.x86_64                                                                         3/3

	Installed:
	  tigervnc-selinux-1.13.1-14.el8_10.noarch      tigervnc-server-1.13.1-14.el8_10.x86_64      tigervnc-server-module-1.13.1-14.el8_10.x86_64
■ VNCパスワードを設定
リモート セッションに使用する予定のユーザー アカウントの VNC パスワードを作成します。
このコマンドはパスワードの入力を要求し、その後パスワードの検証を再度要求します。
2つ目のパスワードはオプションで、画面を共有できるがマウスやキーボードの制御は許可しない表示専用のパスワードを設定することもできます。
1) $HOME/.vnc/ディレクトリ無いこと確認
vncpasswdアクションは、 $HOME/.vnc/ へユーザー アカウントに固有の構成情報を生成します。
[root@tokyo-inst01 ~]# ls -l $HOME/.vnc/
    ls: cannot access '/home/opc/.vnc/': No such file or directory
このディレクトリが以前のインストールからすでに存在する場合は、vncpasswd コマンドを実行する前にディレクトリを削除するか、ディレクトリの SELinux コンテキストを復元して、このサービスに対して SELinux の問題が発生しないようにすることができます。
restorecon -RFv $HOME/.vnc
2) VNC パスワード作成
[root@tokyo-inst01 ~]# vncpasswd
  Password:
  Verify:
  Would you like to enter a view-only password (y/n)? n
  Password:
  Verify:
3) パスワードファイル確認
ファイル ~/.vnc/passwd (600) が作成されます。
[root@tokyo-inst01 ~]# ls -l ~/.vnc/passwd
  -rw-------. 1 opc opc 16 Jan 17 02:48 /home/opc/.vnc/passwd
■ VNCサービスを構成
VNC サービスのユーザー アカウントと X サーバー ディスプレイを/etc/tigervnc/vncserver.usersファイルに追加します。
1) vncserver.users ファイル確認とバックアップ
[root@tokyo-inst01 ~]# cat /etc/tigervnc/vncserver.users
  # TigerVNC User assignment
  #
  # This file assigns users to specific VNC display numbers.
  # The syntax is <display>=<username>. E.g.:
  #
  # :2=andrew
  # :3=lisa

[root@tokyo-inst01 ~]# cp /etc/tigervnc/vncserver.users /etc/tigervnc/vncserver.users.backup
[root@tokyo-inst01 ~]# ls -l /etc/tigervnc/ | grep vncserver.user
  -rw-r--r--. 1 root root 157 Feb 28  2023 vncserver.users
  -rw-r--r--. 1 root root 157 Jan 17 03:09 vncserver.users.backup
2) vncserver.users ファイル設定
[root@tokyo-inst01 ~]# echo ":1=$(whoami)"| tee -a /etc/tigervnc/vncserver.users > /dev/null
[root@tokyo-inst01 ~]# cat /etc/tigervnc/vncserver.users
  # TigerVNC User assignment
  #
  # This file assigns users to specific VNC display numbers.
  # The syntax is <display>=<username>. E.g.:
  #
  # :2=andrew
  # :3=lisa

  :1=opc
■ VNCサービスの設定
サービスを再ロードし、X サーバー ディスプレイ 1 でVNC サーバーを起動します。
[root@tokyo-inst01 ~]# systemctl daemon-reload
[root@tokyo-inst01 ~]# systemctl enable --now vncserver@:1.service
  Created symlink /etc/systemd/system/multi-user.target.wants/vncserver@:1.service → /usr/lib/systemd/system/vncserver@.service.
■ (オプション) X509暗号化を構成
デフォルトでは、VNC は暗号化されたプロトコルではないため、保護されていないネットワーク経由でアクセスするには SSH トンネルを使用する必要があります。X509 TLS を設定して VNC セッションを暗号化できますが、クライアント ソフトウェアが X509Vnc 暗号化をサポートし、証明書の署名に使用される CA 証明書にアクセスできる必要があります。
CA 署名付き証明書がない場合は、自己署名証明書を使用できますが、接続するにはクライアント システムに公開証明書のコピーが必要です。
1) 自己署名証明書を作成
[root@tokyo-inst01 ~]# openssl req -new -x509 -days 30 -nodes -newkey rsa:2048 -keyout ~/.vnc/private.key -out ~/.vnc/public.cert -subj "/C=US/ST=Ca/L=Sunnydale/CN=$(hostname -f)"
  Generating a RSA private key
  ...................................................................+++++
  ...............................................+++++
  writing new private key to '/home/opc/.vnc/private.key'
  -----
2) private.key, public.cert ファイル生成確認
[root@tokyo-inst01 ~]# ls -l ~/.vnc
  total 16
  -rw-------. 1 opc opc   16 Jan 17 02:48 passwd
  -rw-------. 1 opc opc 1704 Jan 17 03:41 private.key
  -rw-rw-r--. 1 opc opc 1367 Jan 17 03:41 public.cert
  -rw-r--r--. 1 opc opc  712 Jan 17 03:36 vcn-exa-tokyo-inst:1.log
3) ~/.vnc/config ファイル作成と設定
ユーザーのカスタム VNC 設定オプションを~/.vnc/configファイルへ設定します。
~/.vnc/config ファイルがまだ存在しない場合は、自分で作成する必要があります。
構成を更新して x509Vnc 暗号化を有効にし、X509 キー ファイルと x509 証明書ファイルへのフル パスを指定します。
cat << EOF | tee -a ~/.vnc/config > /dev/EfN5vwa4UftIiKalMr3BtB4B6rKrS3LaP
securitytypes=x509Vnc
X509Key=/home/$(whoami)/.vnc/private.key
X509Cert=/home/$(whoami)/.vnc/public.cert
EOF
注:キー ファイルと証明書ファイルへのフル パスを指定する必要があります。この目的でシェル拡張に依存したり、変数を使用したりすることはできません。上記の bash スクリプトの拡張は、ファイル ~/.vnc/config に行を書き込むときにコマンドを拡張するため可能です
4) ~/.vnc/config ファイル作成と設定確認
[root@tokyo-inst01 ~]# ls -l ~/.vnc
  total 20
  -rw-rw-r--. 1 opc opc   93 Jan 17 03:44 config
  -rw-------. 1 opc opc   16 Jan 17 02:48 passwd
  -rw-------. 1 opc opc 1704 Jan 17 03:41 private.key
  -rw-rw-r--. 1 opc opc 1367 Jan 17 03:41 public.cert
  -rw-r--r--. 1 opc opc  712 Jan 17 03:36 vcn-exa-tokyo-inst:1.log


[root@tokyo-inst01 ~]# cat ~/.vnc/config
  securitytypes=x509Vnc
  X509Key=/home/opc/.vnc/private.key
  X509Cert=/home/opc/.vnc/public.cert
5) 設定反映
設定の編集が完了したら、サービスを再起動して設定を反映
[root@tokyo-inst01 ~]# systemctl restart vncserver@:1.service
[root@tokyo-inst01 ~]# systemctl status  vncserver@:1.service
	● vncserver@:1.service - Remote desktop service (VNC)
	   Loaded: loaded (/usr/lib/systemd/system/vncserver@.service; enabled; vendor preset: disabled)
	   Active: active (running) since Fri 2025-01-17 04:00:42 GMT; 1min 1s ago
	  Process: 622119 ExecStart=/usr/libexec/vncsession-start :1 (code=exited, status=0/SUCCESS)
	  Process: 622107 ExecStartPre=/usr/libexec/vncsession-restore :1 (code=exited, status=0/SUCCESS)
	 Main PID: 622126 (vncsession)
	    Tasks: 0 (limit: 86945)
	   Memory: 1.1M
	   CGroup: /system.slice/system-vncserver.slice/vncserver@:1.service
	           ‣ 622126 /usr/sbin/vncsession opc :1

	Jan 17 04:00:42 vcn-exa-tokyo-inst systemd[1]: Starting Remote desktop service (VNC)...
	Jan 17 04:00:42 vcn-exa-tokyo-inst systemd[1]: Started Remote desktop service (VNC).
■ OSのファイアウォールルール設定
X509 暗号化を使用しており、カスタム ファイアウォール プロファイルまたは Oracle Cloud Infrastructure インスタンスを実行している場合は、ファイアウォール上またはネットワークのセキュリティ リストで VNC サービス用のファイアウォール ポート (5901) を開きます。
X509 暗号化を使用しており、ホスト上で firewalld サービスが実行されている場合は、VNC サービスへのアクセスを追加します。その後、デフォルトのファイアウォール サービスを再ロードします。
1) firewalld 設定
[root@tokyo-inst01 ~]# firewall-cmd --zone=public --add-service=vnc-server --permanent
  success
2) firewalld 設定反映
[root@tokyo-inst01 ~]# firewall-cmd --reload
  success
注: VNC は暗号化されたプロトコルではないため、このポートに対してファイアウォールを開き、保護されていないネットワーク経由で VNC サーバーに直接接続しないでください。この手順はオプションとして記載されていますが、一般的には推奨されないため、接続を保護するために SSH トンネリングまたはその他のメカニズムの使用を検討する必要があります。
■ MacBook VNCクライアント接続
クライアント マシンで、VNC ソフトウェアを使用してリモート Oracle Linux サーバー ドメインまたは IP アドレスに接続します。正しいポートを指定してください。デフォルトの VNC ポートは 5900 ですが、この番号は構成されたディスプレイ番号に応じて増加します。つまり、ディスプレイ 1 は 5901 に、ディスプレイ 2 は 5902 に、というように対応します。
X509 暗号化を有効にした場合は、キーの署名に使用した CA 証明書を提供する必要があることに注意してください。また、自己署名証明書を使用した場合は、パブリック証明書を CA 証明書として使用できます。一部のクライアントでは、自己署名証明書を自動的に受け入れることを許可している場合があります。
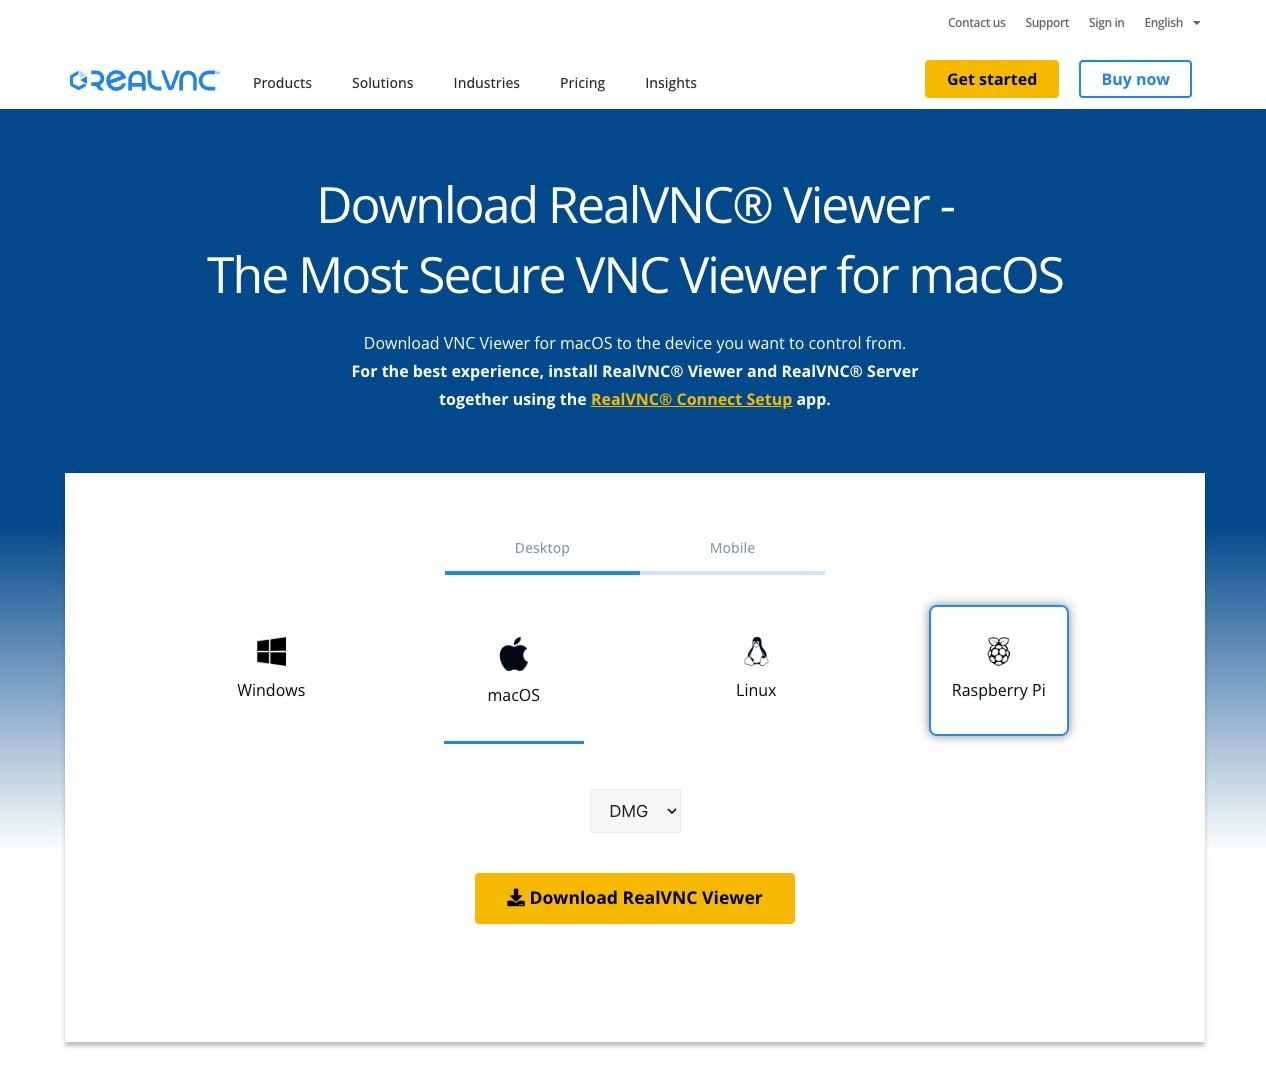
● RealVNC クライアント・ダウンロード
https://www.realvnc.com から ダウンロード
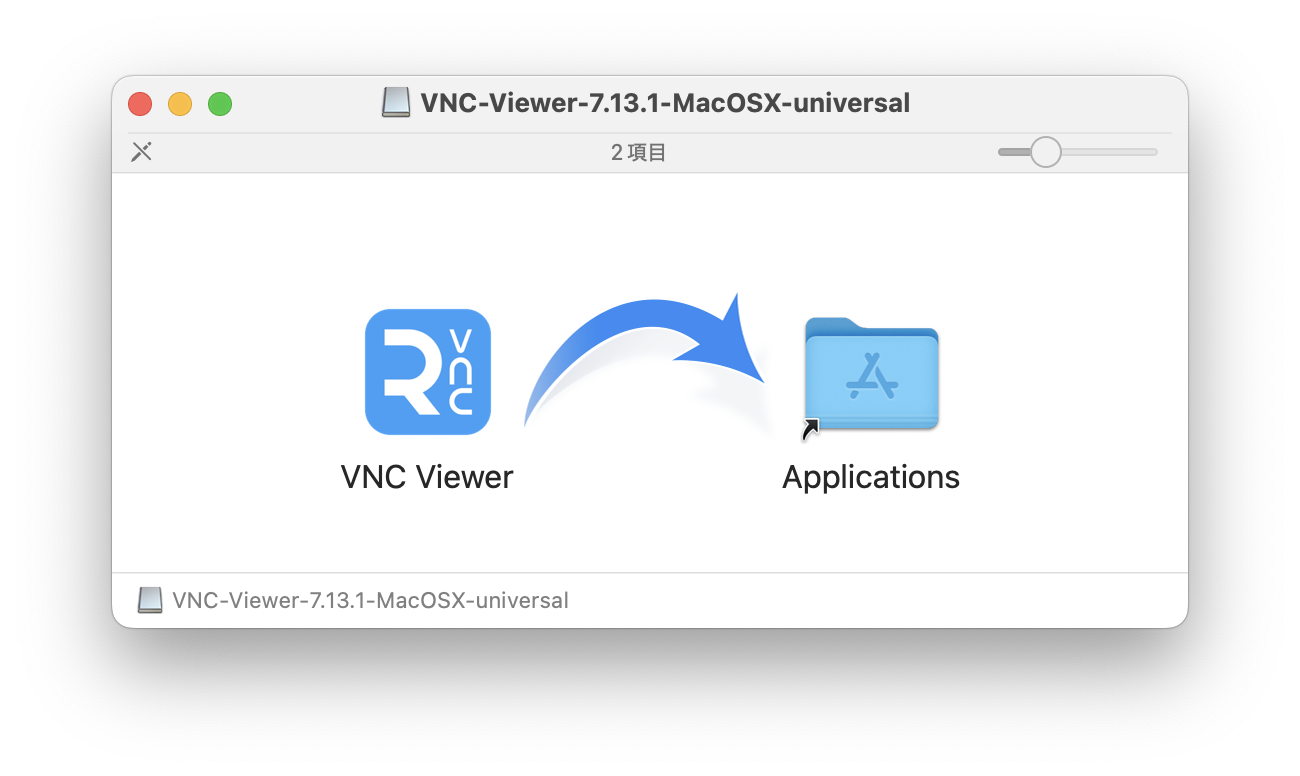
● RealVNC クライアント・インストール
● RealVNC 接続
1) 起動
インストールして作成された起動アイコンをクリック
2) License Agreement画面
内容を確認し、問題なければ[OK]をクリック

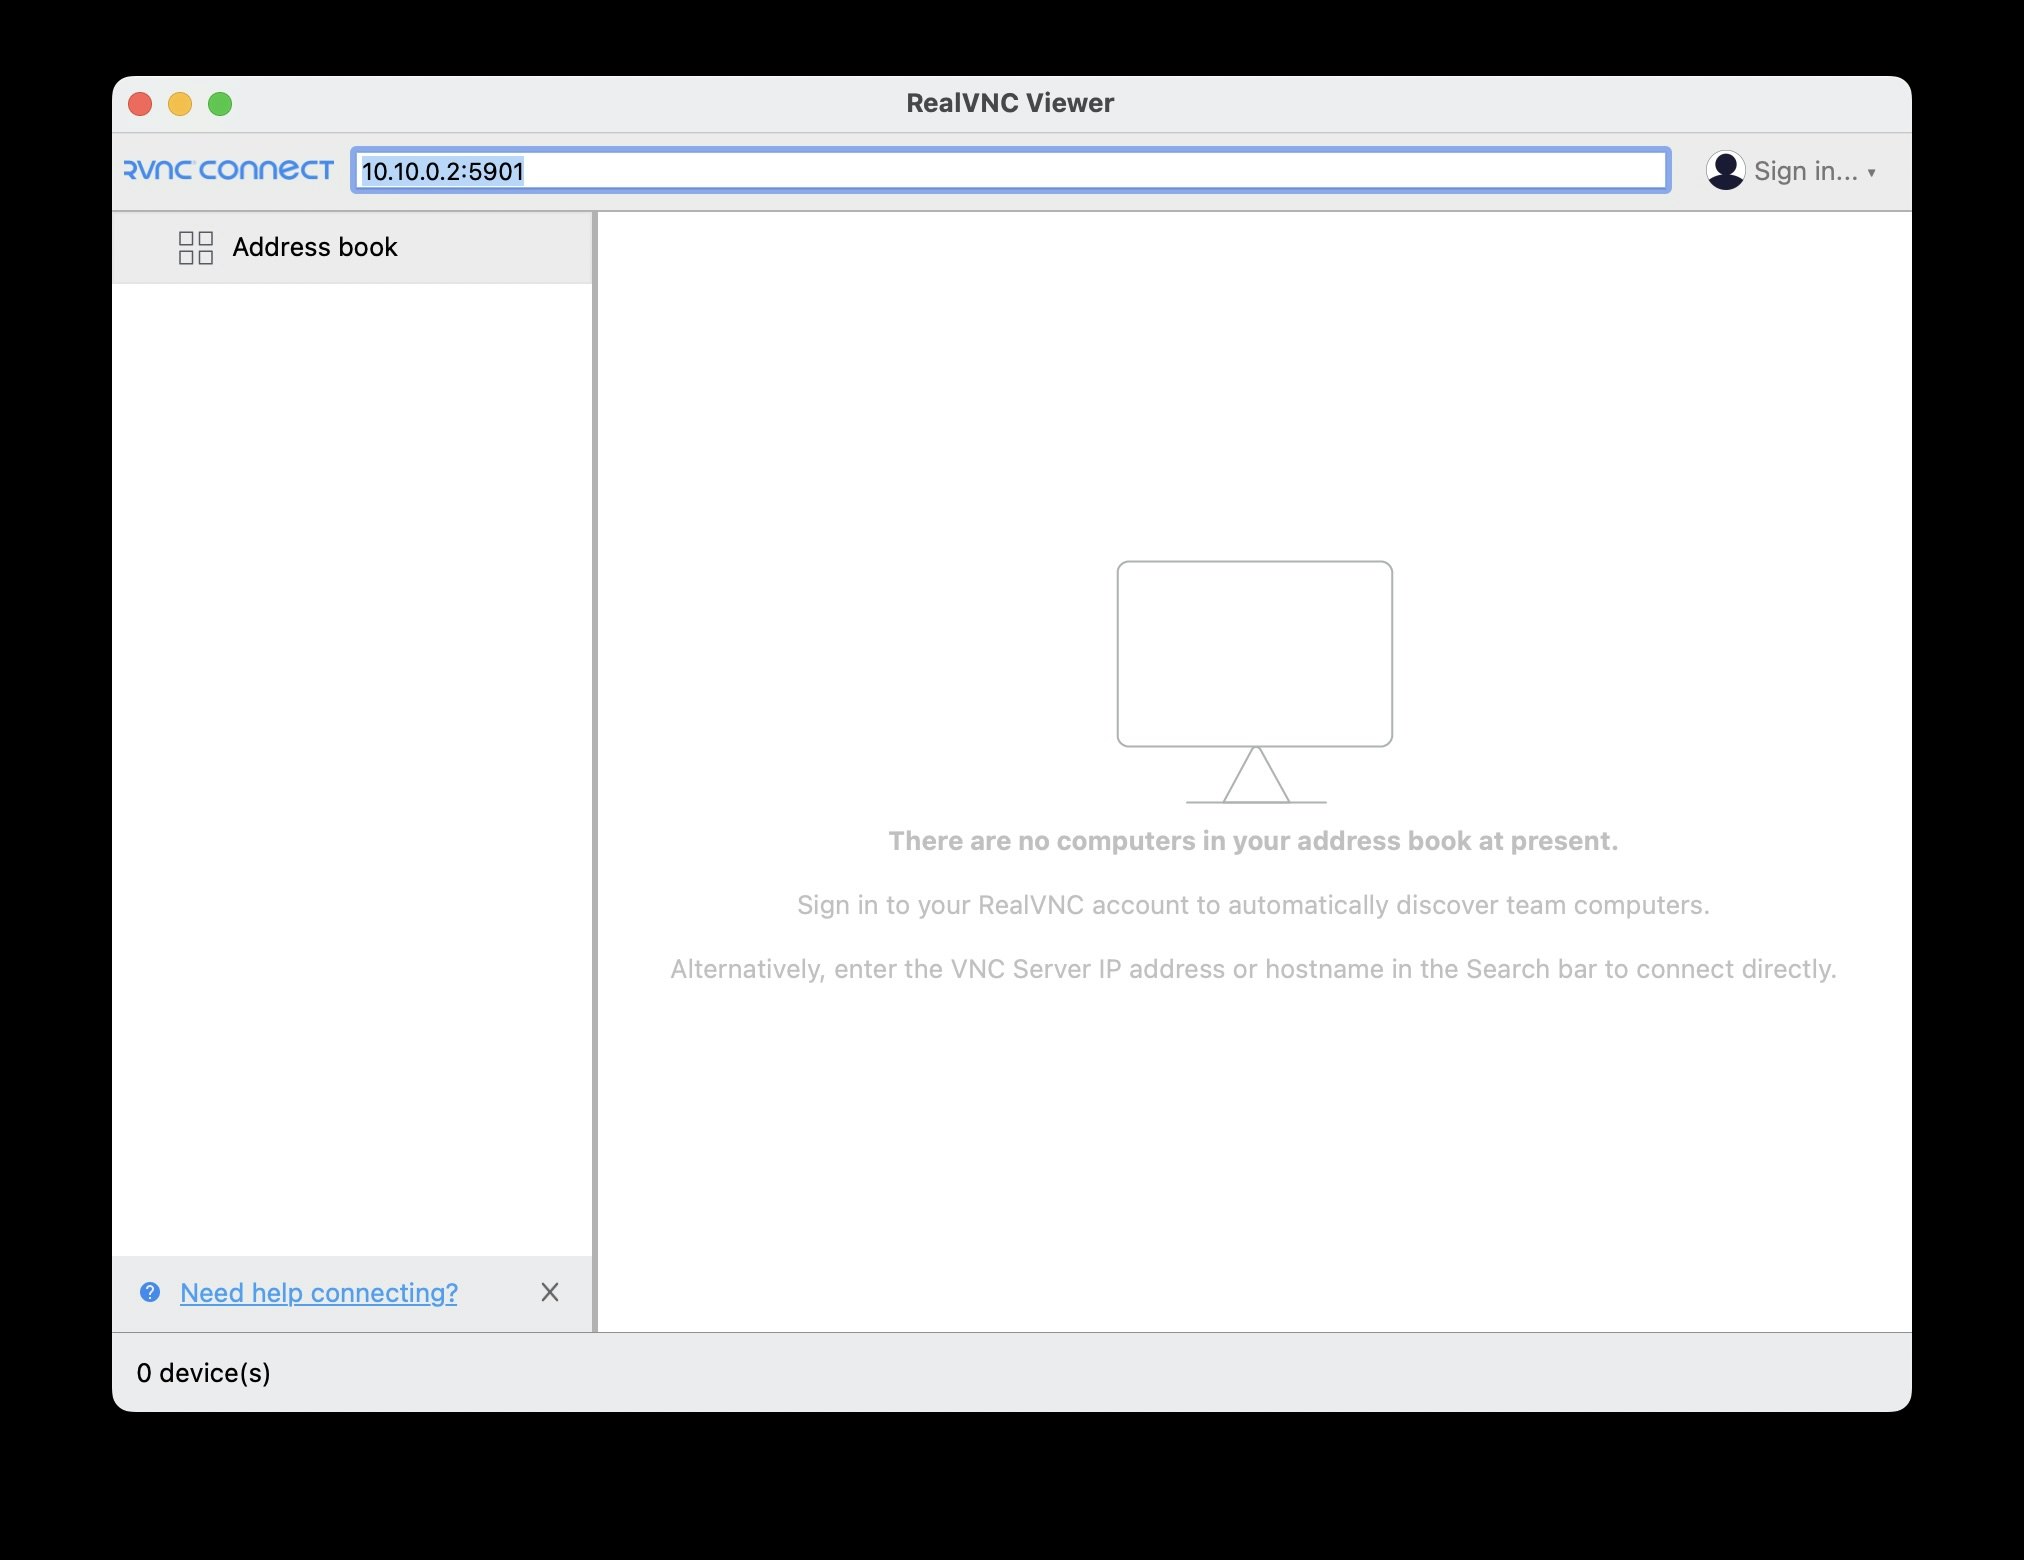
3) RealVNC Veriwer画面
ポート番号 5900 に設定したディスプレイ番号(ここでは1)をプラスした値を接続ポートとして記述し接続
サーバーアドレス:ポート番号
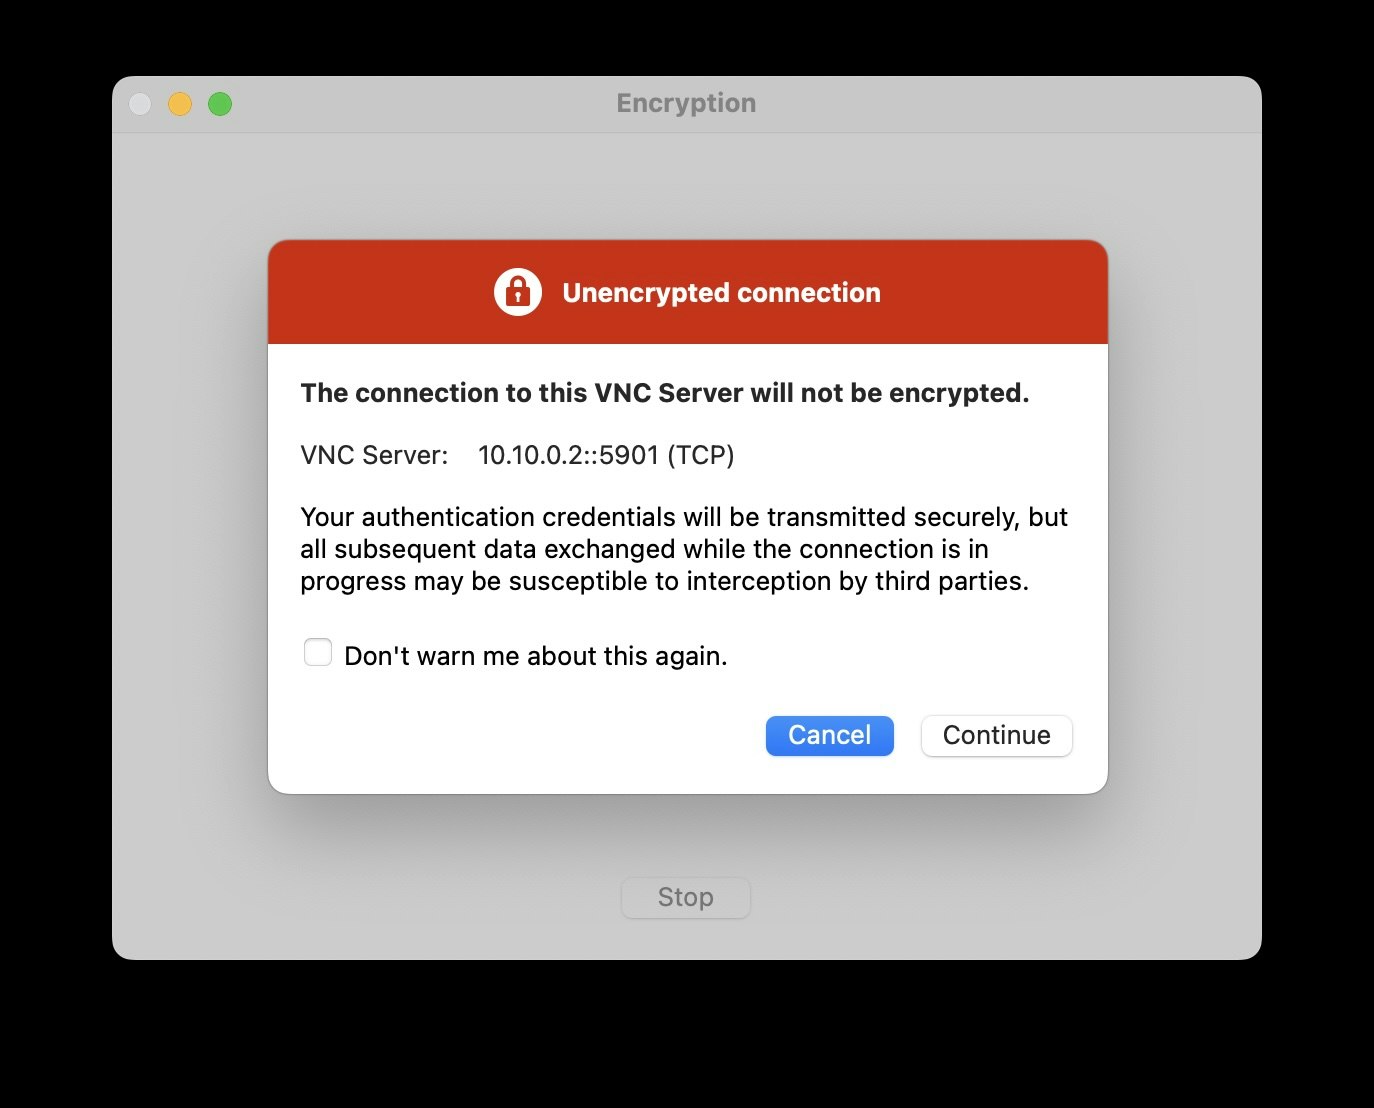
4) Unencrypted connection画面
オプションのX509暗号化を設定していない場合、暗号化されていないことが問題なければ [Continue]をクリック
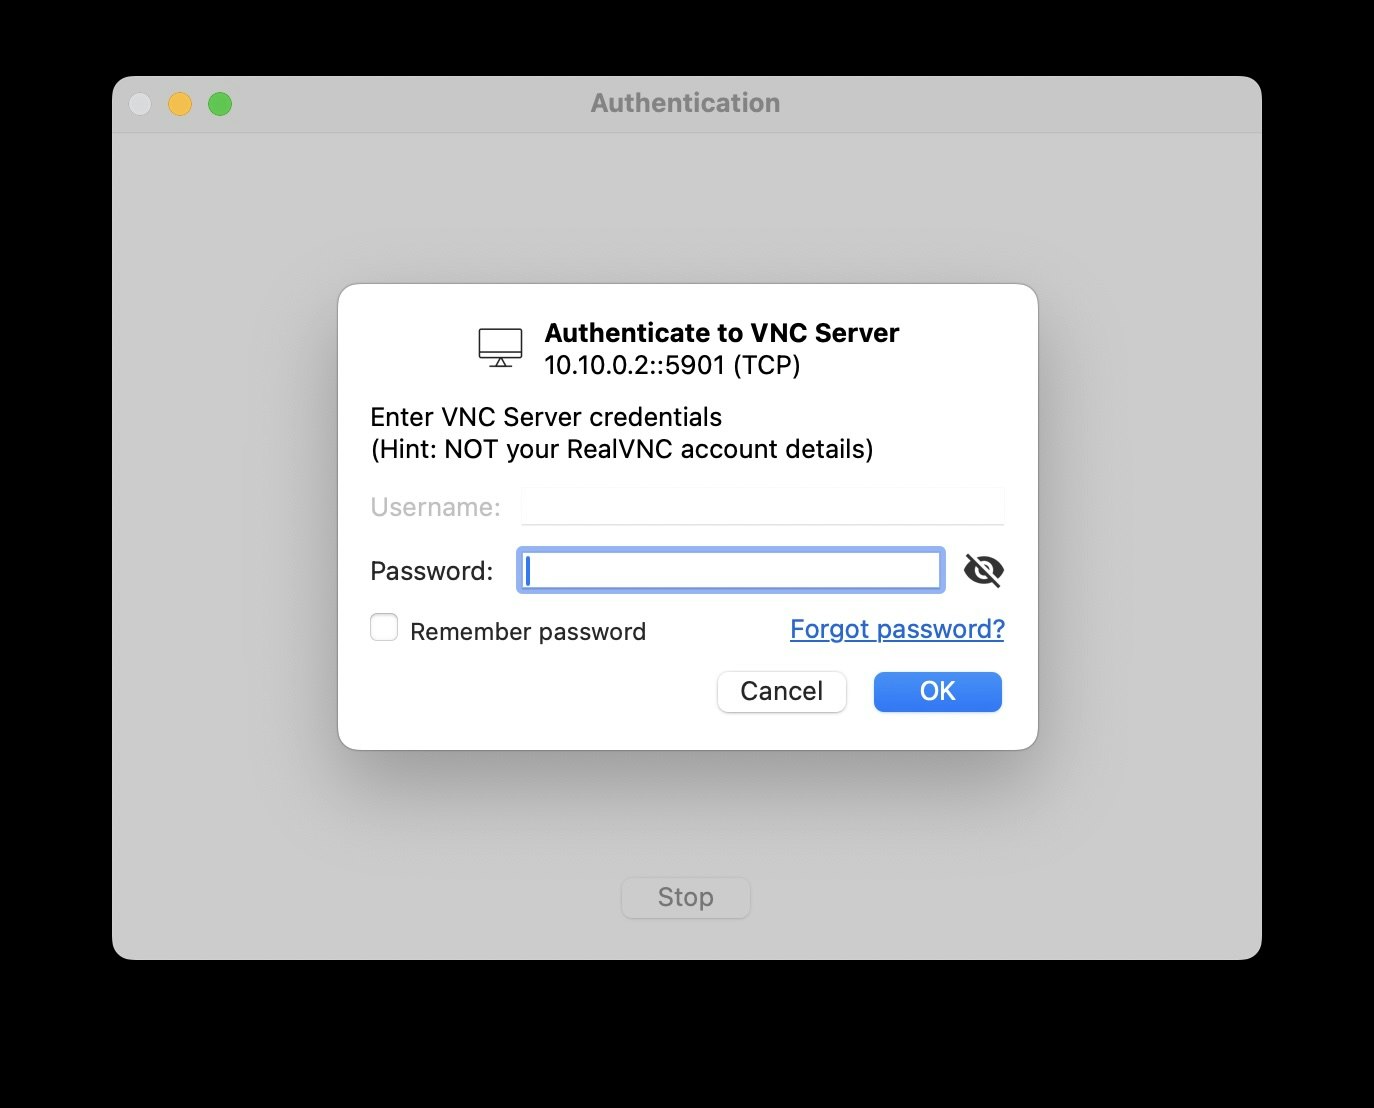
5) Authenticate to VNC Server画面
事前に設定したVNCサーバー接続のパスワードを入力し、[OK]をクリック
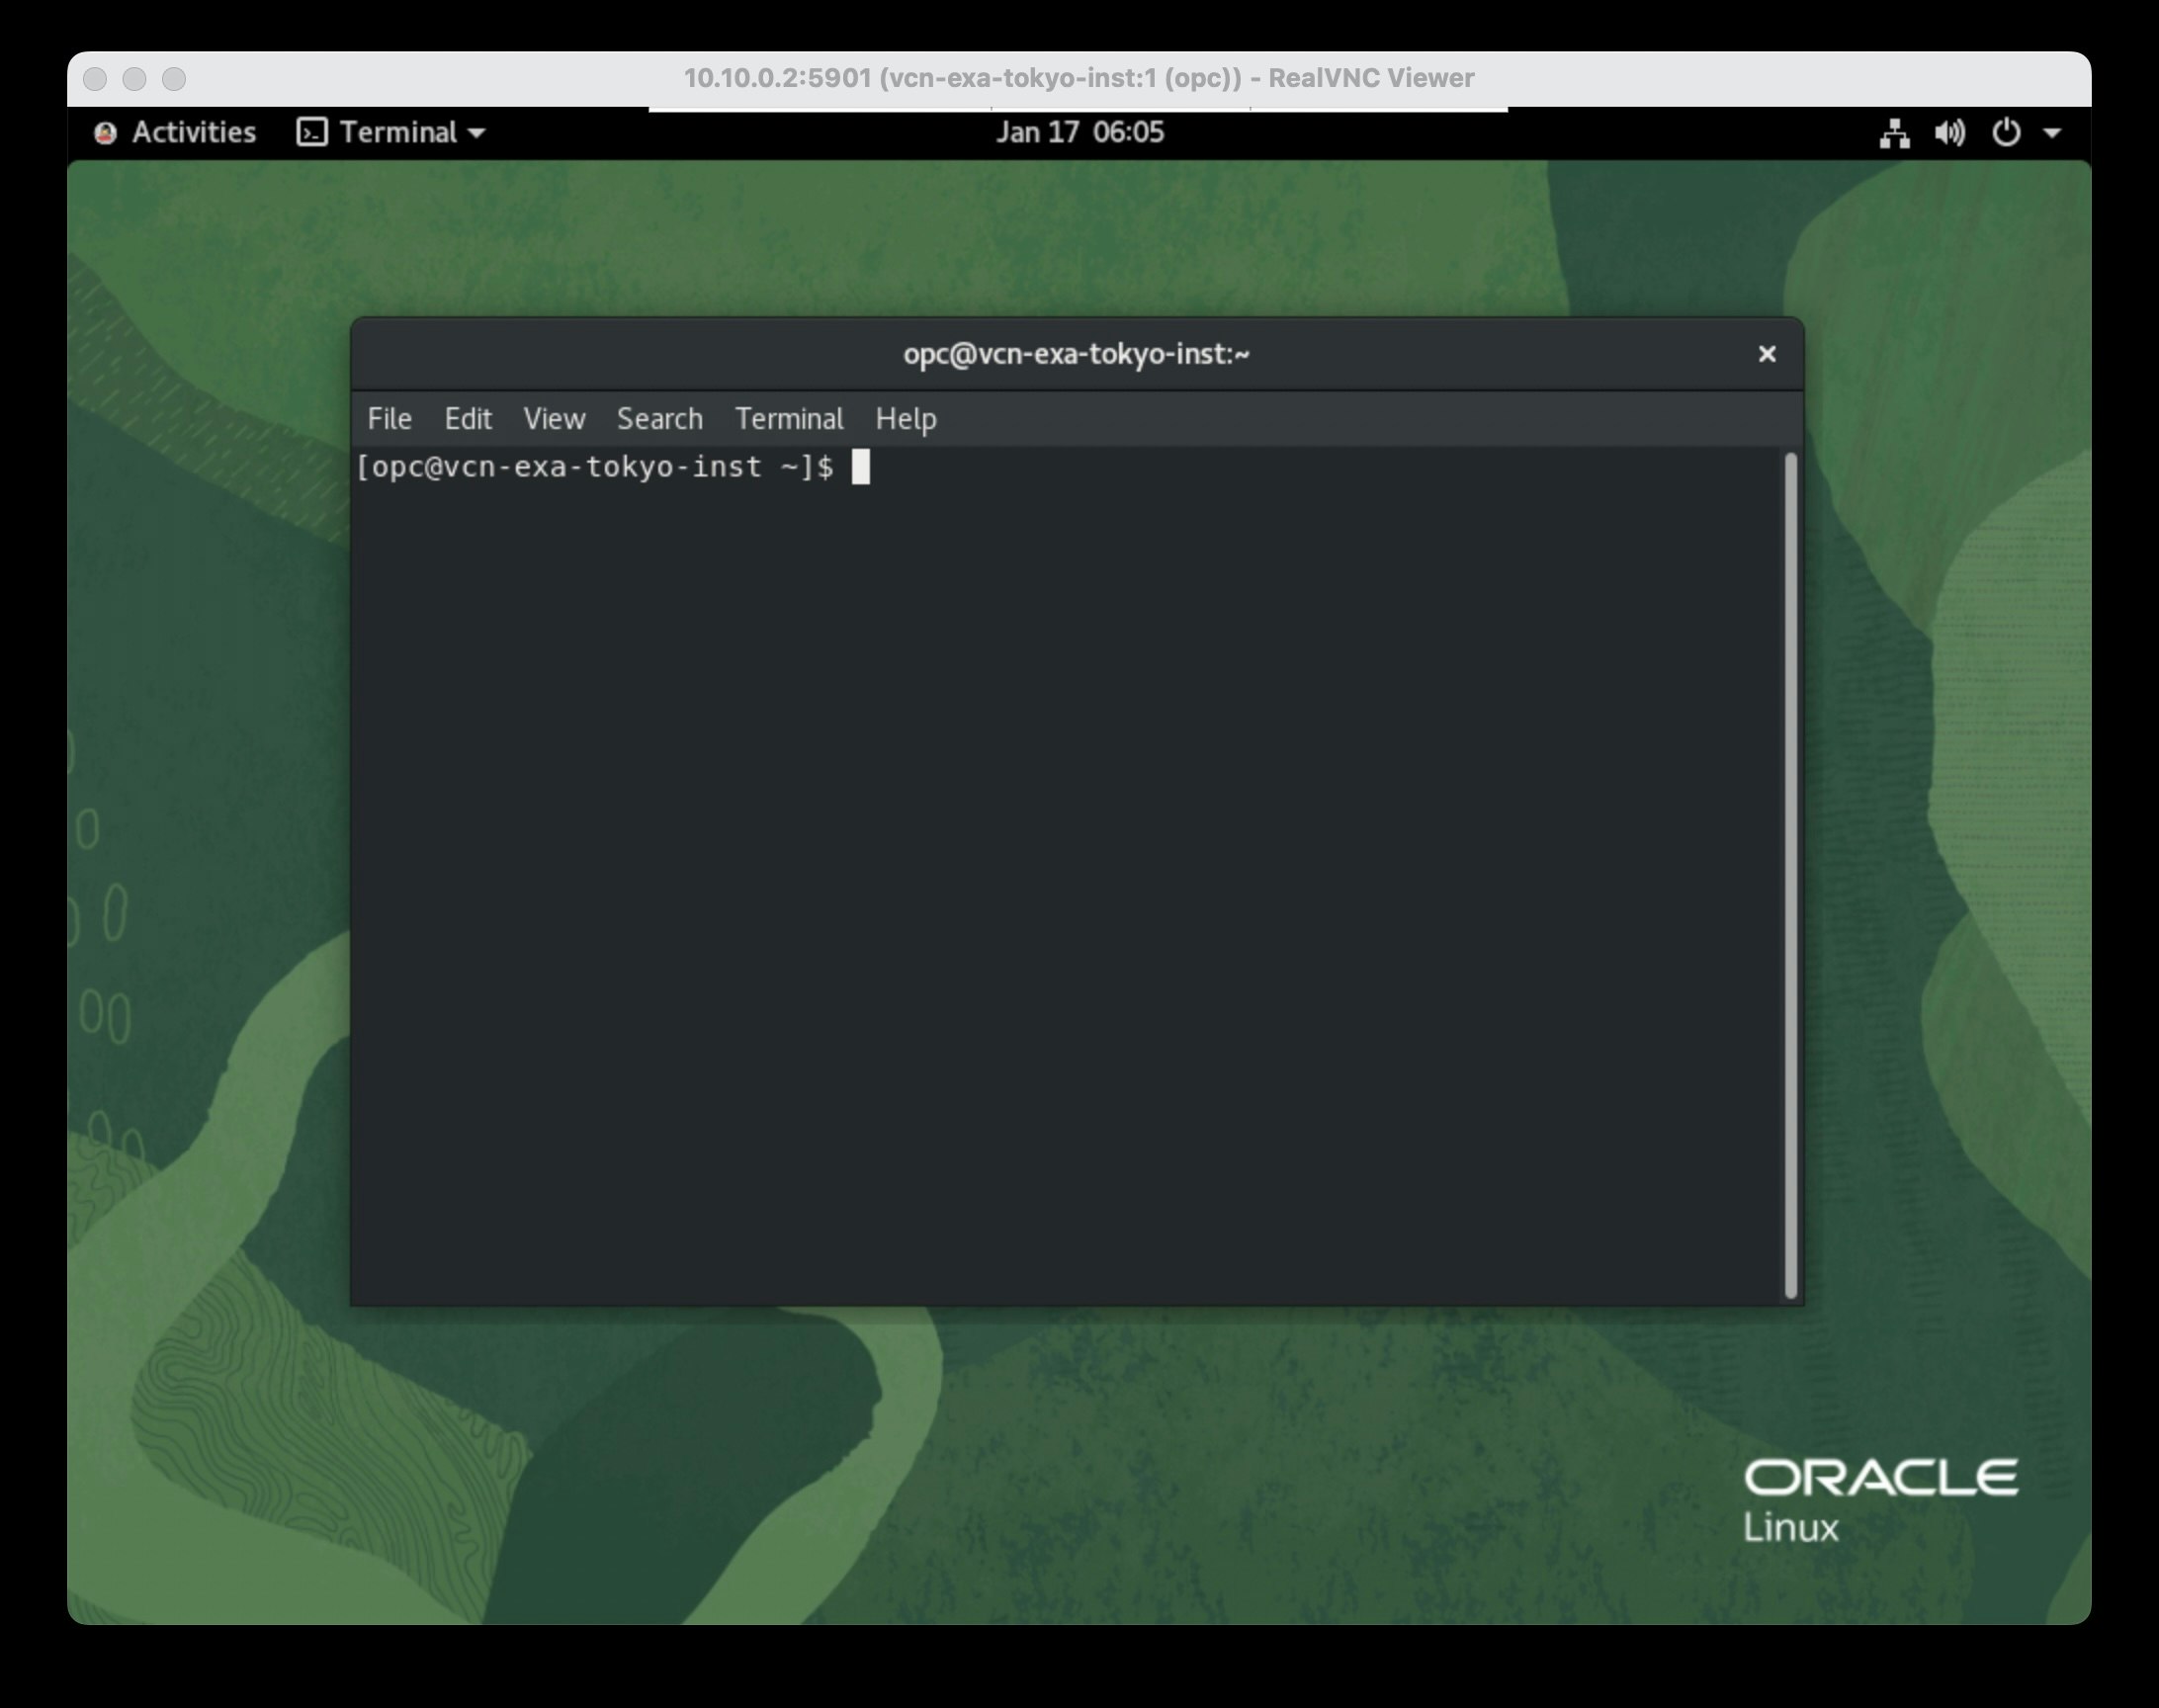
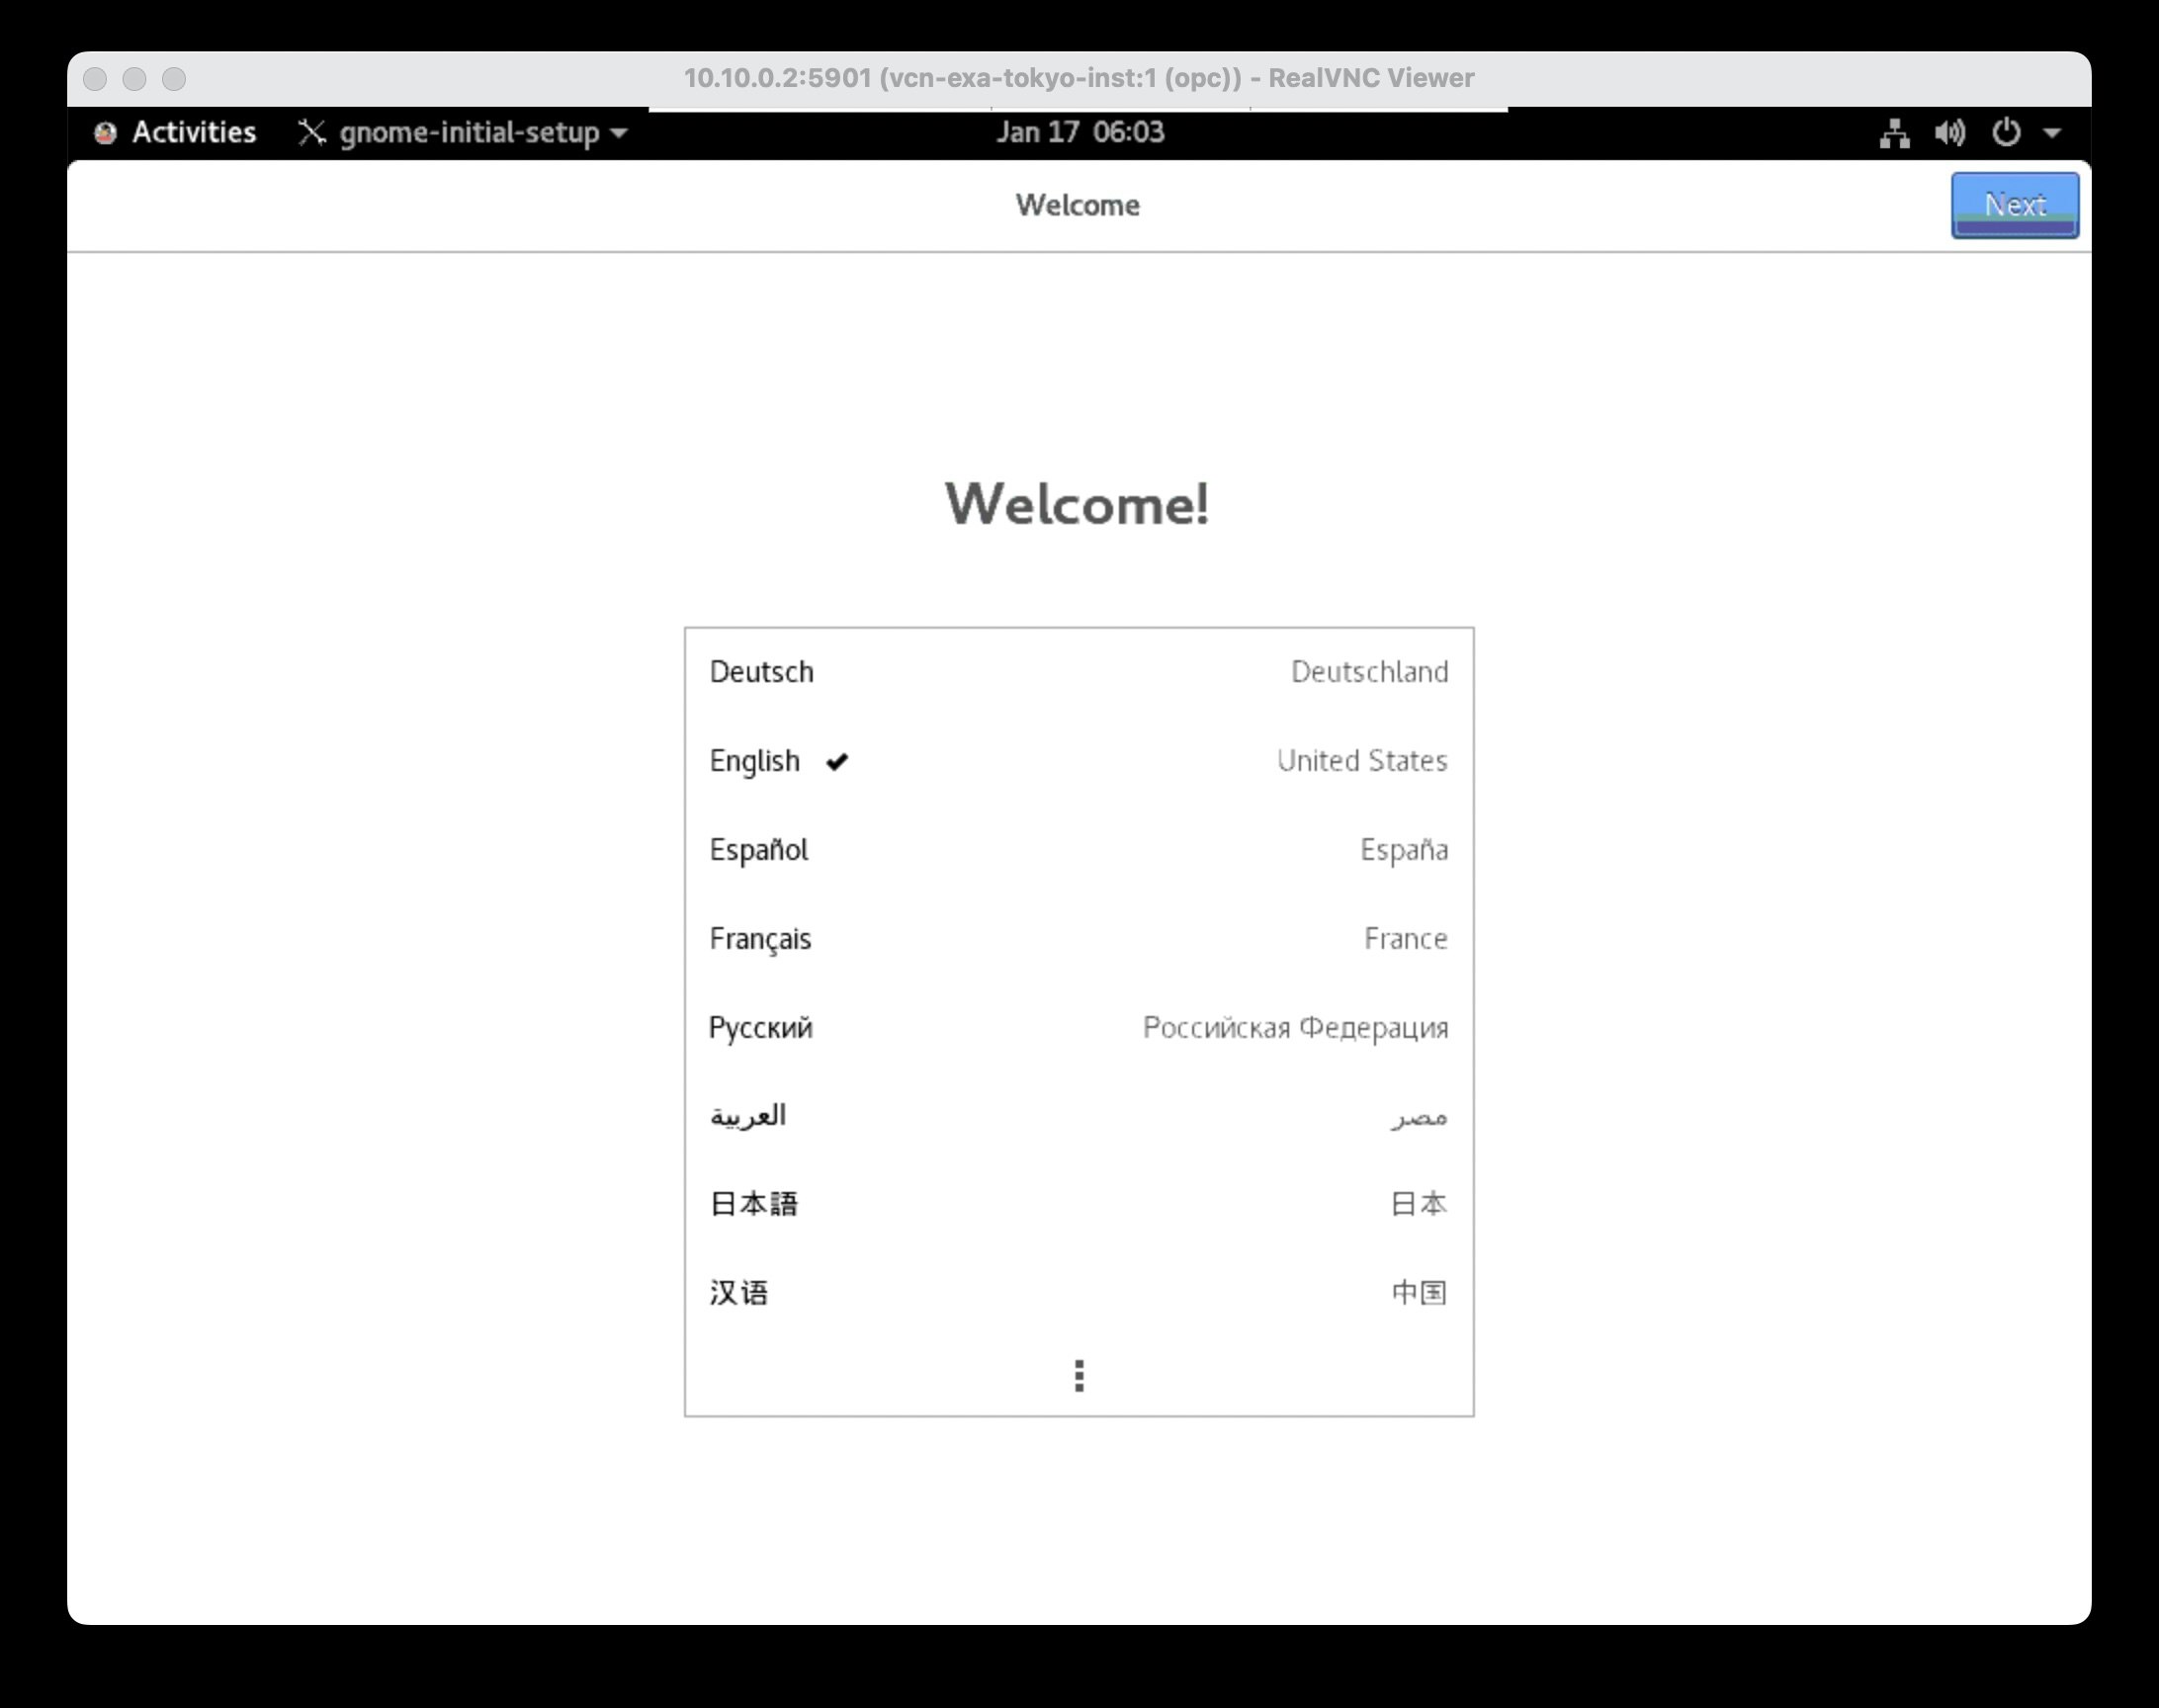
6) Linuxディスクトップ初期設定
初回、ディスクトップの表示設定を設定
■ 参考
Install the VNC Remote Access Server on Oracle Linux
RealVNC
