■ 目的
マニュアルにProxy経由でOracle Databaseにアクセスする手順があるので、
オンプレミスから、Autonomous DatabaseにSquidのProxy Server経由でアクセスしてみてみます。
また、Access Control List(ACL)の機能でVCN内からのアクセスのみ有効にして、Internetからのアクセスを遮断します。
■ 構成概要
 Terraformなど使用してちょろんと作成します
本手順は、Proxy Serverの設定から説明します
Terraformなど使用してちょろんと作成します
本手順は、Proxy Serverの設定から説明します
■ Proxy Server構築
以前の記事で構築した手順と同じです。
参考:Oracle Cloud:オンプレミスからVPN経由でObject Storageにアクセスさせてみてみた
ここでは、上記記事のProxy Serverの設定にAutonomous DatabaseのSSL 1522ポートを追加します。
● squid追加設定
/etc/squid/squid.confファイルの "acl SSL_ports port" の設定に Atutonomous Databaseの1522ポートを追加します。
1) 修正前
[root@proxy-inst01 ~]# cat /etc/squid/squid.conf | grep SSL_ports
	acl SSL_ports port 443
	acl SSL_ports port 22		# ssh
	http_access deny CONNECT !SSL_ports
2) 修正後
[root@proxy-inst01 ~]# cat /etc/squid/squid.conf | grep SSL_ports
	acl SSL_ports port 443
	acl SSL_ports port 22		# ssh
	acl SSL_ports port 1522		# Autonomous Database
	http_access deny CONNECT !SSL_ports
● Squid再起動
[root@proxy-inst01 ~]# systemctl restart squid
[root@proxy-inst01 ~]# systemctl status squid.service
	● squid.service - Squid caching proxy
	   Loaded: loaded (/usr/lib/systemd/system/squid.service; enabled; vendor preset: disabled)
	   Active: active (running) since 土 2019-03-16 11:10:05 GMT; 11s ago
	  Process: 32392 ExecStop=/usr/sbin/squid -k shutdown -f $SQUID_CONF (code=exited, status=0/SUCCESS)
	  Process: 32403 ExecStart=/usr/sbin/squid $SQUID_OPTS -f $SQUID_CONF (code=exited, status=0/SUCCESS)
	  Process: 32397 ExecStartPre=/usr/libexec/squid/cache_swap.sh (code=exited, status=0/SUCCESS)
	 Main PID: 32405 (squid)
	   CGroup: /system.slice/squid.service
	           ├─32405 /usr/sbin/squid -f /etc/squid/squid.conf
	           ├─32407 (squid-1) -f /etc/squid/squid.conf
	           └─32408 (logfile-daemon) /var/log/squid/access.log

	 3月 16 11:10:05 squid-proxy systemd[1]: Starting Squid caching proxy...
	 3月 16 11:10:05 squid-proxy squid[32405]: Squid Parent: will start 1 kids
	 3月 16 11:10:05 squid-proxy squid[32405]: Squid Parent: (squid-1) process 32407 started
	 3月 16 11:10:05 squid-proxy systemd[1]: Started Squid caching proxy.
■ Autonomous Database構築
以前の記事で構築した手順と同じですので省略します。
参考:Oracle Cloud:Autonomous DatabaseにSQLcl接続してみてみた
■ Oracle Client設定
On-Premisesに構築したOracle Databaseのsqlnet.oraとtnsnames.oraを設定します
● クライアント資格証明(Oracle Wallet)のダウンロード
Autonomous DatabaseのWALLET資格証明を元にtnsnames.oraを設定します。
1) 作成したADWのページに移動し、「DB Connection」をクリック
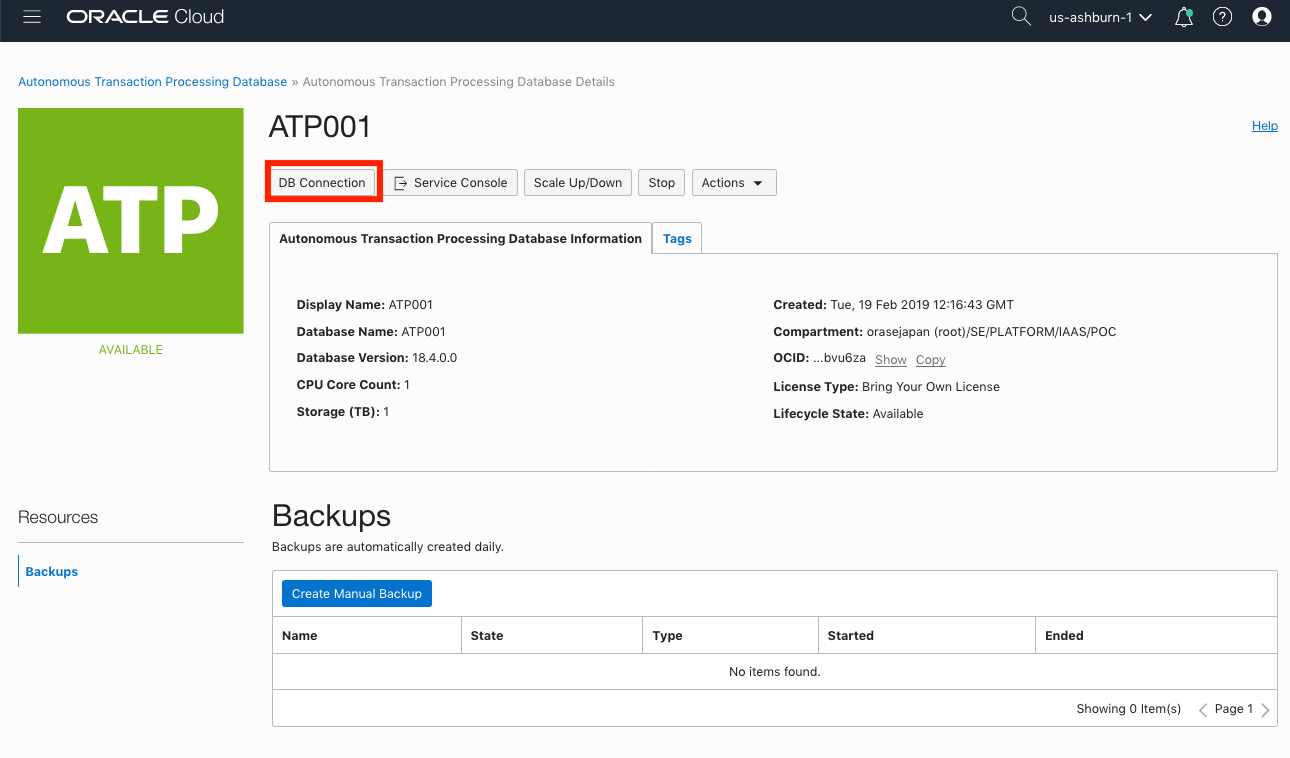
2)「Database Connection」画面で、「Download」をクリックし、WALLETの資格証明(Wallet_〜.zip)をダウンロード
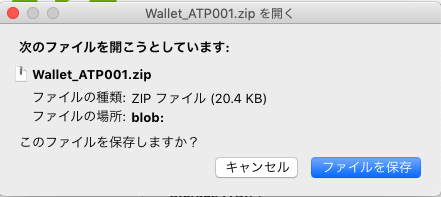
3) ダウンロードしたWallet_〜.zipファイルをOracle Client(db-inst01)に転送
4) WALLET_LOCATION作成とWALLET資格証明を配置
今回は、/home/oracle/atpc_credentials をWALLETディレクトリとして配置します
[oracle@db-inst01 ~]$ mkdir /home/oracle/atpc_credentials
[oracle@db-inst01 ~]$ mv Wallet_ATP001.zip /home/oracle/atpc_credentials
[oracle@db-inst01 ~]$ unzip Wallet_ATP001.zip
	Archive:  Wallet_ATP001.zip
	  inflating: cwallet.sso
	  inflating: tnsnames.ora
	  inflating: truststore.jks
	  inflating: ojdbc.properties
	  inflating: sqlnet.ora
	  inflating: ewallet.p12
	  inflating: keystore.jks
● tnsnames.ora設定
1) WALLET資格証明のtnsnames.ora確認
今回は、DownloadしたWALLET資格証明(Wallet_〜.zip)内のtnsnames.oraにある
atp001_highを元にtnsnames.oraを設定します。
[oracle@db-inst01 ~]$ cat tnsnames.ora
    ・・・
	atp001_high = (description= (address=(protocol=tcps)(port=1522)(host=atpc.example.oraclecloud.com))(connect_data=(service_name=atpc1_high.atpc.oraclecloud.com))(security=(ssl_server_cert_dn=
	        "CN=atpc.example.oraclecloud.com,OU=Oracle BMCS US,O=Oracle Corporation,L=Redwood City,ST=California,C=US"))   )
    ・・・
2) tnsnames.ora設定
上記で確認したatp001_high接続記述子から、そのままコピーしたproxy経由しない接続と、
proxyを経由する接続を設定します。
proxyを経由する接続には、address句に次の2つを追加します。
(https_proxy=<プロキシサーバーIPアドレス:10.0.0.11>)
(https_proxy_port=<プロキシサーバーPort番号:3128>)
[oracle@db-inst01 ~]$ cat $ORACLE_HOME/network/admin/tnsnames.ora
	#Non-Proxy Connection
	atp001_high= (description= (address=(protocol=tcps)(port=1522)(host=atpc.example.oraclecloud.com))(connect_data=(service_name=atpc1_high.atpc.oraclecloud.com))(security=(ssl_server_cert_dn=
	        "CN=atpc.example.oraclecloud.com,OU=Oracle BMCS US,O=Oracle Corporation,L=Redwood City,ST=California,C=US"))   )

	#Proxy Connection
	atp001_high_proxy= (description= (address=(https_proxy=10.0.0.11)(https_proxy_port=3128)(protocol=tcps)(port=1522)(host=atpc.example.oraclecloud.com))(connect_data=(service_name=atpc1_high.atpc.oraclecloud.com))(security=(ssl_server_cert_dn=
	        "CN=atpc.example.oraclecloud.com,OU=Oracle BMCS US,O=Oracle Corporation,L=Redwood City,ST=California,C=US"))   )
● sqlnet.ora設定
sqlnet.oraにWALLETディレクトリとProxy設定のSSL_SERVER_DN_MATCHとSQLNET.USE_HTTPS_PROXYを追加します
[oracle@db-inst01 ~]$ vi $ORACLE_HOME/network/admin/sqlnet.ora
	#WALLET_LOCATION = (SOURCE = (METHOD = file) (METHOD_DATA = (DIRECTORY="?/network/admin")))
	WALLET_LOCATION = (SOURCE = (METHOD = file) (METHOD_DATA = (DIRECTORY="/home/oracle/app/oracle/product/19.0.0/network/admin")))
	SSL_SERVER_DN_MATCH=yes
	SQLNET.USE_HTTPS_PROXY=on
■ 接続テスト前確認
Autonomous DatabaseなどのPublic Serviceへのアクセスには、Global DNSを参照してIPアドレスを引き当てて接続します。
そのため、次のことを事前に確認します。
①DNSアクセス可能確認
②Autonomous非疎通確認
今回は、Autonomous Transaction Processing(ATP)ですのでtnsnames.oraから、ATPのホスト名を取得し、そのホスト名を使用して確認します。
・今回のATPのホスト名:atpc.example.oraclecloud.com
● DNSアクセス可能確認
nslookupでATPのホスト名でIPアドレスを引き当てれることを確認
[oracle@db-inst01 ~]$ nslookup atpc.example.oraclecloud.com
	Server:		172.24.10.254
	Address:	172.24.10.254#53

	Non-authoritative answer:
	adb.us-ashburn-1.oraclecloud.com	canonical name = atpc.example.oraclecloud.com.
	Name:	atpc.example.oraclecloud.com
	Address: 200.200.200.201
	Name:	atpc.example.oraclecloud.com
	Address: 200.200.200.202
	Name:	atpc.example.oraclecloud.com
	Address: 200.200.200.203
● Autonomousホスト名/IPアドレス非疎通確認
Autonomousホスト名/IPアドレスに直接接続できないことを確認
[oracle@db-inst01 ~]$ ping atpc.example.oraclecloud.com -w 10
	PING atpc.example.oraclecloud.com (200.200.200.201) 56(84) bytes of data.

	--- atpc.example.oraclecloud.com ping statistics ---
	10 packets transmitted, 0 received, 100% packet loss, time 9195ms
■ 接続テスト
本環境のOn-Permises側Networkは、Proxyを経由しないとInternetに接続でないため、Proxy有無で接続ができるか確認します。
● Non-Proxy接続テスト
Proxyを経由しないと接続できないことを確認
1) tnsping非疎通確認
[oracle@db-inst01 ~]$ tnsping atp001_high

	TNS Ping Utility for Linux: Version 19.0.0.0.0 - Production on 16-MAR-2019 11:59:37

	Copyright (c) 1997, 2018, Oracle.  All rights reserved.

	Used parameter files:
	/home/oracle/app/oracle/product/19.0.0/network/admin/sqlnet.ora


	Used TNSNAMES adapter to resolve the alias
	Attempting to contact (description= (address=(protocol=tcps)(port=1522)(host=atpc.example.oraclecloud.com))(connect_data=(service_name=atpc1_high.atpc.oraclecloud.com))(security=(ssl_server_cert_dn= CN=atpc.example.oraclecloud.com,OU=Oracle BMCS US,O=Oracle Corporation,L=Redwood City,ST=California,C=US)))
	TNS-12545: Connect failed because target host or object does not exist
2) sqlplus非接続確認
[oracle@db-inst01 ~]$ sqlplus admin/pass@atp001_high

	SQL*Plus: Release 19.0.0.0.0 - Production on Sat Mar 16 12:04:25 2019
	Version 19.2.0.0.0

	Copyright (c) 1982, 2018, Oracle.  All rights reserved.


	ERROR:
	ORA-12170: TNS:Connect timeout occurred
● Proxy接続テスト
Proxyを経由で接続できることを確認
1) tnsping疎通確認
[oracle@db-inst01 ~]$ tnsping atp001_high_proxy

	TNS Ping Utility for Linux: Version 19.0.0.0.0 - Production on 16-MAR-2019 12:00:11

	Copyright (c) 1997, 2018, Oracle.  All rights reserved.

	Used parameter files:
	/home/oracle/app/oracle/product/19.0.0/network/admin/sqlnet.ora


	Used TNSNAMES adapter to resolve the alias
	Attempting to contact (description= (address=(https_proxy=10.0.0.11)(https_proxy_port=3128)(protocol=tcps)(port=1522)(host=atpc.example.oraclecloud.com))(connect_data=(service_name=atpc1_high.atpc.oraclecloud.com))(security=(ssl_server_cert_dn= CN=atpc.example.oraclecloud.com,OU=Oracle BMCS US,O=Oracle Corporation,L=Redwood City,ST=California,C=US)))
	OK (30 msec)
2) sqlplus接続確認
[oracle@db-inst01 ~]$ sqlplus admin/pass@atp001_high_proxy

	SQL*Plus: Release 19.0.0.0.0 - Production on Sat Mar 16 12:04:25 2019
	Version 19.2.0.0.0

	Copyright (c) 1982, 2018, Oracle.  All rights reserved.

	Last Successful login time: Sat Mar 16 2019 11:27:41 +00:00

	Connected to:
	Oracle Database 18c Enterprise Edition Release 18.0.0.0.0 - Production
	Version 18.4.0.0.0

	SQL> select NAME from v$pdbs;

	NAME
	--------------------------------------------------------------------------------
	TEST_ATP001
● proxyサーバーアクセスLOG確認
proxyサーバーのaccess.logを確認して、sqlplusでアクセスしたインスタンスのIPアドレス(172.24.10.10)からAutonomous DatabaseのPublic IPアドレス(200.200.200.201)へアクセスしていることを確認
[root@proxy-inst01 ~]# tail -f /var/log/squid/access.log
	・・・
	1552735529.372  12893 172.24.10.10 TCP_TUNNEL/200 11038 CONNECT atpc.example.oraclecloud.com:1522 - HIER_DIRECT/200.200.200.201 -
■ Access Control List(ACL)設定
● 設定
1) ATP画面にある[Action]から[Access Control List]をクリック
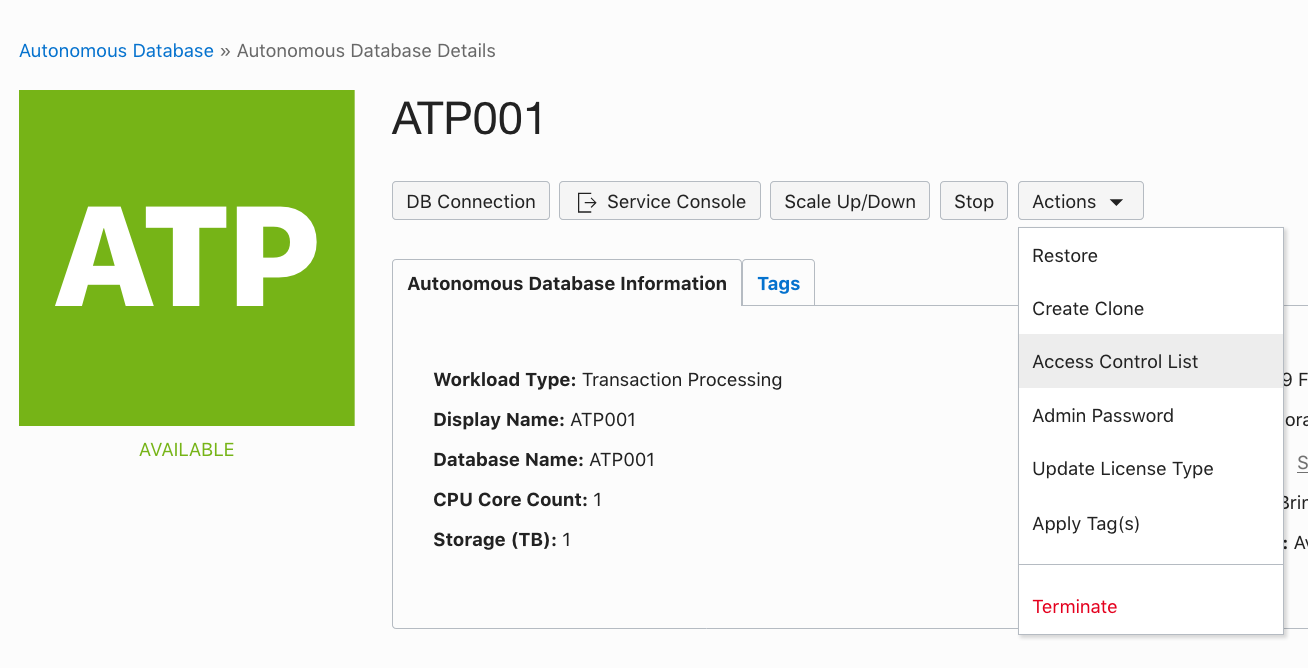
②Service Gatwayアクセスのみアクセス可能に設定
Service GatwayのCIDRは240.0.0.0/4になり、以下のように設定
IP NOTATION TYPE : CIDR Block
CIDR BLOCKS:240.0.0.0/4

● ACLテスト
1) VCN外アクセス不可能確認
Internet経由でアクセスできないことを確認
[oracle@client01 ~]$ sqlplus admin/pass@atp001_high

	SQL*Plus: Release 19.0.0.0.0 - Production on Sat May 4 15:08:19 2019
	Version 19.3.0.0.0

	Copyright (c) 1982, 2019, Oracle.  All rights reserved.

	ERROR:
	ORA-12506: TNS:listener rejected connection based on service ACL filtering
2) オンプレミスからProxy経由アクセス可能確認
本構成のオンプレミスからProxy経由でアクセスできる事確認
[oracle@db-inst01 ~]$ sqlplus admin/pass@atp001_high_proxy

	SQL*Plus: Release 19.0.0.0.0 - Production on Sat May 4 15:25:23 2019
	Version 19.3.0.0.0

	Copyright (c) 1982, 2019, Oracle.  All rights reserved.

	Last Successful login time: Sat May 04 2019 15:04:22 +00:00

	Connected to:
	Oracle Database 18c Enterprise Edition Release 18.0.0.0.0 - Production
	Version 18.4.0.0.0

	SQL>
■ 参考
● マニュアル
・Connections with an HTTP Proxy
・HTTPプロキシを使用したJDBC Thin接続
・To manage the access control list of an Autonomous Database