OCIのインスタンスへSoftEther VPN Server をインストールして、外部InternetのPCからClientアクセスできるようにします。
ついでに、OCIとOn-PremiseをIPsec VPNで接続して、OCIのVPN Serverを経由して直接PCからOn-Premiseのサーバーに接続できることを確認します。
■構成図

■Network構築
・上記構成をTerraformなど使用してちょろんと作成します
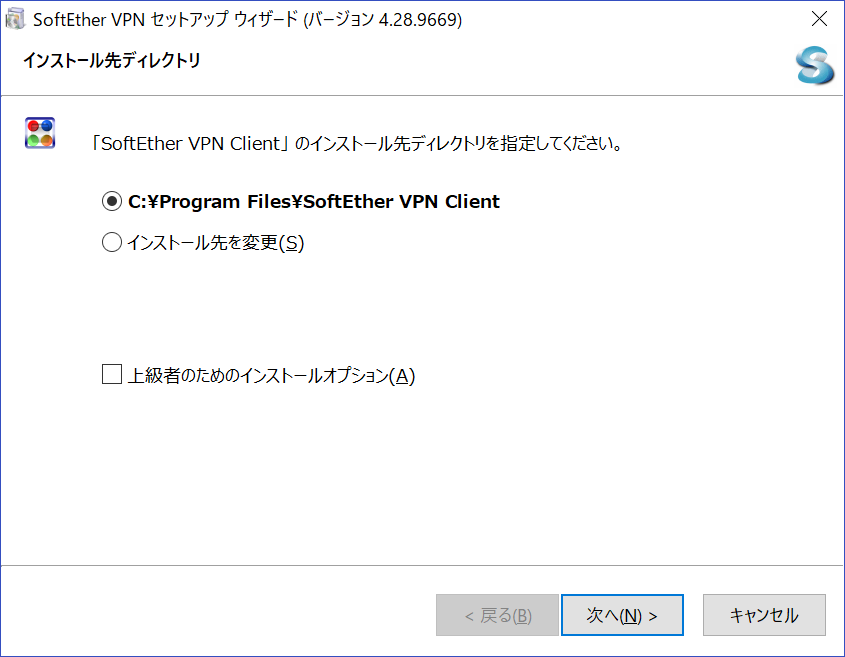
本手順は、VPN Server とVPN Clientの構築から説明します。
■ SoftEther VPNのインストール
● 必要RPMインストール
make コマンド使用するために gccをインストール
[root@softether-vpn local]# yum install -y  gcc
		読み込んだプラグイン:langpacks, ulninfo
		依存性の解決をしています
		--> トランザクションの確認を実行しています。
		---> パッケージ gcc.x86_64 0:4.8.5-36.0.1.el7 を インストール
		・・・
		インストール:
		  gcc.x86_64 0:4.8.5-36.0.1.el7

		依存性関連をインストールしました:
		  cpp.x86_64 0:4.8.5-36.0.1.el7                          glibc-devel.x86_64 0:2.17-260.0.9.el7
		  glibc-headers.x86_64 0:2.17-260.0.9.el7                kernel-headers.x86_64 0:3.10.0-957.1.3.el7
		  libmpc.x86_64 0:1.0.1-3.el7                            mpfr.x86_64 0:3.1.1-4.el7

		完了しました!
●インストール用ファイルの準備
① ダウンロード
http://www.softether.orgからダウンロード
今回はSoftEther VPN Server (Ver 4.28, Build 9669, beta)をダウンロード
② インストール用パッケージファイルの展開
Serverの適当なディレクトリに tar.gz ファイルをコピー
$ scp -i ~/id_rsa softether-vpnserver-v4.28-9669-beta-2018.09.11-linux-x64-64bit.tar.gz opc@132.145.167.217:/tmp
	softether-vpnserver-v4.28-9669-beta-2018.09.11-linux-x64-64bit.tar.gz            100% 6134KB   3.0MB/s   00:02
③ Serverにログインしてtar.gzを展開
# cd /usr/local
# tar zxvf /tmp/softether-vpnserver-v4.28-9669-beta-2018.09.11-linux-x64-64bit.tar.gz
# ls
 bin  etc  games  include  lib  lib64  libexec  sbin  share  src  vpnserver
■実行可能ファイルの生成
・make の実行
# cd vpnserver/
# ls
	Authors.txt  ReadMeFirst_Important_Notices_cn.txt  ReadMeFirst_Important_Notices_ja.txt  code         lib
	Makefile     ReadMeFirst_Important_Notices_en.txt  ReadMeFirst_License.txt               hamcore.se2
# make

[root@softether-vpn vpnserver]# make
		--------------------------------------------------------------------

		SoftEther VPN Server (Ver 4.28, Build 9669, Intel x64 / AMD64) for Linux Install Utility
		Copyright (c) SoftEther Project at University of Tsukuba, Japan. All Rights Reserved.

		--------------------------------------------------------------------
使用権許諾契約書を読みますか?
1 を選択
		Do you want to read the License Agreement for this software ?

		 1. Yes
		 2. No

		Please choose one of above number:
		1

		SoftEther VPN Server, Client and Bridge are free software, and released as open-source. You can redistribute them and/or modify them under the terms of the GNU General Public License version 2 as published by the Free Software Foundation.

			Copyright (c) Daiyuu Nobori.
			Copyright (c) SoftEther Project at University of Tsukuba, Japan.
			Copyright (c) SoftEther Corporation.
			All Rights Reserved.
			https://www.softether.org/

     ・・・

			-------------------

			NOTES

			SoftEther provides source codes of some GPL/LGPL/other libraries listed above on its web server. Anyone can download, use and re-distribute them under individual licenses which are contained on each archive file, available from the following URL:
			http://uploader.softether.co.jp/src/
使用権許諾契約書を読みましたか?
使用権許諾契約書を読んだので「1」を選択
			Did you read and understand the License Agreement ?
			(If you couldn't read above text, Please read 'ReadMeFirst_License.txt'
			 file with any text editor.)

			 1. Yes
			 2. No

			Please choose one of above number:
			1
使用権許諾契約書に同意しますか?
諾契約書に同意する場合は「1」を選択
			Did you agree the License Agreement ?

			1. Agree
			2. Do Not Agree

			Please choose one of above number:
			1

			make[1]: ディレクトリ `/usr/local/vpnserver' に入ります
			Preparing SoftEther VPN Server...
     ・・・
			VPN Tools>Check
			Check コマンド - SoftEther VPN の動作が可能かどうかチェックする
			---------------------------------------------------
			SoftEther VPN 動作環境チェックツール

			Copyright (c) SoftEther VPN Project.
			All Rights Reserved.

			この動作環境チェックツールを実行したシステムがテストに合格した場合は、SoftEther VPN ソフトウェアが動作する可能性が高いです。チェックにはしばらく時間がかかる場合があります。そのままお待ちください...

			'カーネル系' のチェック中...
			              [合格] ○
			'メモリ操作系' のチェック中...
			              [合格] ○
			'ANSI / Unicode 文字列処理系' のチェック中...
			              [合格] ○
			'ファイルシステム' のチェック中...
			              [合格] ○
			'スレッド処理システム' のチェック中...
			              [合格] ○
			'ネットワークシステム' のチェック中...
			              [合格] ○

			すべてのチェックに合格しました。このシステム上で SoftEther VPN Server / Bridge が正しく動作する可能性が高いと思われます。

			コマンドは正常に終了しました。

    ・・・

			--------------------------------------------------------------------

			make[1]: ディレクトリ `/usr/local/vpnserver' から出ます
■パーミッション設定
rootのみアクセスできるようセキュリティ設定を行う
[root@softether-vpn vpnserver]#  ls -la
	合計 10484
	drwxrwxrwx.  5 root root    4096  1月 18 11:23 .
	drwxr-xr-x. 13 root root    4096  1月 18 11:17 ..
	-rwxrwxrwx.  1 root root    1533  9月 11 03:35 .install.sh
	-rwxrwxrwx.  1 root root    2955  9月 11 03:35 Authors.txt
	-rwxrwxrwx.  1 root root    3010  9月 11 03:35 Makefile
	-rwxrwxrwx.  1 root root   30801  9月 11 03:35 ReadMeFirst_Important_Notices_cn.txt
	-rwxrwxrwx.  1 root root   36296  9月 11 03:35 ReadMeFirst_Important_Notices_en.txt
	-rwxrwxrwx.  1 root root   50695  9月 11 03:35 ReadMeFirst_Important_Notices_ja.txt
	-rwxrwxrwx.  1 root root   58903  9月 11 03:35 ReadMeFirst_License.txt
	drwx------.  2 root root       6  1月 18 11:23 chain_certs
	drwxrwxrwx.  2 root root      41  1月 18 11:23 code
	-rwxrwxrwx.  1 root root 1296639  9月 11 03:35 hamcore.se2
	-rw-------.  1 root root     867  1月 18 11:23 lang.config
	drwxrwxrwx.  2 root root    4096  1月 18 11:23 lib
	-rwxr-xr-x.  1 root root 4611848  1月 18 11:23 vpncmd
	-rwxr-xr-x.  1 root root 4611928  1月 18 11:23 vpnserver

[root@softether-vpn vpnserver]#  chmod 600 *
[root@softether-vpn vpnserver]#  chmod 700 vpncmd
[root@softether-vpn vpnserver]#  chmod 700 vpnserver
[root@softether-vpn vpnserver]#  ls -la
	合計 10484
	drwxrwxrwx.  5 root root    4096  1月 18 11:23 .
	drwxr-xr-x. 13 root root    4096  1月 18 11:17 ..
	-rwxrwxrwx.  1 root root    1533  9月 11 03:35 .install.sh
	-rw-------.  1 root root    2955  9月 11 03:35 Authors.txt
	-rw-------.  1 root root    3010  9月 11 03:35 Makefile
	-rw-------.  1 root root   30801  9月 11 03:35 ReadMeFirst_Important_Notices_cn.txt
	-rw-------.  1 root root   36296  9月 11 03:35 ReadMeFirst_Important_Notices_en.txt
	-rw-------.  1 root root   50695  9月 11 03:35 ReadMeFirst_Important_Notices_ja.txt
	-rw-------.  1 root root   58903  9月 11 03:35 ReadMeFirst_License.txt
	drw-------.  2 root root       6  1月 18 11:23 chain_certs
	drw-------.  2 root root      41  1月 18 11:23 code
	-rw-------.  1 root root 1296639  9月 11 03:35 hamcore.se2
	-rw-------.  1 root root     867  1月 18 11:23 lang.config
	drw-------.  2 root root    4096  1月 18 11:23 lib
	-rwx------.  1 root root 4611848  1月 18 11:23 vpncmd
	-rwx------.  1 root root 4611928  1月 18 11:23 vpnserver
■vpncmd の check コマンドによる動作チェック
正常動作することを確認
[root@softether-vpn vpnserver]# ./vpncmd
	vpncmd コマンド - SoftEther VPN コマンドライン管理ユーティリティ
	SoftEther VPN コマンドライン管理ユーティリティ (vpncmd コマンド)
	Version 4.28 Build 9669   (Japanese)
	Compiled 2018/09/11 12:23:27 by yagi at pc33
	Copyright (c) SoftEther VPN Project. All Rights Reserved.

	vpncmd プログラムを使って以下のことができます。

	1. VPN Server または VPN Bridge の管理
	2. VPN Client の管理
	3. VPN Tools コマンドの使用 (証明書作成や通信速度測定)

	1 - 3 を選択: 3

	VPN Tools を起動しました。HELP と入力すると、使用できるコマンド一覧が表示できます。

	VPN Tools>check
	Check コマンド - SoftEther VPN の動作が可能かどうかチェックする
	---------------------------------------------------
	SoftEther VPN 動作環境チェックツール

	Copyright (c) SoftEther VPN Project.
	All Rights Reserved.

	この動作環境チェックツールを実行したシステムがテストに合格した場合は、SoftEther VPN ソフトウェアが動作する可能性が高いです。チェックにはしばらく時間がかかる場合があります。そのままお待ちください...

	'カーネル系' のチェック中...
	              [合格] ○
	'メモリ操作系' のチェック中...
	              [合格] ○
	'ANSI / Unicode 文字列処理系' のチェック中...
	              [合格] ○
	'ファイルシステム' のチェック中...
	              [合格] ○
	'スレッド処理システム' のチェック中...
	              [合格] ○
	'ネットワークシステム' のチェック中...
	              [合格] ○

	すべてのチェックに合格しました。このシステム上で SoftEther VPN Server / Bridge が正しく動作する可能性が高いと思われます。

	コマンドは正常に終了しました。

	VPN Tools>exit
●自動起動設定
① SoftEhter VPN のデーモンvpnserverを自動起動するように設定
[root@softether-vpn vpnserver]# vi /etc/systemd/system/vpnserver.service

		[Unit]
		Description=SoftEther VPN Server
		After=network.target network-online.target

		[Service]
		ExecStart=/usr/local/vpnserver/vpnserver start
		ExecStop=/usr/local/vpnserver/vpnserver stop
		Type=forking
		RestartSec=3s

		[Install]
		WantedBy=multi-user.target
② systemd に設定追加を読み込み
[root@softether-vpn vpnserver]# systemctl daemon-reload
③ 起動
[root@softether-vpn vpnserver]#systemctl start vpnserver
④ ステータス確認
[root@softether-vpn vpnserver]# systemctl status vpnserver
		● vpnserver.service - SoftEther VPN Server
		   Loaded: loaded (/etc/systemd/system/vpnserver.service; disabled; vendor preset: disabled)
		   Active: active (running) since 金 2019-01-18 11:47:18 GMT; 10s ago
		  Process: 16675 ExecStart=/usr/local/vpnserver/vpnserver start (code=exited, status=0/SUCCESS)
		 Main PID: 16677 (vpnserver)
		   CGroup: /system.slice/vpnserver.service
		           ├─16677 /usr/local/vpnserver/vpnserver execsvc
		           └─16678 /usr/local/vpnserver/vpnserver execsvc

		 1月 18 11:47:18 softether-vpn systemd[1]: Starting SoftEther VPN Server...
		 1月 18 11:47:18 softether-vpn vpnserver[16675]: The SoftEther VPN Server service has been started.
		 1月 18 11:47:18 softether-vpn systemd[1]: Started SoftEther VPN Server.
⑤ 停止手順
[root@softether-vpn vpnserver]# systemctl stop hellod
■初期設定
①vpncmd でServerへLOGIN
[root@softether-vpn vpnserver]# ./vpncmd
		vpncmd コマンド - SoftEther VPN コマンドライン管理ユーティリティ
		SoftEther VPN コマンドライン管理ユーティリティ (vpncmd コマンド)
		Version 4.28 Build 9669   (Japanese)
		Compiled 2018/09/11 12:23:27 by yagi at pc33
		Copyright (c) SoftEther VPN Project. All Rights Reserved.

		vpncmd プログラムを使って以下のことができます。

		1. VPN Server または VPN Bridge の管理
		2. VPN Client の管理
		3. VPN Tools コマンドの使用 (証明書作成や通信速度測定)

		1 - 3 を選択: 1

		接続先の VPN Server または VPN Bridge が動作しているコンピュータの IP アドレスまたはホスト名を指定してください。
		'ホスト名:ポート番号' の形式で指定すると、ポート番号も指定できます。
		(ポート番号を指定しない場合は 443 が使用されます。)
		何も入力せずに Enter を押すと、localhost (このコンピュータ) のポート 443 に接続します。
		接続先のホスト名または IP アドレス:

		サーバーに仮想 HUB 管理モードで接続する場合は、仮想 HUB 名を入力してください。
		サーバー管理モードで接続する場合は、何も入力せずに Enter を押してください。
		接続先の仮想 HUB 名を入力:
		VPN Server "localhost" (ポート 443) に接続しました。

		VPN Server 全体の管理権限があります。
② 管理者パスワードの変更
	VPN Server>ServerPasswordSet
	ServerPasswordSet コマンド - VPN Server の管理者パスワードの設定
	パスワードを入力してください。キャンセルするには Ctrl+D キーを押してください。

	パスワード: ********
	確認入力  : ********


	コマンドは正常に終了しました。
③仮想 HUB の作成
初期状態で "DEFAULT" という名前の「仮想 HUB」が 1 つだけ登録されています。
■ VPN Server 設定
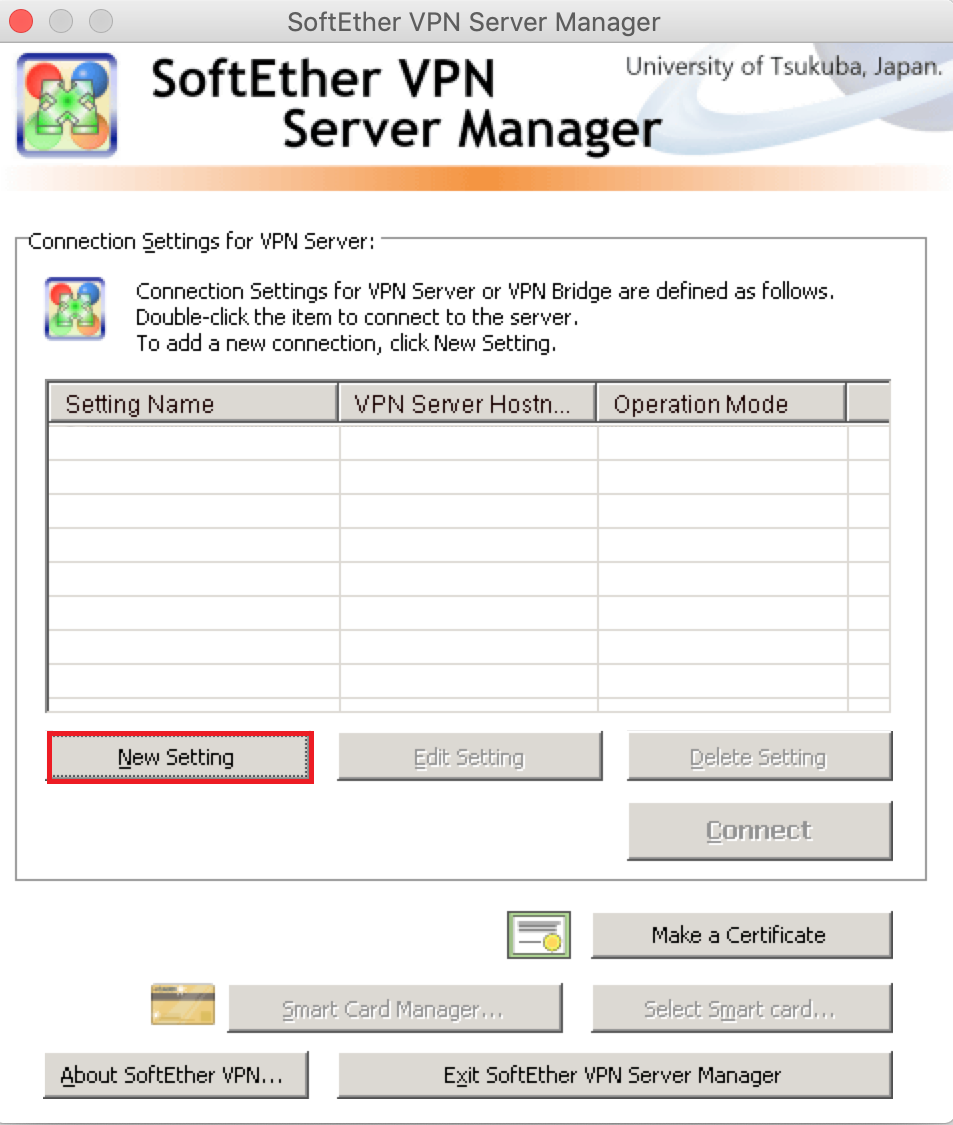
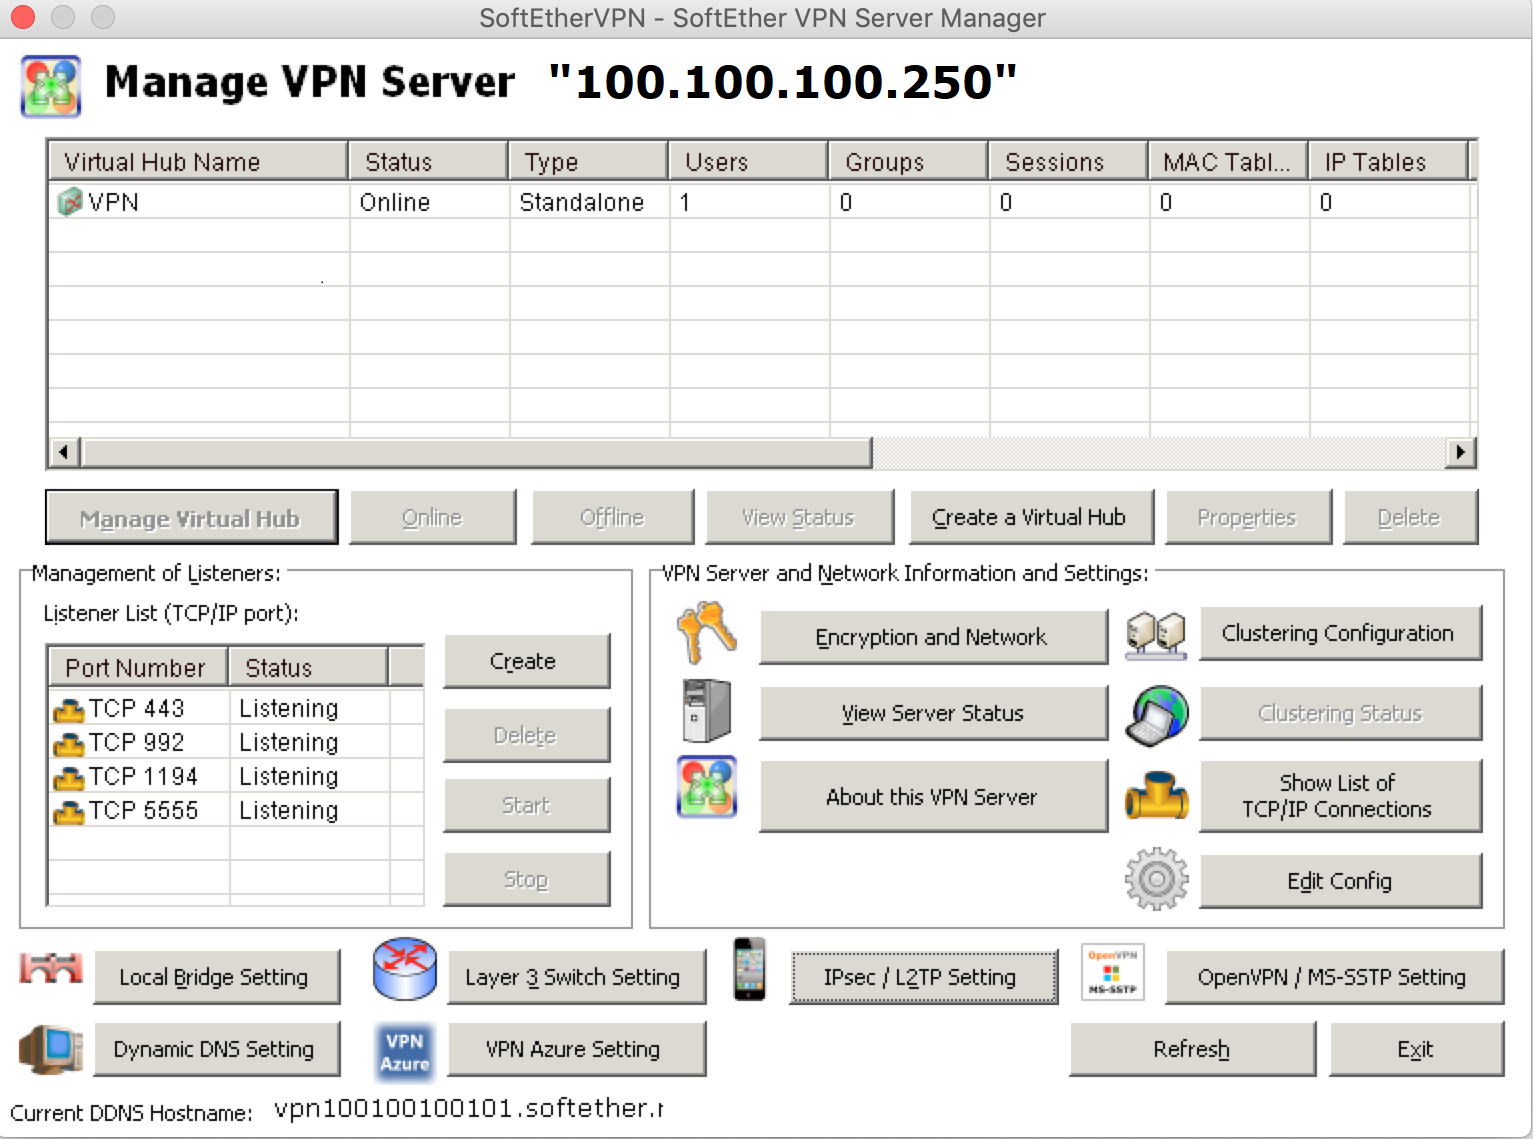
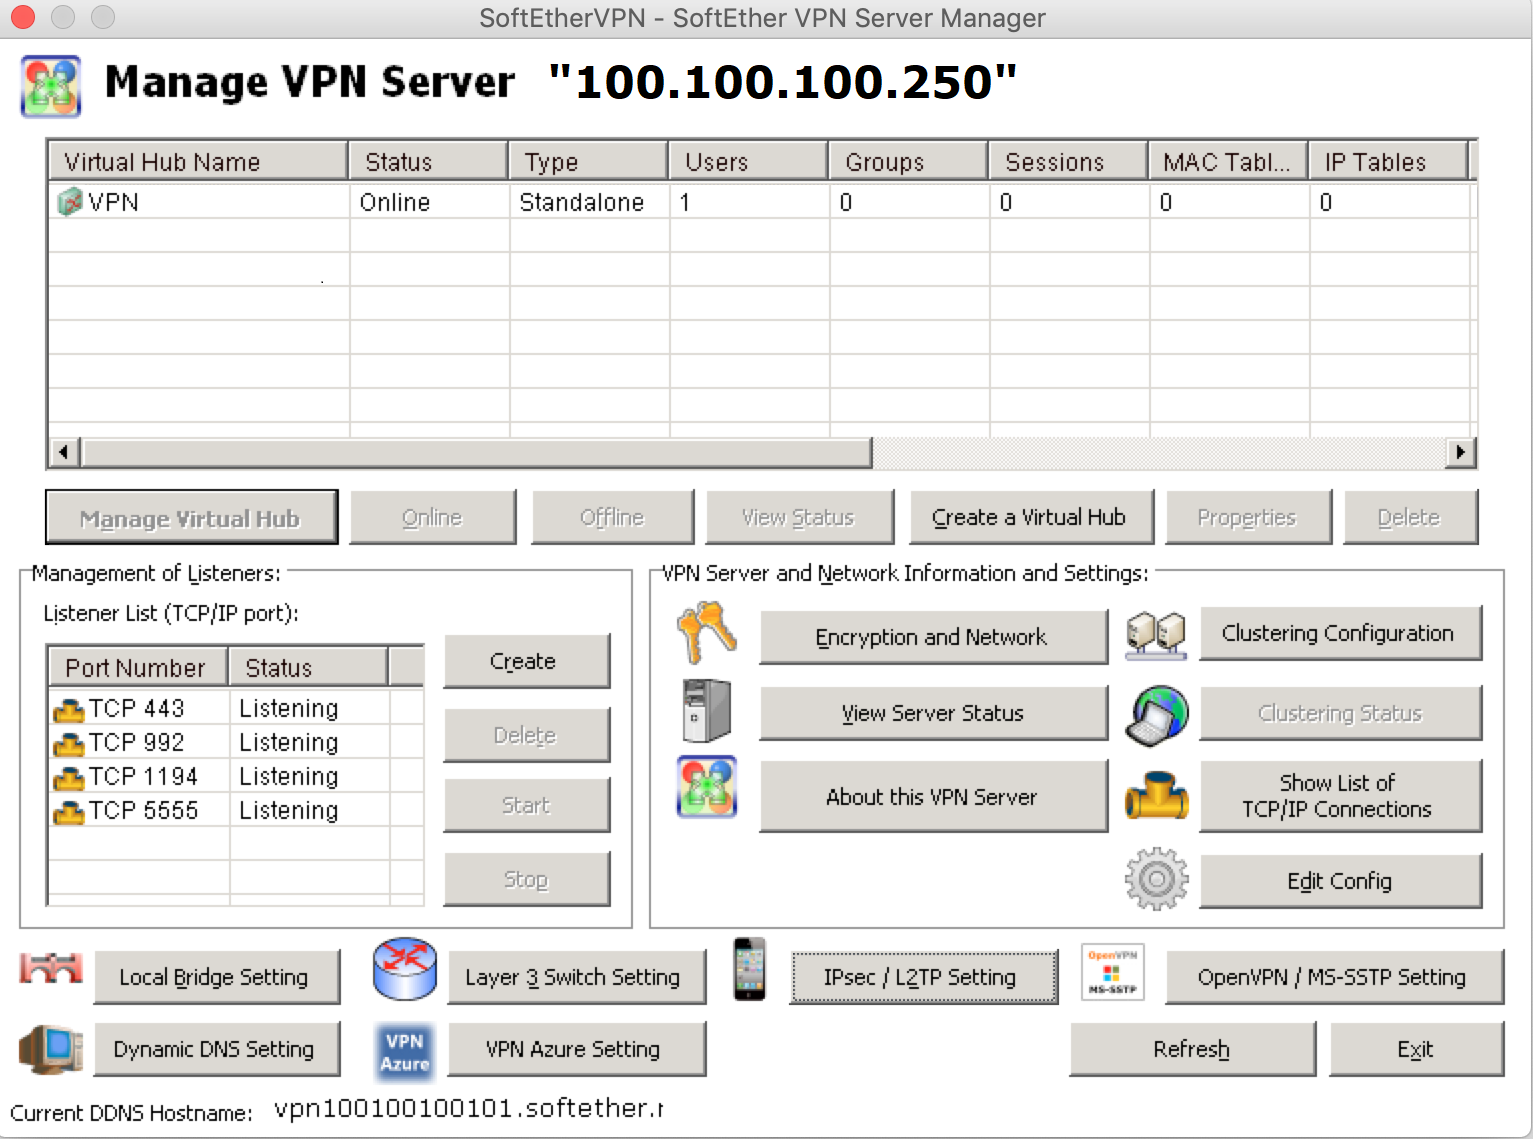
Soft Ether VPN Server Manager をhttps://ja.softether.org/5-download からダウンロードを行い、インストールして起動します
② Server情報を設定
以下情報を設定して[OK]ボタンをクリック
Setting Name: 適切な名前を設定
Host Name:Server のPublic IP を設定
Password :管理者パスワードを設定

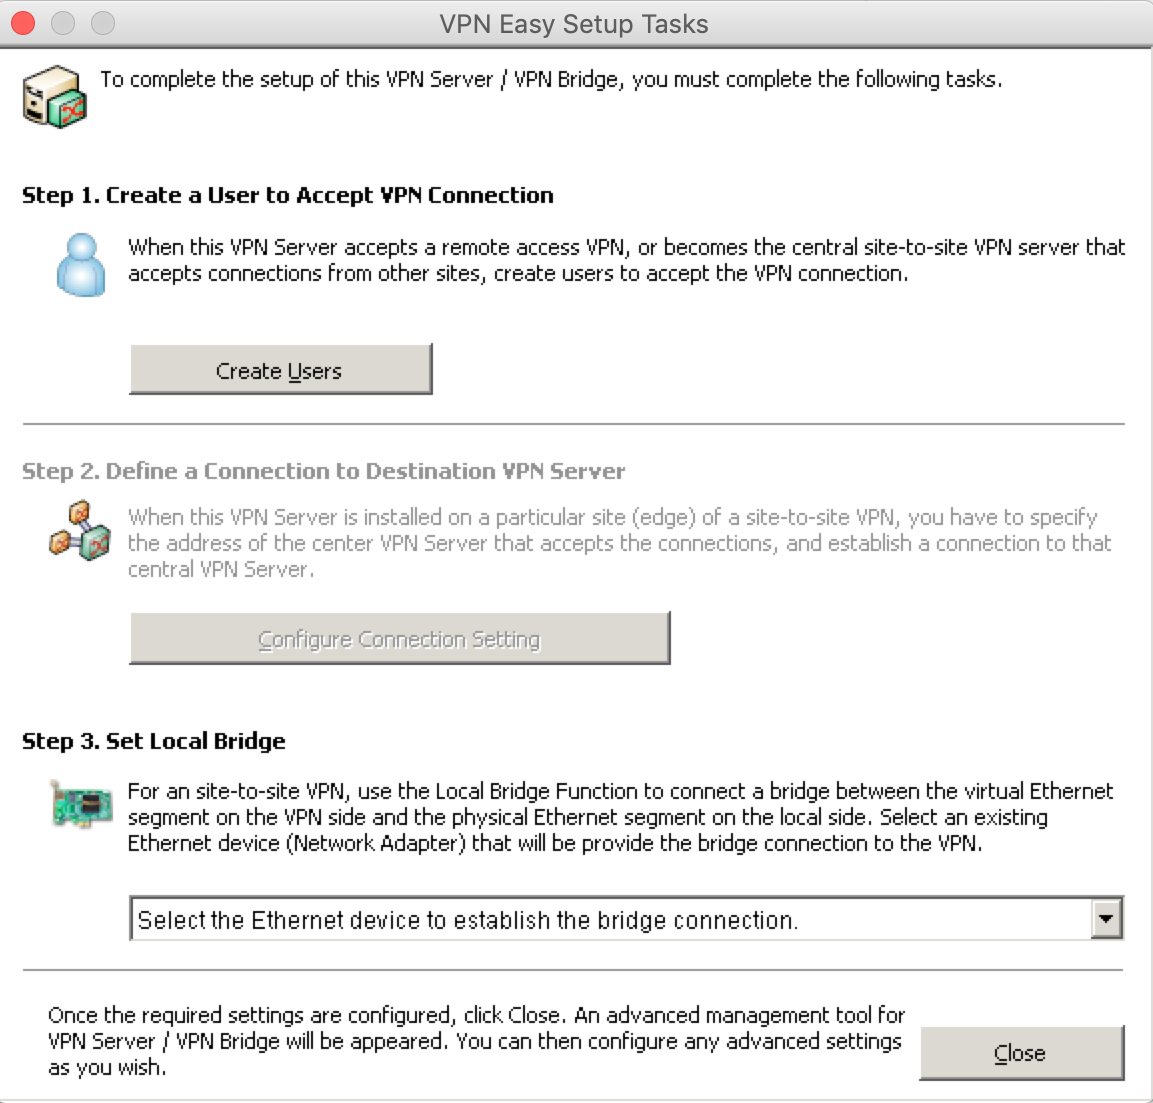
③ Remote Access VPN Server 設定
・Remote Access VPN Server にチェックして、[Next]をクリック
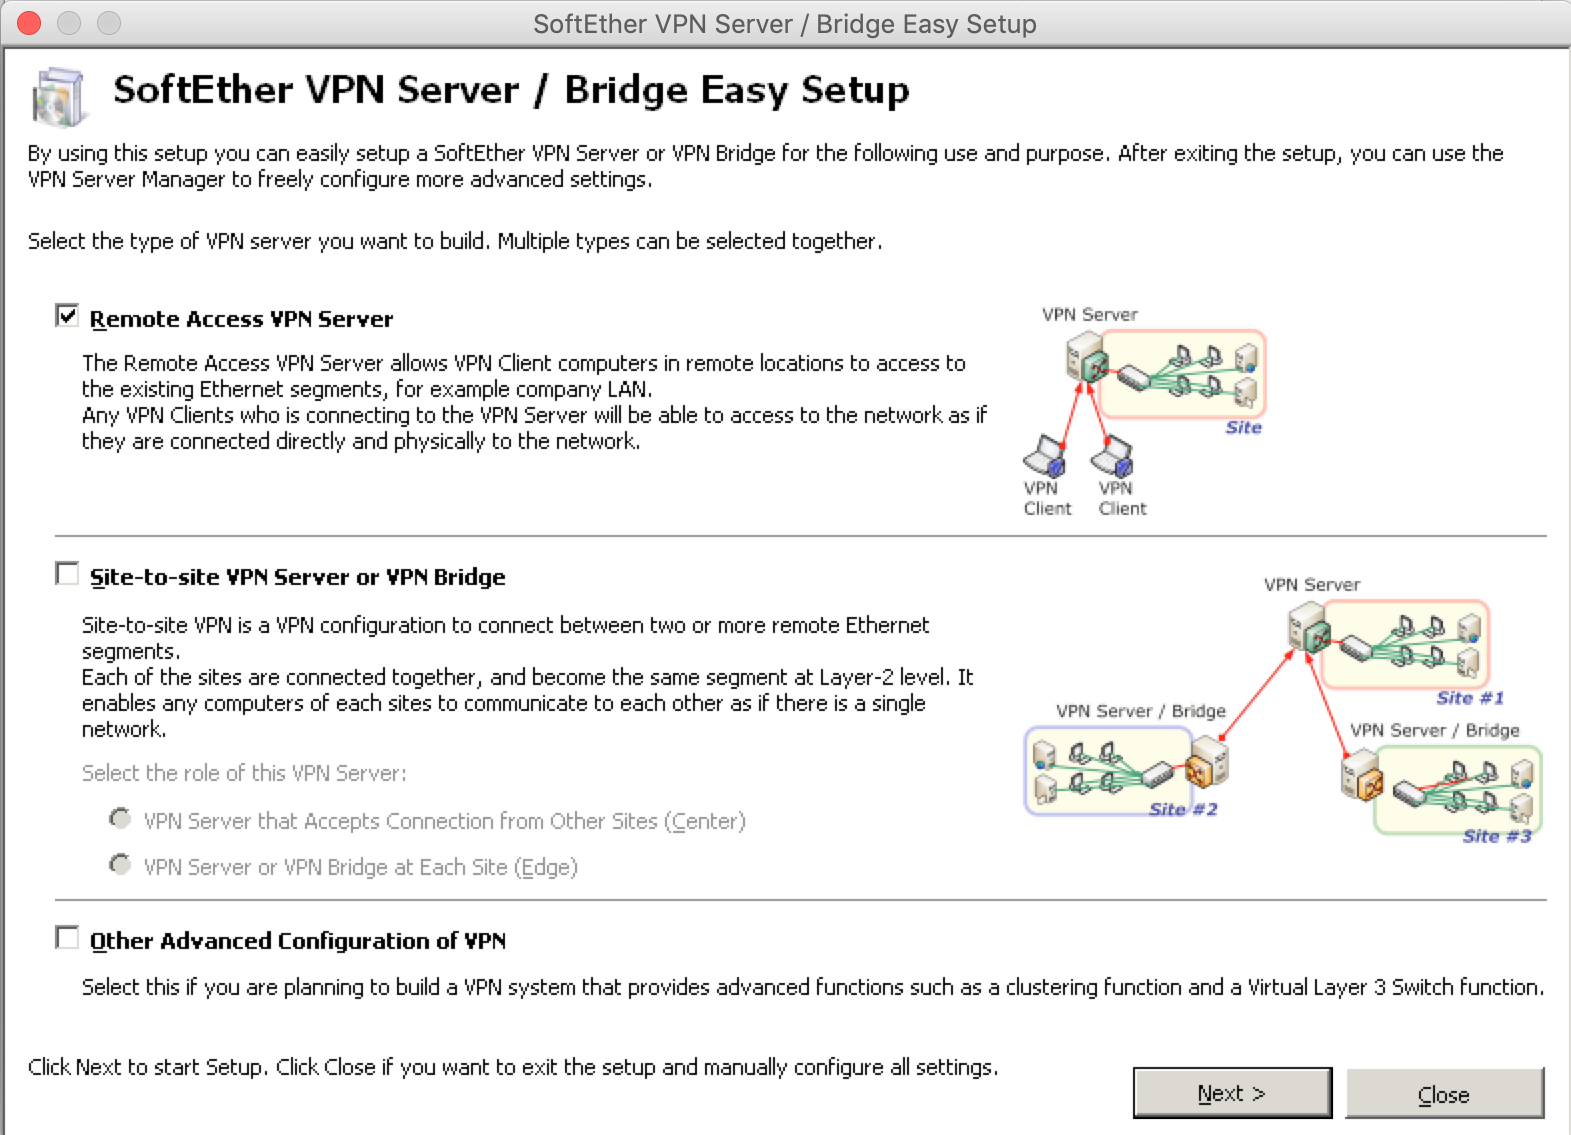
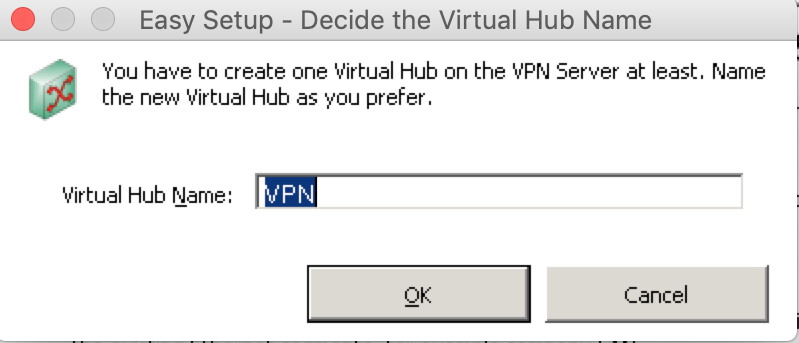
・Vircual Hub Name を設定し、[OK]をクリック
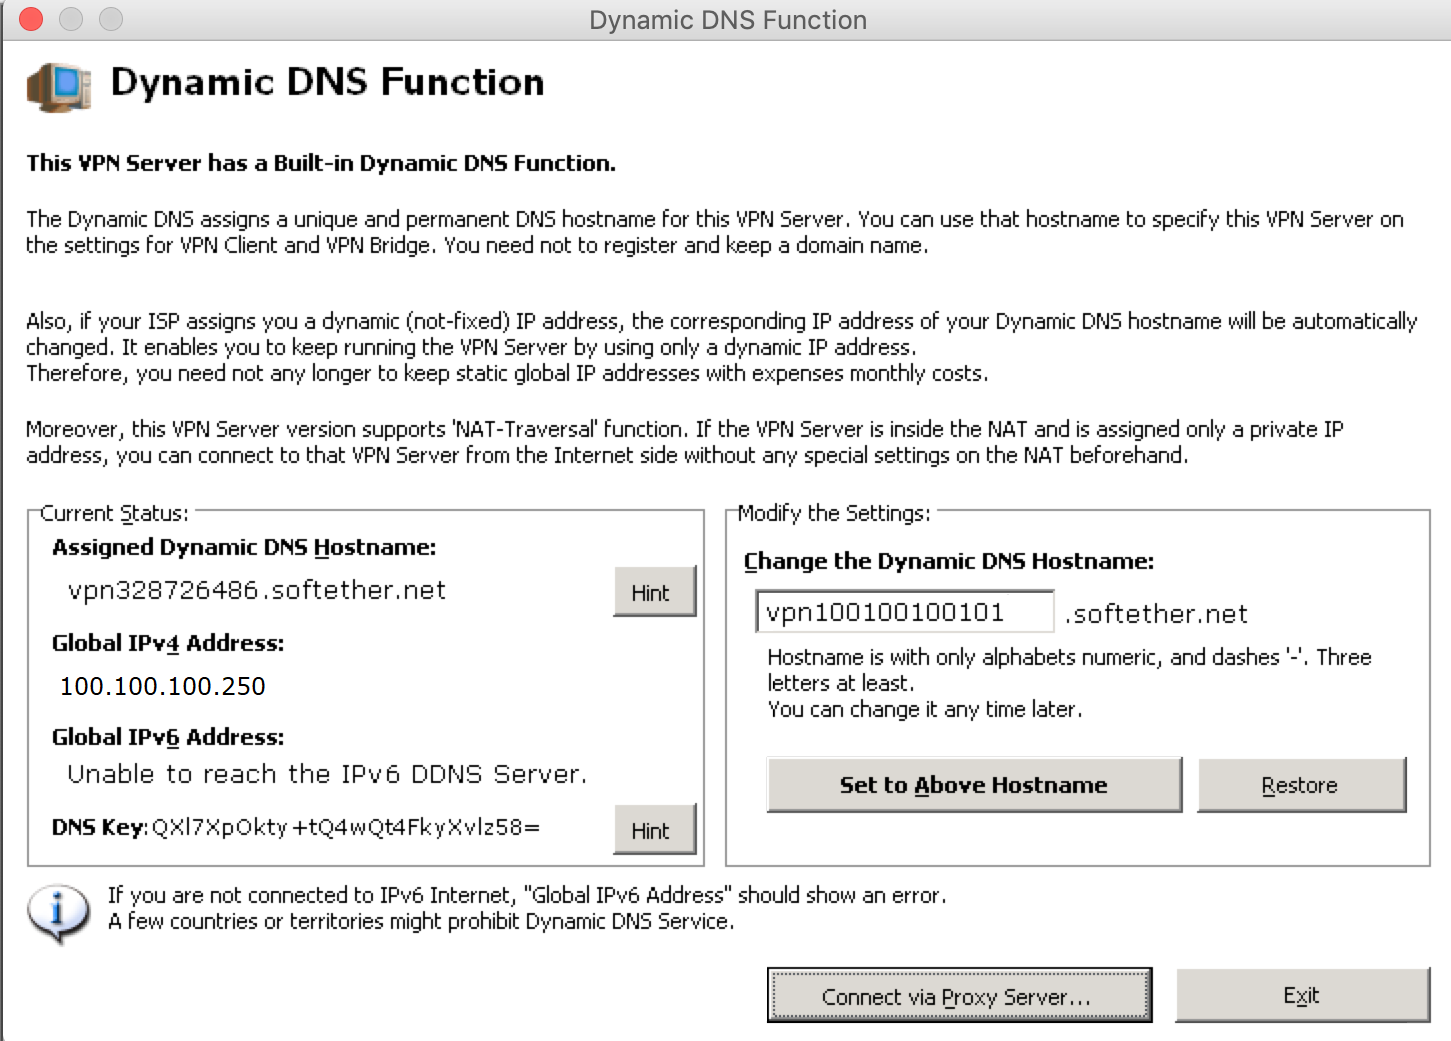
・Dynamic DNS Hostname を設定し、[Connect via Proxy]をクリック
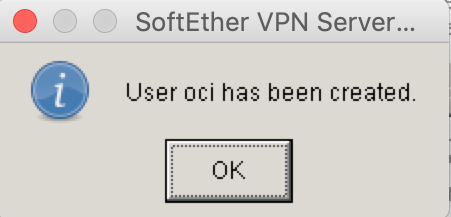
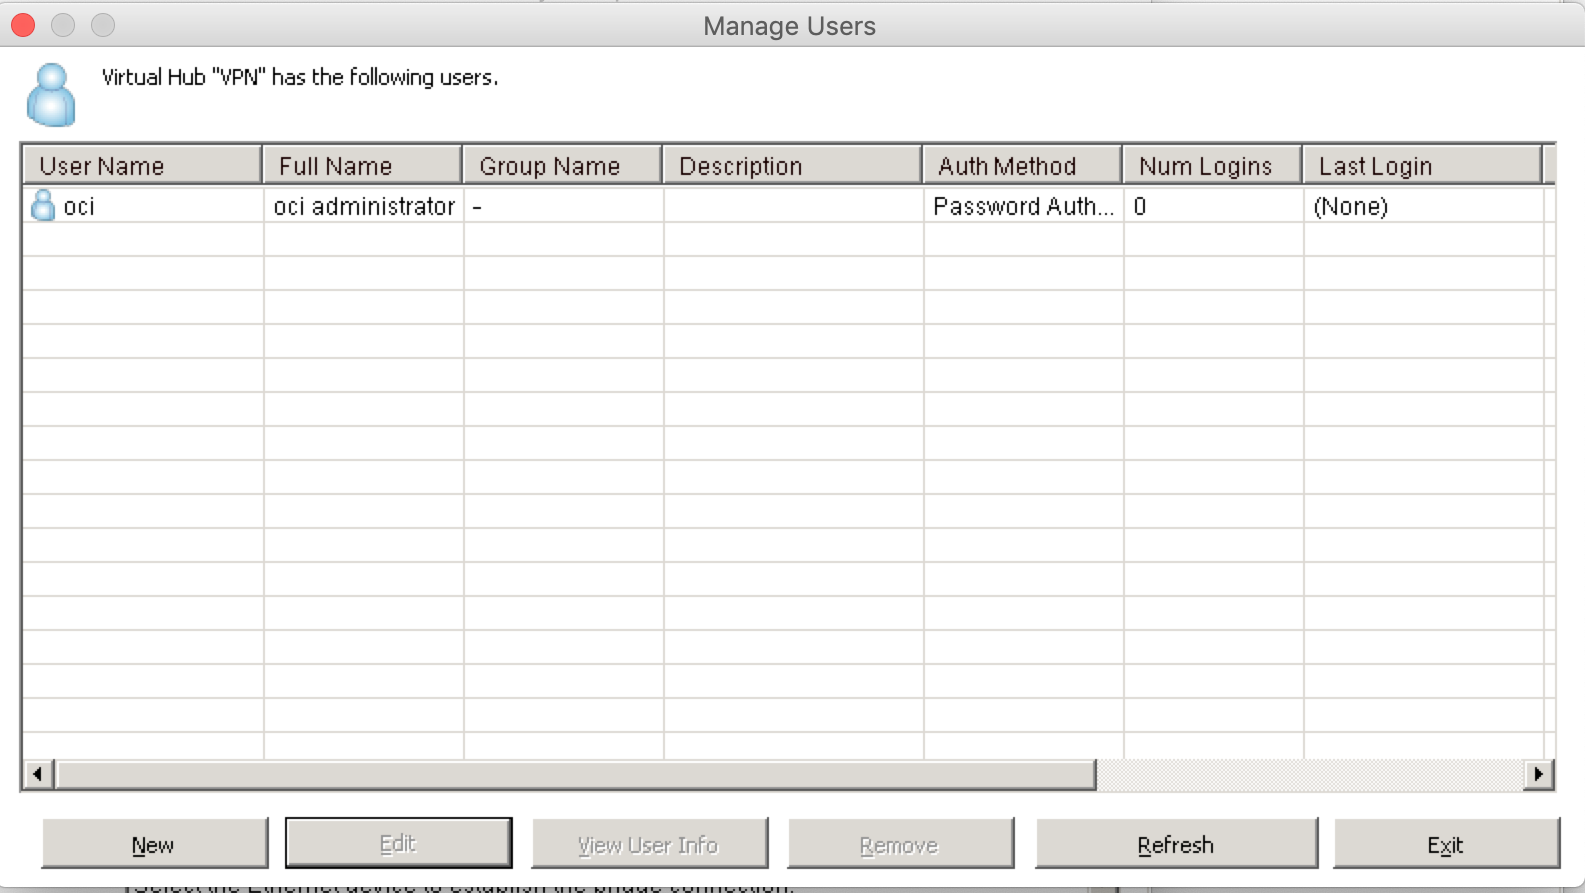
・User作成:User NameとPasswordを設定して[OK]をクリック

・ユーザーが作成されたことを確認して[Excit]をクリック
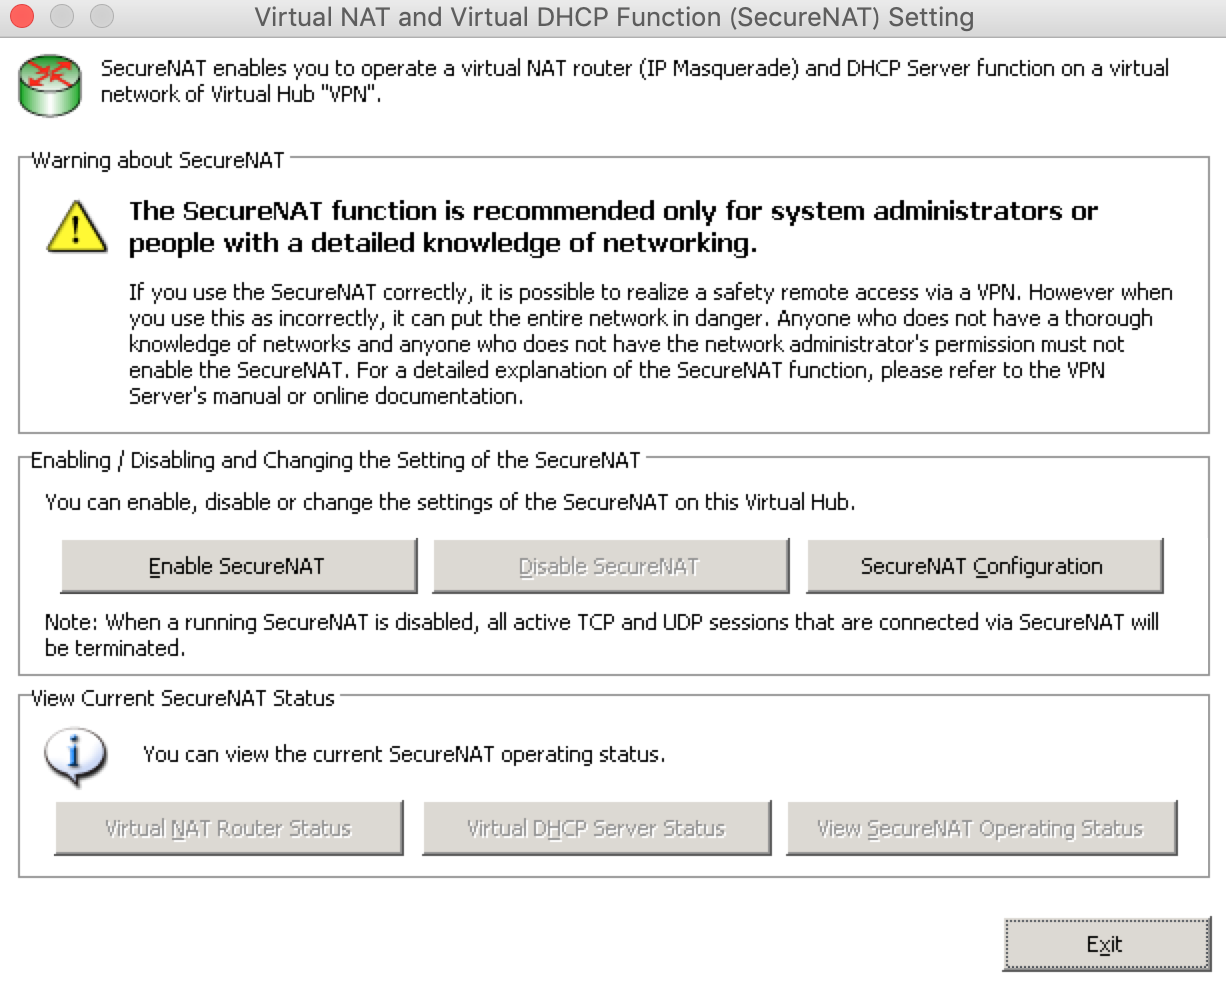
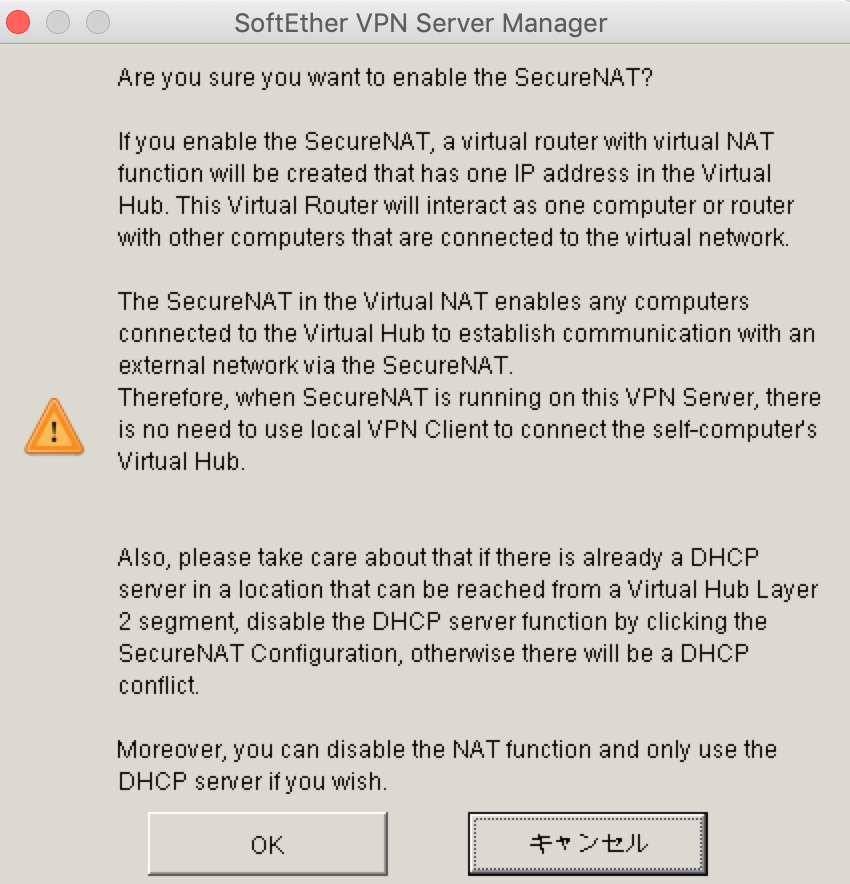
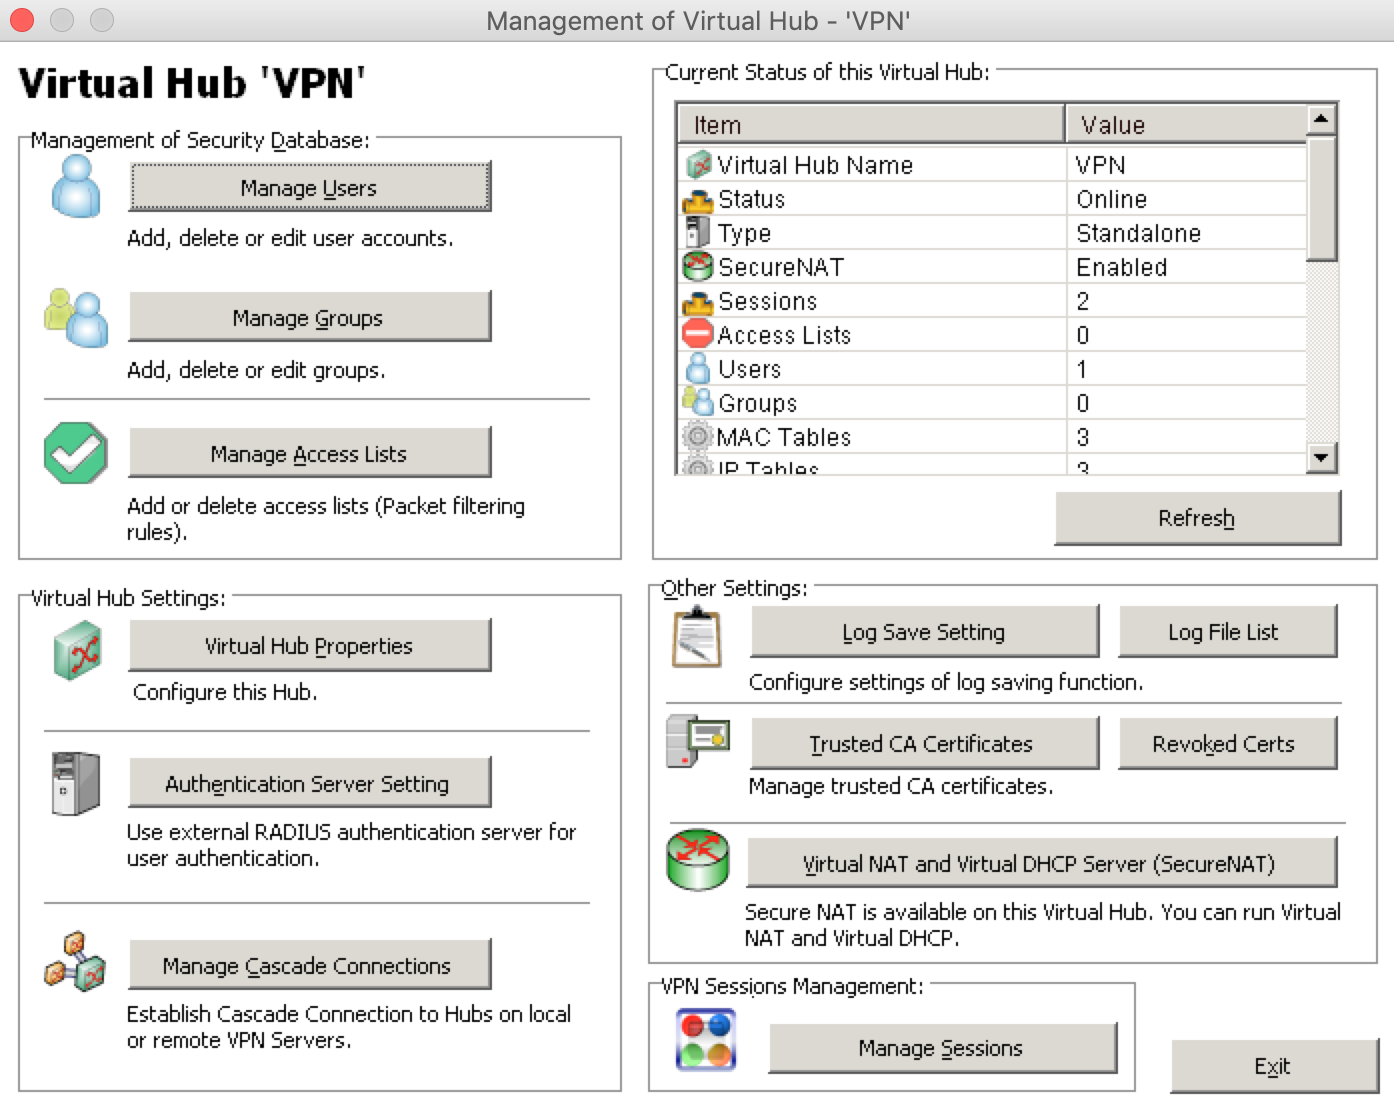
●NAT設定
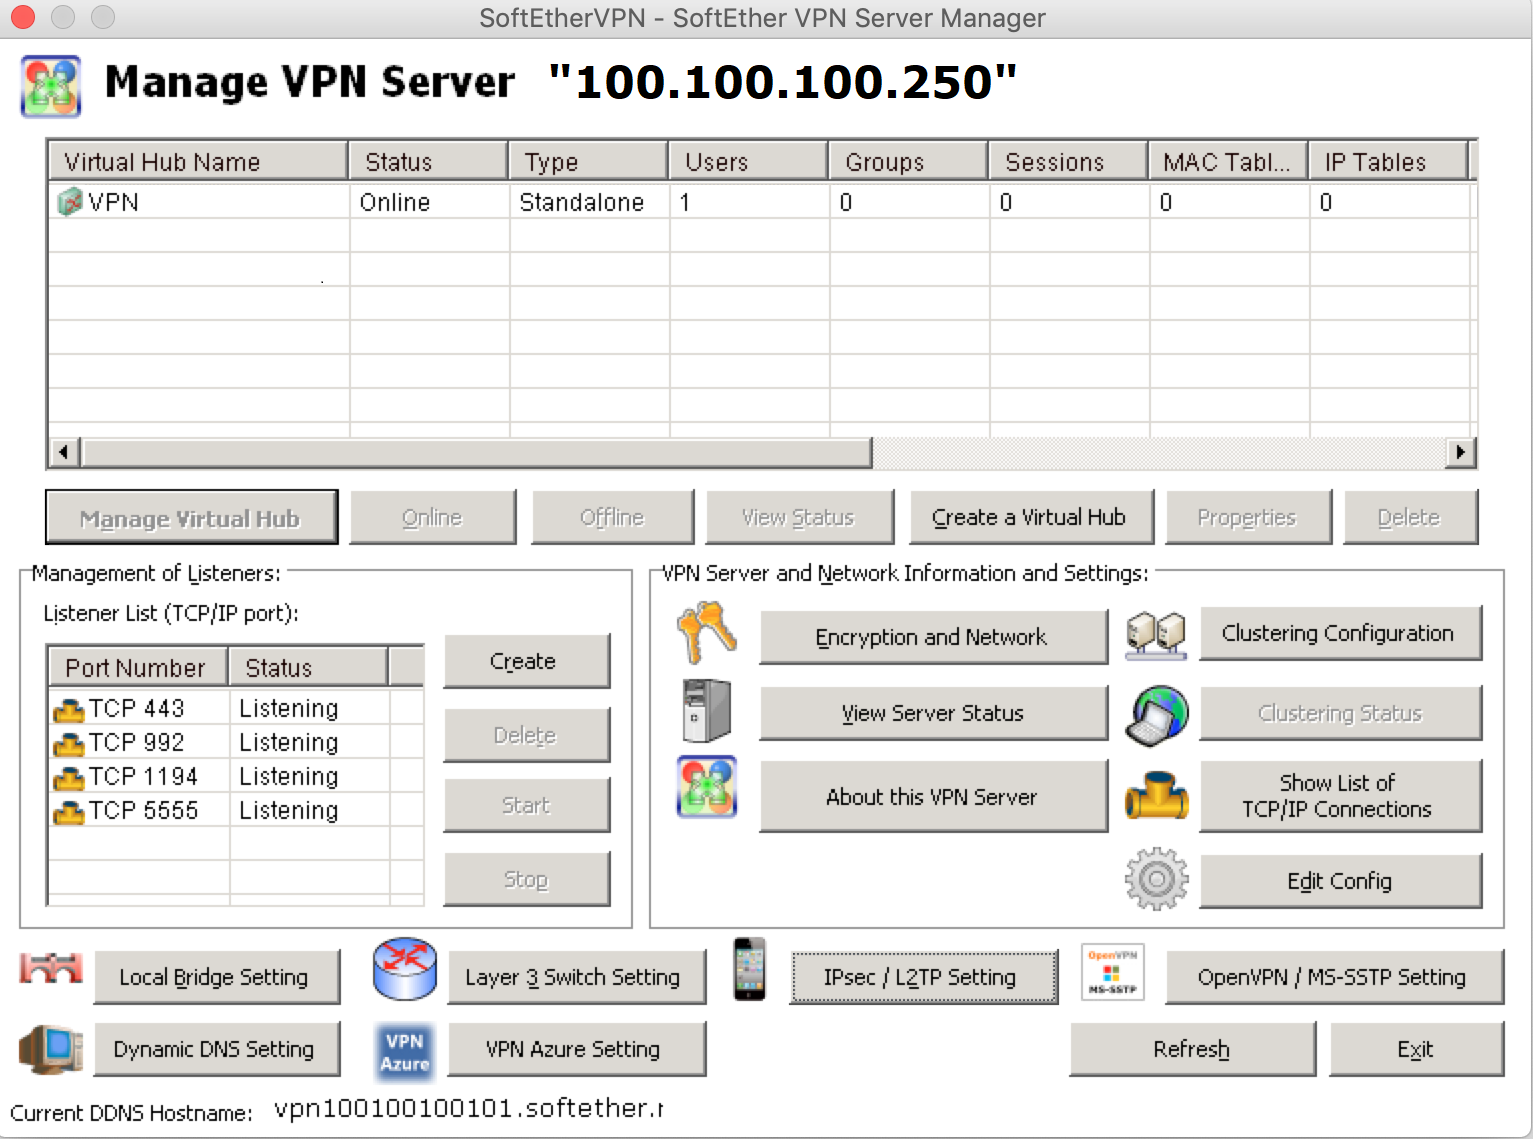
・[Virtual Nat and Virtual DHCP Server]をクリック
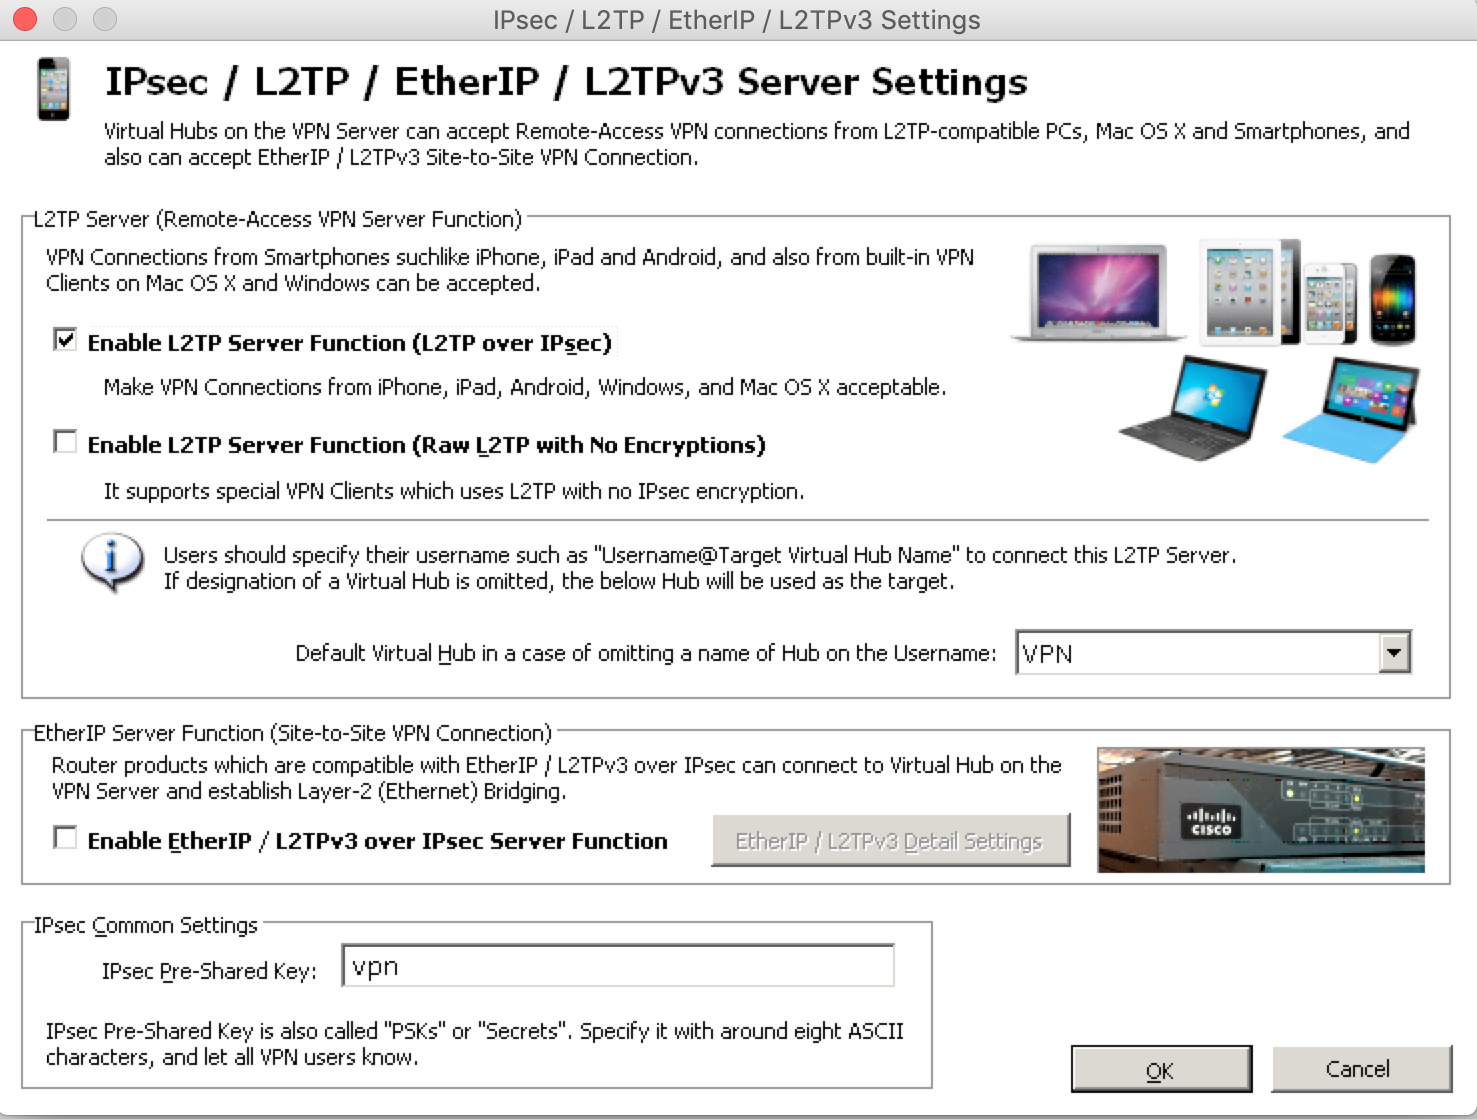
・[Enable L2TP Server Function]にチェックし、[OK]をクリック
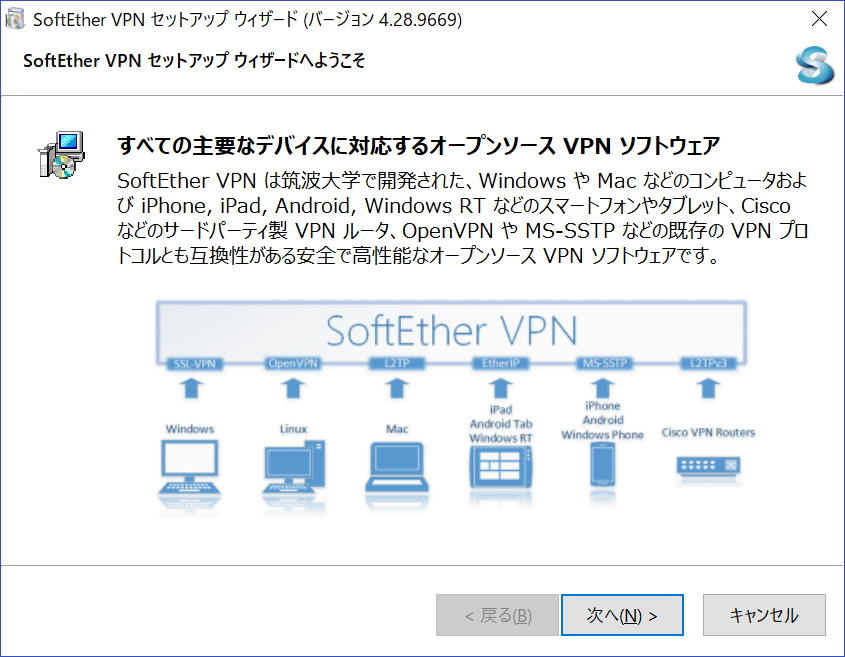
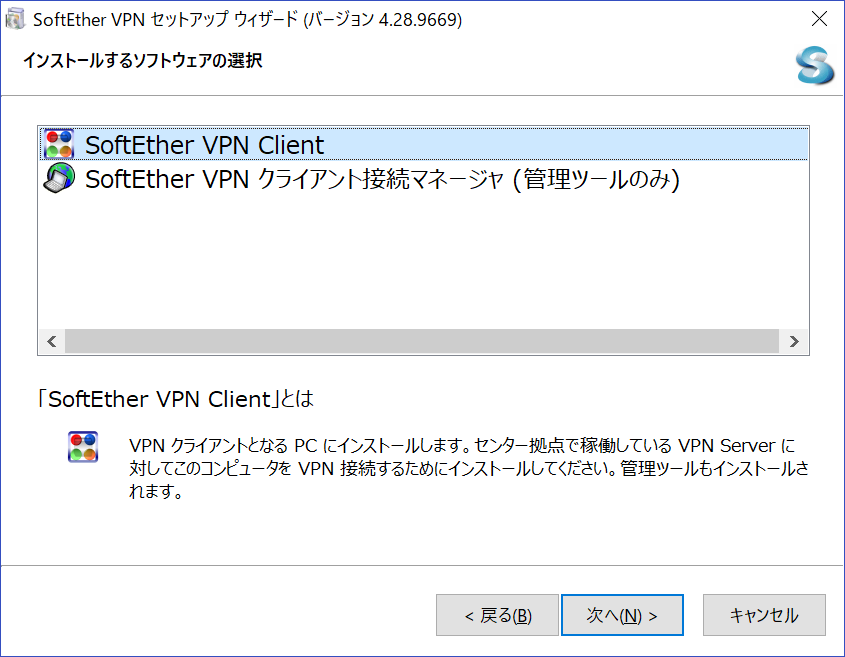
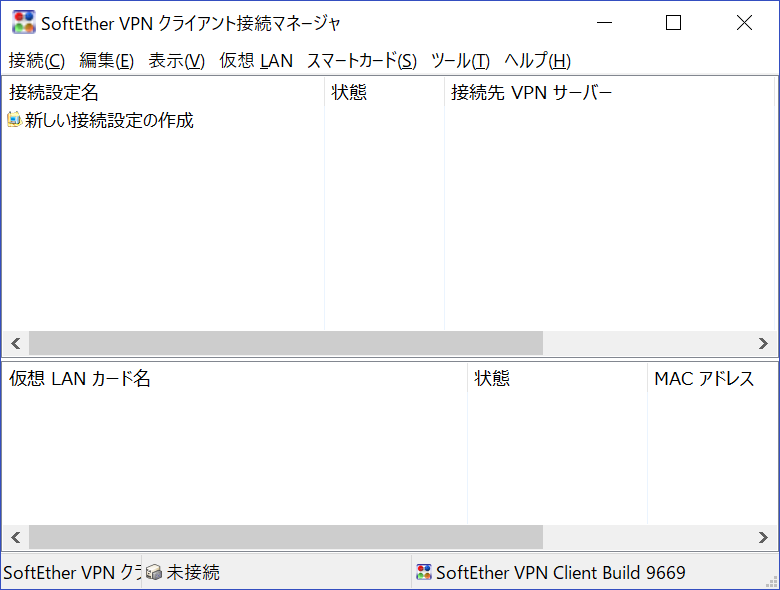
■ SoftEther VPN Client設定
Soft Ether VPN Server Manager をhttps://ja.softether.org/5-download からダウンロードを行い、インストールして起動します
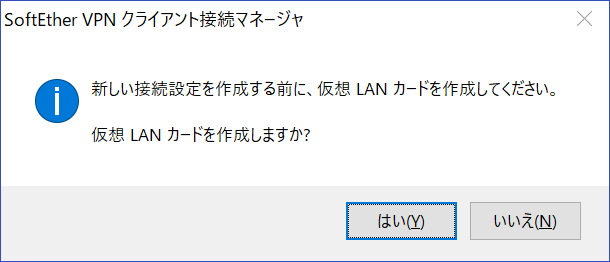
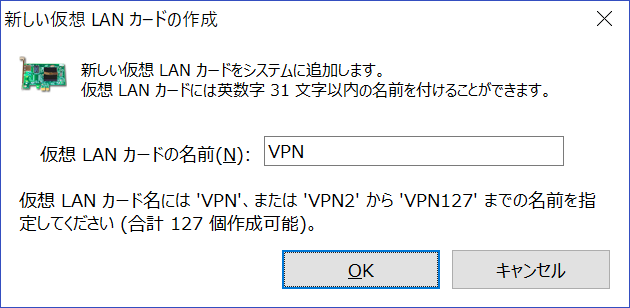
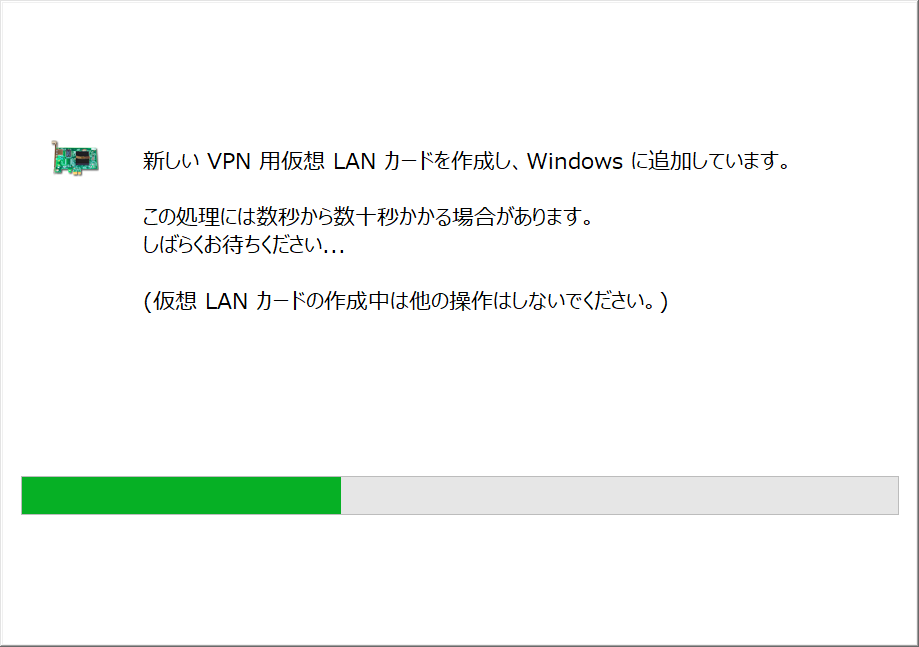
●VPN Serverへの接続設定
接続設定名:適切な名前を設定
ホスト名:VPNサーバーのIPアドレスを設定
ユーザー名:VPN Serverで設定したアクセスユーザー名を設定
パスワード:VPN Serverで設定したアクセスユーザーのパスワードを設定

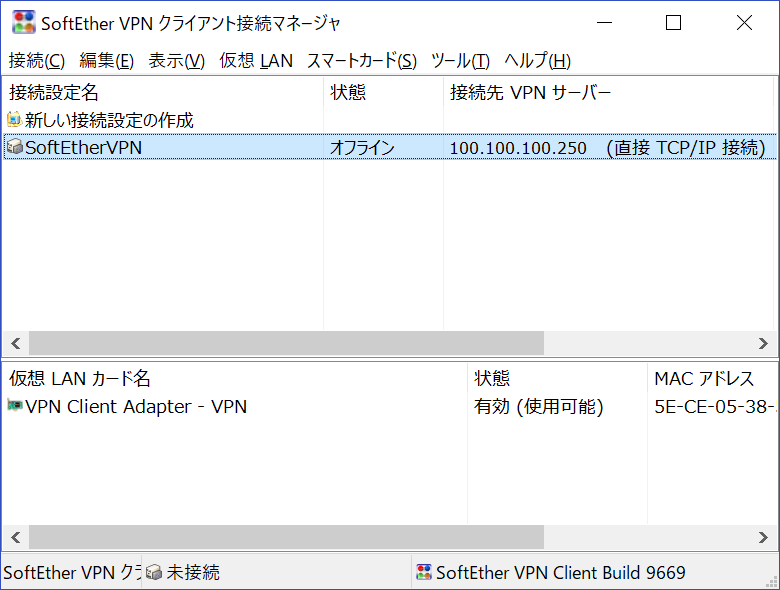
■VPN ClientからVPN Serverへ接続
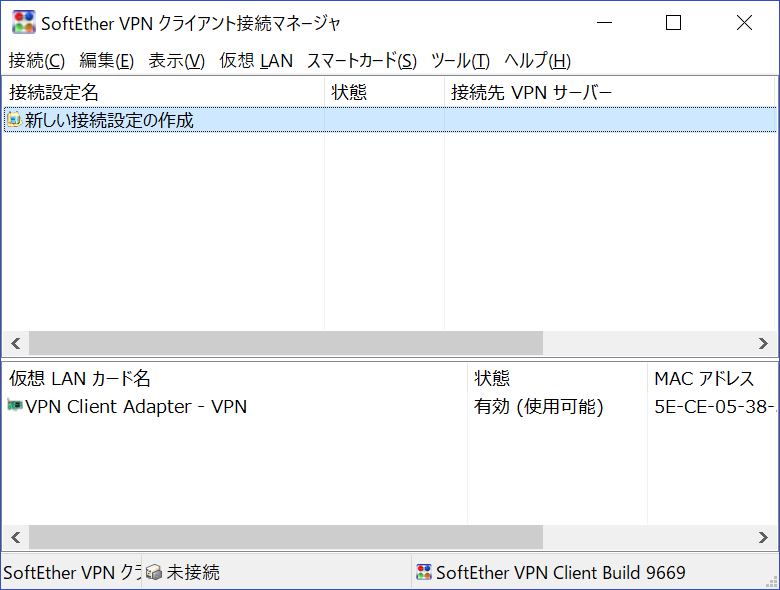
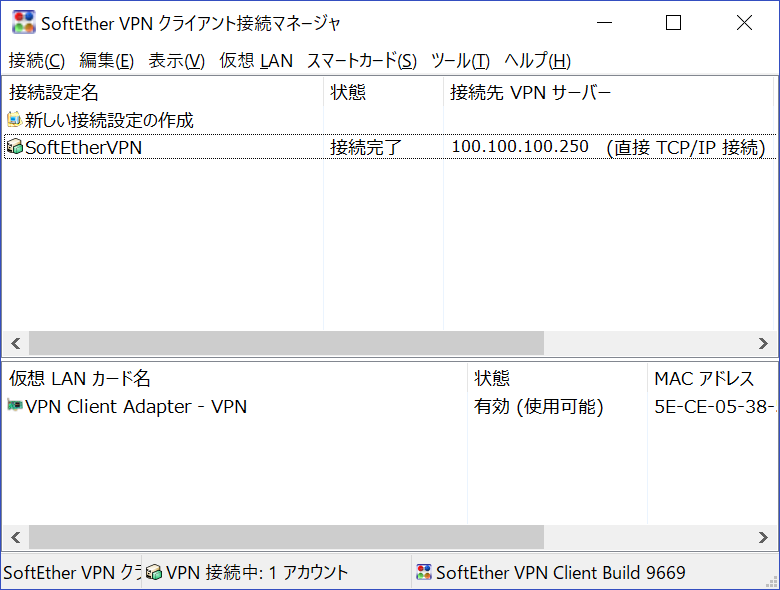
VPN Client を起動し、作成した接続をダブルクリック
■接続テスト
VPN Client からpingテスト
① VPN Client から OCI内のServer(oci-inst01:10.1.0.11)へping
C:¥>ping 10.1.0.11

  10.1.0.11 に ping を送信しています 32 バイトのデータ:
  10.1.0.11 からの応答: バイト数 =32 時間 =411ms TTL=63
  10.1.0.11 からの応答: バイト数 =32 時間 =500ms TTL=63
  10.1.0.11 からの応答: バイト数 =32 時間 =539ms TTL=63
  10.1.0.11 からの応答: バイト数 =32 時間 =509ms TTL=63

  10.1.0.11 の ping 統計:
      パケット数: 送信 = 4、受信 = 4、損失 = 0 (0% の損失)、
  ラウンド トリップの概算時間 (ミリ秒):
      最小 = 411ms、最大 = 539ms、平均 = 489ms
② VPN Client から On-Premises内のServer(test-inst01:172.24.0.11)へping
C:¥>ping 172.24.0.11

  172.24.0.11 に ping を送信しています 32 バイトのデータ:
  172.24.0.11 からの応答: バイト数 =32 時間 =661ms TTL=62
  172.24.0.11 からの応答: バイト数 =32 時間 =564ms TTL=62
  172.24.0.11 からの応答: バイト数 =32 時間 =537ms TTL=62
  172.24.0.11 からの応答: バイト数 =32 時間 =550ms TTL=62

  172.24.0.11 の ping 統計:
      パケット数: 送信 = 4、受信 = 4、損失 = 0 (0% の損失)、
  ラウンド トリップの概算時間 (ミリ秒):
      最小 = 537ms、最大 = 661ms、平均 = 578ms
