はじめに
オープンストリーム Advent Calendar 2018の18日目です。
Google Assistant SDKを触った際に、Google Assistantの音声認識の精度が非常に良かったので
Google Assistant SDKの音声認識機能のみを使うことができないかどうか試してみました。
やったこと
公式のサンプルプログラムを少し改造し、フロント側で喋った内容をサーバー側でGoogle Assistantを使って音声認識を行うアプリを作成してみました。
前提条件
- マイクが使用できる
- GCPアカウントを持っている
- Dockerがインストールされている
認証情報を作成する
Google Assistant SDKを使用するための認証情報を作成します。
Actionsコンソールでプロジェクトを作成する
Actionsコンソールを開き、Add/import projectをクリックします。

初めてActions on Googleを利用する場合は下図の表示が出るので、必要な情報を入力します。

プロジェクト名を入力し、「CREATE PROJECT」をクリックします。

作成したプロジェクトのカテゴリを選択します。

カテゴリを選択するとプロジェクトが作成され、下記ページが表示されます。

このページでデバイスモデルを作成するのですが、先にGoogle Assistant APIを有効にしてからでないとモデル作成後にダウンロードできる認証鍵ファイルでGoogle Assistant APIが使用できないので、このページを表示したまま次のステップに移ります。
Google Assistant APIを有効にする
Google Cloud Platformを開き、Google Assistant APIを有効にします。
この時、左上に表示されているプロジェクト名が、先程作成したプロジェクト名と一致するかどうかを確認します。一致する場合は「有効にする」をクリックします。

一致しない場合は左上のプロジェクト名をクリックし、正しいプロジェクトを選択します。

プロジェクトを変更すると、API検索画面が表示されるので、「assistant」と入力し、Google Assistant APIを検索し、APIを有効にします。


OAuth同意画面を設定する
Oauth同意画面を開き、アプリケーション名とサポートメールを設定し、ページの下にある「保存」をクリックします。

デバイスモデルを作成する
「Actionsコンソールでプロジェクトを作成する」で作成したプロジェクトにデバイスモデルを追加します。
「REGISTER MODEL」をクリックします。

下図のように入力し、「REGISTER MODEL」をクリックします。また、この画面の「Model id」を後で使用するのでコピーしておいて下さい。

「Download Oauth 2.0 credentials」をクリックして認証鍵をダウンロードし、「Next」をクリックします。

特に何も設定せずに「SAVE TRAITS」をクリックします。

Google Assistant APIを利用して音声認識を行う
いよいよ、Google Assistant APIを使って音声認識を行っていきます。
しかし、この後もpythonやGoogle Assistant SDKのインストール等、面倒が多いので
Dockerファイルを作成しました。
FROM debian:stretch

RUN cd && \
    apt-get update && \
    apt-get install -yq python3-dev python3-venv git curl wget ffmpeg && \
    echo export LC_ALL=C.UTF-8 >>  .bashrc && \
    echo export LANG=C.UTF-8 >>  .bashrc && \
    echo source ~/.nvm/nvm.sh >> .bashrc && \
    git clone https://github.com/creationix/nvm.git ~/.nvm && \
    git clone https://github.com/googlesamples/assistant-sdk-python.git && \
    git clone https://github.com/shiraki-s/google-assistant-stt.git && \
    mkdir app && \
    cp google-assistant-stt/pushtalk.py app && \
    cp -r google-assistant-stt/server/* app && \
    cp assistant-sdk-python/google-assistant-sdk/googlesamples/assistant/grpc/assistant_helpers.py app && \
    cp assistant-sdk-python/google-assistant-sdk/googlesamples/assistant/grpc/audio_helpers.py app && \
    cp assistant-sdk-python/google-assistant-sdk/googlesamples/assistant/grpc/device_helpers.py app && \
    cp assistant-sdk-python/google-assistant-sdk/googlesamples/assistant/grpc/browser_helpers.py app

RUN ["/bin/bash", "-c", " \
        source ~/.nvm/nvm.sh \
        && nvm install 8.9.4 \
        && cd \
        && python3 -m venv env \
        && env/bin/python -m pip install --upgrade pip setuptools wheel \
        && source env/bin/activate \
        && apt-get install -yq portaudio19-dev libffi-dev libssl-dev libmpg123-dev \
        && python -m pip install --upgrade google-assistant-library google-assistant-sdk[samples] \
        && cd app \
        && npm install \
    "]
Imageをビルドする
docker build . -t assistant-stt
コンテナを作成する
コンテナ作成時に環境変数として先程コピーした「Model Id」を使用します。
Model Idは以下のようなフォーマットになっています。
<Project名>-XXXXX-<Product名>-XXXXXX
これを以下のようにして環境変数を設定して下さい。
DEVICE_ID = <Project名>-XXXXX
MODEL_ID = <Project名>-XXXXX-<Product名>-XXXXXX
docker run -p 8888:8888 -e PORT=8888 -e DEVICE_ID=<Project名>-XXXXX -e MODEL_ID=<Project名>-XXXXX -it assistant-stt bash
認証を行う
ホスト側からコンテナにダウンロードした認証鍵ファイルを転送します。
$ docker cp <認証鍵のPath> <コンテナのID>:/root
コンテナ側で下記を実行します。
$ cd
$ source env/bin/activate
(env) $ google-oauthlib-tool --scope https://www.googleapis.com/auth/assistant-sdk-prototype \
      --scope https://www.googleapis.com/auth/gcm \
      --save --headless --client-secrets <認証鍵のPath>
以下のように表示されるので、URLをコピーし、ホスト側のブラウザで開きます。
Please visit this URL to authorize this application: https://accounts.google.com.....
Enter the authorization code:
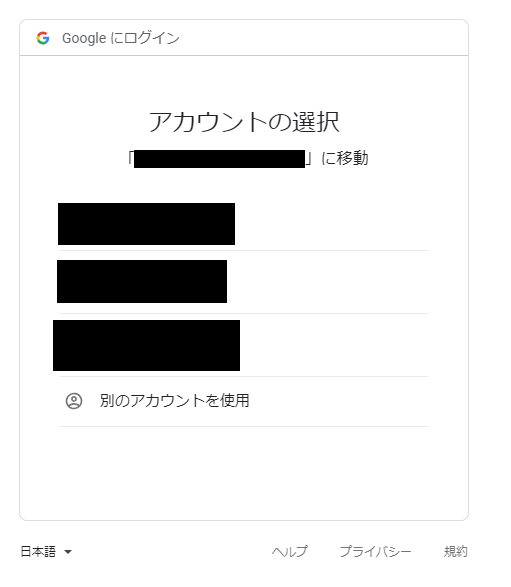
認証鍵を作成したGoogleアカウントを選択します。
許可をクリックします。

表示されているコードをコピーします。

コードをコンテナ側に張り付けてEnterを押します。
Enter the authorization code:XXXXXXXXXXXXXXXXXXXXXXXXXXXXXXXXXXXXXXXXX
Node.jsサーバーを立ち上げる
コンテナ側で下記を実行します。
(env) $ cd app
(env) $ node index.js
ブラウザからhttp://localhost:8888 に接続します。
実行結果

最後に
音声認識の実行速度等、改善点は多々ありますがGoogle Assistant SDKを使って音声認識ができました。
最後まで読んでいただき、ありがとうございました。