DDC概要
DDCは企業でお使いの各種ストレージ、クラウド、ビックデータ上の機密データの検出を各種コンプライアンスに則り行います。
対象とする機密データのポリシーを設定、検出、分類、レポート作成を行い、機密情報の漏洩に対してリスク管理を行い、企業のセキュリティ担当者の適切な意思決定をサポートします。
"90 days Free Trail" にて、無料にてお試しいただけます。
製品HP
YouTube
本検証の目的
"Data Discovery and Classification (DDC)"をAWS上へデプロイし、Linux/Windows Server 上の機密データの検索及びレポート機能を確認します。
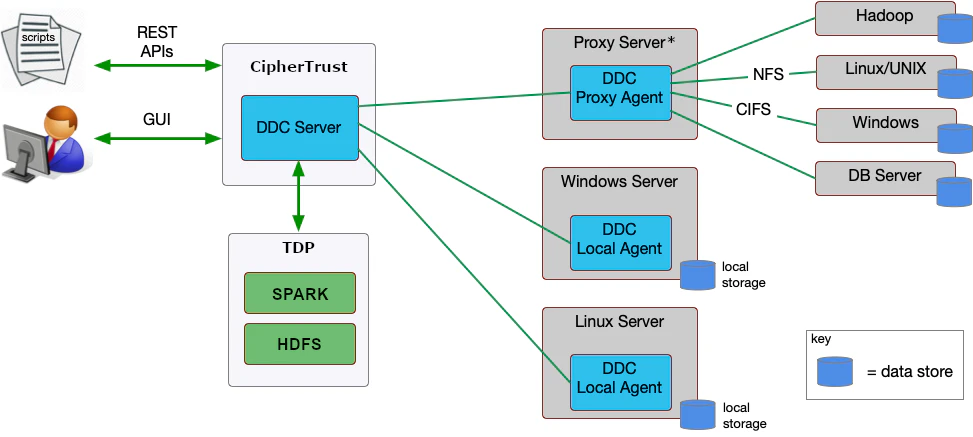
構成図
参照ドキュメント
ThalesDoc: "Data Discovery and Classification" https://thalesdocs.com/ctp/ddc/index.html
手順
AWS セキュリティグループの作成
下記設定にてセキュリティグループを作成します。
以降作成を行うCM, TDP, DDC Agent の各インスタンスで利用されます。
- インバウンドルール:
| タイプ | ポート範囲 | 説明 |
|---|---|---|
| カスタムTCP | 11117 | for agent to CM |
| SSH | 22 | SSH |
| RDP | 3389 | RDP |
| HTTPS | 443 | HTTPS |
| カスタムTCP | 50010 | for agent |
| カスタムTCP | 50070 | HDFS UI |
| カスタムTCP | 50075 | for agent |
| カスタム TCP | 8020 | for agent |
| カスタム TCP | 8443 | for CM to Hadoop connection |
- アウトバウンドルール:
| タイプ | ポート範囲 | 説明 |
|---|---|---|
| すべてのトラフィック | すべて | - |
CM (CipherTrust Manager) のデプロイ
下記を参照して AWS上に CMのデプロイ及び、"Trial Evaluation"アクティベーションを行います。
インスタンスには下記の設定を利用
- AMI: CipherTrust Manager Community Edition version 2.15.0.11783
- MarketPlaceに登録済
- インスタンスタイプ: t2.xlarge (4 vCPU, 16GB memory)
- ストレージ: 256 GB
TDP のデプロイ
TDPのインスタンスの起動を行います。
AMIは MarketPlace に登録されていません。ThalesよりTDPのAMIを共有しますので、AWS"アカウントID"とご利用のregion と共に、Thales Custoer Support(又は、弊社営業/SE)へお問合せください。
今回は機能検証目的のPoCのため、シングルノードとし、下記のVMを1インスタンスを作成します。
- AMI: TDP-3.1.6.56
- MarketPlace未登録
- インスタンスタイプ: m4.4xlarge (4 vCPU、64 GB memory)
- ストレージ: 300 GB
TDPへのログイン、及び初期パスワードの変更
SSHでusername: root, 初期パスワード "thales123"でTDPへログインし、パスワードの変更を行います。
$ ssh -i aws_key.pem root@13.208.251.230
The authenticity of host '13.208.251.230 (13.208.251.230)' can't be established.
ED25519 key fingerprint is SHA256:3NmmfSz2AYaRQHaVOe5N70RWF5oLn/Qamxo49NfIDmg.
Are you sure you want to continue connecting (yes/no/[fingerprint])? yes
Warning: Permanently added '13.208.251.230' (ED25519) to the list of known hosts.
root@13.208.251.230's password:        ("thales123"を入力)
You are required to change your password immediately (root enforced)
Changing password for root.
(current) UNIX password:                     ("thales123"を入力)
New password:                                 (任意パスワード)
Retype new password:                          (任意パスワード)
Thales DDC-TDP 3.1.6.56
[root@ip-10-0-14-108 ~]# exit
$
TDP QuickSetupの実行
QuickSetupは契約済みのお客様の場合、弊社Customer Support Portalよりダウンロード可能です。(その他の方は、弊社営業/SEへお問合せください)
SCPにてquciksetup を TDPへコピーを行います。
$ scp -i aws_key.pem 610-000878-001_TDP-quicksetup-3.1.6.63.tar.gz root@13.208.251.230:~/.
root@13.208.251.230's password:
610-000878-001_TDP-quicksetup-3.1.6.63.tar.gz                                         100%  170KB   5.4MB/s   00:00
$
SSHでTDPへログインし、TDP QuickSetupを解凍します。
$ ssh -i SA_AWS_TOKYO.pem root@13.208.251.230
root@13.208.251.230's password:
Last login: Thu May 16 22:14:48 2024 from 106.168.250.85
Thales DDC-TDP 3.1.6.56
[root@ip-10-0-14-108 ~]# tar xfz 610-000878-001_TDP-quicksetup-3.1.6.63.tar.gz
[root@ip-10-0-14-108 ~]# cd quicksetup
TDP QuickSetupを実行します。
[root@ip-10-0-14-108 quicksetup]# ./TDP_quick_setup.sh
Enter Ambari user: [admin]    (そのままEnter)
Enter Ambari password:        (任意パスワード)
retype password:              (任意パスワード)
Enter HDFS user: [hdfsuser]   (そのままEnter)
Enter hdfs user password:     (任意パスワード)
retype password:              (任意パスワード)
Enter name of cluster to use: [ddc_cluster]       (そのままEnter)
If you are using cloud, use the internal Private IP DNS name.
Enter FQDN of Ambari host: [ip-10-0-14-108.ap-northeast-3.compute.internal]    (そのままEnter)
Do you wish to create a multi-node cluster? <y/n> [N]    (そのままEnter)
System information: 16 CPUs, 65957844 kB
--------------------------------------------------------------------------------
TDP cluster setup is about to begin. This can take up to 25 minutes to complete
for a single node or an hour for a 5-node cluster. This process must not be
interrupted while it's running. Run in the background to avoid getting interrupted.
Do you wish to continue? <y/n> [N] y
Updated: /root/.ssh/authorized_keys
/tmp/cert.cnf created
Generating a 2048 bit RSA private key
....................................+++
.....+++
writing new private key to '/root/pem/ambari-server.key'
-----
Setting up Ambari Server...
Enable HTTPS for Ambari Server...
Configure jdbc...
ALTER ROLE
CREATE DATABASE
CREATE ROLE
GRANT
Redirecting to /bin/systemctl restart postgresql.service
Created symlink from /etc/systemd/system/multi-user.target.wants/postgresql.service to /usr/lib/systemd/system/postgresql.service.
● postgresql.service - PostgreSQL database server
   Loaded: loaded (/usr/lib/systemd/system/postgresql.service; enabled; vendor preset: disabled)
   Active: active (running) since Thu 2024-05-09 17:41:01 PDT; 64ms ago
 Main PID: 2362 (postgres)
   CGroup: /system.slice/postgresql.service
		   ├─2362 /usr/bin/postgres -D /var/lib/pgsql/data -p 5432
		   ├─2363 postgres: logger process
		   ├─2365 postgres: checkpointer process
		   ├─2366 postgres: writer process
		   ├─2367 postgres: wal writer process
		   ├─2368 postgres: autovacuum launcher process
		   └─2369 postgres: stats collector process

May 09 17:41:00 ip-10-0-14-108.ap-northeast-3.compute.internal systemd[1]: Starting PostgreSQL database server...
May 09 17:41:01 ip-10-0-14-108.ap-northeast-3.compute.internal systemd[1]: Started PostgreSQL database server.
ambari-server.service is not a native service, redirecting to /sbin/chkconfig.
Executing /sbin/chkconfig ambari-server on
● ambari-server.service - LSB: ambari-server daemon
   Loaded: loaded (/etc/rc.d/init.d/ambari-server; bad; vendor preset: disabled)
   Active: active (running) since Thu 2024-05-09 17:41:22 PDT; 8ms ago
	 Docs: man:systemd-sysv-generator(8)
  Process: 2417 ExecStart=/etc/rc.d/init.d/ambari-server start (code=exited, status=0/SUCCESS)
   CGroup: /system.slice/ambari-server.service
		   └─2442 /usr/lib/jvm/java/bin/java -server -XX:NewRatio=3 -XX:+UseConcMarkSweepGC -XX:-UseGCOverheadLimit -XX:...

May 09 17:41:07 ip-10-0-14-108.ap-northeast-3.compute.internal ambari-server[2417]: Organizing resource files at /var/l....
May 09 17:41:07 ip-10-0-14-108.ap-northeast-3.compute.internal ambari-server[2417]: Ambari database consistency check s....
May 09 17:41:07 ip-10-0-14-108.ap-northeast-3.compute.internal ambari-server[2417]: Server PID at: /var/run/ambari-serv...d
May 09 17:41:07 ip-10-0-14-108.ap-northeast-3.compute.internal ambari-server[2417]: Server out at: /var/log/ambari-serv...t
May 09 17:41:07 ip-10-0-14-108.ap-northeast-3.compute.internal ambari-server[2417]: Server log at: /var/log/ambari-serv...g
May 09 17:41:22 ip-10-0-14-108.ap-northeast-3.compute.internal ambari-server[2417]: Waiting for server start...............
May 09 17:41:22 ip-10-0-14-108.ap-northeast-3.compute.internal ambari-server[2417]: Server started listening on 443
May 09 17:41:22 ip-10-0-14-108.ap-northeast-3.compute.internal ambari-server[2417]: DB configs consistency check: no er....
May 09 17:41:22 ip-10-0-14-108.ap-northeast-3.compute.internal ambari-server[2417]: Ambari Server 'start' completed suc....
May 09 17:41:22 ip-10-0-14-108.ap-northeast-3.compute.internal systemd[1]: Started LSB: ambari-server daemon.
Hint: Some lines were ellipsized, use -l to show in full.
https://127.0.0.1:443/api/v1/users/admin
200
SUCCESS: Ambari password change
Ambari server: https://ec2-13-208-251-230.ap-northeast-3.compute.amazonaws.com
Installing ambari-agent...
Restarting ambari-agent
Verifying Python version compatibility...
Using python  /usr/bin/python
ambari-agent is not running. No PID found at /run/ambari-agent/ambari-agent.pid
Verifying Python version compatibility...
Using python  /usr/bin/python
Checking for previously running Ambari Agent...
Checking ambari-common dir...
Starting ambari-agent
Verifying ambari-agent process status...
Ambari Agent successfully started
Agent PID at: /run/ambari-agent/ambari-agent.pid
Agent out at: /var/log/ambari-agent/ambari-agent.out
Agent log at: /var/log/ambari-agent/ambari-agent.log
Blueprint registered.
Creating a single-node cluster...
This could take up to 30 minutes to complete. Please wait.
Browse the Ambari server to monitor progress: https://ec2-13-208-251-230.ap-northeast-3.compute.amazonaws.com
.......................................................................................................................................................................................................................................................................................
Cluster creation status: COMPLETED
SUCCESS: Hadoop cluster created on: https://ip-10-0-14-108.ap-northeast-3.compute.internal
JOURNALNODE stop request ID: None

No JSON object could be decoded
200
ZKFC stop request ID: None

No JSON object could be decoded
200
Running post install configuration...
Setting up HDFS directories...
Found 6 items
drwxrwx---   - ambari-qa hdfs          0 2024-05-09 17:58 /user/ambari-qa
drwxr-xr-x   - hbase     hdfs          0 2024-05-09 17:59 /user/hbase
drwxr-xr-x   - hdfsuser  hdfs          0 2024-05-09 18:05 /user/hdfsuser
drwxr-xr-x   - hive      hdfs          0 2024-05-09 18:00 /user/hive
drwxrwxr-x   - livy      hdfs          0 2024-05-09 18:02 /user/livy
drwxrwxr-x   - spark     hdfs          0 2024-05-09 18:04 /user/spark
Found 13 items
drwxrwxrwt   - yarn     hadoop          0 2024-05-09 17:59 /app-logs
drwxr-xr-x   - hdfs     hdfs            0 2024-05-09 18:04 /apps
drwxr-xr-x   - yarn     hadoop          0 2024-05-09 17:58 /ats
drwxr-xr-x   - hdfs     hdfs            0 2024-05-09 17:59 /atsv2
drwxr-xr-x   - hdfsuser hdfs            0 2024-05-09 18:05 /ciphertrust_ddc
drwxr-xr-x   - hdfs     hdfs            0 2024-05-09 17:59 /hdp
drwx------   - livy     hdfs            0 2024-05-09 18:02 /livy2-recovery
drwxr-xr-x   - mapred   hdfs            0 2024-05-09 17:59 /mapred
drwxrwxrwx   - mapred   hadoop          0 2024-05-09 17:59 /mr-history
drwxrwxrwx   - spark    hadoop          0 2024-05-09 18:04 /spark2-history
drwxrwxrwx   - hdfs     hdfs            0 2024-05-09 18:01 /tmp
drwxr-xr-x   - hdfs     hdfs            0 2024-05-09 18:05 /user
drwxr-xr-x   - hdfs     hdfs            0 2024-05-09 18:00 /warehouse
Refresh user to groups mapping successful
hbase-site.xml copied to /etc/spark2/conf/
Stopping Gateway with PID 20319 succeeded.
keystore files deleted.
Knox master secret set.
Starting Gateway succeeded with PID 36930.
Gateway is running with PID 36930.
Generating a 2048 bit RSA private key
............+++
..........................................................................+++
writing new private key to 'knox.key'
-----
Importing keystore identity.p12 to gateway.jks...
Stopping Gateway with PID 36930 succeeded.
Starting Gateway succeeded with PID 37169.
Gateway is running with PID 37169.
WARNING: master secret used may be incorrect.
Knox certificate updated.
Demo LDAP started: ip-10-0-14-108.ap-northeast-3.compute.internal
--------------------------------------------------------------------------------
Cluster setup complete:
https://ec2-13-208-251-230.ap-northeast-3.compute.amazonaws.com
Run CM_post_install.sh to configure CipherTrust Manager.
[root@ip-10-0-14-108 quicksetup]#
CM_post_instll.shを実行し、TDPとCM間の接続設定を行います。
[root@ip-10-0-14-108 ~]# ./CM_post_install.sh
Ambari username [admin]:  (そのままEnter)
Ambari password:        (quicksetupで指定したパスワード)
Enter name of cluster: ddc_cluster
Enter CM hostname or IP: 10.0.12.42  (CMのprivate ipアドレス
CM user [admin]:      (そのままEnter)
CM password:        (CMのadminのパスワード)
Found Knox Gateways in cluster:
	ip-10-0-14-108.ap-northeast-3.compute.internal

Enter the external/public IP address of the Knox Gateways if the node IP address is not reachable by the CM.
Hit enter to use the node IP address.
Enter IP address of ip-10-0-14-108.ap-northeast-3.compute.internal [10.0.14.108]:  (そのままEnter)
Retrieving HDFS credentials...
HDFS credentials found in local system: hdfsuser
Knox Hostname/IP added to CM's DNS Host: ip-10-0-14-108.ap-northeast-3.compute.internal (13.208.251.230)
Creating Knox connection: TDP_knox
Knox connection added to CM.
Knox ID: 67ac4bb7-ec05-40a9-ab0b-c454c24b1525
Updating hdfs and livy...
Hadoop HDFS updated.
Hadoop Livy updated.
Updating CTE PQS...
Hadoop CTE PQS updated.
CipherTrust Manager post-install configuration is complete.
[root@ip-10-0-14-108 ~]#
TDPのステータス確認
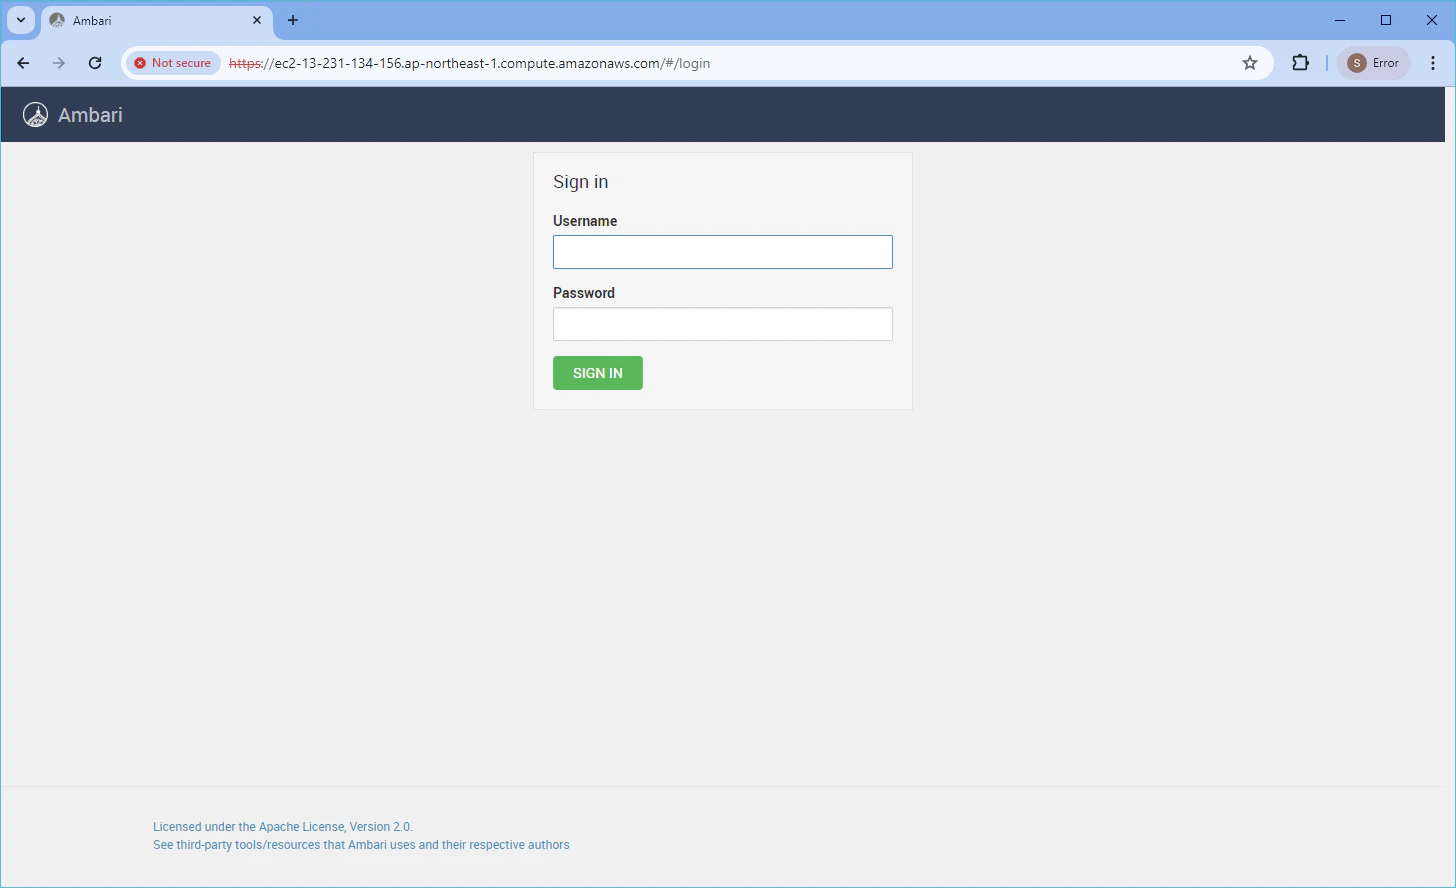
ブラウザよりTDP(Ambari)管理画面へログインします。
Username: admin, Password (任意パスワード)で指定したものを利用します。
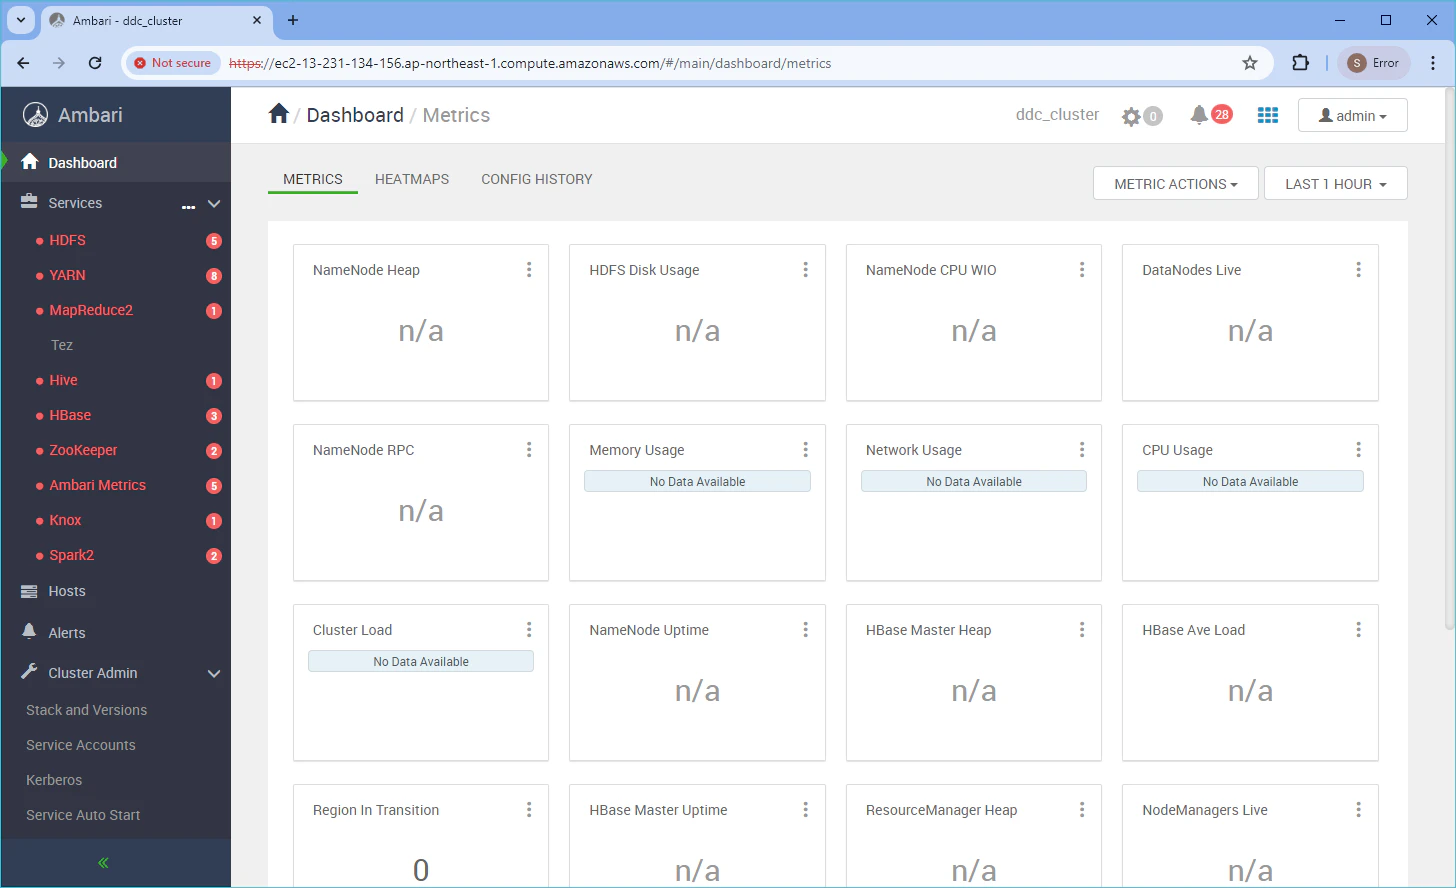
ログインに成功すると管理画面が表示されます。
左側の各"Services"が正常に起動されているか確認します。
正常時はグリーンのアイコン、起動できていないときは、赤いアイコンで表示されます。
Hosts > ACTIONS > All Hosts > Hosts > Start All Components を選択します。

OKを選択します。

全ての "Services" が起動するまで待ちます。

全ての"Services"が正常起動するとアイコンがグリーンになります。

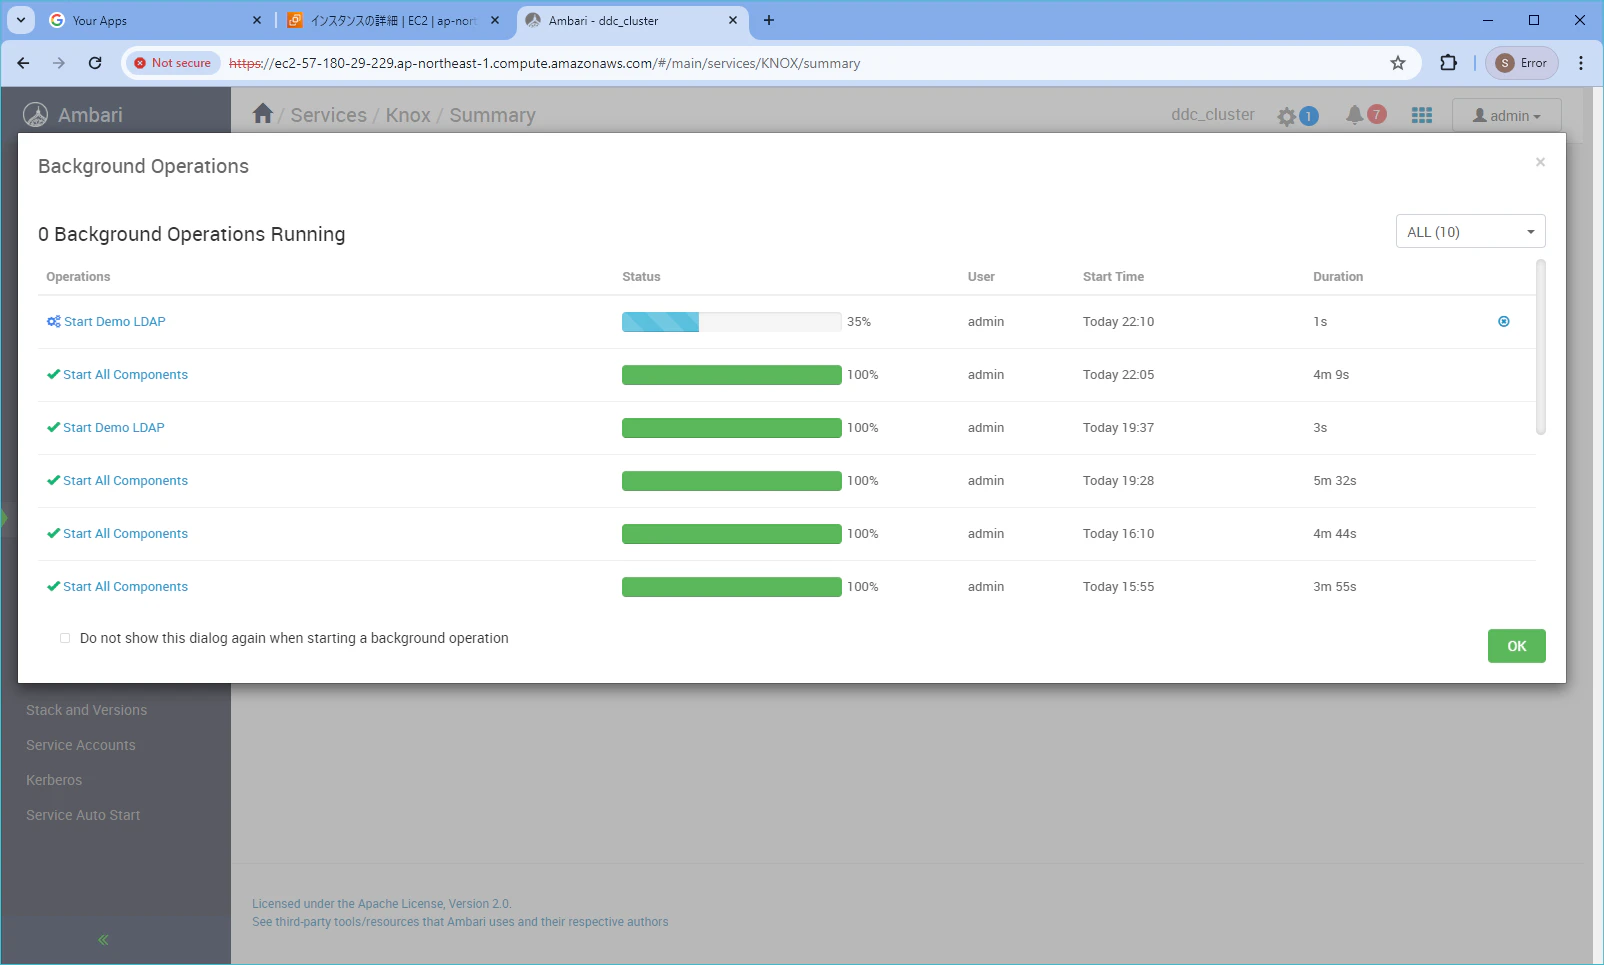
LDAP demo serverの起動
Knox を選択し、右上の"ACTIONS"から"Start Demo LDAP"を選択します。

起動するのを待ってから、"OK"を選択します。
DDC Agentの設定
DDC Agentのインストール
今回は機能検証目的のPoCのため、Ubuntu へDDC Agent のインストールを行います。
下記のDDC Agentのインストールを行うVMを作成します。
- AMI: Ubuntu Pro 18.04 LTS (Amazon Web Service)
- MarketPlace登録
- インスタンスタイプ: m5.large (2 vCPU、8 GB memory)
- ストレージ: 80 GB
DDC Agentのインストーラの zipファイル"610-000607-016_SW_DDC_Agents_v2.15.0_RevA.zip"は、契約済みのお客様の場合、弊社Customer Ssupport Portalよりダウンロード可能です。
(その他の方は、弊社営業/SEへお問合せください)
zipファイルを解答すると各OSに対応したインストーラがご確認いただけます。
er2-2.6.1-linux26-rh-x64.rpm
er2-2.6.1-linux26-x32.rpm
er2-2.6.1-linux3-rh-x64_database-runtime.rpm
er2-2.6.1-linux3-x64_database-runtime.deb
er2-2.6.1-linux4-rh-x64_database-runtime.rpm
er2_2.6.1-windows-x32_database-runtime.msi
er2_2.6.1-windows-x64_database-runtime.msi
SCPにて Debian/Ubuntu向けインストーラ"er2-2.6.1-linux3-x64_database-runtime.deb"を Ubuntuへコピーを行い、DDC Agent のインストールを行います。
$ sudo apt update
$ sudo apt upgrade
$ sudo dpkg -i er2-2.6.1-linux3-x64_database-runtime.deb
Selecting previously unselected package er2.
(Reading database ... 86503 files and directories currently installed.)
Preparing to unpack er2-2.6.1-linux3-x64_database-runtime.deb ...
Unpacking er2 (2.6.1) ...
Setting up er2 (2.6.1) ...
[ ok ] Starting er2-agent (via systemctl): er2-agent.service.
Processing triggers for systemd (237-3ubuntu10.57+esm1) ...
Processing triggers for ureadahead (0.100.0-21) ...
$
DDC Agent のCMへの登録
DDC AgentをCMへ登録します。
$ sudo er2-config -i 10.0.12.42 (CMの private ipアドレスを指定)
Master server is specifed as: 10.0.12.42
Configuration updated, please restart agent service
The configuration has been saved. Please restart the agent for the changes to take effect.
$
接続テストを行います。
$ sudo er2-config -t
Master server is not specified, using the default master server: 10.0.12.42
Testing connection setting...
Test SUCCESS. Saving settings
Configuration updated, please restart agent service
The configuration has been saved. Please restart the agent for the changes to take effect.
DDC Agent を restartします。
$ sudo /etc/init.d/er2-agent restart
DDCの設定
CM管理画面へのログイン
CMへ 管理者権限 (Username: admin, passwrord 任意指定したもの) でログインします。

左上の"タイル" "Data Discovery and Classification"を選択します。
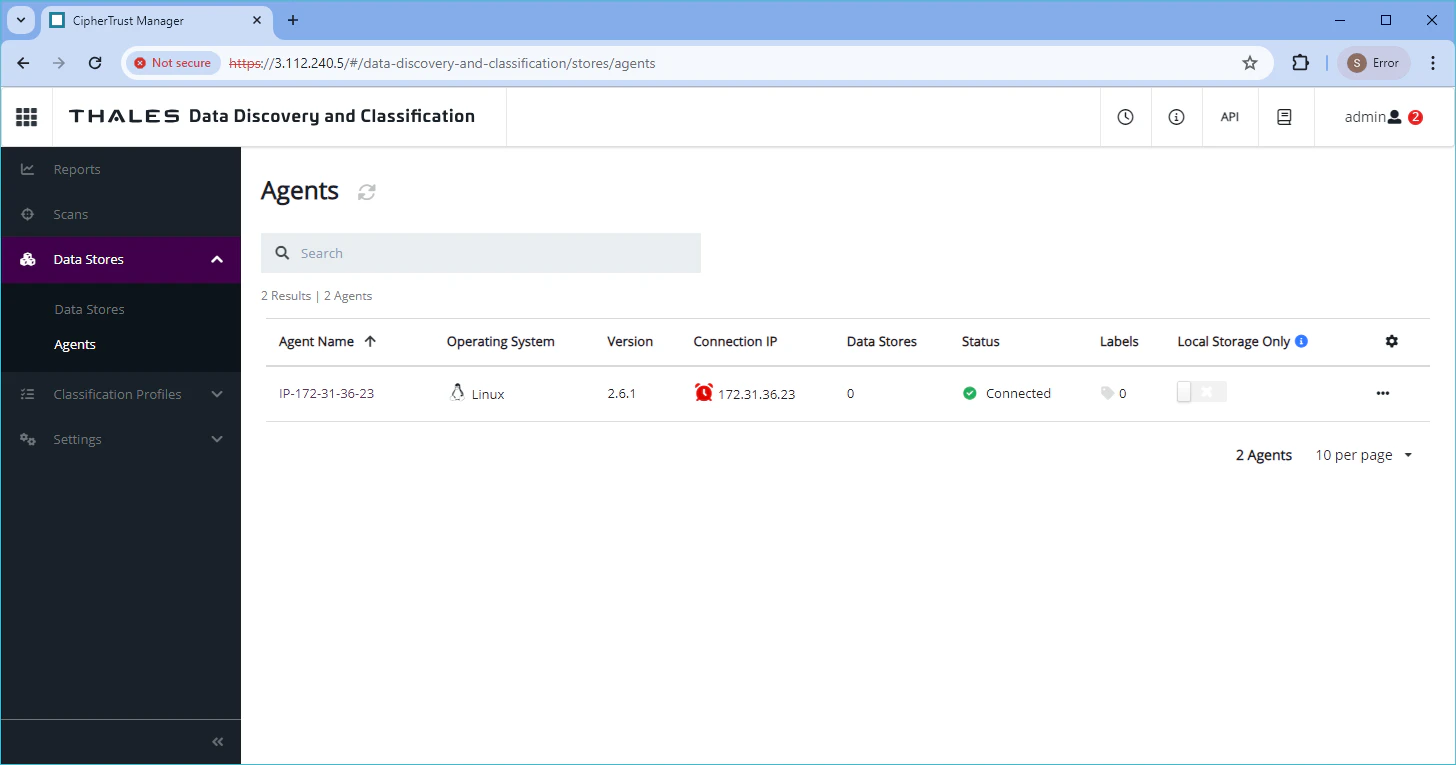
DDC Agentの確認
Data Stores > Agents を選択し、DDC Agent をインストールを行った サーバが接続されていることを確認します。

DDC AgentとCM間で時刻がずれていると"Time Error"(赤い時計のアイコン)になります。NTP設定を確認してください。
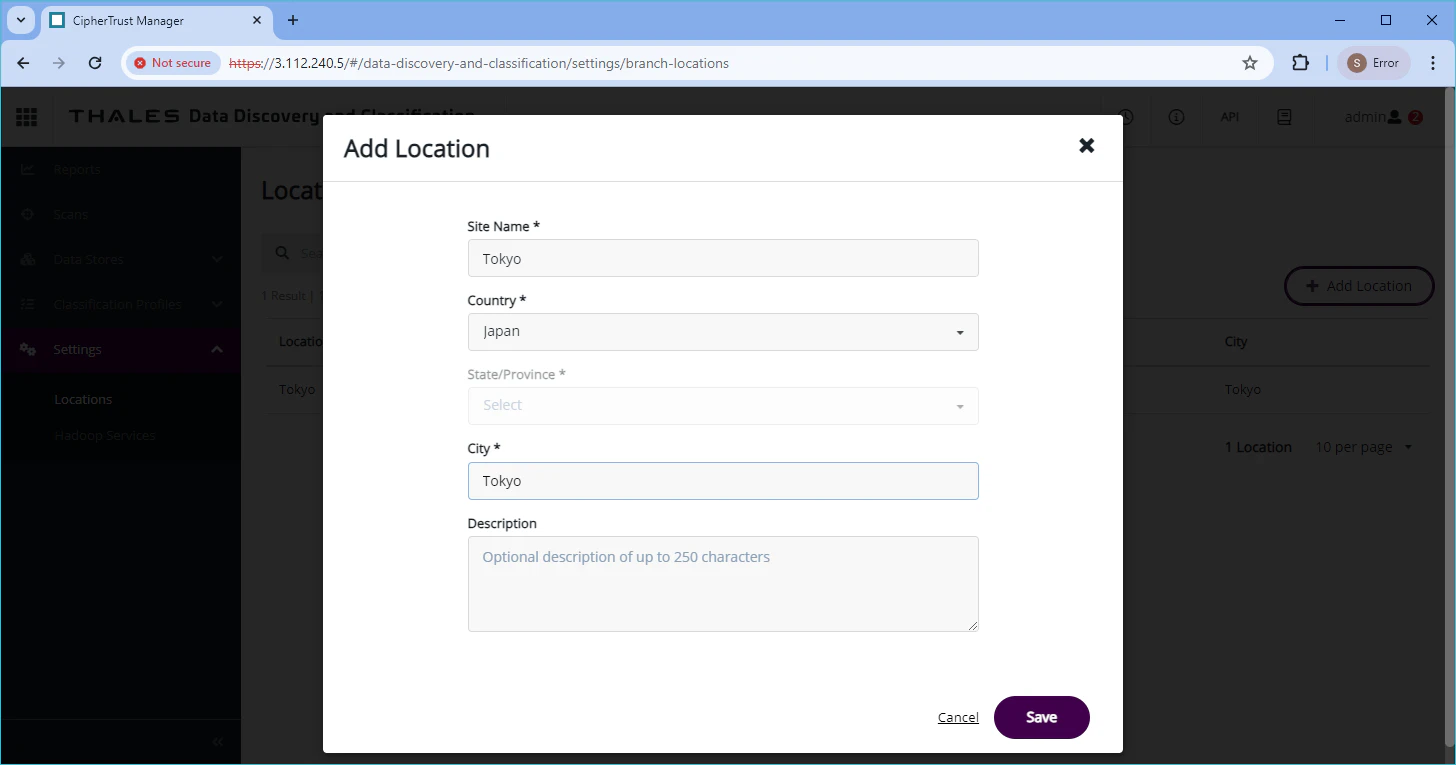
Locationの追加
Settings > Locations を選択し、"+Add Location"を選択し"Location"を作成します。
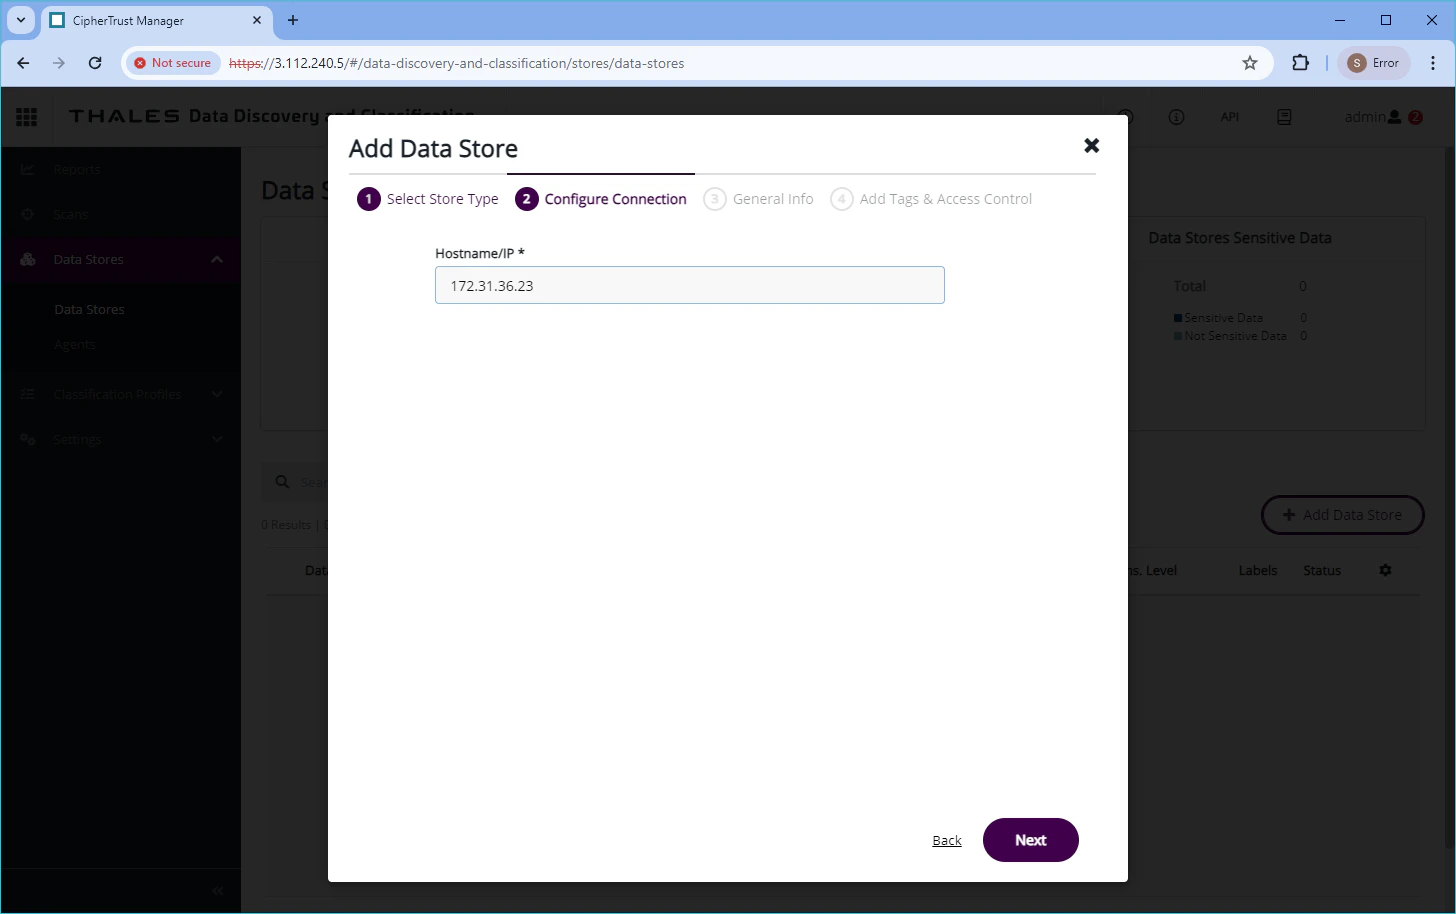
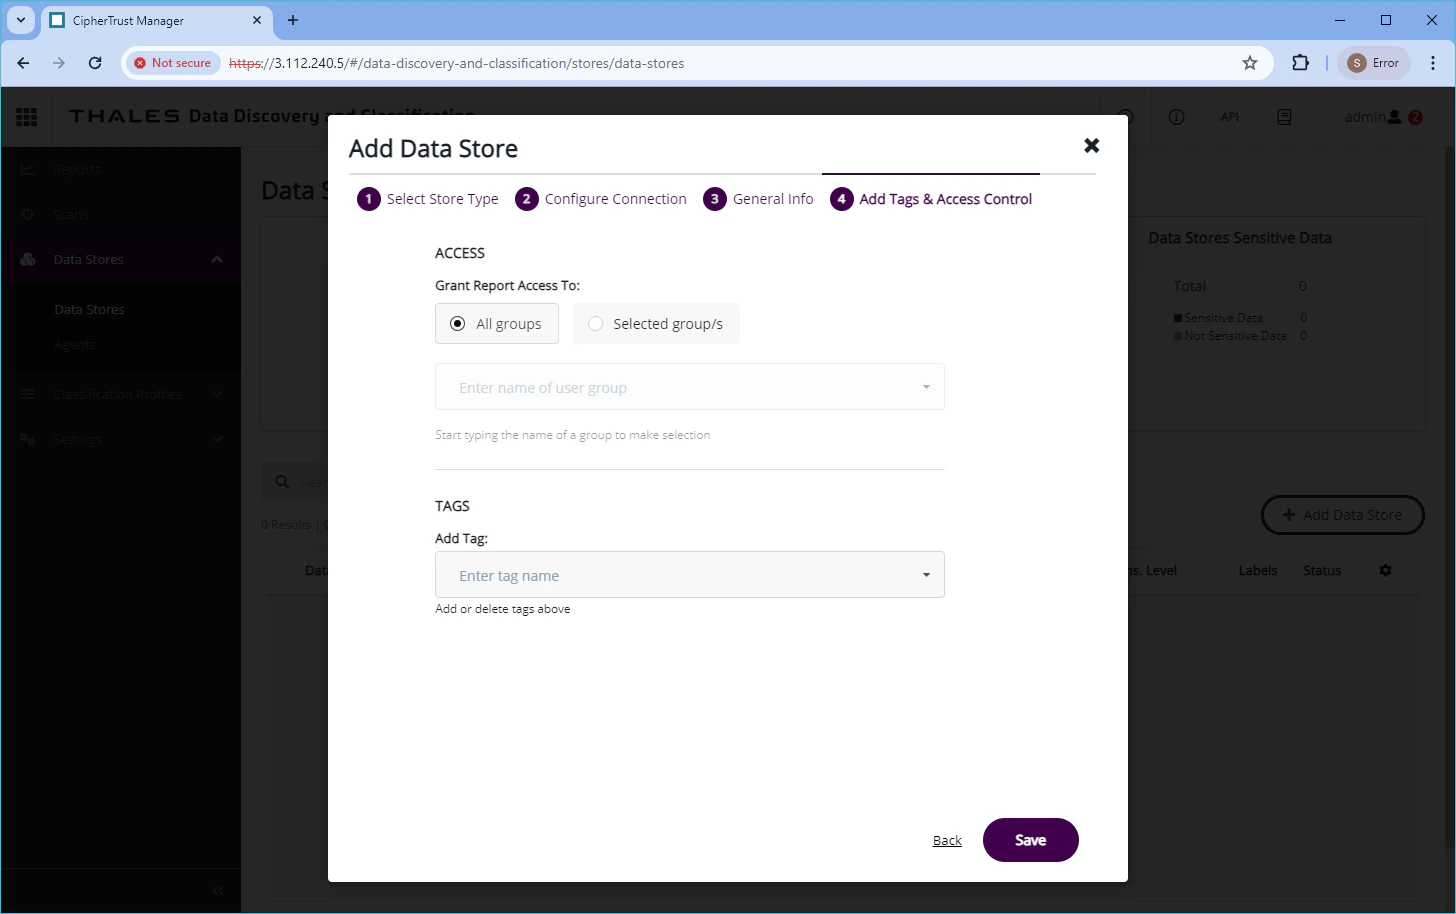
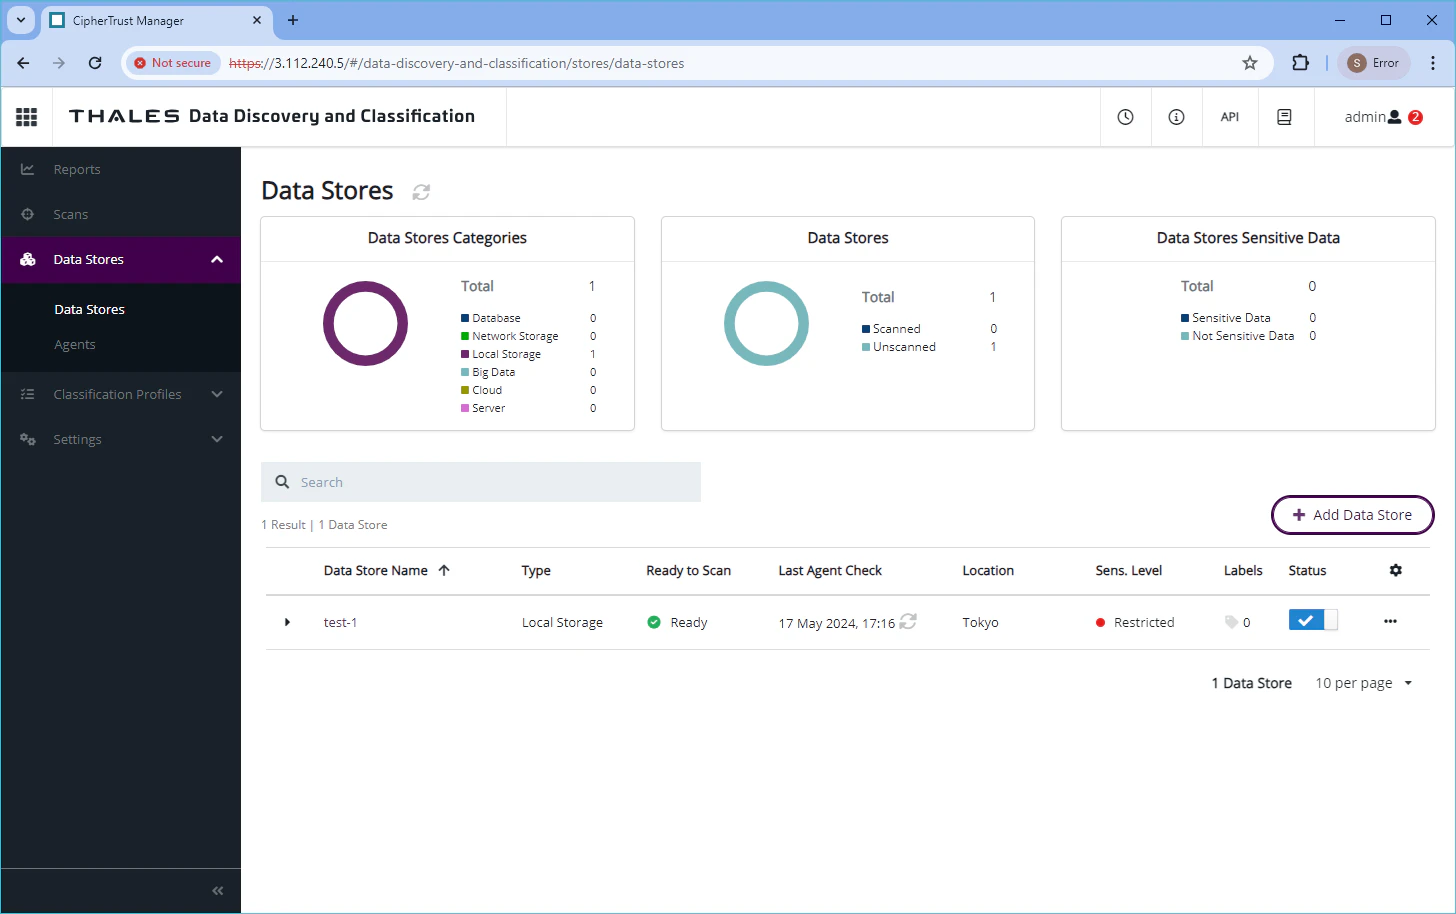
Data Storeの追加
Data Stores > Data Stores を選択し、"+Add Data Store"を選択し"Data Store"を作成します。
"Local Storage"を選択します。

DDC Agentをインストールしたサーバの private ip アドレスを入力します。
Name, Location, Senitivity Level を指定します。(任意)

変更を加えずに、"Save"を選択します。
"Ready to Scan"のステータスが"Ready"になるまで待ちます。
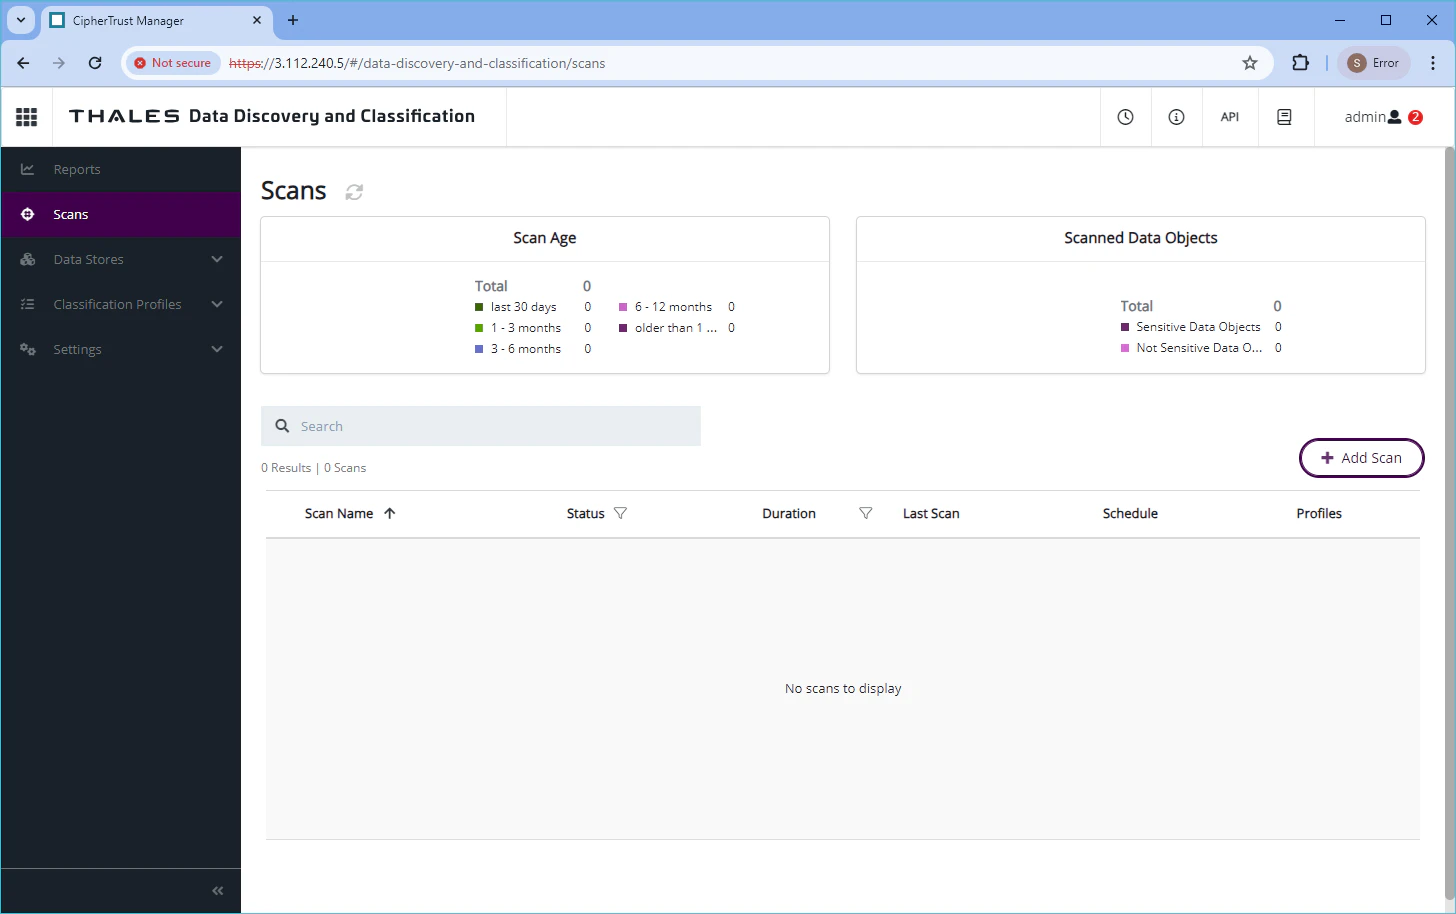
Scanの追加
Scans を選択します。
Name (任意)を指定します。

"Data Store Name"で、作成したData Storeを選択します。
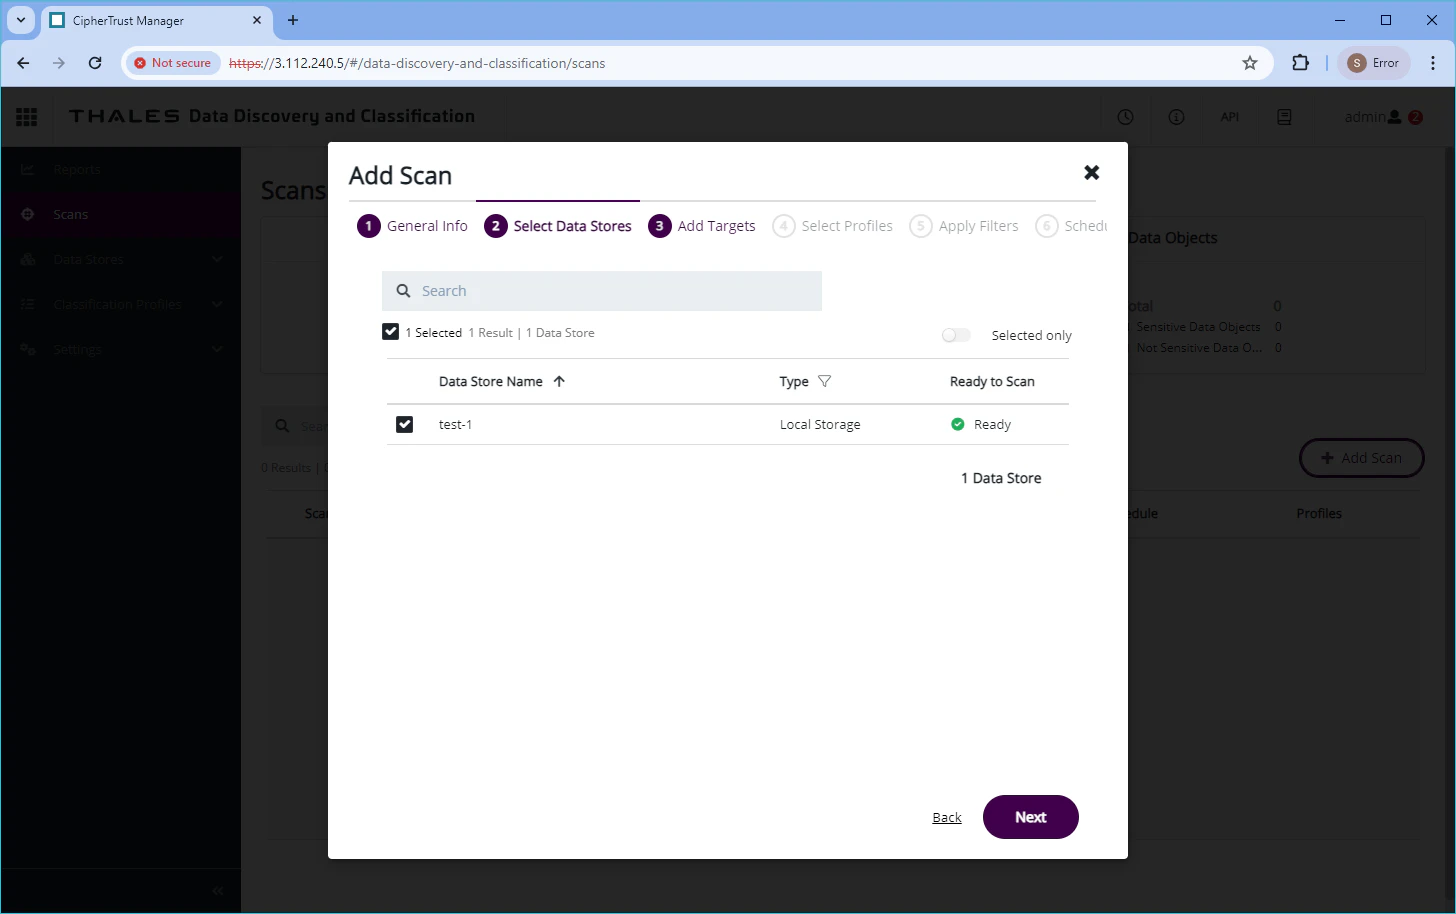
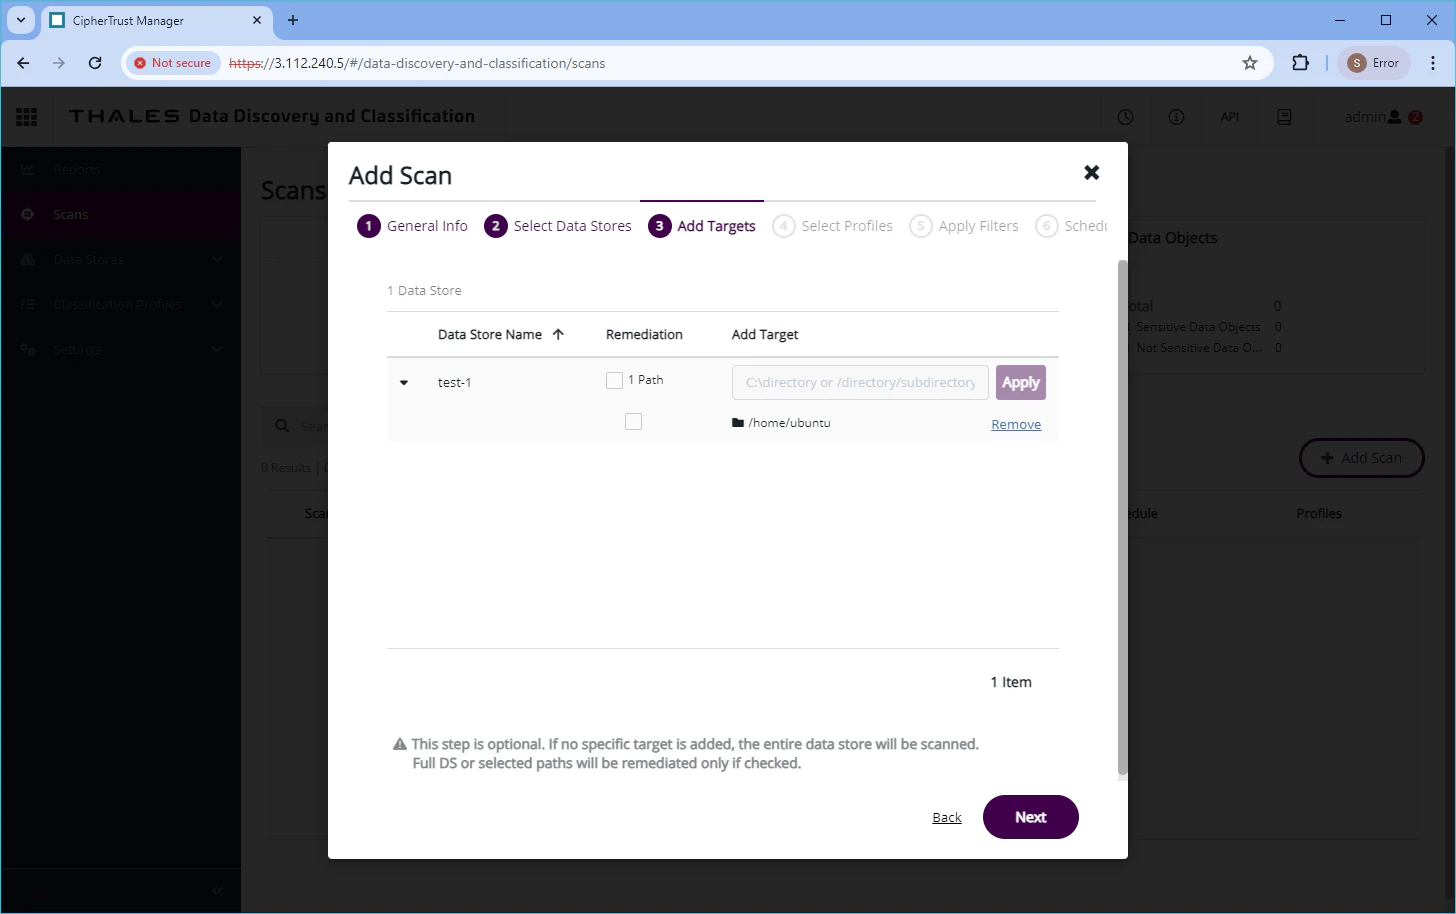
Add Target で、検索対象のフォルダ(任意フォルダ)を指定し、”Apply"を選択します。
任意のProfileを選択します。

そのまま"Next"を選択します。
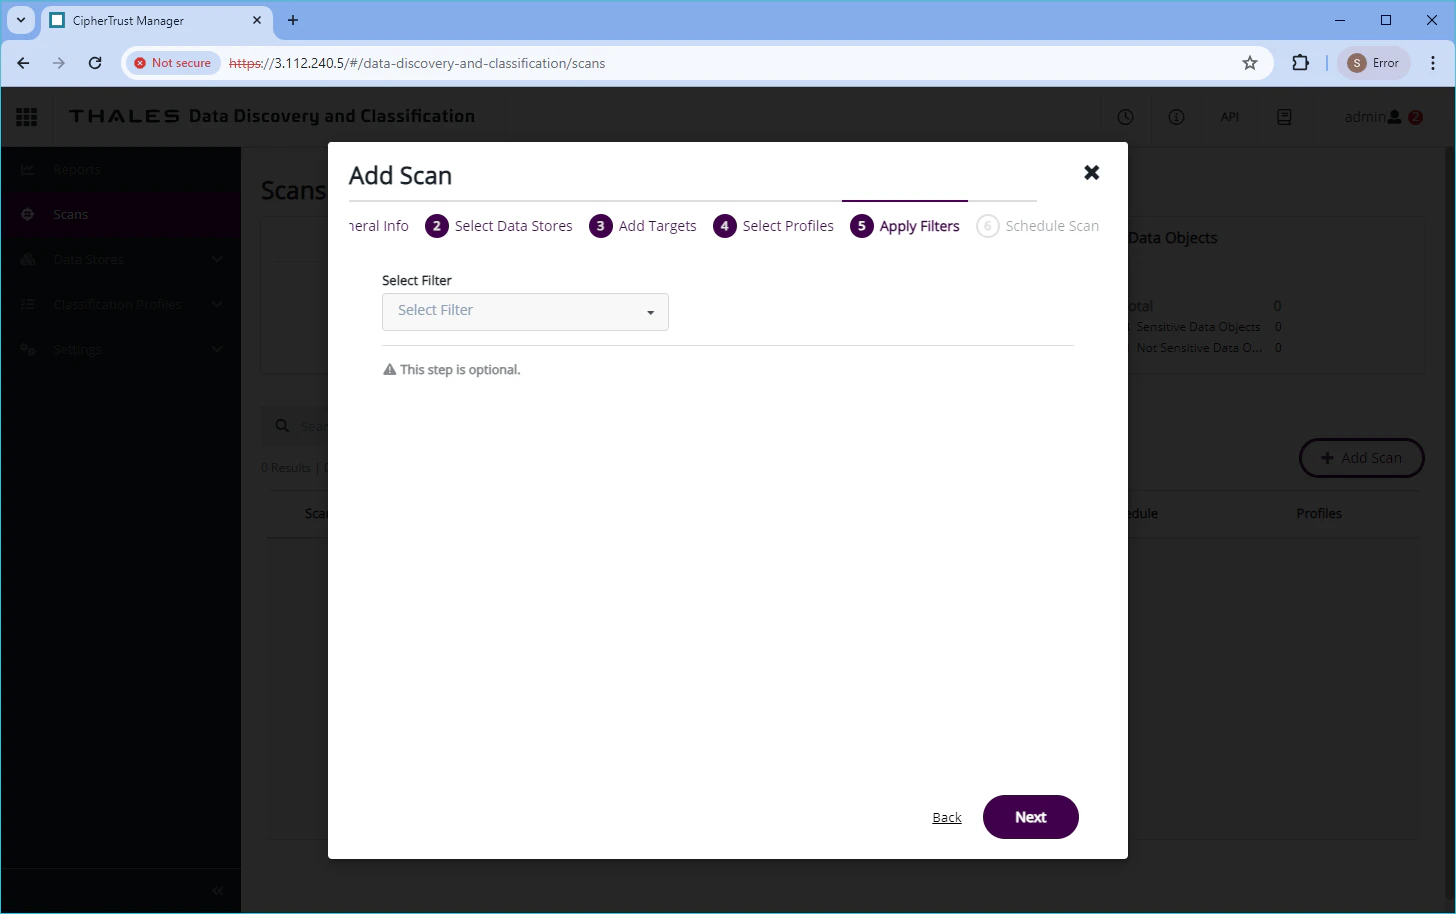
そのまま"Next"を選択します。

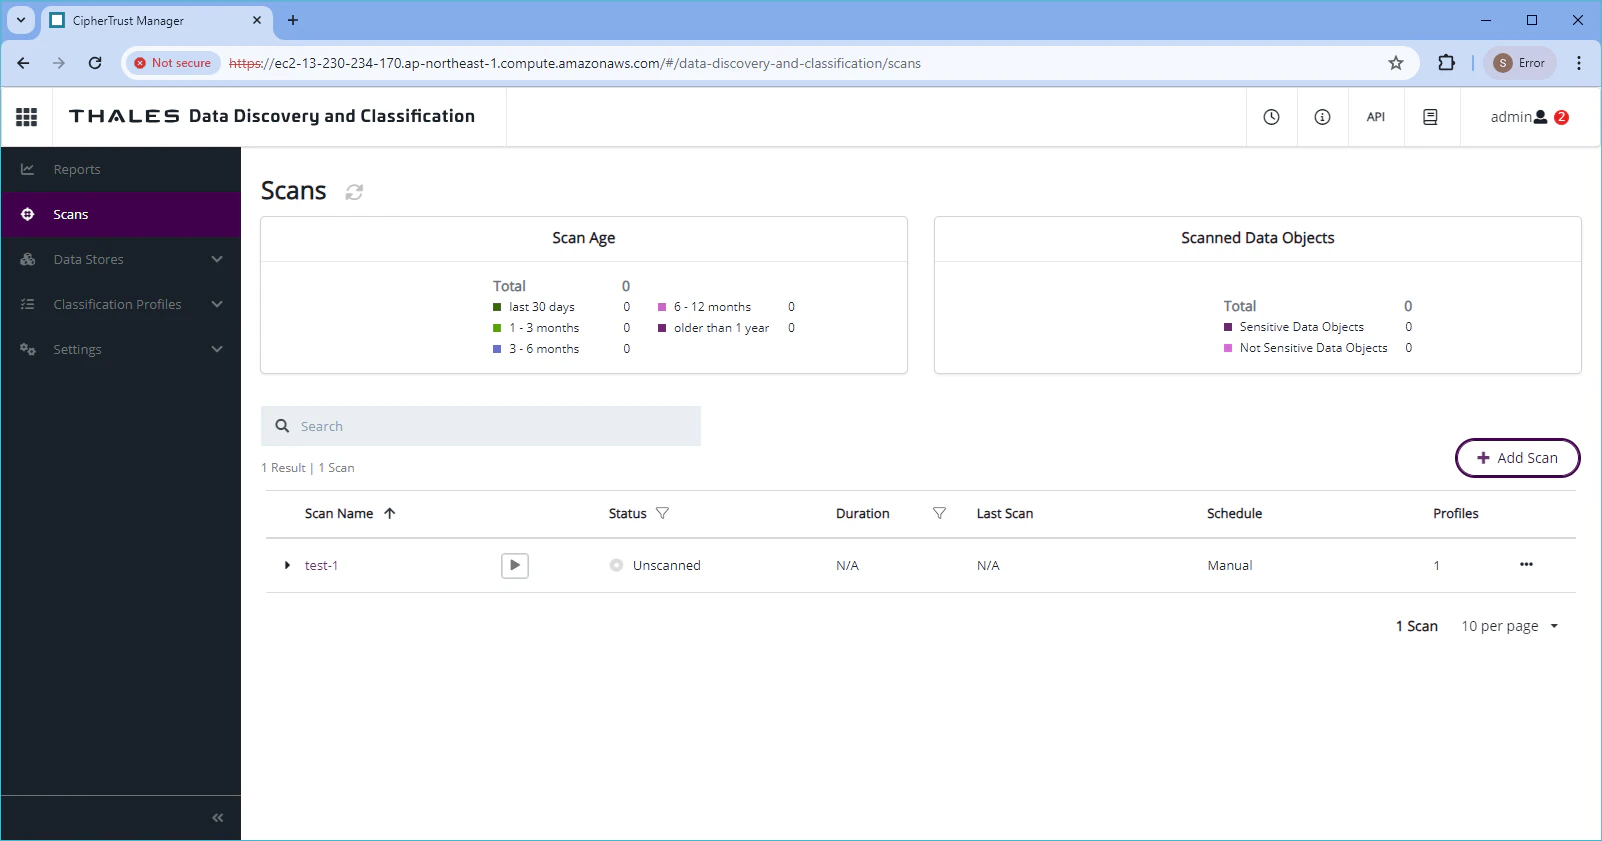
Scanの実行
追加された Scanを実行します。右向きの三角のボタンを選択します。
Scanが完了するまで待ちます。

Scanが完了しました。

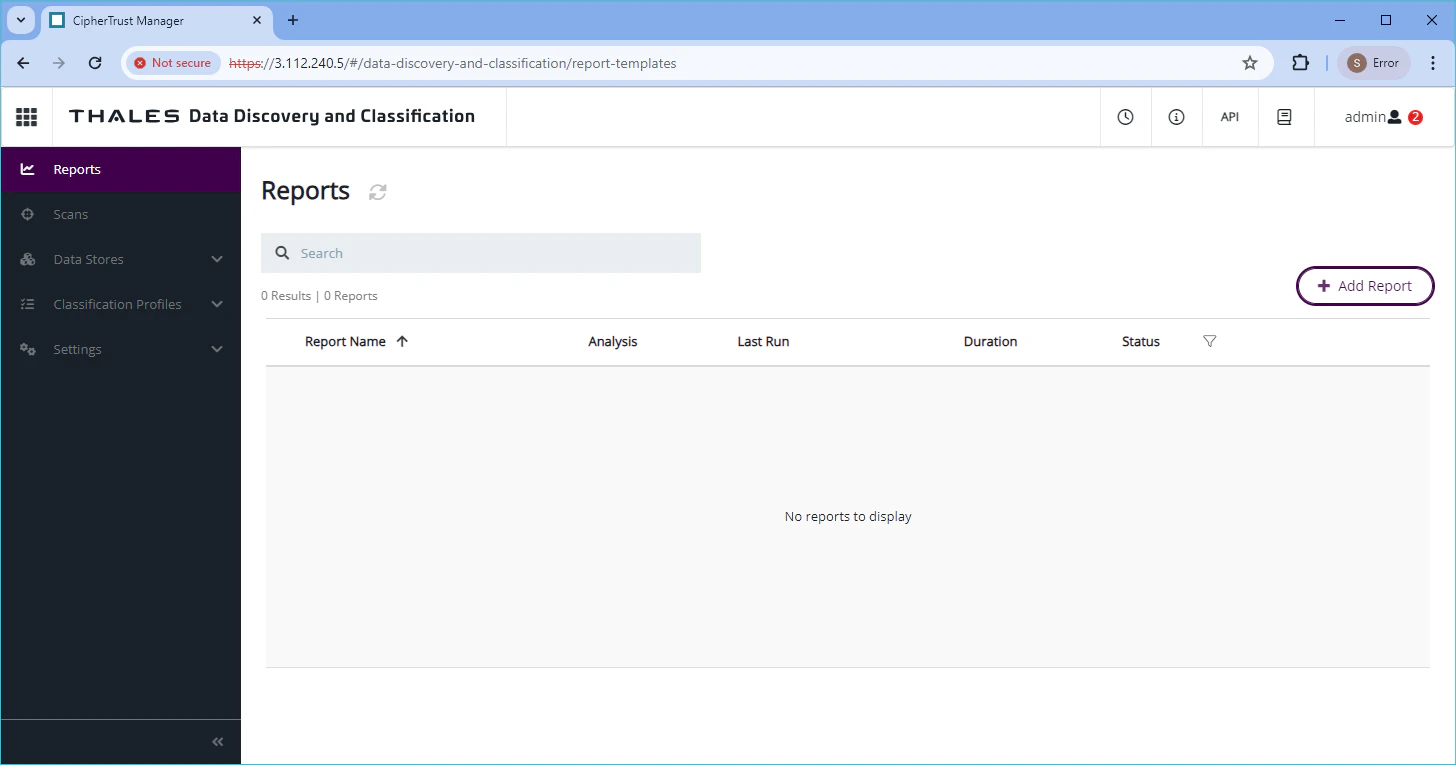
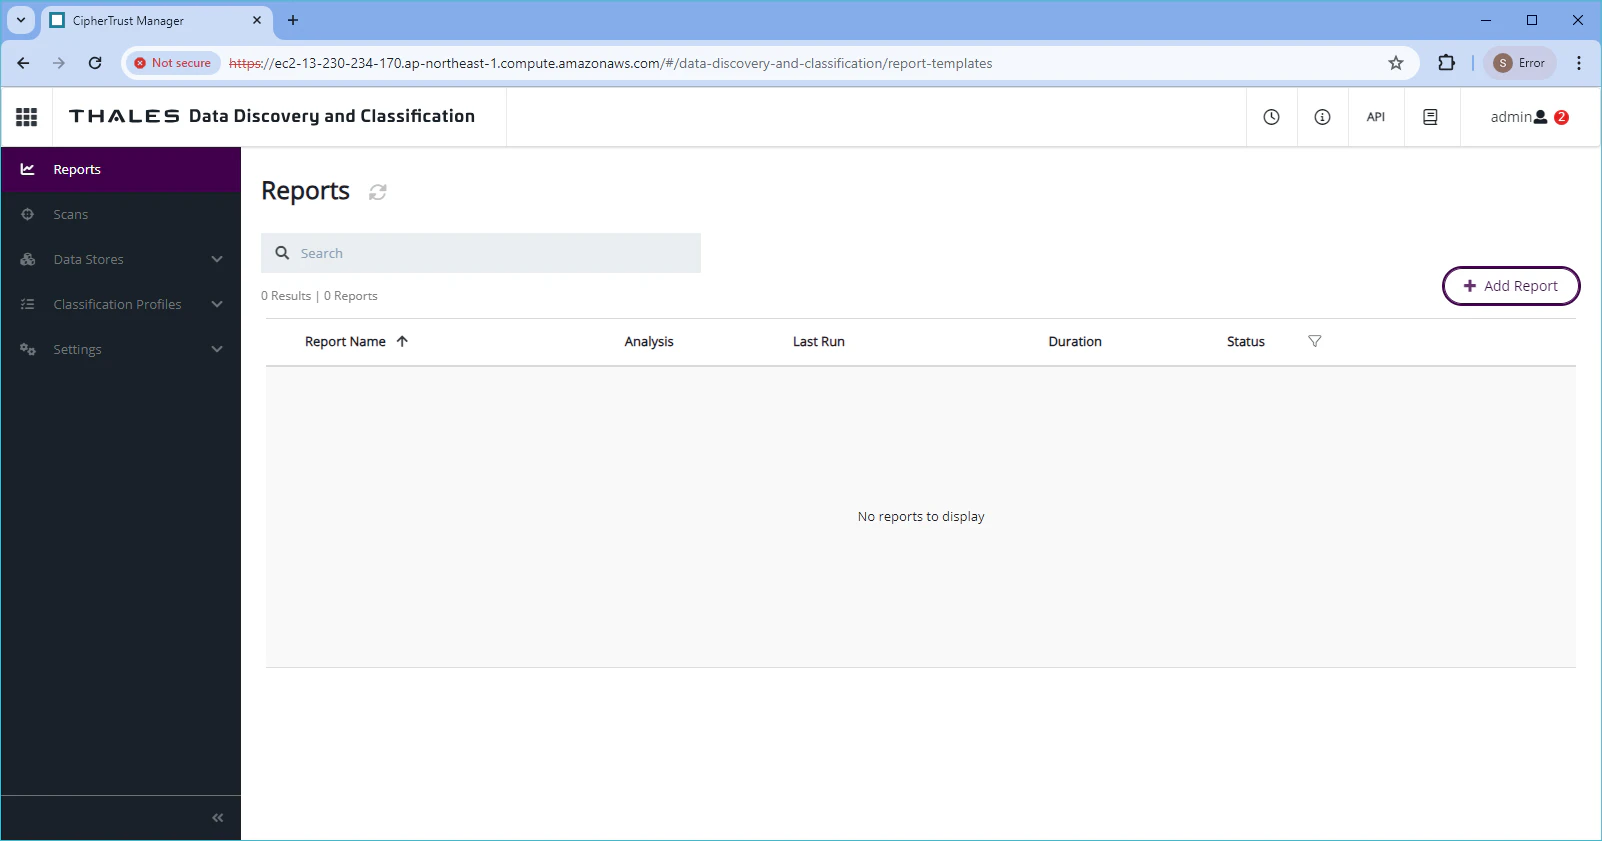
Reportの追加
Reports を選択し、"+Add Report"を選択、"Report"を追加します。
Name(任意)を入力、"Aggregated"を選択します。
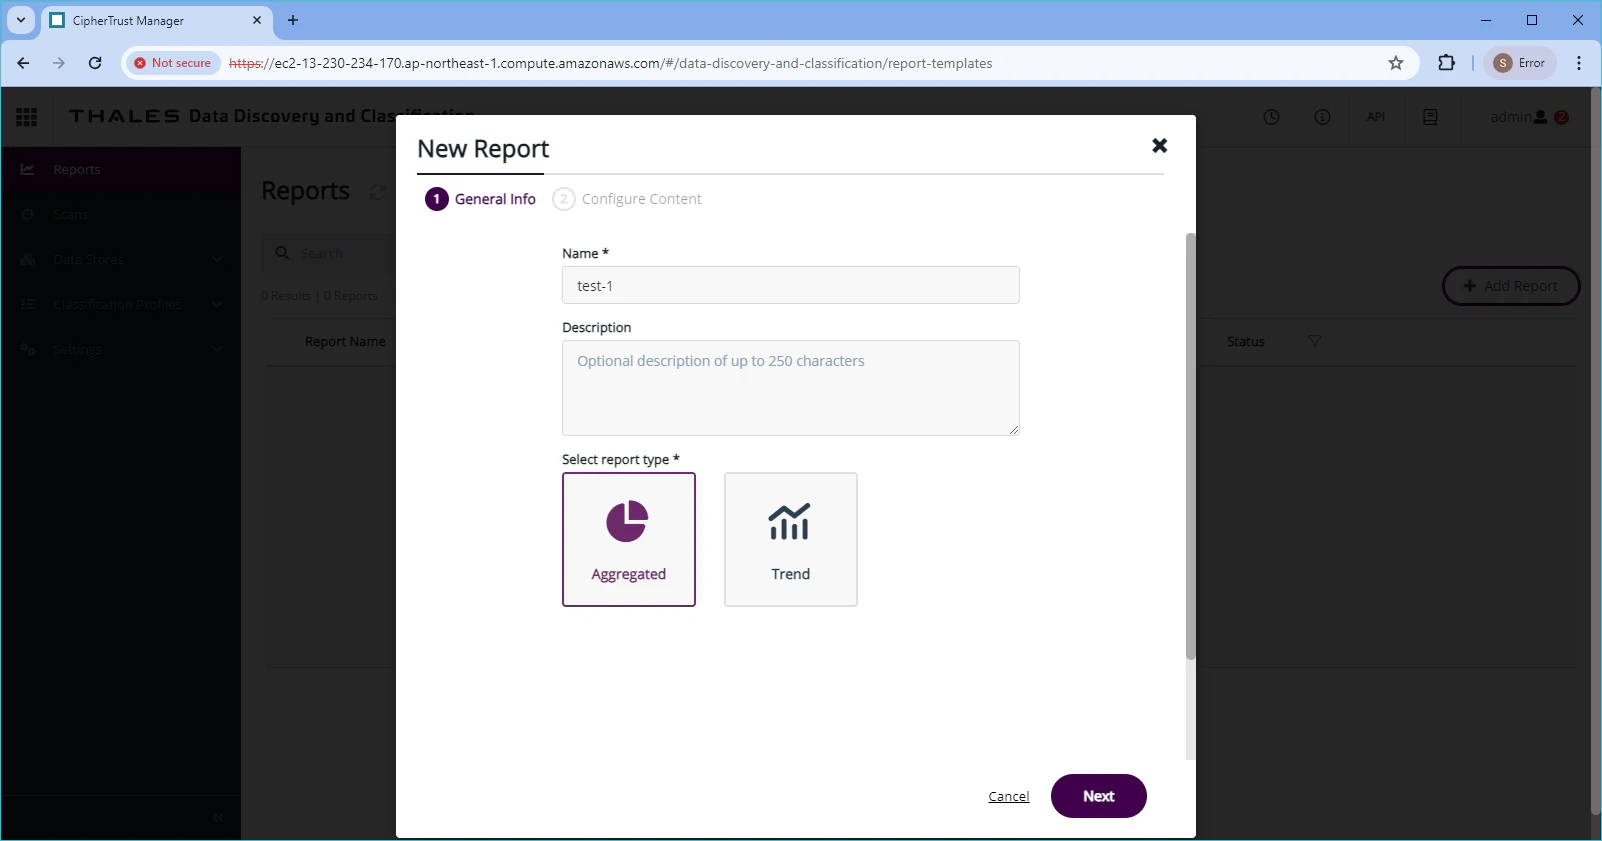
Reportの対象とする Scanを選択します。

Reportが作成されるまで待ちます。

Reportが作成されました。

Reportの表示
"..." > "View"を選択し、作成されたReportを確認します。

作成したReportが表示されました。
