Unity初学者のため、備忘です。
webcamTextureを利用した最もシンプルな例
構成
Windows 10
Unity2017 3.1f1
Android 8.1 Oreo搭載端末
Planeを設置する
Hierarchy -> Create -> 3D Object -> Plane を選択し、カラのプロジェクトにplaneを配置します。
このplaneに対して取得した映像を表示します。
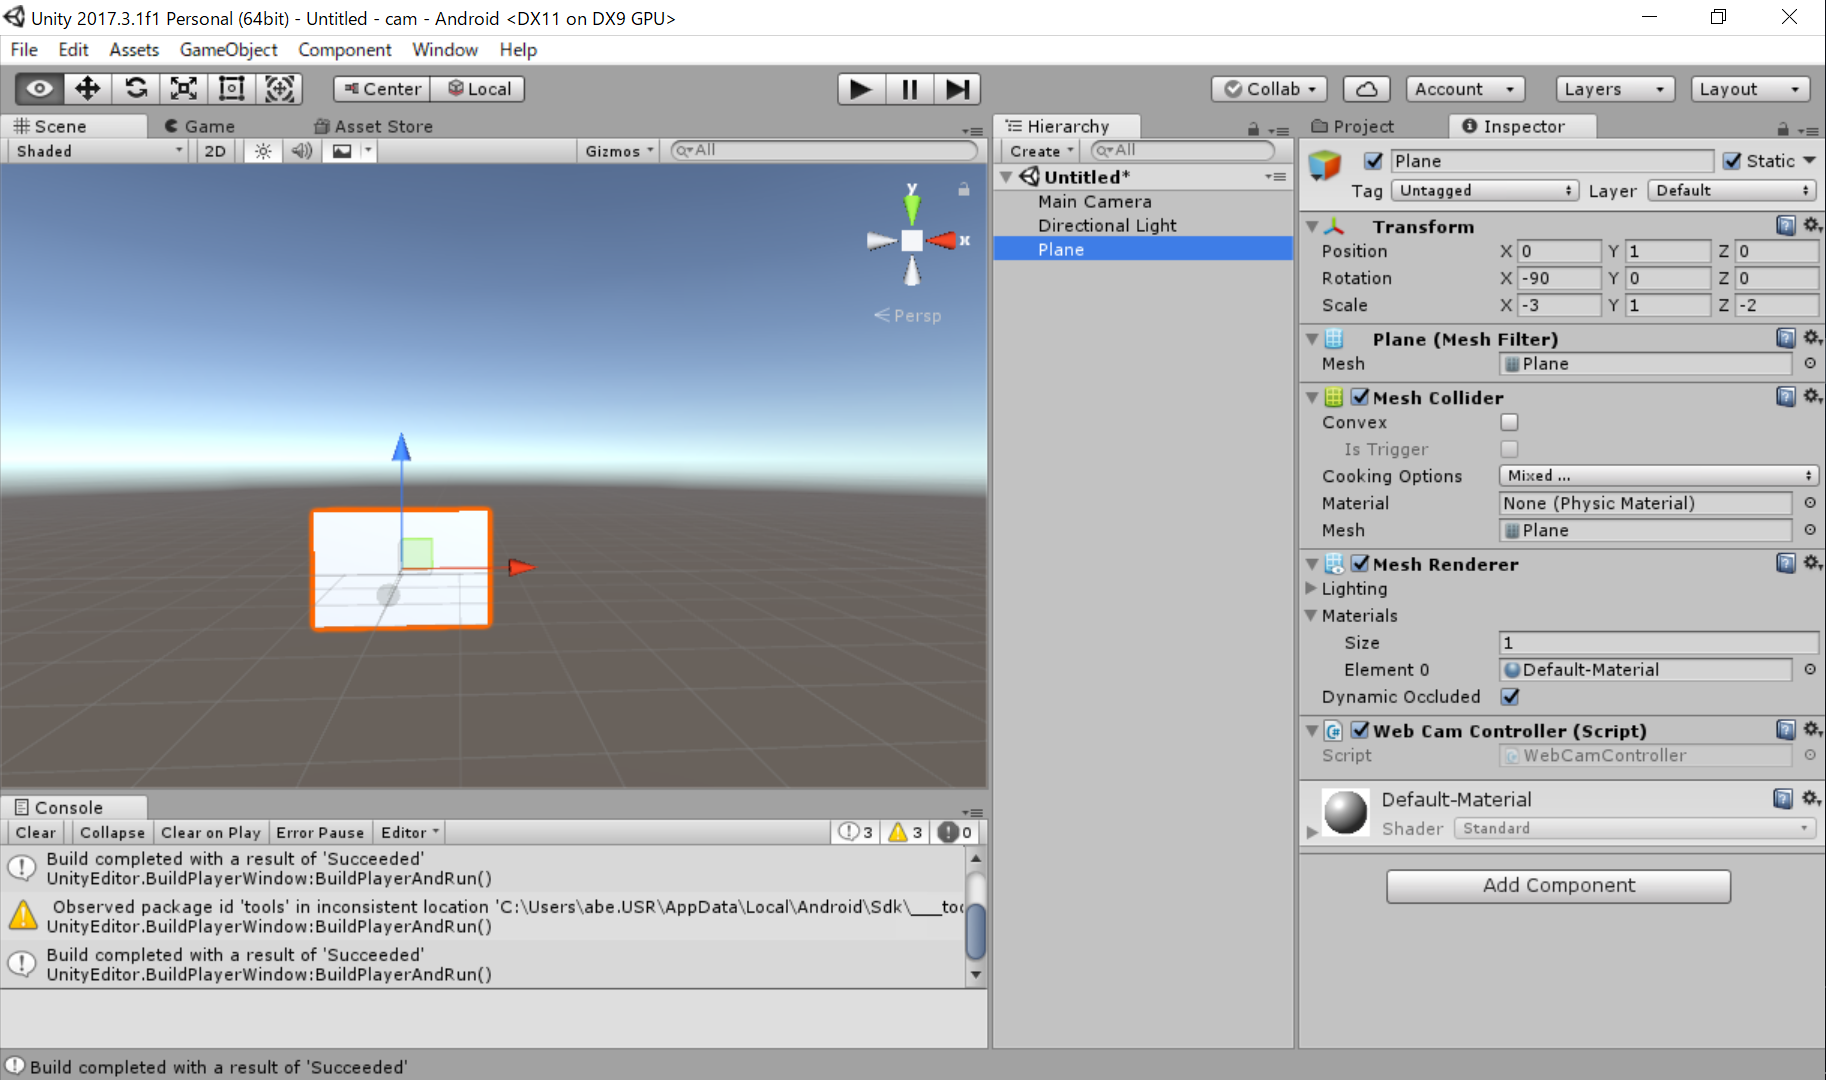
なお、私の使用している検証中の端末では以下のサイズが適していました。

WebCamControllerを実装する
Project -> Create -> C# Script からコントローラーを作成し、Planeに対してドラッグドロップします。
WebCamController.cs
using System.Collections;
using System.Collections.Generic;
using UnityEngine;

public class WebCamController : MonoBehaviour {

	int width = 1920;
	int height = 1080;
	int fps = 60;
	WebCamTexture webcamTexture;

	void Start () {
		WebCamDevice[] devices = WebCamTexture.devices;
		webcamTexture = new WebCamTexture(devices[0].name, this.width, this.height, this.fps);
		GetComponent<Renderer> ().material.mainTexture = webcamTexture;
		webcamTexture.Play();
	}
}
Build & Run する
実機でカメラから取得した映像が取得、表示されます。