既に旧式のmacOS CatalinaでFlutterの開発環境構築して、Flutter研究してみました。
サイトに載っている紹介も結構古かったりするので、あえてCatalinaで設定することで、Flutterのエラー時の対応を、
理解出来るのでは?との事です。
まず現行のFlutterをDLし解凍、ホームディレクトリーのDeveloperと言うホルダーにセット。
mkdir Developer
flutterのフォルダをDeveloperへ移動。
パスを通す。
vim ~/.zshrc
export PATH="$PATH:/Users/[yourhomename]/Developer/flutter/bin"
一度ターミナル閉じ、再オープン。
which flutter
でパスの確認。
flutterコマンドでproject sampleを生成。
flutter create sample
sampleへ移動
cd sample
flutter doctorコマンドで更に確認。
Xcode - develop for iOS and macOS (Xcode 12.4)
    ! Flutter recommends a minimum Xcode version of 13.0.0.
      Download the latest version or update via the Mac App Store.
CatalinaのXcode12.4不可なので

Flutter version 3.0.5から2.8.1へダウングレード。
flutter downgrade 2.8.1
Downgrade flutter to version 2.8.1
? [y|n]: y

Success
更に、
sudo xcode-select --switch /Applications/Xcode.app/Contents/Developer
sudo xcodebuild -runFirstLaunch

Xcodeでのsimulatorを下記コマンドで表示確認。
open -a Simulator
表示後、device確認。
flutter devices
3 connected devices:

sdk gphone x86 64 (mobile) • emulator-5554                        • android-x64
• Android 11 (API 30) (emulator)
iPhone 8 (mobile)          • 442C11AC-B95E-417E-A812-6E635A2F51BE • ios
• com.apple.CoreSimulator.SimRuntime.iOS-14-4 (simulator)
Chrome (web)               • chrome                               •
web-javascript • Google Chrome 110.0.5481.177

• Error: Mac の iPhone is not connected. Xcode will continue when Mac の iPhone is
  connected. (code -13)

deviceにiphone
flutter run -d 442C11AC-B95E-417E-A812-6E635A2F51BE
以上の操作でvscodeにおいてもios simulatorが認識され、デバックが可能となる。

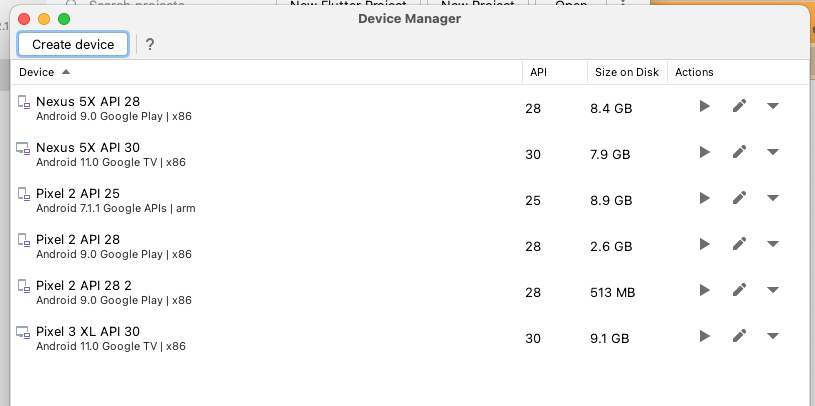
またandroid studio emulatorの場合は
Open Android Studio Tools -> AVD Manager Virtual Device -> Actions Click On Wipe data
にて定期的にdeviceをwipeした方が良い。
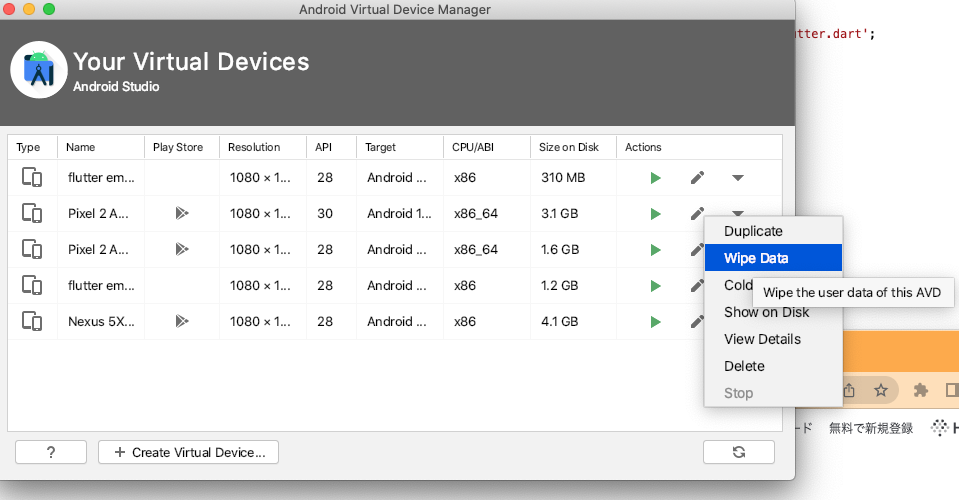
また新しいシリーズのandroid studioではエミュレーターを起動すると、AndroidStudioの画面の中に表示される仕様となってしまいました。
以前は、好きな位置に移動できたので便利でした。下記初期メニュー右上の、縦3点リーダーをクリックVirtual Device Managerを起動して、独立したemulatorを起動出来ます。