はじめに
この記事の続きです。
前の記事で、GraphQL+NestJS+TypeORM+MySQL+Serverless(offline)という構成でローカル実行することが出来ました。次は、これをデプロイしてAWS上で動くようにしたいと思います。
成果物はこちらにあります。
とりあえずAWSにデプロイしてみる
とりあえずは何も考えずにデプロイコマンドを叩いてみます。
$ sls deploy
Deploying compnestjs-typeorm-ts-example to stage dev (ap-northeast-1)

✔ Service deployed to stack compnestjs-typeorm-ts-example-dev (191s)

dashboard: https://app.serverless.com/shinobushiva/apps/myapp/compnestjs-typeorm-ts-example/dev/ap-northeast-1
endpoints:
  ANY - https://[random_sequence].execute-api.ap-northeast-1.amazonaws.com/dev/
  ANY - https://[random_sequence].execute-api.ap-northeast-1.amazonaws.com/dev/{proxy+}
functions:
  handler: compnestjs-typeorm-ts-example-dev-handler (55 MB)
とりあえずデプロイされました。つなぎ先のデータベースとか何も設定してないので動くわけはないのですが、とりあえずGraphQL PlaygroundのURLを叩いてみます。
https://[random_sequence].execute-api.ap-northeast-1.amazonaws.com/dev/graphql

うん、まぁ。そりゃそうですよね。
何が悪いのかログを見てみます。
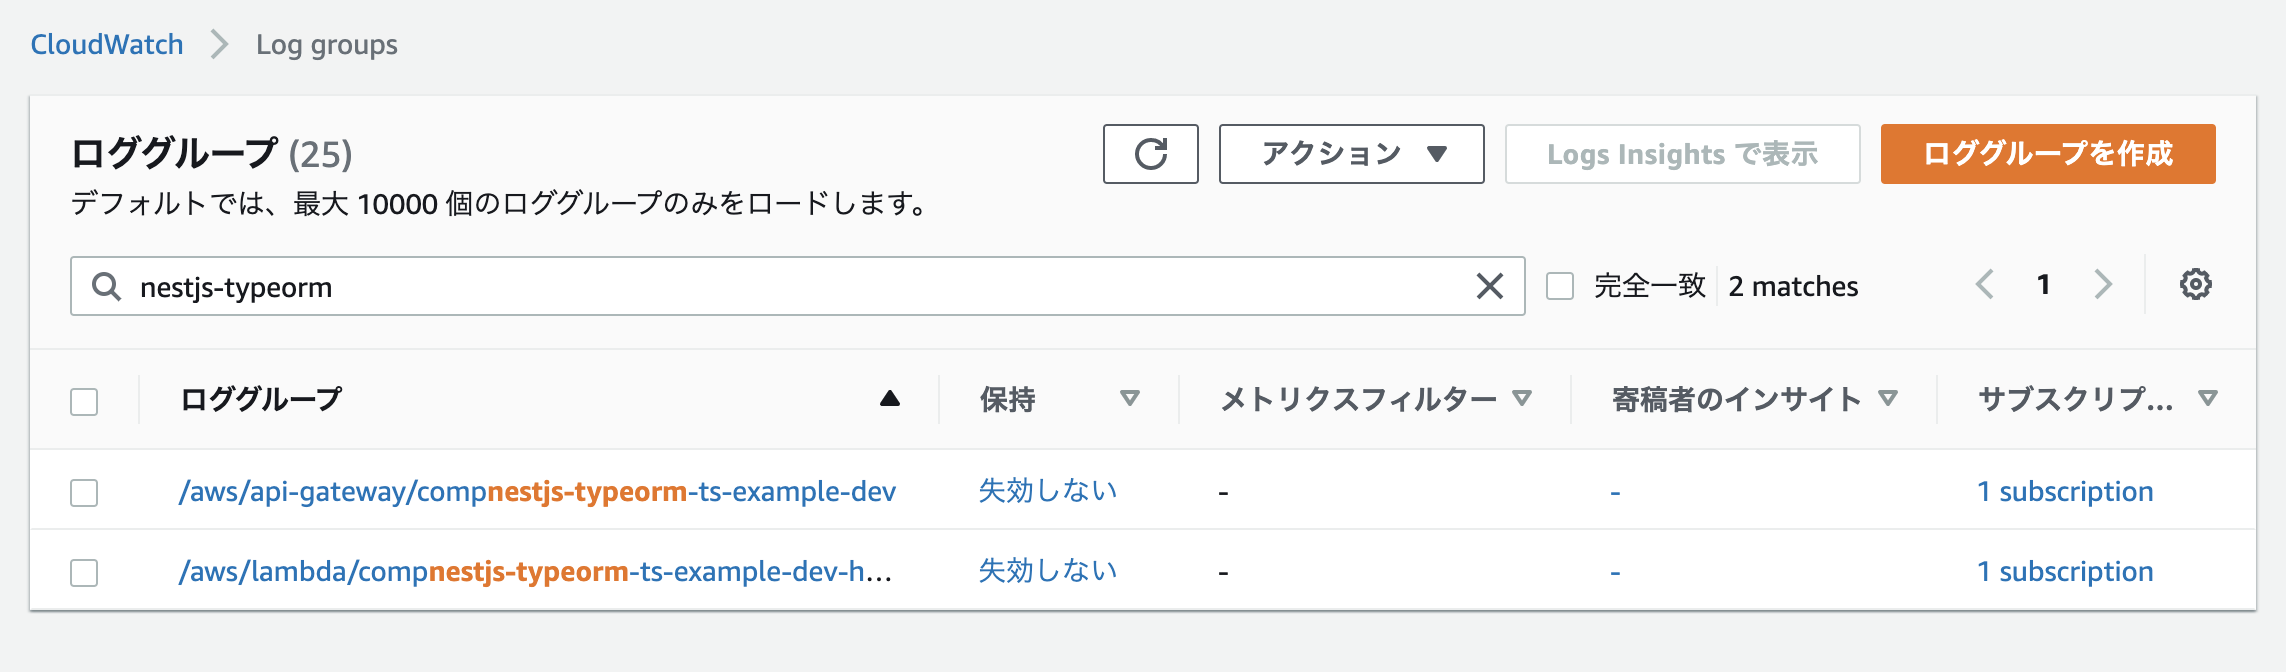
AWSのCloudWatchからLog groupsを開くと2つのロググループが作られています。どうやらAPI GatewayのログとLambda関数のログのようです。
API Gateway のログはサーバーエラーが起きたということぐらいしか情報がありません。
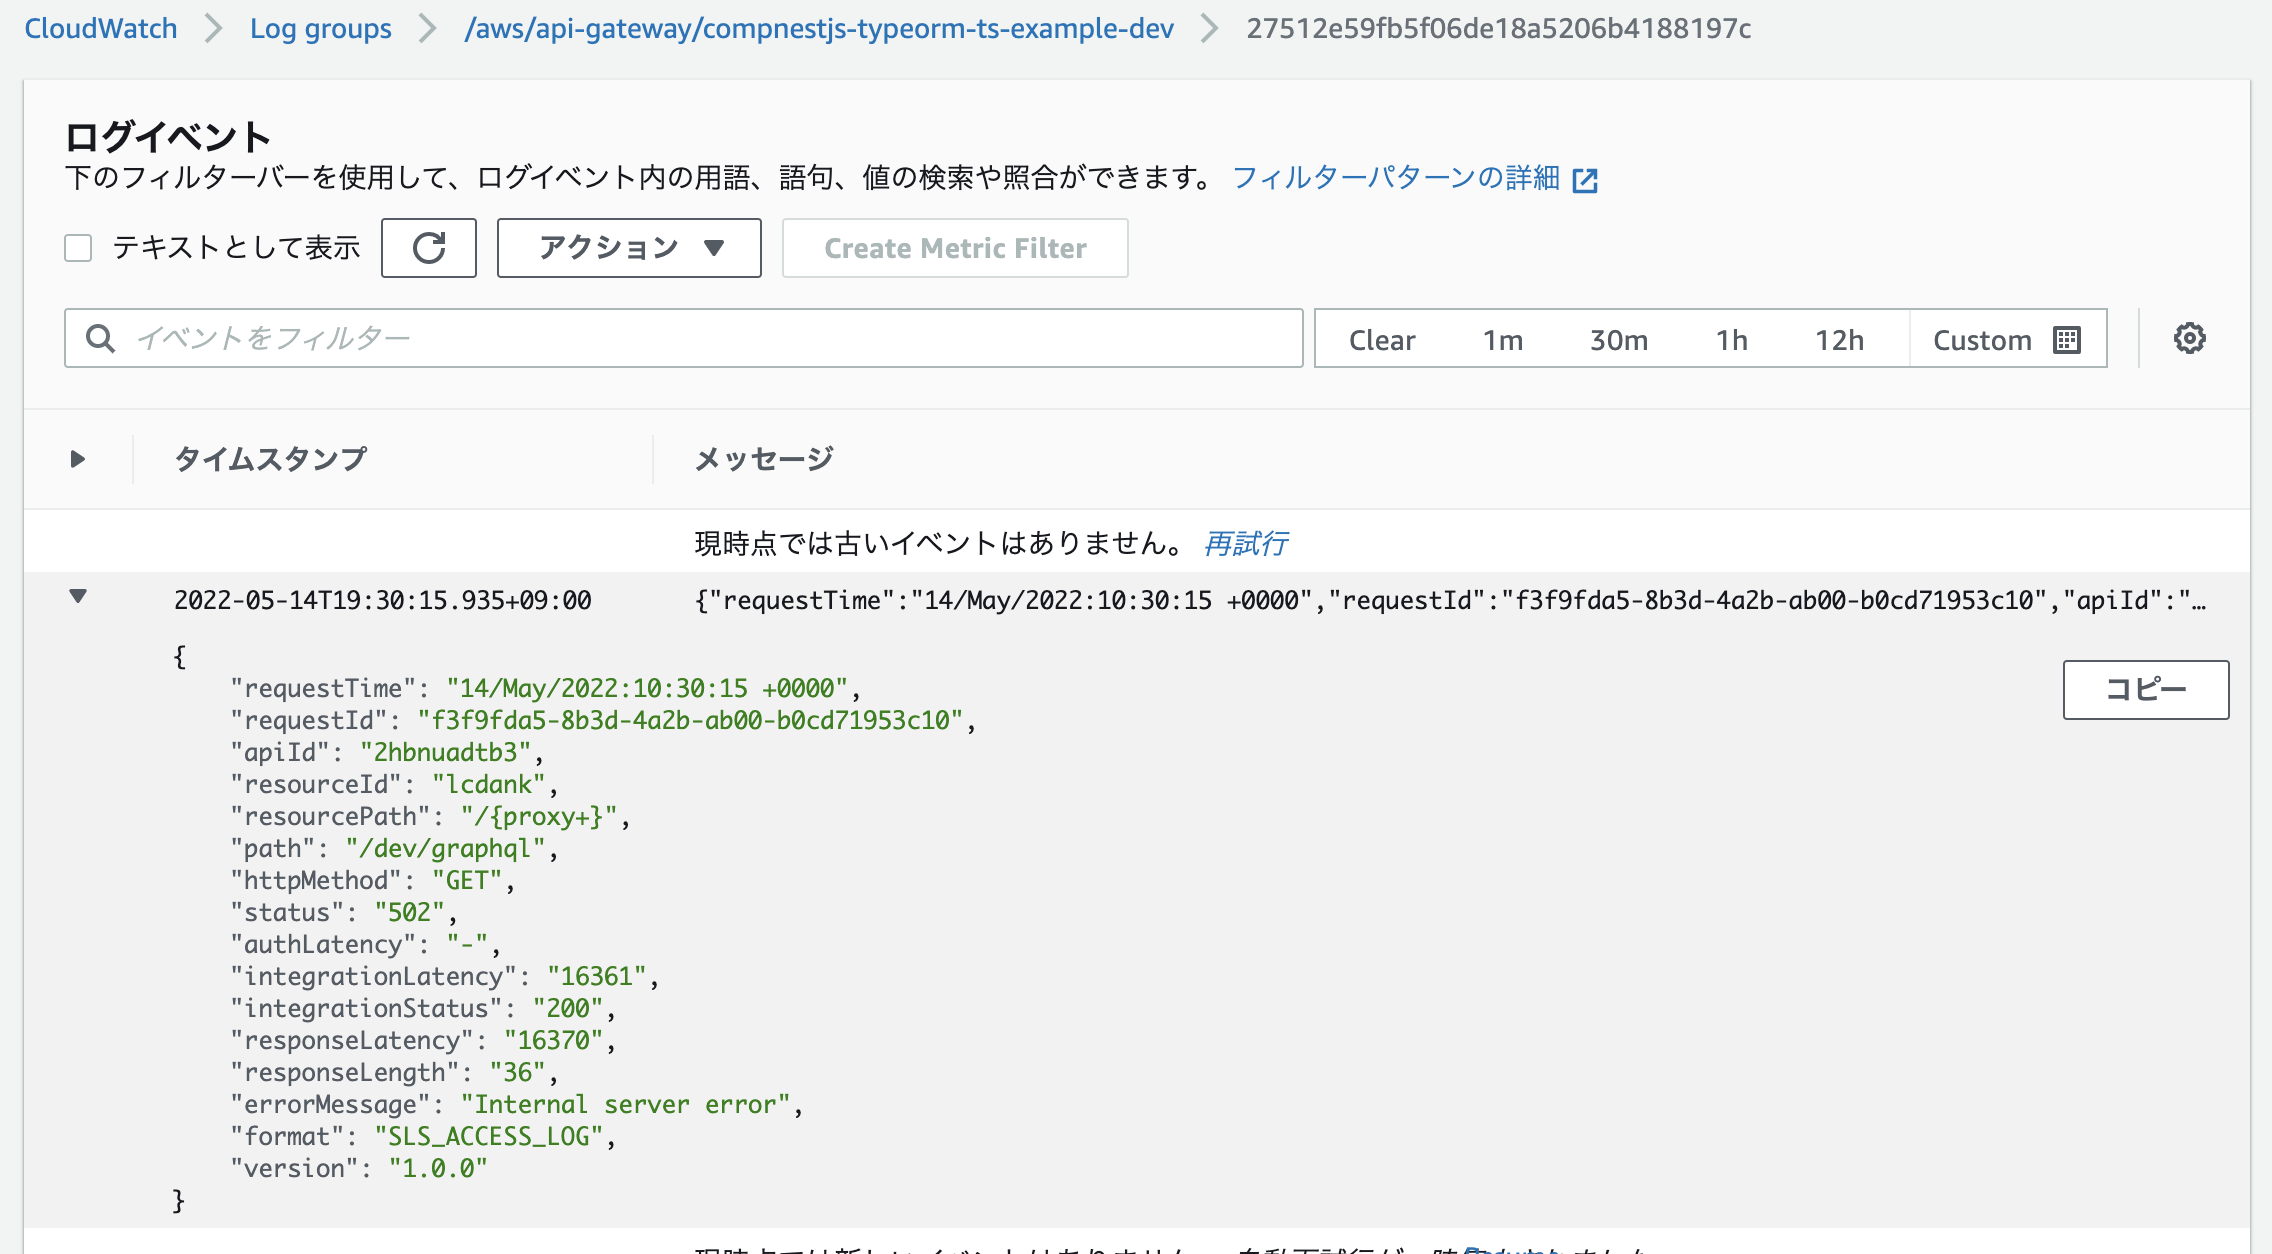
Labmdaのログを見てみます。
TypeOrmの接続エラーが出ています。データベースへの接続に失敗していることがわかりますが、Nest.jsのハンドラは正常に実行されていることが確認できます。
RDSとかVPCとかIAMとかもろもろ
RDSやVPC等必要なリソースを serverless.ymlに追記します。ここでは構成の説明は省きます。RDS Proxyは使わずに直接接続します。
org: shinobushiva
app: myapp
service: nestjs-typeorm-ts-example
frameworkVersion: '3'

provider:
  name: aws
  runtime: nodejs14.x
  region: ap-northeast-1
  stage: dev
  iamRoleStatements:
    - Effect: Allow
      Action:
        - rds-data:*
        - ec2:CreateNetworkInterface
        - ec2:DescribeNetworkInterfaces
        - ec2:DeleteNetworkInterface
      Resource: "*"
  vpc:
    securityGroupIds:
      - Ref: LambdaSecurityGroup
    subnetIds:
      - Ref: PrivateSubnetB
      - Ref: PrivateSubnetC
  environment:
    DB_HOST:
      Fn::GetAtt: [DBInstance, Endpoint.Address]
    DB_PORT: ${env:DB_PORT}
    DB_USERNAME: ${env:DB_USERNAME}
    DB_PASSWORD: ${env:DB_PASSWORD}
    DB_DATABASE: ${env:DB_DATABASE}

resources:
  Resources:
    ## VPC Resource
    VPC:
      Type: AWS::EC2::VPC
      Properties:
        CidrBlock: 10.0.0.0/24
        Tags:
          - { Key: Name, Value: nestjs-typeorm-ts-example VPC }
    PrivateSubnetB:
      Type: AWS::EC2::Subnet
      Properties:
        VpcId: !Ref VPC
        CidrBlock: 10.0.0.0/25
        AvailabilityZone: ap-northeast-1b
        Tags:
          - { Key: Name, Value: nestjs-typeorm-ts-example Private B }
    PrivateSubnetC:
      Type: AWS::EC2::Subnet
      Properties:
        VpcId: !Ref VPC
        CidrBlock: 10.0.0.128/25
        AvailabilityZone: ap-northeast-1c
        Tags:
          - { Key: Name, Value: nestjs-typeorm-ts-example Private C }
    LambdaSecurityGroup:
      Type: AWS::EC2::SecurityGroup
      Properties:
        GroupDescription: SecurityGroup for Lambda Functions
        VpcId: !Ref VPC
        Tags:
          - Key: "Name"
            Value: "LambdaSecurityGroup"
    RDSSecurityGroup:
      Type: AWS::EC2::SecurityGroup
      Properties:
        GroupDescription: SecurityGroup for RDS
        VpcId: !Ref VPC
        SecurityGroupIngress:
          - IpProtocol: tcp
            FromPort: ${env:DB_PORT}
            ToPort: ${env:DB_PORT}
            CidrIp: 10.0.0.0/24
        Tags:
          - Key: "Name"
            Value: "RDSSecurityGroup"
      DependsOn: VPC
    ## RDS Resource
    DBSubnetGroup:
      Type: AWS::RDS::DBSubnetGroup
      Properties:
        DBSubnetGroupDescription: "nestjs-typeorm-ts-example DB subnet group"
        DBSubnetGroupName: nestjs-typeorm-ts-example-db-subnet-group
        SubnetIds:
          - !Ref PrivateSubnetB
          - !Ref PrivateSubnetC
    DBInstance:
      Type: AWS::RDS::DBInstance
      DeletionPolicy: Snapshot
      Properties:
        AllocatedStorage: '5'
        DBInstanceClass: db.t3.micro
        DBParameterGroupName: !Ref DBParameterGroup
        DBSubnetGroupName: !Ref DBSubnetGroup
        Engine: MySQL
        EngineVersion: 8.0.23
        MasterUsername: ${env:DB_USERNAME}
        MasterUserPassword: ${env:DB_PASSWORD}
        StorageType: gp2
        VPCSecurityGroups:
          - !Ref RDSSecurityGroup
    DBParameterGroup:
      Type: AWS::RDS::DBParameterGroup
      Properties:
        Description: nestjs-typeorm-ts-example custom paramter group
        Family: MySQL8.0
        Parameters:
          character_set_database: utf8mb4
          character_set_client: utf8mb4
          character_set_connection: utf8mb4
          character_set_results: utf8mb4
          character_set_server: utf8mb4
functions:
  handler:
    handler: dist/handler.handler
    events:
      - http:
          cors: true
          path: "/"
          method: any
      - http:
          cors: true
          path: "{proxy+}"
          method: any
  createDatabase:
    handler: dist/handler.createDatabase
    events:
      - http:
          path: create-database
          method: get

plugins:
  - serverless-offline
データベース作成用関数の追加
データベースを作成するためのlambda関数を追加しました。上記のserverless.ymlには対象の部分を記載済みです。
ts:src/handler.ts に記述を追加します。
//...省略
import { createConnection } from 'mysql2';
//...省略

export const createDatabase: Handler = async (event: any) => {
  console.log('process env', process.env);
  const options = {
    host: process.env.DB_HOST,
    user: process.env.DB_USERNAME,
    password: process.env.DB_PASSWORD,
    port: parseInt(process.env.DB_PORT),
  };
  console.log(options);
  const con = createConnection(options);
  console.log('connection created');
  const res = await con
    .promise()
    .query(`CREATE DATABASE IF NOT EXISTS \`${process.env.DB_DATABASE}\``);
  console.log('res', res);

  return {
    statusCode: 200,
    body: JSON.stringify(
      {
        message: 'Cerate database success!',
        result: res,
        input: event,
      },
      null,
      2,
    ),
  };
};
ここまで修正したら sls deploy します。
https://[random_sequence].execute-api.ap-northeast-1.amazonaws.com/dev/create-database
エンドポイントにアクセスするとデータベースが作成されます。

GraphQL周りの設定修正
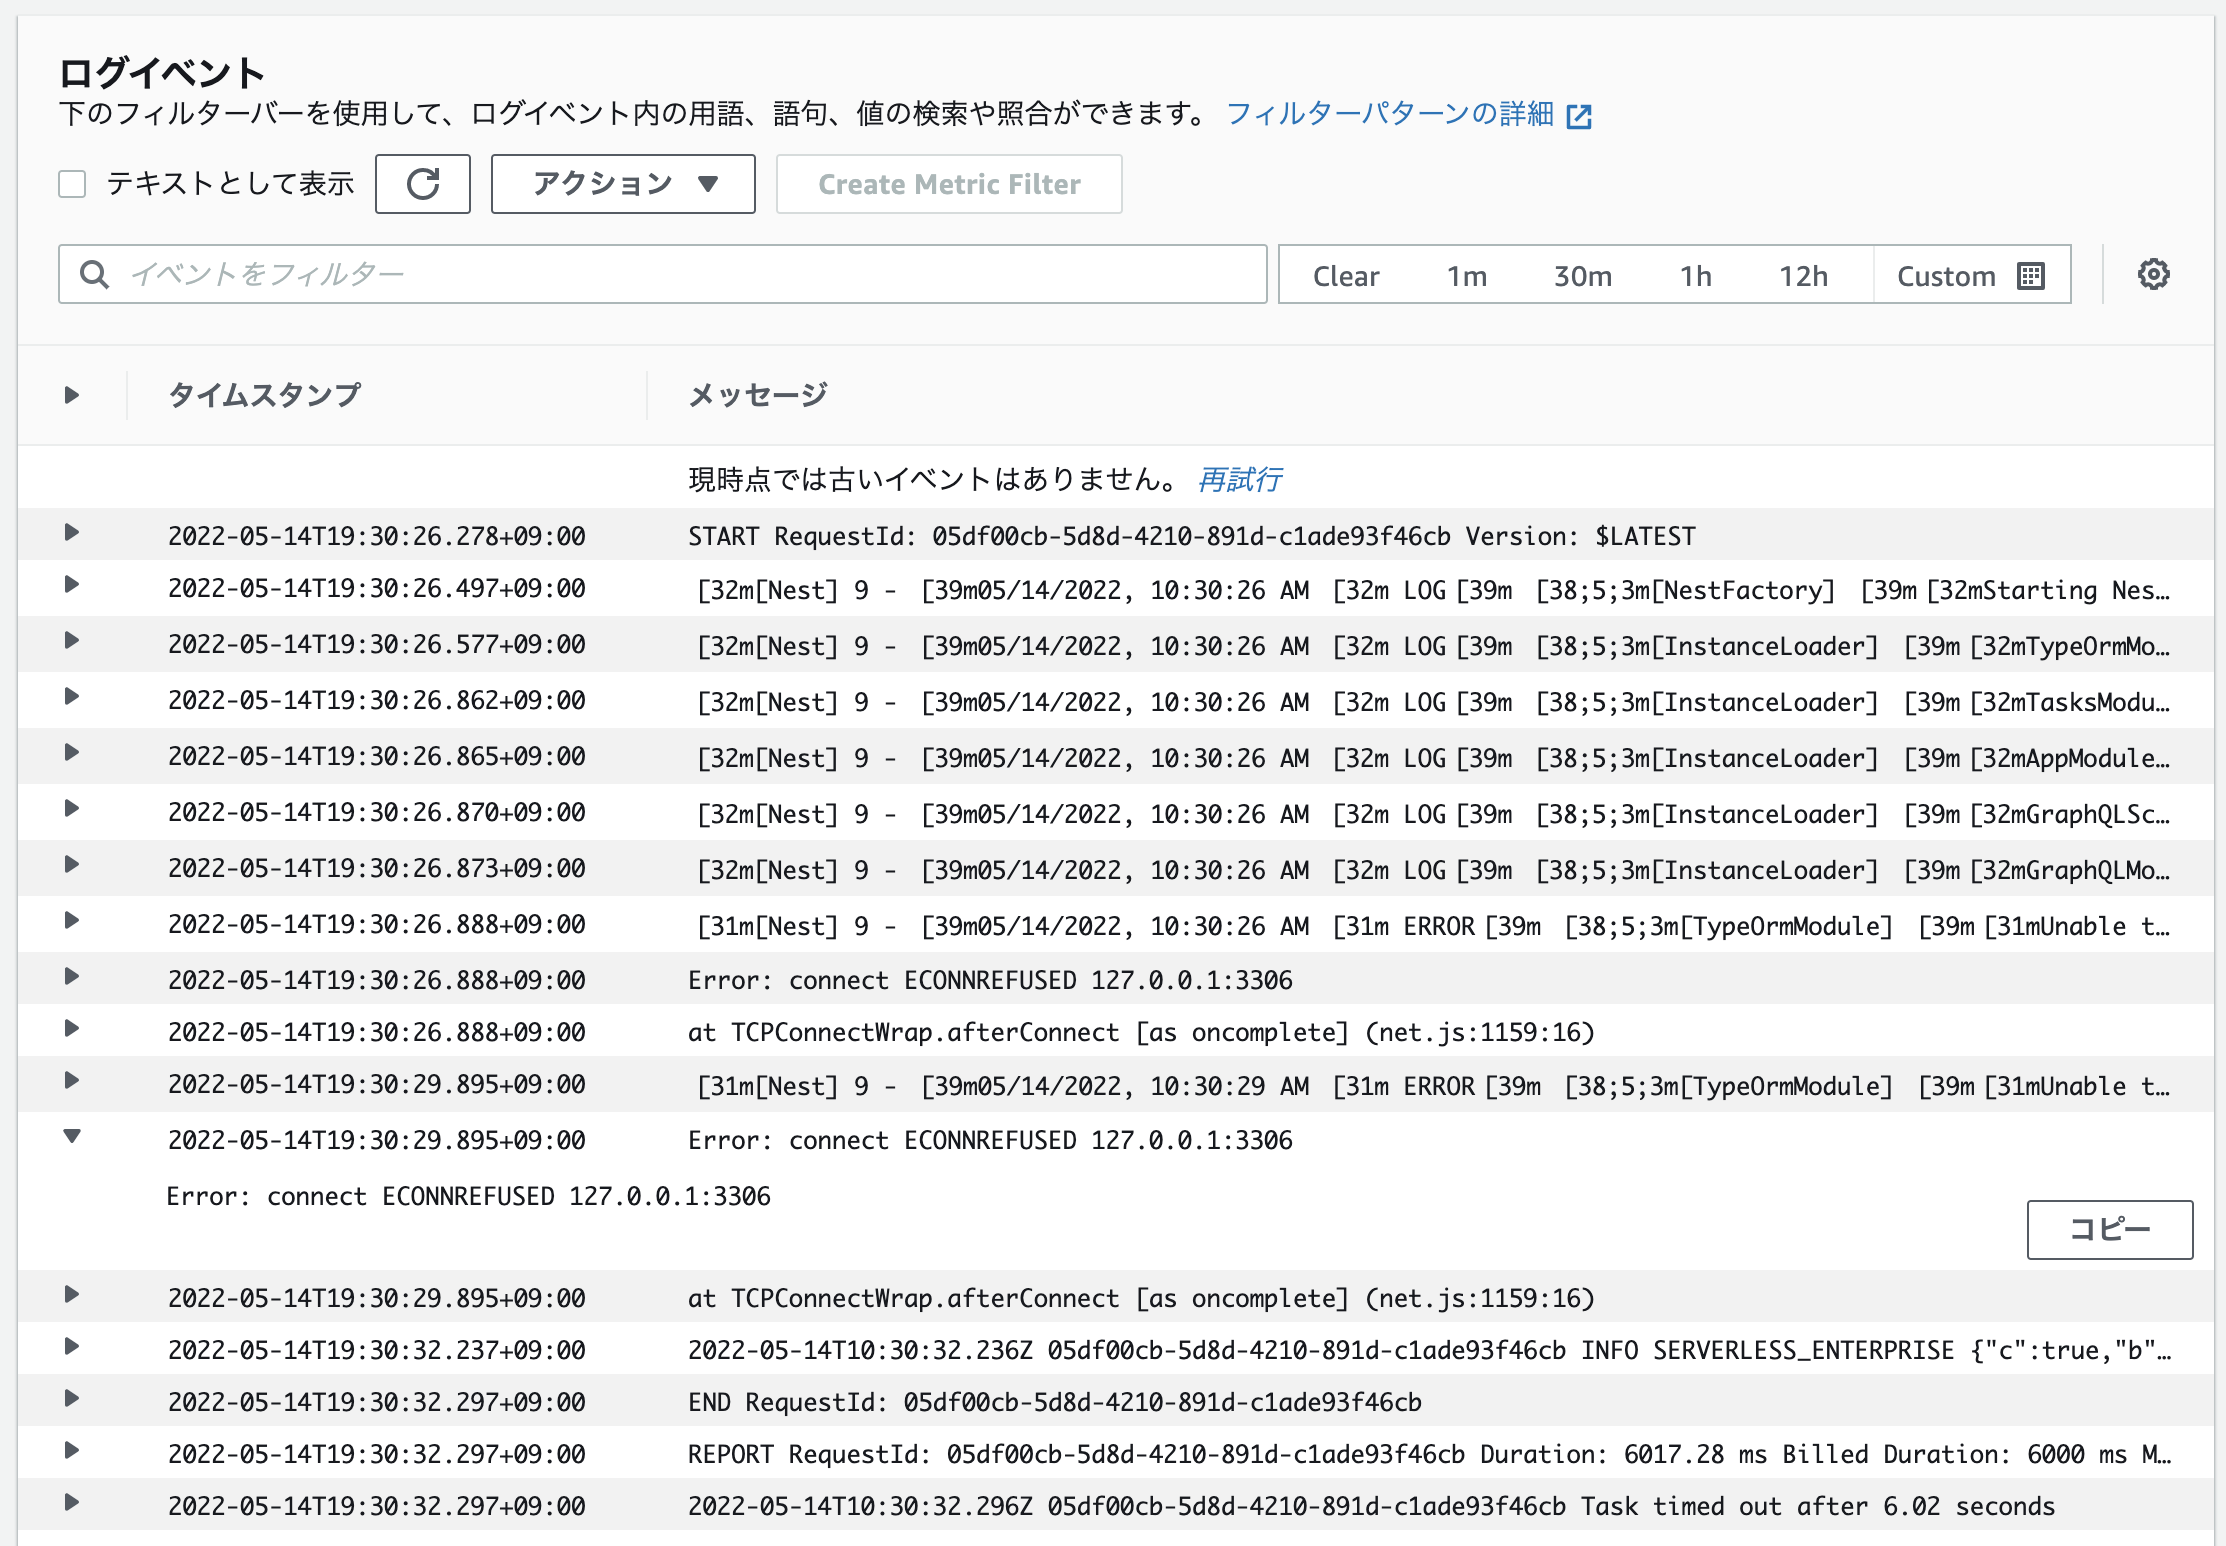
ここで GraphQL Playground を開こうとすると Internal server errorが発生し、次のようなエラーログが出されます。
これは自動生成されるスキーマファイルをファイルシステムに書き込もうとして権限がないために発生しているエラーのようです。
いくつか解決の方法はあると思いますが、実行時にメモリ上に生成する方法があるようなのでその設定を使います。
src/app.module.tsを次のように修正します
import { ApolloDriver, ApolloDriverConfig } from '@nestjs/apollo';
import { Module } from '@nestjs/common';
import { GraphQLModule } from '@nestjs/graphql';
import { AppController } from './app.controller';
import { AppService } from './app.service';
import { TypeOrmModule } from '@nestjs/typeorm';
import { TasksModule } from './tasks/tasks.module';
import { TypeOrmConfigService } from './config/database';

@Module({
  imports: [
    TypeOrmModule.forRootAsync({
      imports: [TasksModule],
      useClass: TypeOrmConfigService,
    }),
    GraphQLModule.forRoot<ApolloDriverConfig>({
      driver: ApolloDriver,
      autoSchemaFile: true, //ここを修正
      debug: true,
      playground: true,
    }),
    TasksModule,
  ],
  controllers: [AppController],
  providers: [AppService],
})
export class AppModule {}
上記をデプロイして/graphqlにアクセスすることでGraphQL Playgroundを開くことが出来ます。
https://[random_sequence].execute-api.ap-northeast-1.amazonaws.com/dev/graphql
マイグレーションできるようにする
上記のようなプラグインがあるようですが、ここではプラグインから抜粋して組み込みました。
src/lib/migration.ts を作ります。
import { createConnection, Connection, ConnectionOptions } from 'typeorm';

interface MigrationIndexSignature {
  [key: string]: any;
}

export default class Migration implements MigrationIndexSignature {
  private config: ConnectionOptions;
  private connection: Connection | null;
  [handlerName: string]: any;

  constructor(config: ConnectionOptions) {
    this.config = config;
    this.connection = null;
  }

  private async init() {
    try {
      this.connection = await createConnection(this.config);
    } catch (error) {
      throw error;
    }
  }

  async runMigration() {
    try {
      await this.init();
      const result = await this.connection?.runMigrations({
        transaction: 'none',
      });
      await this.connection?.close();
      return result;
    } catch (error) {
      throw error;
    }
  }

  async undoLastMigration() {
    try {
      await this.init();
      await this.connection?.undoLastMigration({
        transaction: 'none',
      });
      await this.connection?.close();
    } catch (error) {
      throw error;
    }
  }
}
src/database.ts を作ります。
import Migration from './lib/migration';
import { Context, Callback } from 'aws-lambda';
import ormconfig from './config/ormconfig';

const success = (response: any) => ({
  statusCode: 200,
  body: JSON.stringify(response),
});

const handler =
  (handlerName: string) =>
  async (event: any, context: Context, callback: Callback) => {
    context.callbackWaitsForEmptyEventLoop = false;

    const migration = new Migration(ormconfig);

    try {
      const response = await migration[handlerName]();
      callback(null, success(response));
    } catch (error) {
      callback(error);
    }
  };

const migrationUp = handler('runMigration');
const migrationDown = handler('undoLastMigration');

export { migrationUp, migrationDown };
serverless.ymlに追記します。
functions:
  # ...省略
  migrationUp:
    handler: dist/database.migrationUp
    events:
      - http:
          path: migration-up
          method: get
  migrationDown:
    handler: dist/database.migrationDown
    events:
      - http:
          path: migration-down
          method: get
これをデプロイすると /migration-upでマイグレーション実行、/migration-downでロールバックできるようになります。
まとめ
AWSのApiGateway, Lambda上で動く Nest.js+TypeORMでGraphQLできる環境をデプロイすることが出来ました。
RDSやVPCなどの設定はCloud Formationでゴリゴリ書いた感じになっていますが、私のインフラ力ではこれが限界でした。
ただ、このままの構成でアプリケーションコードを書いていくとLambdaの250MB制限に引っかかってしまいそうな気がするのでDockerでデプロイできるようにしようかなと思っています。
参考