はじめに
利用環境
- Windows10
- Docker For Windows
- Windows PowerShell
本記事で書くこと
- DockerHubのHOW TOに沿ってNginxのイメージからコンテナを作成する
本記事で書かないこと
- Docker For Windowsのインストール方法(別の記事を参照)
DockerHubのサイトへアクセス
こちら(https://hub.docker.com/_/nginx)からDockerHubの公式サイトへアクセス
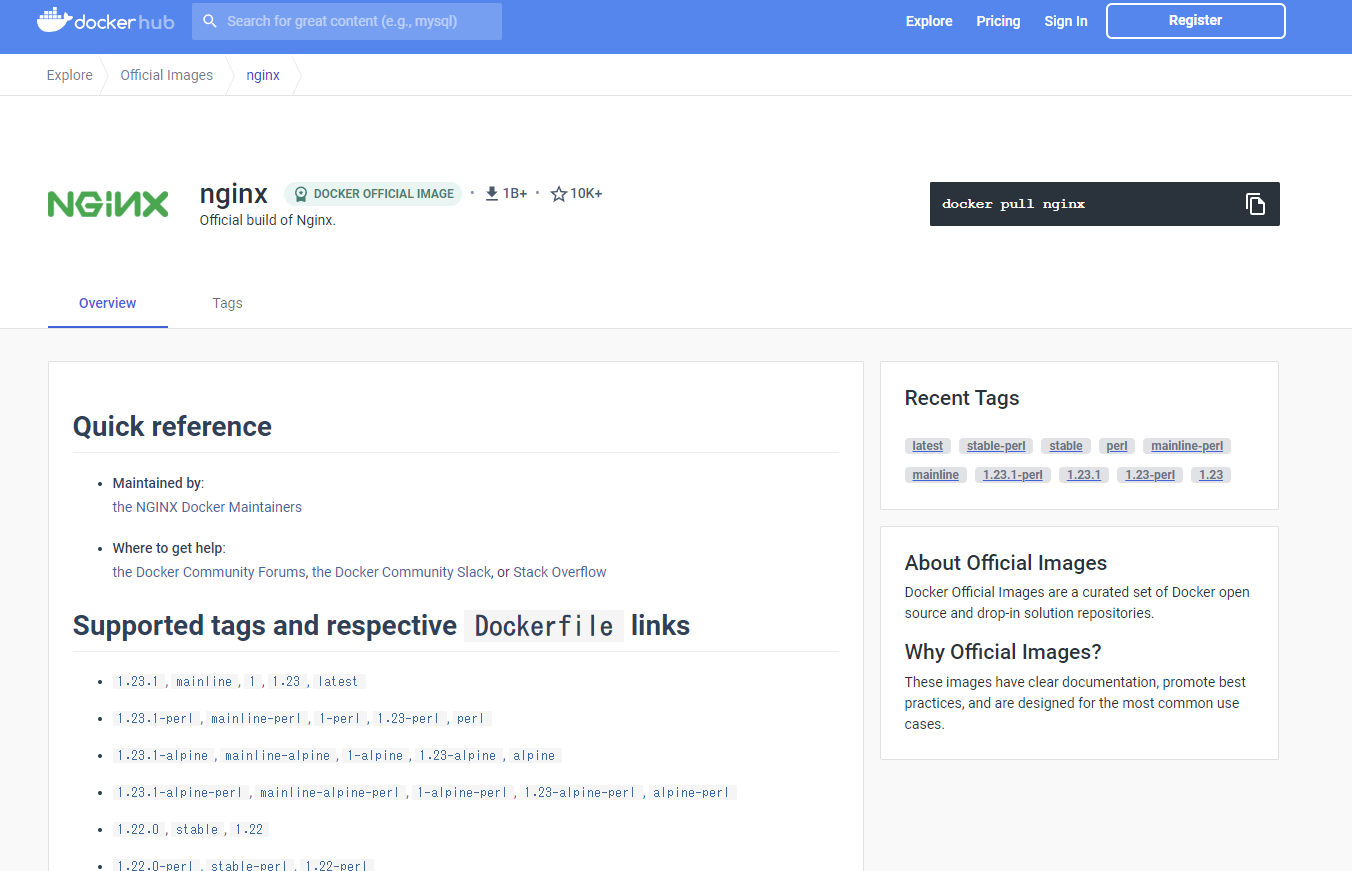
How To の要約
- What is nginx?(nginxとは何か)
- How to use this image(イメージファイルの使用方法)
- Hosting some simple static content(シンプルな静的コンテンツを利用したコンテナ生成)
- DockerFileを使用しない方法
- DockerFileを使用する方法
- Exposing external port(ポートを指定する方法)
- Complex configuration(複雑な構成でのコンテナ生成)
- Using environment variables in nginx configuration (new in 1.19)
- Running nginx in read-only mode
- Running nginx in debug mode
- Entrypoint quiet logs
- User and group id
- Running nginx as a non-root user
- Image Variants
- Hosting some simple static content(シンプルな静的コンテンツを利用したコンテナ生成)
1. What is nginx?(nginxとは何か)
Nginx (「engine-x」と発音) は、HTTP、HTTPS、SMTP、POP3、および IMAP プロトコル用のオープン ソースのリバース プロキシ サーバーであり、ロード バランサー、HTTP キャッシュ、および Web サーバー (オリジン サーバー) も備えています。nginx プロジェクトは、高い同時実行性、高いパフォーマンス、および低いメモリ使用量に重点を置いて開始されました。これは 2 条項の BSD ライク ライセンスに基づいてライセンスされており、Linux、BSD バリアント、Mac OS X、Solaris、AIX、HP-UX、およびその他の *nix フレーバーで動作します。また、Microsoft Windows の概念実証ポートもあります。
2. How to use this image(イメージファイルの使用方法)
2-1. Hosting some simple static content(シンプルな静的コンテンツを利用したコンテナ生成)
2-1-1. DockerFileを使用しない方法
PowerShellにてコマンドを実行します。
$ docker run --name some-nginx -v /some/content:/usr/share/nginx/html:ro -d nginx
[結果]
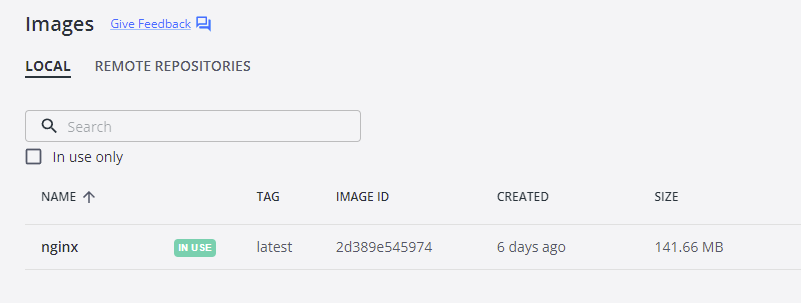
Unable to find image 'nginx:latest' locally
latest: Pulling from library/nginx
31b3f1ad4ce1: Pull complete
fd42b079d0f8: Pull complete
30585fbbebc6: Pull complete
18f4ffdd25f4: Pull complete
9dc932c8fba2: Pull complete
600c24b8ba39: Pull complete
Digest: sha256:0b970xxxxxxxxxxxxxxxxxxxxxxxxxxx63516b188318682bxxxxxxxxxxx591189ff1
Status: Downloaded newer image for nginx:latest
8dad6526dd42a5738xxxxxxxxxxxxxxxxxxxxxxxxxxxx187f76b2f4dad61bc6944478
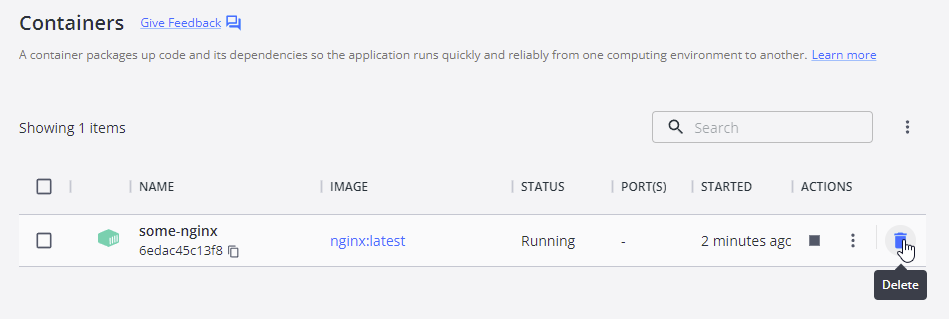
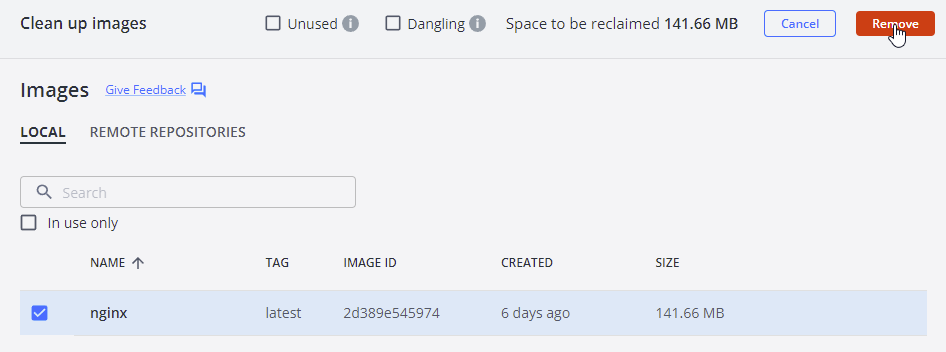
次に、Dockerfileを使用したコンテナ作成方法を試しますので、作成したコンテナとイメージは一度削除します。
2-1-2. DockerFileを使用する方法
Cドライブ直下に任意のフォルダ(今回はdockerとしました)を作成して
下記のディレクトリ構成でフォルダを作成します。
C:docker
└─static-html-directory
さらに、「Dockerfile」というファイル名(拡張子は指定無し)でファイルを作成します
C:docker
├─Dockerfile
└─static-html-directory
ファイルの内容は公式ページの指定通りに編集します。
FROM nginx
COPY static-html-directory /usr/share/nginx/html
下記のコマンドを実行して、Dockerfileの内容をビルドします。
> cd C:\docker
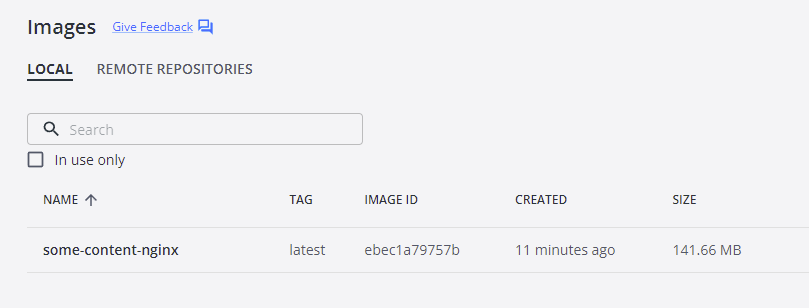
> docker build -t some-content-nginx .
[結果]
[+] Building 2.1s (8/8) FINISHED
 => [internal] load build definition from Dockerfile                                                               0.0s
 => => transferring dockerfile: 31B                                                                                0.0s
 => [internal] load .dockerignore                                                                                  0.0s
 => => transferring context: 2B                                                                                    0.0s
 => [internal] load metadata for docker.io/library/nginx:latest                                                    1.9s
 => [auth] library/nginx:pull token for registry-1.docker.io                                                       0.0s
 => [internal] load build context                                                                                  0.0s
 => => transferring context: 43B                                                                                   0.0s
 => [1/2] FROM docker.io/library/nginx@sha256:0b970013351304af46f322da1263516b188318682b2ab1091862497591189ff1     0.0s
 => CACHED [2/2] COPY static-html-directory /usr/share/nginx/html                                                  0.0s
 => exporting to image                                                                                             0.0s
 => => exporting layers                                                                                            0.0s
 => => writing image sha256:ebec1a79757b1279add2b67063626d1d88b3a6f5fbafa3b08ec63f0624afbb45                       0.0s
 => => naming to docker.io/library/some-content-nginx                                                              0.0s

Use 'docker scan' to run Snyk tests against images to find vulnerabilities and learn how to fix them
追加されたイメージを使用して、コンテナを作成します。
> docker run --name some-nginx -d some-content-nginx
次に、ポートを指定したコンテナ作成方法を試しますので、作成したコンテナは一度削除します。
2-2. Exposing external port(ポートを指定する方法)
> docker run --name some-nginx -d -p 8080:80 some-content-nginx
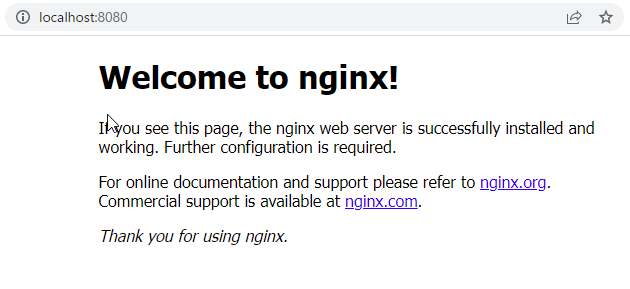
ポート8080でコンテナが作成されたので、「localhost:8080」にアクセスしてみます。
ポート指定が問題ないことが確認できました。
次に、別のコンテナ作成方法を試しますので、作成したコンテナとイメージは一度削除します。
2-3. Complex configuration(複雑な構成でのコンテナ生成)
設定ファイルをカスタマイズしてコンテナを生成する方法です。
まずは、設定ファイルをデフォルトのnginxからコピーして取得します。
下記のコマンドで、nginxのコンテナを作成して、設定ファイルをコピーします。
※設定ファイルは「C:\docker」に配置します。このディレクトリは任意です。
> docker run --name tmp-nginx-container -d nginx
> docker cp tmp-nginx-container:/etc/nginx/nginx.conf C:\docker/nginx.conf
> docker rm -f tmp-nginx-container
設定ファイルが作成できました。(今回はデフォルトのまま使用します。)
user  nginx;
worker_processes  auto;

error_log  /var/log/nginx/error.log notice;
pid        /var/run/nginx.pid;


events {
    worker_connections  1024;
}


http {
    include       /etc/nginx/mime.types;
    default_type  application/octet-stream;

    log_format  main  '$remote_addr - $remote_user [$time_local] "$request" '
                      '$status $body_bytes_sent "$http_referer" '
                      '"$http_user_agent" "$http_x_forwarded_for"';

    access_log  /var/log/nginx/access.log  main;

    sendfile        on;
    #tcp_nopush     on;

    keepalive_timeout  65;

    #gzip  on;

    include /etc/nginx/conf.d/*.conf;
}
作成した設定ファイルを利用して、コンテナを作成します。
> docker run --name my-custom-nginx-container -v C:\docker/nginx.conf:/etc/nginx/nginx.conf:ro -d nginx
