Flutterアプリを作成するにあたって必要なレイアウトWidgetについて紹介。
レイアウトWidgetで主要になるのは以下のものになる
- Row
- Column
- Center
- Container
Row
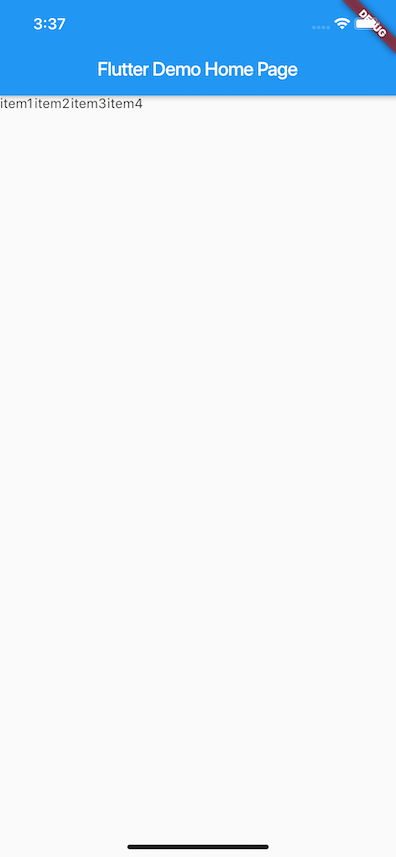
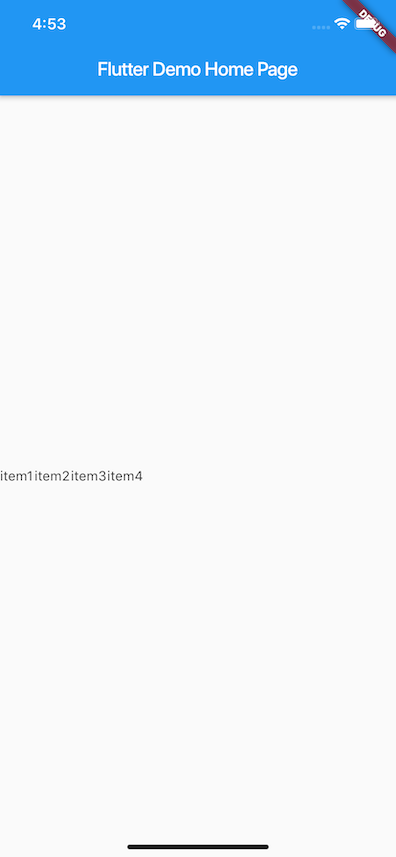
Rowは子要素を横に並べたい場合に使用するWidget
子要素はchildrenに複数のWidgetをArrayとして定義できる。
Widget build(BuildContext context) {
    return Scaffold(
      appBar: AppBar(
        title: Text(widget.title),
      ),
      body: Row(
        children: <Widget>[
          Text("item1"),
          Text("item2"),
          Text("item3"),
          Text("item4"),
        ],
      ),
    );
}
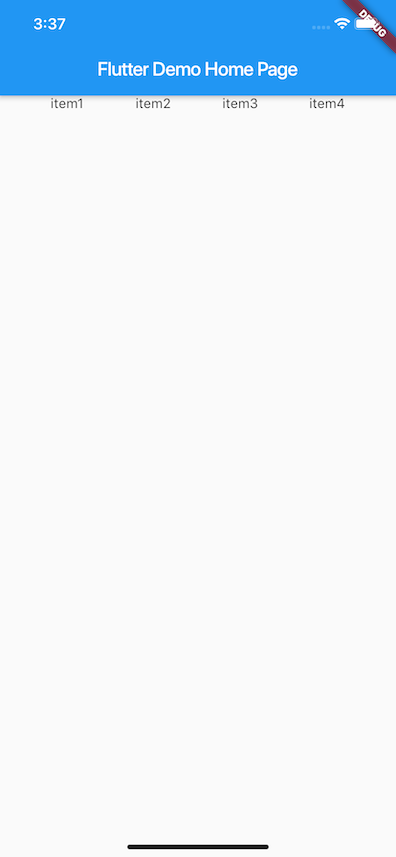
子要素の配置についてmainAxisAlignmentを指定することで制御することができる。
Row(
  mainAxisAlignment: MainAxisAlignment.spaceEvenly,
  children: <Widget>[
    Text("item1"),
    Text("item2"),
    Text("item3"),
    Text("item4"),
  ],
),
mainAxisAlignmentは横の幅に対する設定であるが、縦の位置を設定するcrossAxisAlignmentがあるが、Containerで解説する。
Column
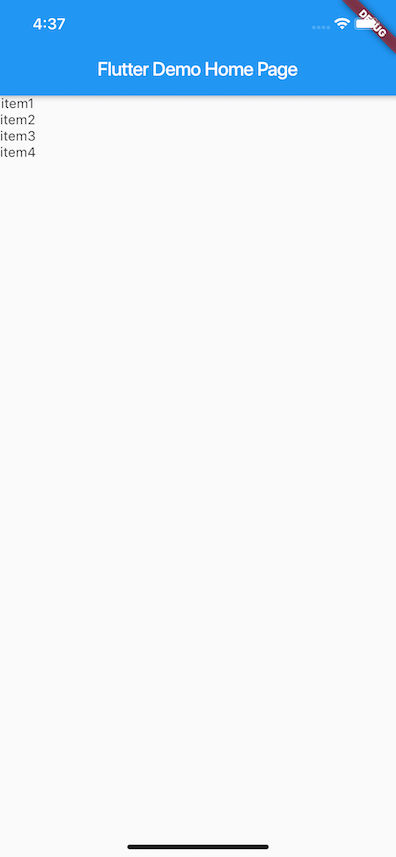
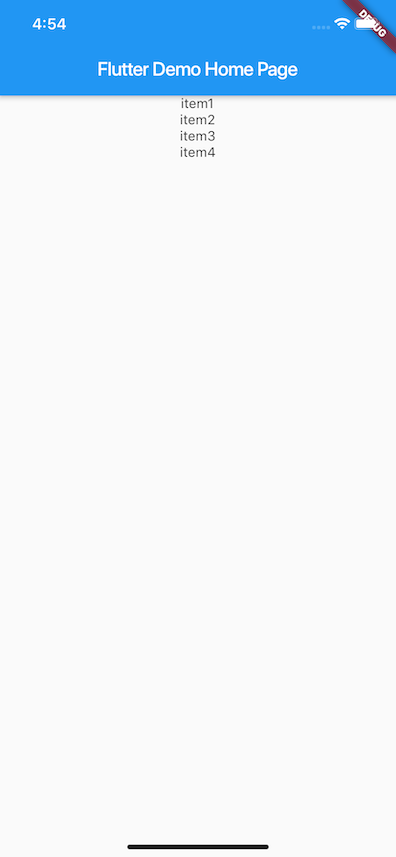
Columnは子要素を縦に並べたい場合に使用するWidget
Row同様子要素はchildrenに複数のWidgetをArrayとして定義できる。
Widget build(BuildContext context) {
    return Scaffold(
      appBar: AppBar(
        title: Text(widget.title),
      ),
      body: Column(
        children: <Widget>[
          Text("item1"),
          Text("item2"),
          Text("item3"),
          Text("item4"),
        ],
      ),
    );
}
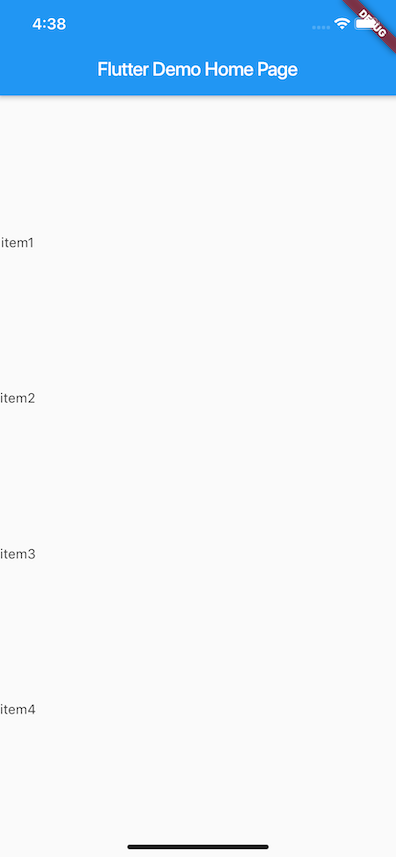
Row同様子要素の配置についてmainAxisAlignmentを指定することで制御することができる。
Column(
  mainAxisAlignment: MainAxisAlignment.spaceEvenly,
  children: <Widget>[
    Text("item1"),
    Text("item2"),
    Text("item3"),
    Text("item4"),
  ],
),
ColumnにもcrossAxisAlignmentがある。
ColumnではRowと逆で横の位置を設定できる。
Center
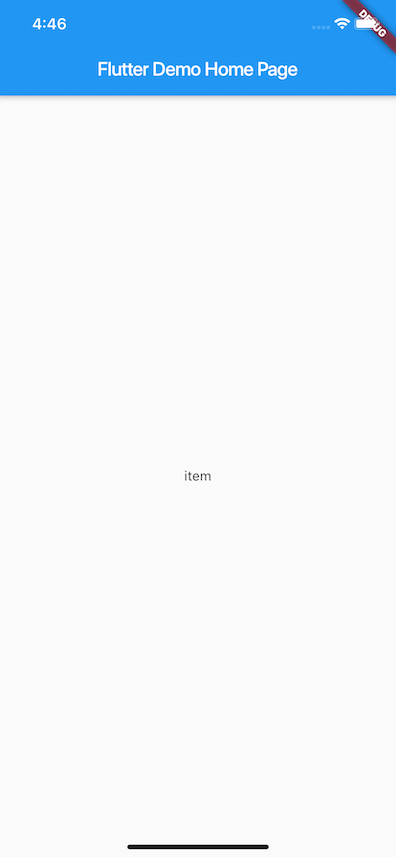
Center Widgetは名の通り子要素の横または縦を真ん中に位置させる為のWidget
@override
  Widget build(BuildContext context) {
    return Scaffold(
      appBar: AppBar(
        title: Text(widget.title),
      ),
      body: Center(
        child: Text('item'),
      ),
    );
  }
ただし、子要素がRowなら縦に対しては真ん中だが横は寄っていたり、Columnなら横に対しては真ん中だが縦が上に寄っていたりするのでmainAxisAlignmentを指定して調整が必要。
Container
Containerは子のサイズやpadding,marginなどの設定ができる。
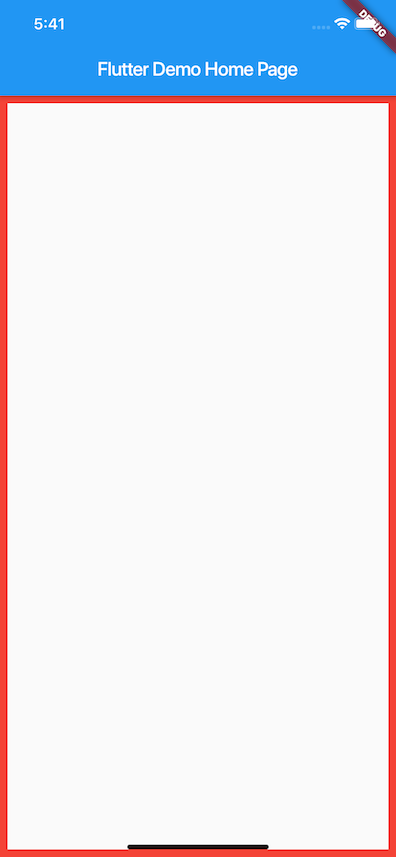
わかりやすくするためにContainerの枠に色をつける
  Widget build(BuildContext context) {
    return Scaffold(
      appBar: AppBar(
        title: Text(widget.title),
      ),
      body: Container(
        decoration: BoxDecoration(border: Border.all(
            color: Colors.red,
            width: 8.0,
          ),
        ),
      ),
    );
  }
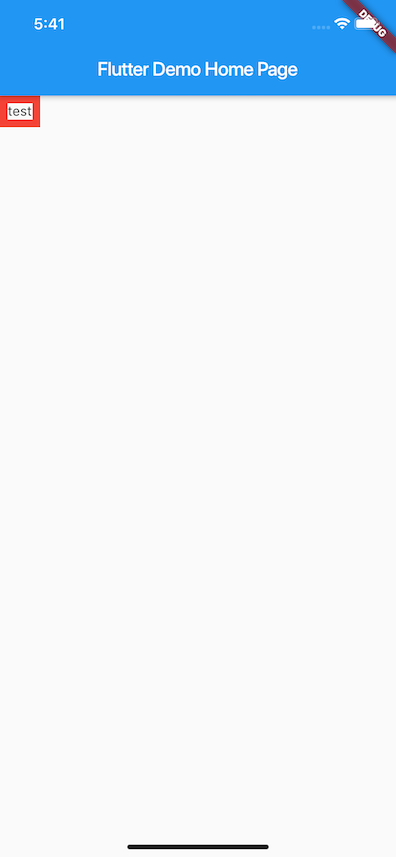
Containerはサイズを指定しなければ子要素のサイズに依存する
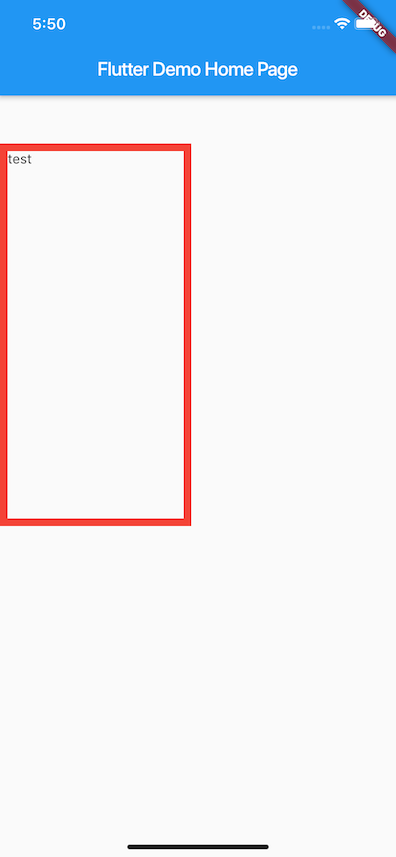
widthとheightを指定するとこのようになる
Container(
  width: 200.0,
  height: 400.0,
  decoration: BoxDecoration(border: Border.all(
      color: Colors.red,
      width: 8.0,
    ),
  ),
  child: Text('test'),
),
margin,paddingを設定してみる
marginとpaddingを指定するときはEdgeInsetsというWidgetを使用する。
EdgeInsets.allで全方向一定の指定、EdgeInsets.onlyで指定した方向に設定できる。
topにmarginを50.0、leftにpaddingを50.0で指定してみる。
Container(
  width: 200.0,
  height: 400.0,
  padding: EdgeInsets.only(left: 50.0),
  margin: EdgeInsets.only(top:50.0),
  decoration: BoxDecoration(border: Border.all(
      color: Colors.red,
      width: 8.0,
    ),
  ),
  child: Text('test'),
),
このようにmargin,paddingはEdgeinsertsを使用して指定できる。
次にContainerの子要素にColumn,Rowを使ってみる。
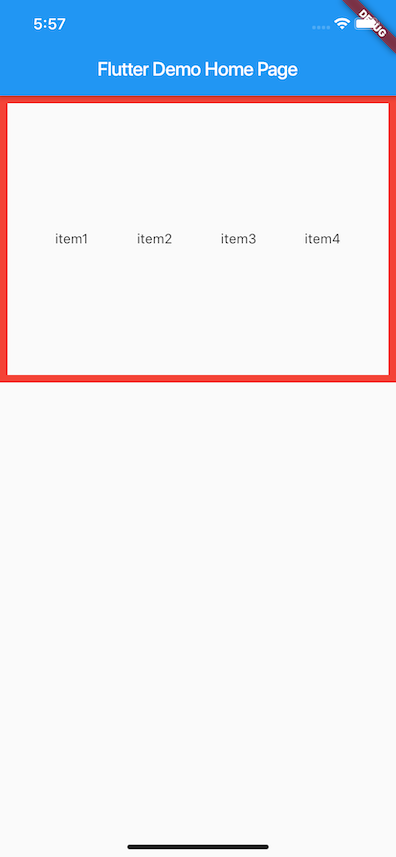
Containerの子要素にRowを指定、中心に等間隔で並べてみる。
Container(
  height: 300.0,
  decoration: BoxDecoration(border: Border.all(
      color: Colors.red,
      width: 8.0,
    ),
  ),
  child: Row(
    mainAxisAlignment: MainAxisAlignment.spaceEvenly,
    children: <Widget>[
      Text('item1'),
      Text('item2'),
      Text('item3'),
      Text('item4')
    ],
  ),
),
このとき、高さはContainer内の中心に位置しているが、上部や下部に表示したい場合もある。
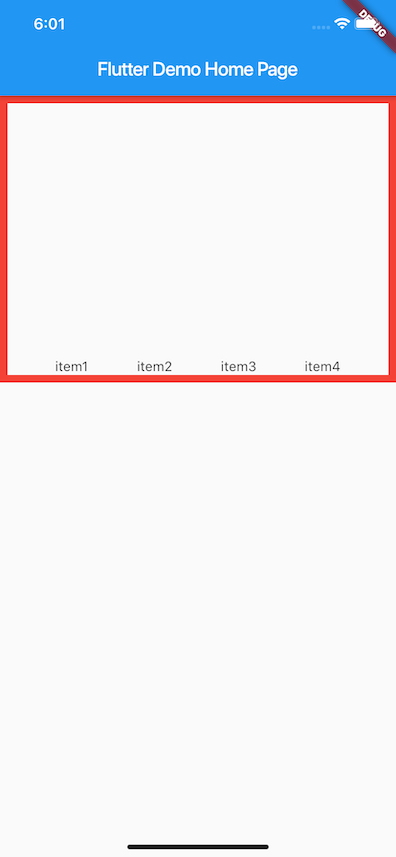
ここでcrossAxisAlignmentを設定すると上下にも位置を調節できる。
Container(
  height: 300.0,
  decoration: BoxDecoration(border: Border.all(
      color: Colors.red,
      width: 8.0,
    ),
  ),
  child: Row(
    crossAxisAlignment: CrossAxisAlignment.end,
    mainAxisAlignment: MainAxisAlignment.spaceEvenly,
    children: <Widget>[
      Text('item1'),
      Text('item2'),
      Text('item3'),
      Text('item4')
    ],
  ),
),
まとめ
今回紹介した4つはFlutterではかなり使用頻度が高くなる。
特にContainerはサイズ指定やmargin,padding指定ができるため、親に指定することがかなり多くなる。
とりあえずサイズを変えたい、周りに余白が欲しいとなった時はとりあえずContainerを親に指定すればなんとかなる。
ただ、FlutterはWidgetの性質上ネストが深くなることが多いため、最小の組み合わせでレイアウトを組むことを意識したい。
