ゴール
ローカルマシンからGCP上のVMインスタンスにsshして
$ gcloud compute ssh kaggle-gpu-compute -- -L 8080:localhost:8080
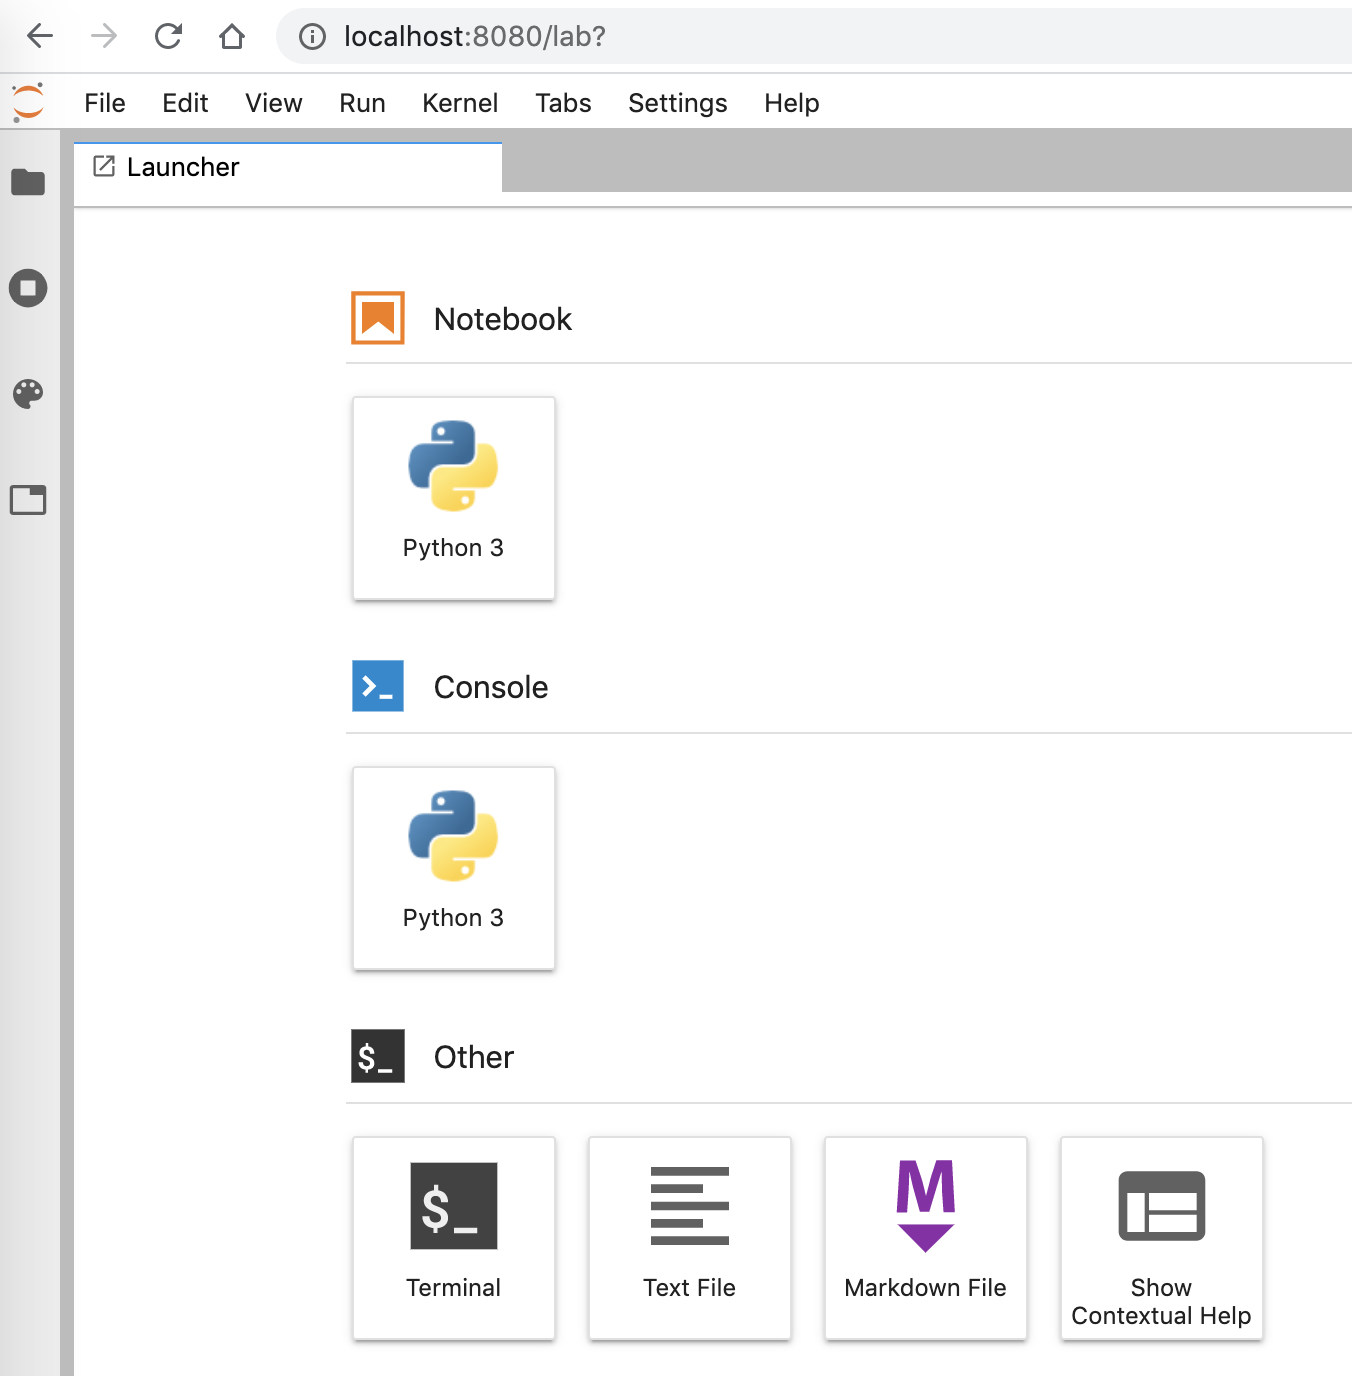
ブラウザからJupyterLabに接続できること

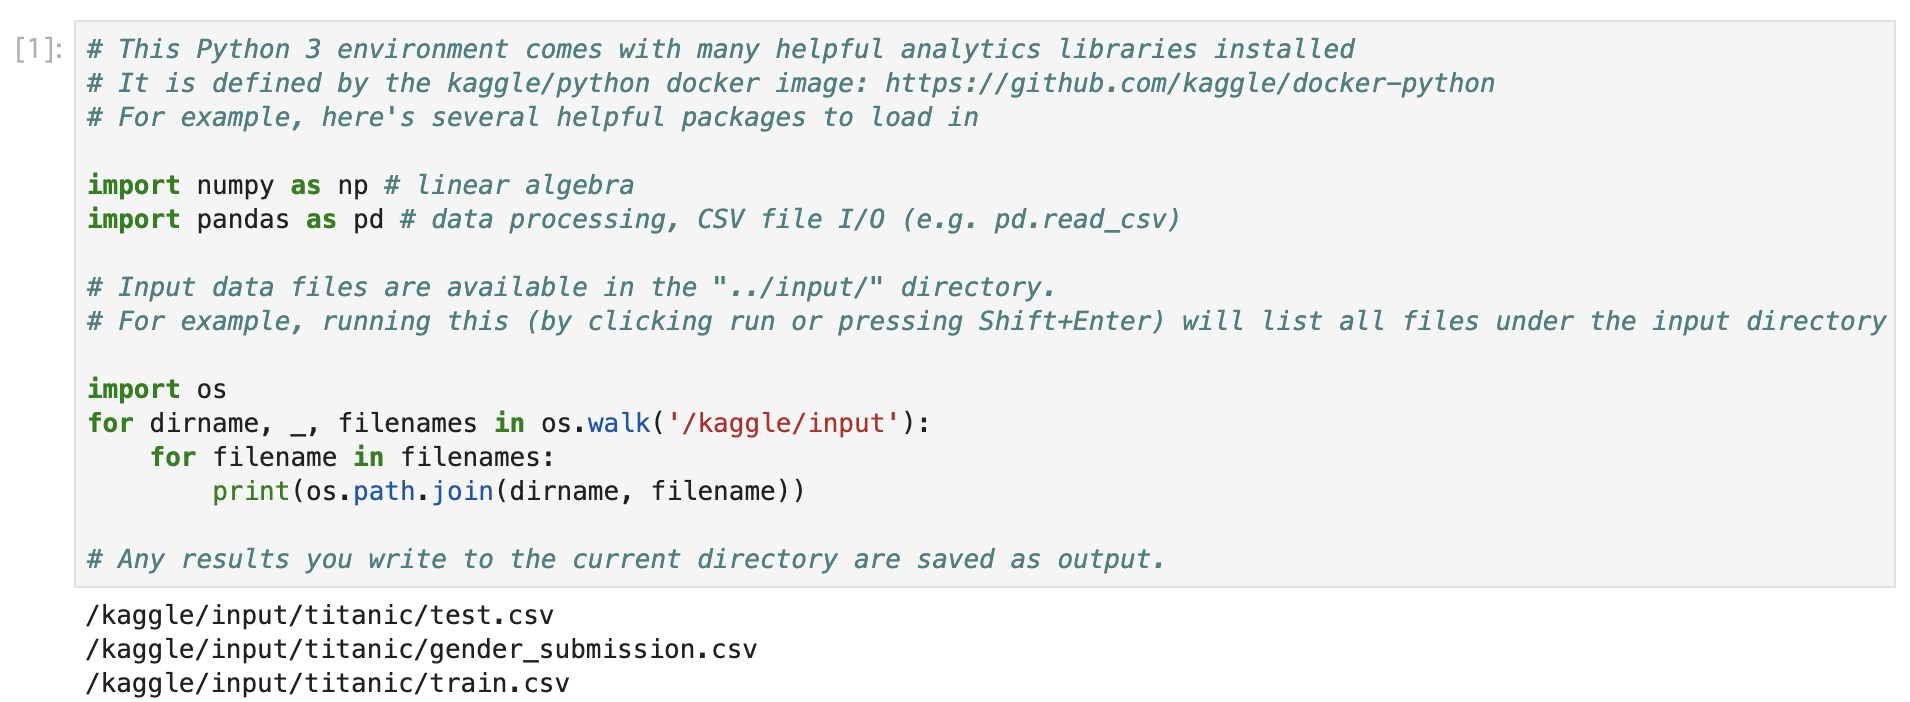
更に、データセットをKaggleのノートブックと同じPATHで読み込めること。

前提
- GPUの割り当て申請が完了していること
- gcloudのインストール、認証が完了していること
- gcloudのデフォルトゾーンが設定されていること(筆者は以下の通りに設定しています)
$ gcloud config set compute/zone asia-northeast1-a
手順
VMインスタンスの作成、ログイン
以下のコマンドで一発で作成します。
OSはUbuntu 18.04、GPUはNVIDIA Tesla T4です。料金の節約のためpreemptibleで作成しています。
インスタンス名、machine-type等は適当なのでお好みに合わせて変更してして下さい。ストレージは、KaggleのDockerイメージが30GB近くあるので、コンペのデータをダウンロードすることなどを考えると100GB程度はあったほうが安心です。
$ gcloud compute instances create kaggle-gpu-compute \
    --image-family=ubuntu-1804-lts \
    --image-project=gce-uefi-images \
    --boot-disk-size="100" \
    --machine-type=n1-standard-2 \
    --accelerator type=nvidia-tesla-t4,count=1 \
    --maintenance-policy="TERMINATE" \
    --no-restart-on-failure \
    --preemptible
作成できたら、以下のコマンドでsshします。
$ gcloud compute ssh kaggle-gpu-compute
必要なパッケージのインストール
まっさらなUbuntuインスタンスなので、必要なパッケージをゴリゴリ入れていく必要があります。
まずGPUに対応したDockerコンテナを動かすために、以下が必要となります。
- Docker
- NVIDIA Container Toolkit
更に、Kaggleのデータセットをダウンロード、解凍するために以下が必要になります。
- Kaggle API
- unzip
これらをまとめてインストールするスクリプトを以下に用意しました。Ubuntu 18.04ならコピペで動くはずです。
sudo apt -y install apt-transport-https ca-certificates curl gnupg-agent software-properties-common
curl -fsSL https://download.docker.com/linux/ubuntu/gpg | sudo apt-key add -
sudo add-apt-repository "deb [arch=amd64] https://download.docker.com/linux/ubuntu $(lsb_release -cs) stable"
sudo apt update
sudo apt -y install docker-ce docker-ce-cli containerd.io
sudo curl -L https://github.com/docker/compose/releases/download//1.25.1-rc1/docker-compose-`uname -s`-`uname -m` -o /usr/local/bin/docker-compose
sudo chmod +x /usr/local/bin/docker-compose
sudo add-apt-repository -y ppa:graphics-drivers/ppa
sudo apt update
sudo apt -y install ubuntu-drivers-common
sudo ubuntu-drivers autoinstall
curl -s -L https://nvidia.github.io/nvidia-docker/gpgkey | sudo apt-key add -
curl -s -L https://nvidia.github.io/nvidia-docker/$(. /etc/os-release;echo $ID$VERSION_ID)/nvidia-docker.list | sudo tee /etc/apt/sources.list.d/nvidia-docker.list
sudo apt update
sudo apt -y install nvidia-container-toolkit
sudo reboot
これをインスタンス上に保存して実行します。
$ sh set_up.sh
最後まで完了するとrebootされて接続が切れるので、再起動が完了する頃合いをみてもう1度sshしてください。
Kaggleの公式イメージをbuild
GPU版のDockerイメージはまだ公開されていないそうなので、手動でビルドする必要があります。
GPU: private for now, we will make it public soon.
といっても公式ドキュメントの手順通りに、リポジトリをcloneしてビルドするだけです(一時間半くらいかかりました)
$ git clone https://github.com/Kaggle/docker-python.git
$ cd docker-python
$ sudo ./build --gpu
完了すると以下の通りにkaggle/python-gpu-buildというイメージが出来上がっています。
$ sudo docker images
REPOSITORY                                   TAG
kaggle/python-gpu-build                      latest
kaggle/python-gpu-buildをベースにしたオリジナルのイメージを作成する
kaggle/python-gpu-buildをそのまま使用するのではなく、これをベースに新たなイメージを作成します。
まず、後々コンテナにマウントするためのディレクトリを作っておきます。
$ mkdir -p ~/kaggle/input/
ここで作成したinputディレクトリはKaggle APIを使ってダウンロードしたデータの置き場所です。
コンテナの外からここにデータを置いて、コンテナ内からアクセスできるようにします。
Dockerfileを書いて~/kaggle/配下に置きます。
FROM kaggle/python-gpu-build
ENV NVIDIA_VISIBLE_DEVICES all
ENV LD_LIBRARY_PATH=/usr/local/cuda/lib64
EXPOSE 8080
RUN mkdir -p /kaggle/working
WORKDIR /kaggle/working
CMD jupyter-lab --no-browser --port=8080 --ip=0.0.0.0 --allow-root --NotebookApp.token=''
設定する環境変数ですが、NVIDIA_VISIBLE_DEVICESはコンテナ内からどのGPUを認識できるかを指定する変数です。
LD_LIBRARY_PATHは以下の記事で解説されてる通り、CUDAのライブラリのPATHを通すために指定しています。
https://qiita.com/chrstphr_ml/items/c23b7ad2423c2c7b94f9#%E7%AB%8B%E3%81%A1%E4%B8%8A%E3%81%92
WORKDIRに/kaggle/workingを指定することによって、Kaggleのノートブックと同じディレクトリ構造で動作するようにしています。
CMDにはJuputerLabを起動するコマンドを指定しています。--NotebookApp.token=''をつけることにより、トークンなしで接続できます。
イメージをbuildしてコンテナを起動します。
$ cd ~/kaggle/
$ sudo docker build -t kaggle/jupyter .
$ sudo docker run -v `pwd`:/kaggle -p 8080:8080 -d --name kaggle --restart=always --gpus all kaggle/jupyter
--gpus allはNVIDIA Container Toolkitをインストールしたことにより使用可能なオプションです。GPUを使用するためには必須です。
--restart=alwaysを付けることにより、インスタンスが立ち上がると自動でコンテナが起動するようになります。
Kaggle APIが使えるようにする
kaggle.jsonをインスタンス~/.kaggle/に置く必要があるので適当なテキストエディタを使って配置します。
$ mkdir ~/.kaggle/
$ vim ~/.kaggle/kaggle.json # put your kaggle.json
$ chmod 600 ~/.kaggle/kaggle.json
$ kaggle --version
Kaggle API 1.5.6
試しにタイタニックコンペのデータセットをダウンロードしてzipを展開しておきましょう(タイタニックコンペに参加している前提)。
$ cd ~/kaggle/input/
$ kaggle competitions download -c titanic
$ unzip titanic.zip -d titanic
JupyterLabに接続する
sshポートフォワーディングを利用して、接続します。
$ gcloud compute ssh kaggle-gpu-compute -- -L 8080:localhost:8080
これでsshで接続している間は http://localhost:8080/ からJupyterLabに接続できるはずです。
動作確認
適当なノートブックを作成して、以下のコードを実行してください。
# This Python 3 environment comes with many helpful analytics libraries installed
# It is defined by the kaggle/python docker image: https://github.com/kaggle/docker-python
# For example, here's several helpful packages to load in

import numpy as np # linear algebra
import pandas as pd # data processing, CSV file I/O (e.g. pd.read_csv)

# Input data files are available in the "../input/" directory.
# For example, running this (by clicking run or pressing Shift+Enter) will list all files under the input directory

import os
for dirname, _, filenames in os.walk('/kaggle/input'):
    for filename in filenames:
        print(os.path.join(dirname, filename))

# Any results you write to the current directory are saved as output.
先程ダウンロードしたデータセットが見れるはずです。

また以下のコードを実行してTrueが返ってくればGPUも問題なく認識しています。
from tensorflow.python.client import device_lib
device_lib.list_local_devices()
nvidia-smiを実行してGPUの使用状況を確認することもできます。
!nvidia-smi
Sun Feb  9 11:07:41 2020
+-----------------------------------------------------------------------------+
| NVIDIA-SMI 440.48.02    Driver Version: 440.48.02    CUDA Version: 10.2     |
|-------------------------------+----------------------+----------------------+
| GPU  Name        Persistence-M| Bus-Id        Disp.A | Volatile Uncorr. ECC |
| Fan  Temp  Perf  Pwr:Usage/Cap|         Memory-Usage | GPU-Util  Compute M. |
|===============================+======================+======================|
|   0  Tesla T4            Off  | 00000000:00:04.0 Off |                    0 |
| N/A   45C    P0    25W /  70W |    222MiB / 15109MiB |      0%      Default |
+-------------------------------+----------------------+----------------------+

+-----------------------------------------------------------------------------+
| Processes:                                                       GPU Memory |
|  GPU       PID   Type   Process name                             Usage      |
|=============================================================================|
+-----------------------------------------------------------------------------+