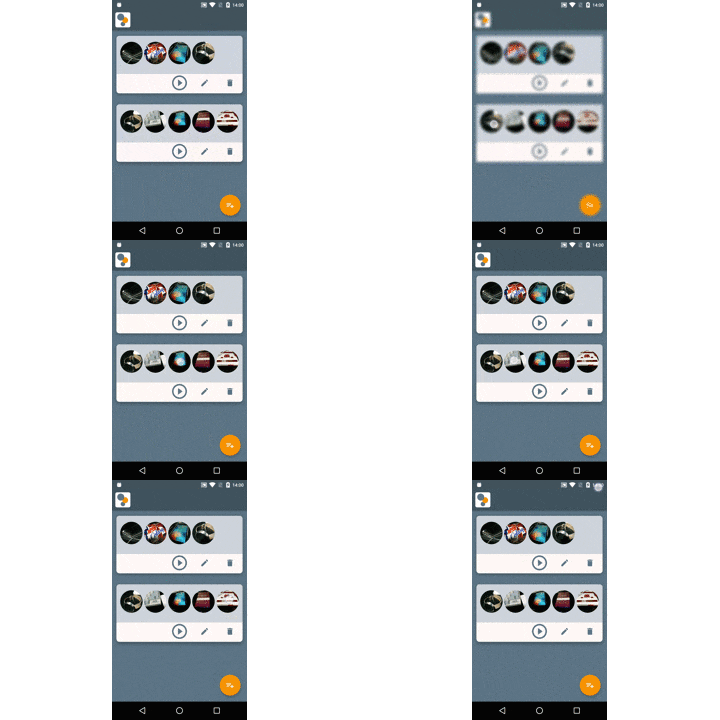
Instagramの検索画面でグリッド状に並ぶ写真たち、長押しするとポップアップするのご存知でしたか?
あれが好きで、似たような実装をしてみました。
現在作成しているアプリでの実装例です。
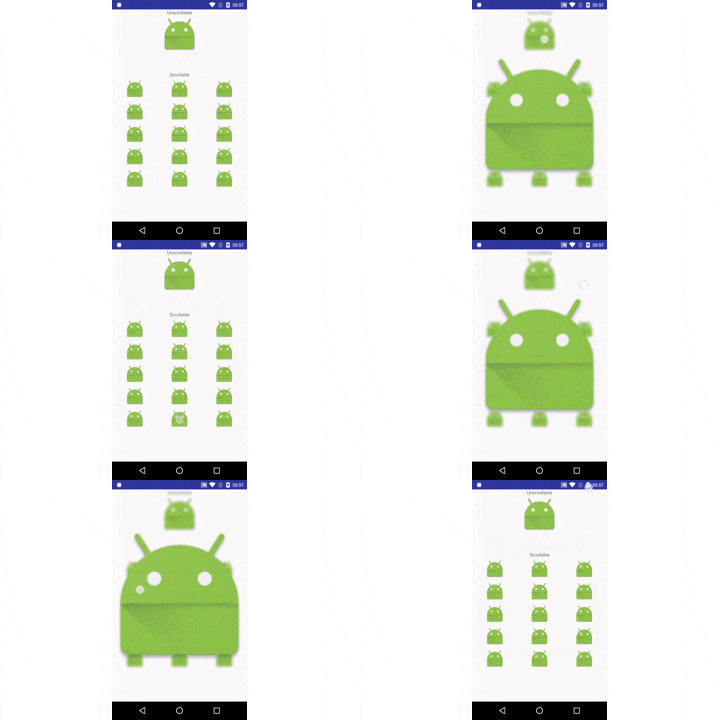
また解説用にサンプルを作りました。以降の解説はこちらがベースとなります。
https://github.com/shimbaroid/InstagramyDialogSample
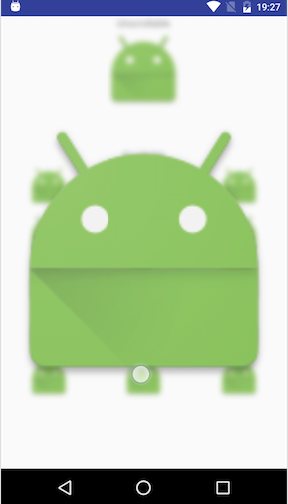
ic_launcher君をdialogで拡大表示します。
要件
- ロングクリックでdialog表示、指を離すと非表示
- dialogの背景はブラー(ボカし)をかける
- dialogをアニメーションさせて表示する
順番に実装方法を解説していきます。
ロングクリックでdialog表示、指を離すと非表示
対象とするViewがScrollableなViewGroupの子であるか否かで実装方法が異なります。
ScrollableなViewGroupの子でない場合
こちらの実装は単純です。対象となるViewにOnLongClickListenerとOnTouchListenerをsetし、ロングクリックでdialogを表示しブラーをかける、MotionEvent.ACTION_UPでdialogを非表示にしブラーを外す。
private void initUnscrollableSample() {
    ImageView imageView = (ImageView) findViewById(R.id.image_view);
    imageView.setOnLongClickListener(new View.OnLongClickListener() {
        @Override
        public boolean onLongClick(View v) {
            showDialog(list.get(0));
            blurOn();
            return true;
        }
    });
    imageView.setOnTouchListener(new View.OnTouchListener() {
        @Override
        public boolean onTouch(View v, MotionEvent event) {
            if (event.getAction() == MotionEvent.ACTION_UP) {
                dismissDialog();
                blurOff();
            }
            return false;
        }
    });
}
ScrollableなViewGroupの子である場合
基本は「でない場合」と同じですが、長押ししてdialogを表示したあとにスクロールを発生させるとそちらにタッチイベントが移ってしまい、対象としているViewのonTouch()が呼ばれなくなってしまうことに注意が必要です。
今回は、「ホールドしている間はスクロールを無効化する」ようにして対応します。RecyclerViewの場合はLayoutManagerを継承した独自のクラスをつくります。
public class MyGridLayoutManager extends GridLayoutManager {

    private boolean scrollable = true;

    public MyGridLayoutManager(Context context, int spanCount) {
        super(context, spanCount);
    }

    public void setScrollDisable() {
        scrollable = false;
    }

    public void setScrollEnable() {
        scrollable = true;
    }

    @Override
    public boolean canScrollVertically() {
        return super.canScrollVertically() && scrollable;
    }
}
How to disable RecyclerView scrolling?
setScrollEnable()とsetScrollDisable()でスクロールの可否を切り替えます。インスタンスはメンバで保持しておくようにしましょう。
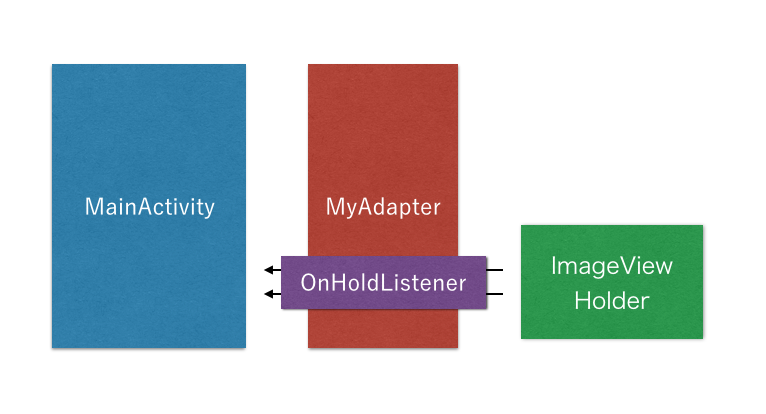
あとは「でない場合」と同様に、ViewHolderに対してlistenerをsetしましょう。(今回はInterfaceを渡してそちらを呼ぶようにしています)
public interface OnHoldListener {
    void onHoldStart(int position);

    void onHoldEnd();
}
public void setOnHoldListener(final OnHoldListener listener) {
    itemView.setOnLongClickListener(new View.OnLongClickListener() {
        @Override
        public boolean onLongClick(View v) {
            listener.onHoldStart(getAdapterPosition());
            return true;
        }
    });
    itemView.setOnTouchListener(new View.OnTouchListener() {
        @Override
        public boolean onTouch(View v, MotionEvent event) {
            if (event.getAction() == MotionEvent.ACTION_UP) {
                listener.onHoldEnd();
            }
            return false;
        }
    });
}
private void initScrollableSample() {
    // 〜略〜

    adapter.setOnHoldListener(new OnHoldListener() {
        @Override
        public void onHoldStart(int position) {
            gridLayoutManager.setScrollDisable();
            showDialog(list.get(position));
            blurOn();
        }

        @Override
        public void onHoldEnd() {
            gridLayoutManager.setScrollEnable();
            dismissDialog();
            blurOff();
        }
    });
}
dialogの背景はブラー(ボカし)をかける
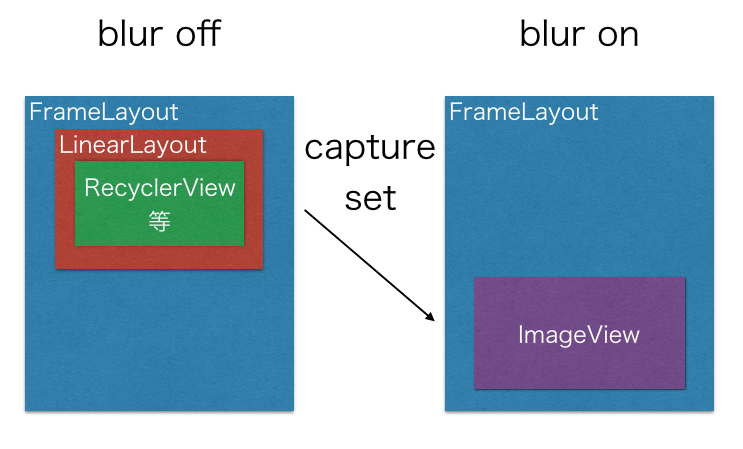
画面のキャプチャにブラーをかけて、それをActivityに表示させるようにします。
画面のキャプチャ、ブラーにはBlurryというライブラリを使いました。ありがとうございます。
https://github.com/wasabeef/Blurry
dependencies {
    compile 'jp.wasabeef:blurry:2.0.3'
}
実装なのですが、.onto()でrootとなるViewGroupを指定する方法だとどうも思い通りのブラーにできなかったので、少し工夫しました。
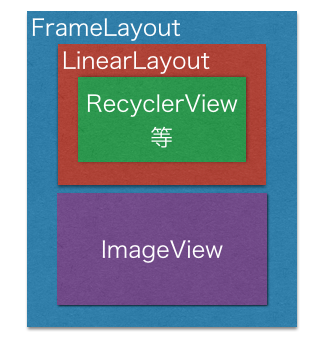
FrameLayoutの中でメインとなるViewGroup(赤)と同じ階層でImageView(紫)を設置し、ブラーon・offでvisibilityを切り替えました。
<?xml version="1.0" encoding="utf-8"?>
<FrameLayout xmlns:android="http://schemas.android.com/apk/res/android"
    android:layout_width="match_parent"
    android:layout_height="match_parent">

    <LinearLayout...>

    <ImageView
        android:id="@+id/image_view_blur"
        android:layout_width="match_parent"
        android:layout_height="match_parent" />
</FrameLayout>
private void blurOn() {
    blurImageView.setVisibility(View.VISIBLE);
    parentViewGroup.setVisibility(View.INVISIBLE);
    Blurry.with(this)
            .capture(parentViewGroup)
            .into(blurImageView);
}

private void blurOff() {
    blurImageView.setVisibility(View.INVISIBLE);
    parentViewGroup.setVisibility(View.VISIBLE);
    Blurry.delete(parentViewGroup);
}
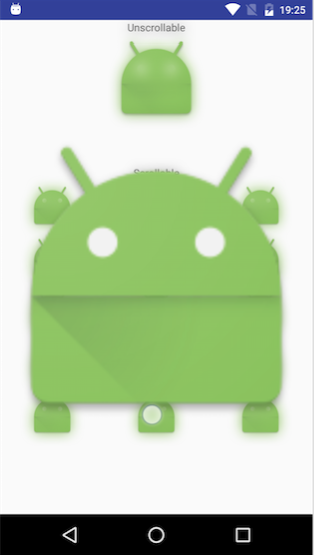
TextViewまできれいにブラーがかかりました!
dialogをアニメーションさせて表示する
onCreateView()にて、inflateしたViewにアニメーションを適用しましょう。
@Nullable
@Override
public View onCreateView(LayoutInflater inflater, @Nullable ViewGroup container, @Nullable Bundle savedInstanceState) {
    final View v = inflater.inflate(R.layout.dialog_instagramy, null);
    // 〜中略〜
    Animation animation = AnimationUtils.loadAnimation(getContext(), R.anim.dialog_pop);
    v.startAnimation(animation);
    return v;
}
<?xml version="1.0" encoding="utf-8"?>
<set xmlns:android="http://schemas.android.com/apk/res/android"
    android:fillAfter="false">

    <scale
        android:fromXScale="0.8"
        android:fromYScale="0.8"
        android:toXScale="1.0"
        android:toYScale="1.0"
        android:pivotX="50%"
        android:pivotY="50%"
        android:fillAfter="true"
        android:duration="150" />

    <scale
        android:fromXScale="1.1"
        android:fromYScale="1.1"
        android:toYScale="1.0"
        android:toXScale="1.0"
        android:pivotX="50%"
        android:pivotY="50%"
        android:startOffset="150"
        android:duration="200"/>
</set>
またアニメーションさせる他にも、dialogの背景を透過させる処理も必要です。
windowBackgroundにtransparentを指定しましょう。
<style name="MyDialogTheme" parent="AppTheme">
    <item name="android:windowBackground">@android:color/transparent</item>
</style>
@Override
public void onCreate(@Nullable Bundle savedInstanceState) {
    super.onCreate(savedInstanceState);
    setStyle(STYLE_NORMAL, R.style.MyDialogTheme);
}
onCreateDialog()でAlertDialogを使う場合はまた適切に透過の処理をする必要があります。今回は省きます。
以上です
冒頭でも触れたように、なかなか気づかれない挙動かと思います。
気づかなくても問題ないけど、気づいてるとちょっと楽しいような仕掛けに応用すると良いのではないかと思います。
ありがとうございました。
