無料でサーバ証明書を発行することのできるLet's Encryptを使って、SSL対応にしていきます。
Let's Encryptについては非公式の日本語ガイドがあって助かった。Let's Encrypt 総合ポータル
Let's Encryptの証明書は有効期間が90日、なので取得、自動更新のためにCertbotクライアントをインストール。
証明書の有効期間が90日間な理由 - Let's Encrypt 総合ポータル
Certbotのインストール
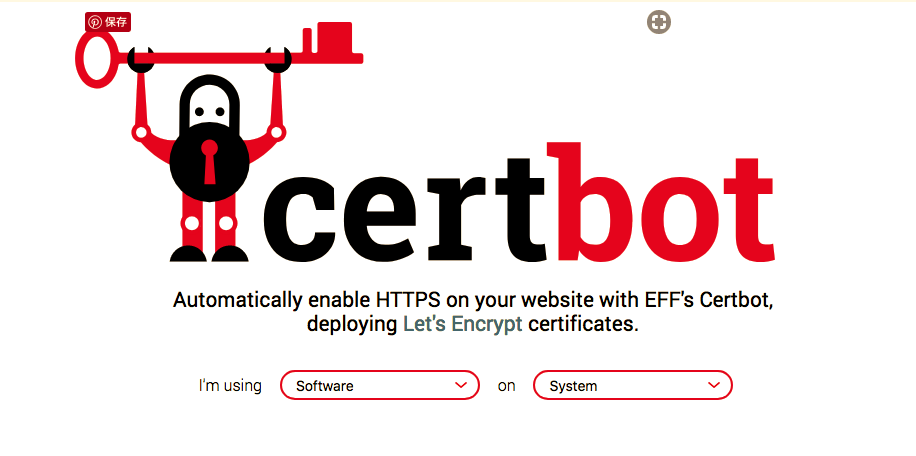
Certbotでソフトウェアとシステムを選択。

今回は nginx + Debian 9、順番通りに進めていく。
backportsの設定をしていなかったので、Instructionsを参考にsources.listに以下の文を追加。
deb http://ftp.debian.org/debian stretch-backports main
保存したら $ sudo apt-get update
そしてインストール。
$ sudo apt-get install python-certbot-nginx -t stretch-backports
証明書の発行
$ sudo certbot --authenticator webroot --installer nginx
必要事項を入力して証明書を発行。ちなみにドキュメントルートを1回間違えて失敗した。
実行すると必要な設定はCertbotが自動で/etc/nginx/sites-available/〇〇に書き込んでくれるのでこれでOK!