概要
Spring BootでGoogleログインを簡単に実装したい方向けに、spring-security-oauth2-clientを使ったシンプルなやり方を紹介します。
実装
必要なもの
-
Spring Boot プロジェクト(Spring Security入り)
-
Google Cloud Console の OAuth クライアントID & シークレット
Spring Boot プロジェクト(Spring Security入り)については、以前の記事で紹介しているのでそちらを参考にしてください
【Spring Framework】Spring Securityを使用したログイン機能の実装
ではまずはGoogle Cloud Console の OAuth クライアントIDとシークレットを取得していきます。
Google Cloud Consoleの設定
-
プロジェクトを作成
まずはGoogle Cloud Consoleへアクセスして、プロジェクトを作成します。 -
OAuth同意画面を設定
左のメニューから「APIとサービス > 認証情報」を選びます。
もしかしたら初回はOAuthの同意が求められるかもしれませんが、手順に従い進めてください -
認証情報を作成
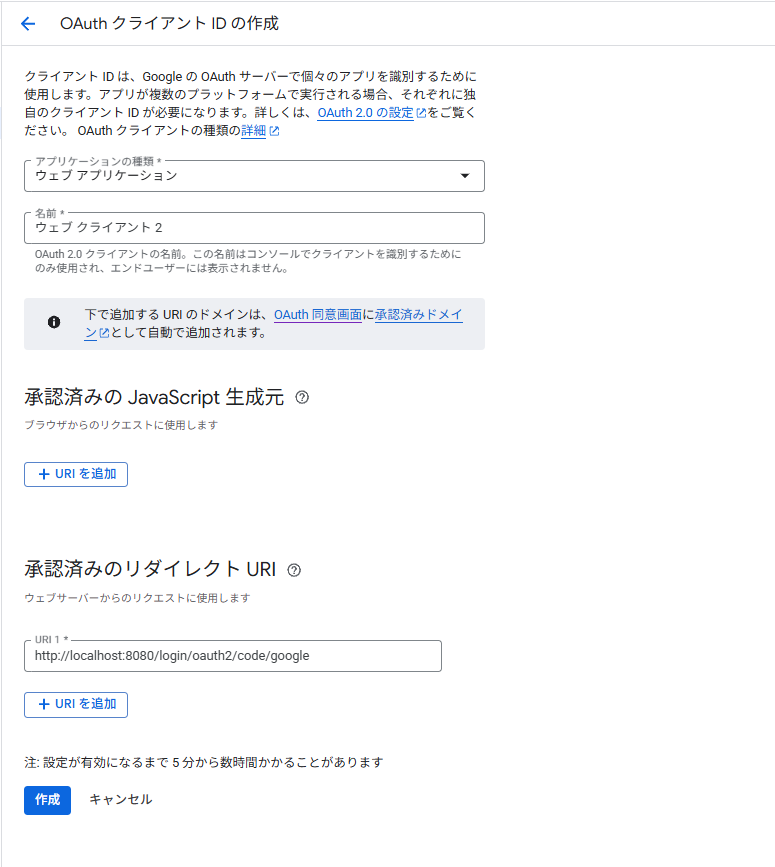
画面上部の「認証情報を作成 > OAuthクライアントID」を選択します。
設定は以下のように入力します
今回はローカルでテストするためリダイレクトURIは以下で固定です。
-
アプリケーションの種類 → Webアプリケーション
-
名前:任意
-
承認済みのリダイレクトURI:http://localhost:8080/login/oauth2/code/google
作成をするとクライアントID、シークレットが発行されるので忘れずにコピーして保存してください。
これは後程使用します。
Spring Boot 側の実装
まずはOAuth2の依存関係を追加します。
今回はMavenでプロジェクトを作成しているため以下をpom.xmlに追加します。
<dependency>
  <groupId>org.springframework.boot</groupId>
  <artifactId>spring-boot-starter-oauth2-client</artifactId>
</dependency>
続いてapplication.propertiesへOAuth認証に必要な情報を追加します。
spring.security.oauth2.client.registration.google.client-id=クライアントID
spring.security.oauth2.client.registration.google.client-secret=シークレット
spring.security.oauth2.client.registration.google.scope=email,profile

spring.security.oauth2.client.provider.google.authorization-uri=https://accounts.google.com/o/oauth2/v2/auth
spring.security.oauth2.client.provider.google.token-uri=https://oauth2.googleapis.com/token
spring.security.oauth2.client.provider.google.user-info-uri=https://www.googleapis.com/oauth2/v3/userinfo
spring.security.oauth2.client.provider.google.user-name-attribute=sub
以上でGoogleアカウント認証の実装は完了です。
カスタマイズが不要な場合、SecurityConfigの作成も不要です。
実際に「http://localhost:8080」でシステムにアクセスしてみましょう。
![SnapCrab_ログイン - Google アカウント - [InPrivate] - Microsoft Edge_2025-6-12_7-55-31_No-00.png](https://qiita-user-contents.imgix.net/https%3A%2F%2Fqiita-image-store.s3.ap-northeast-1.amazonaws.com%2F0%2F3920265%2F88f2ad50-0ffc-41a0-a559-86797e26eb6b.png?ixlib=rb-4.0.0&auto=format&gif-q=60&q=75&s=8c0cd6dc8fd0c464e078b2378ed677e3)
アクセスするとこのような認証画面が表示されます。
実際に自分のアカウントでログインしてみると、
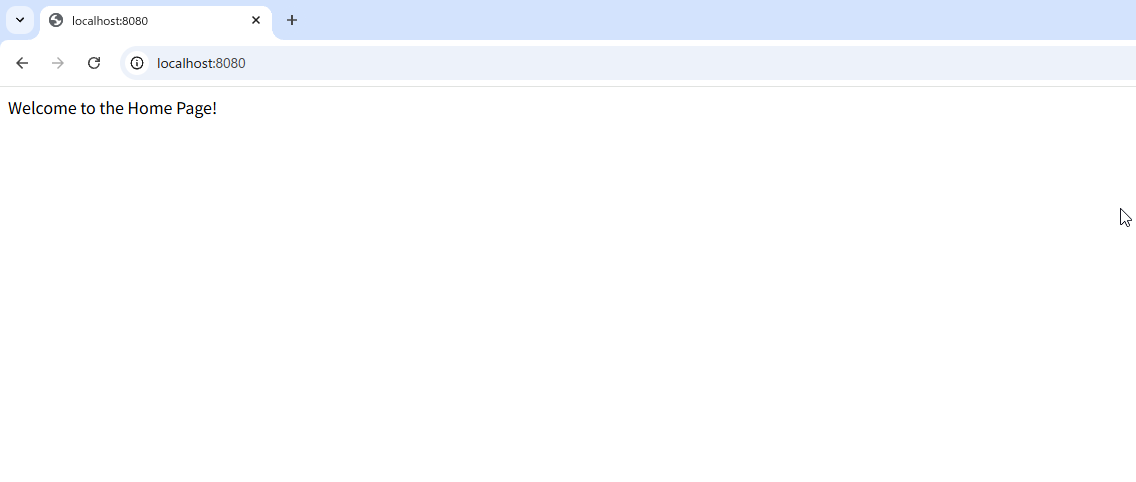
Controllerの内容が表示されました。
ログイン画面の実装
せっかくなのでログイン画面も作ってみましょう。
ログイン画面を実装する場合、SecurityConfigで自作のログイン画面に飛ばす処理を記載する必要があります。
package myapp.config;

import org.springframework.context.annotation.Bean;
import org.springframework.context.annotation.Configuration;
import org.springframework.security.config.Customizer;
import org.springframework.security.config.annotation.web.builders.HttpSecurity;
import org.springframework.security.config.annotation.web.configuration.EnableWebSecurity;
import org.springframework.security.web.SecurityFilterChain;

@Configuration
@EnableWebSecurity
public class SecurityConfig {

    @Bean
    public SecurityFilterChain filterChain(HttpSecurity http) throws Exception {
        http
            .authorizeHttpRequests(authorize -> authorize
            	.requestMatchers( "/login").permitAll() // /loginのみアクセスを許可
                .anyRequest().authenticated()
            )
            .oauth2Login(oauth -> oauth
                    .loginPage("/login")  // 自作のログインページ
                    .defaultSuccessUrl("/")  // ログイン成功後のリダイレクト先
                )
            );

        return http.build();
    }
}
続いてControllerと画面のHTMLを実装します。
Googleの認証画面には/oauth2/authorization/googleのリンクにアクセスすれば移動します。
それっぽくするためにGoogleのログインボタンの画像も使用してみました。
package myapp.controller;

import org.springframework.stereotype.Controller;
import org.springframework.web.bind.annotation.GetMapping;

@Controller
public class LoginController {
	@GetMapping("/login")
	public String login() {
		return "login";
	}
}
<!DOCTYPE html>
<html xmlns:th="http://www.thymeleaf.org">
<head>
<meta charset="UTF-8">
<title>ログイン</title>
</head>
<body>
	<h2>ログイン</h2>
	<a href="/oauth2/authorization/google">
		<img src="https://developers.google.com/identity/images/btn_google_signin_light_normal_web.png"
	       alt="Googleでログイン"
	       style="height: 40px;">
	</a>
</body>
</html>
これでhttp://localhost:8080にアクセスすると、
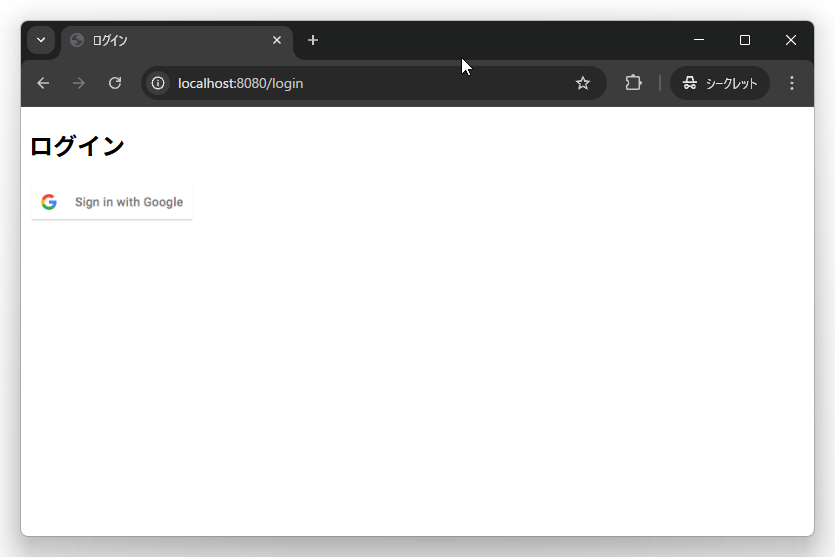
ログイン画面が表示されました
ボタンを押すとGoogleの認証画面が起動し、アカウント認証を行うことで、

ログイン後の画面が表示されました!
GCPのOAuth設定でシステムに許可するアカウントを設定したりすれば許可されたアカウントのみ接続できるシステムなんかも作れそうです。
昔はOAuth連携って面倒な印象があったけど、Spring Boot 2以降はめちゃくちゃ簡単に導入できますね。