この記事は2020年の新卒IT未経験の者が書きました。
少しでも分かりやすくこのPycharm公式ドキュメントの手順をかみ砕いた記事です。
プロジェクトの作成
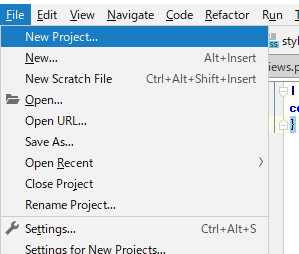
まずは新規プロジェクトを作成します
プロジェクトタイプはDjangoを選択し、プロジェクト名(ProjctTest)とApplication name(Poppo)はお好きなものを・・・
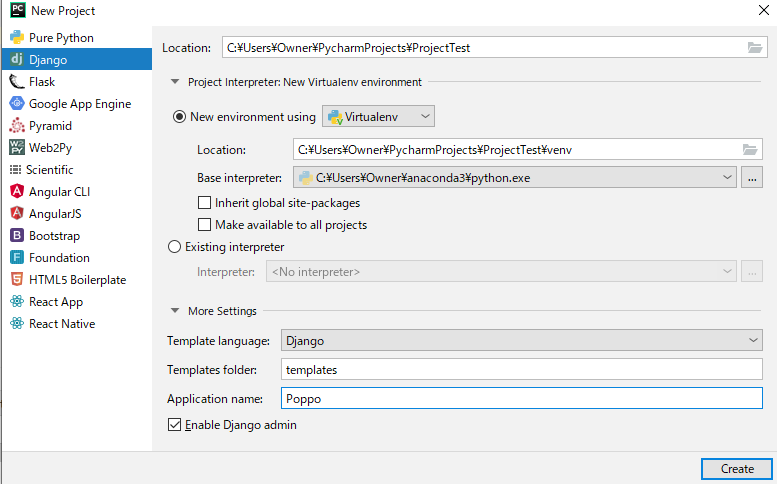
CreateをクリックしこれでDjangoプロジェクトが準備完了。
プロジェクトの構造
作成したプロジェクトにはすでにフレームワーク固有のファイルとディレクトリが含まれています。
プロジェクトツールウィンドウのプロジェクトビューを見てみましょう。
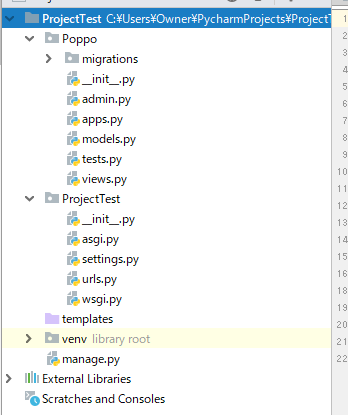
これはDjango固有のプロジェクト構造を示しています。
PoPPo と ProjectTest ディレクトリ(さっき設定したお好きな名前で作成されている)
また、manage.py および settings.py ファイルが表示
今回中身を編集するファイルは
- ProjectTest/urls.py
- Poppo/models.py
- Poppo/views.py
になります。
Djangoサーバーの起動
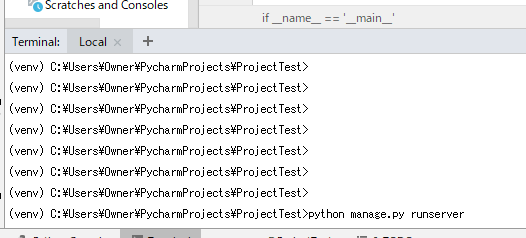
では早速Djangoサーバーを起動してみましょう!
manage.py ユーティリティの runserver タスクを起動するだけです。
まずTerminalを開き
python manage.py runserver
と入力
次にコンソールに表示されたURLをクリック

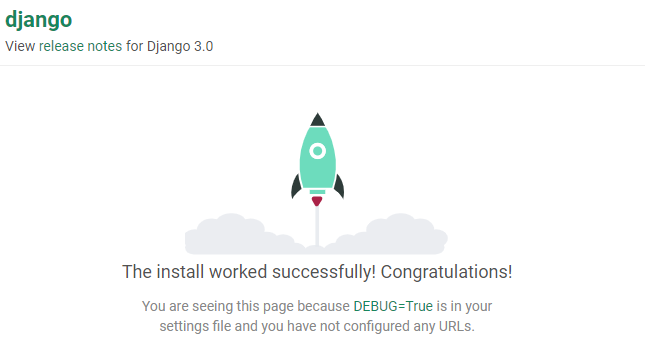
この画面が表示されたら成功です🚀
モデルの作成
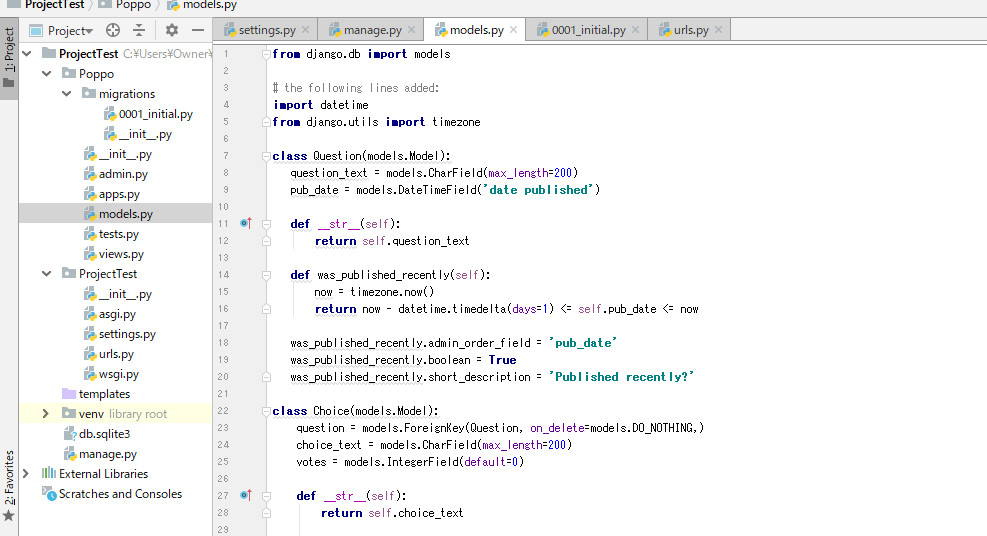
次にmodels.pyを開いて、下記のコードを入力します。
このとき既にimport文があることに注意
from django.db import models

# the following lines added:
import datetime
from django.utils import timezone

class Question(models.Model):
   question_text = models.CharField(max_length=200)
   pub_date = models.DateTimeField('date published')

   def __str__(self):
       return self.question_text

   def was_published_recently(self):
       now = timezone.now()
       return now - datetime.timedelta(days=1) <= self.pub_date <= now

   was_published_recently.admin_order_field = 'pub_date'
   was_published_recently.boolean = True
   was_published_recently.short_description = 'Published recently?'

class Choice(models.Model):
    question = models.ForeignKey(Question, on_delete=models.DO_NOTHING,)
    choice_text = models.CharField(max_length=200)
    votes = models.IntegerField(default=0)

    def __str__(self):
        return self.choice_text
データベースの作成
新しいモデル用のテーブルを作成する必要があります。
そこでmanage.pyコンソールをCtrl+Alt+Rで呼び出し、makemigrations Poppoを入力。
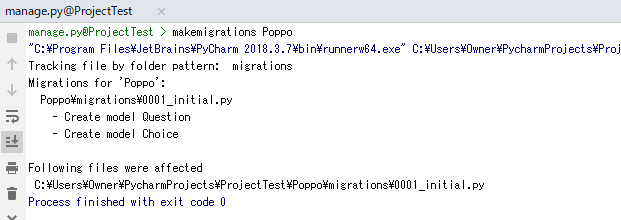
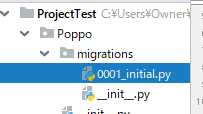
Djangoに2つの新しいモデル、つまり Choice と Questionが作成されたことを伝え、migrationsフォルダを作成しました。
models.py
作成されたmigrationフォルダ

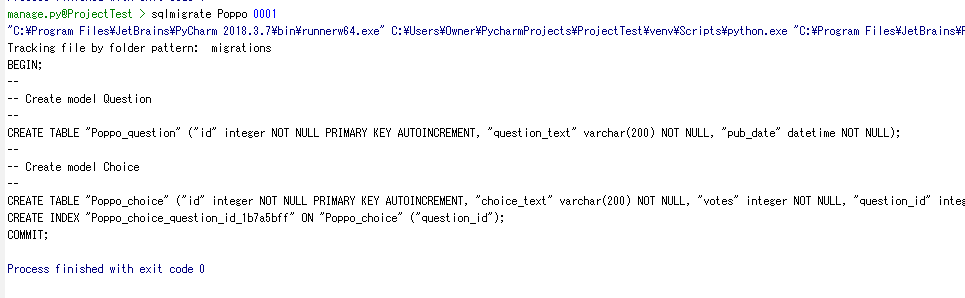
次に再びmanage.pyコンソールで
sqlmigrate Poppo 0001
と入力。
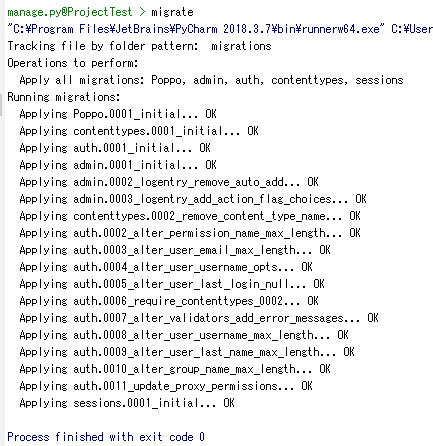
最後にmigrate コマンドを実行して、データベースにこれらのテーブルを作成します。
スーパーユーザーの作成
manage.py コンソールで createsuperuser コマンドを入力し、自分のメールアドレスとパスワードを指定します。
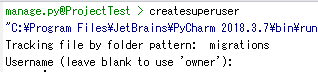
Superuser created successfully.と出たら作成完了。
実行/デバッグ構成の準備
これで管理者ページに移動する準備が整いました。
Djangoサーバーを実行し、ブラウザにアクセスし、アドレスバーにURL全体を入力することは可能ですが、PyCharmを使用すると簡単です。
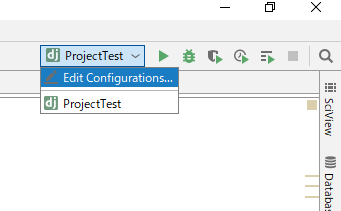
あらかじめ設定されたDjangoサーバーの実行構成を少し変更して使用します。
ここを選択。
Run/Debug Configurations ダイアログで、このRun/Debug Configurationsに名前(ここでは ProjectTest)を付け、デフォルトブラウザでアプリケーションの実行を有効にし(チェックボックスRun browserを選択)、デフォルトで開くサイトのページを指定します(ここでは http://127.0.0.1:8000/admin/です)。

これでOKをクリック
管理サイトの起動
アプリケーションを起動するには、Shift+F10を押すか、メインツールバーの Runボタン をクリックして、標準のDjangoサイトログインページを開きます。

作成したスーパーユーザーでログイン。
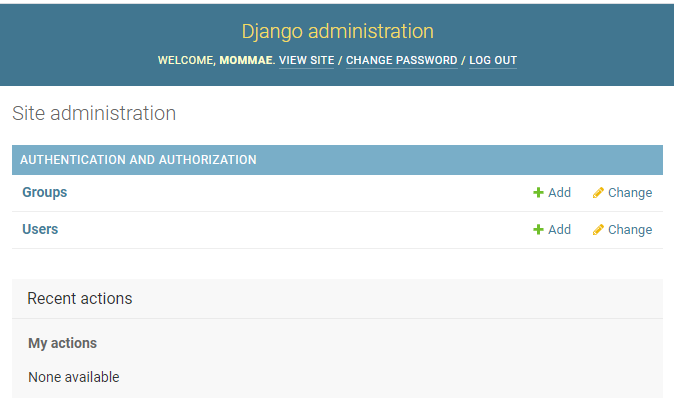
ログインすると、管理ページ(上の画像)が表示されます。認証と認可 (GroupsとUsers)セクションがありますが、投票(Questionの追加)は使用できません。なぜそうなるのでしょうか?
Question オブジェクトには管理インターフェースがあることを管理者に伝える必要があります。
そのために、Poppo/admin.py を開き、次のコードを入力します。
from django.contrib import admin
from .models import Question #this line added
admin.site.register(Question)#this line added
ページをリフレッシュし、質問の投票セクションが表示されていることを確認します。
追加完了。
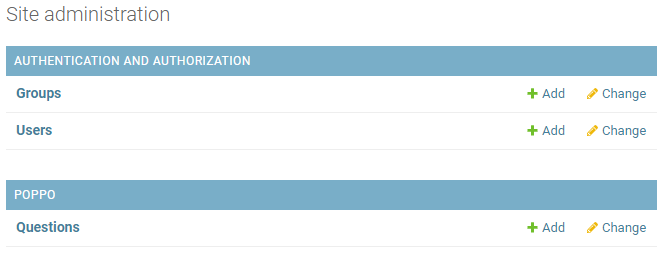
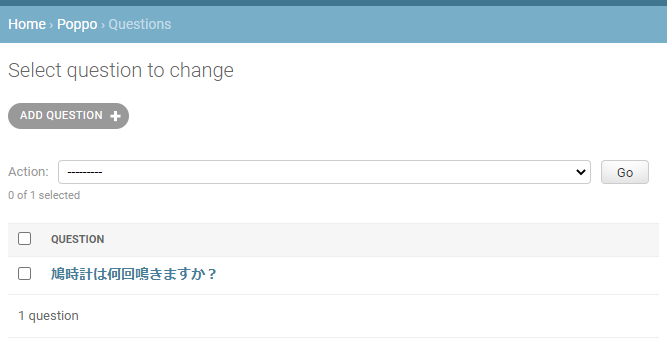
適当に質問を追加してみましょう。

質問が追加されました。
admin.pyの編集
質問に対しての選択肢はまだありません。
そこで再度 Poppo/admin.py を開き、次のように変更します。
from django.contrib import admin
from .models import Choice, Question

class ChoiceInline(admin.TabularInline):
    model = Choice
    extra = 3

class QuestionAdmin(admin.ModelAdmin):
    fieldsets = [
            (None,               {'fields': ['question_text']}),
            ('Date information', {'fields': ['pub_date'], 'classes': ['collapse']}),
                ]
    inlines = [ChoiceInline]

admin.site.register(Question, QuestionAdmin)
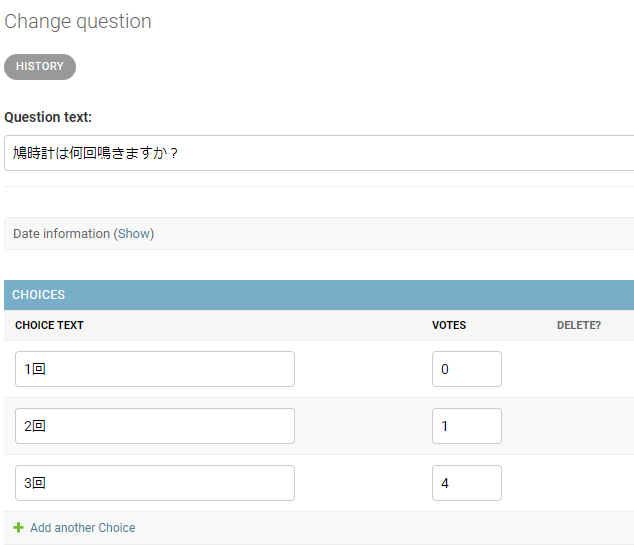
ページをリフレッシュし、追加した質問をクリックし、選択肢の追加が表示されていることを確認。
選択肢や投票数を追加し保存する。
Viewの作成
ViewではIf文やWhile文、リスト、その他どのような構文もここで扱うことができるようになります。
そして関数化することで次のtemplateに渡すことができるのです。
さらにViewでは、関数ごとにどのHTMLファイルに情報を渡すのかを指定します。
それによりそれぞれの関数をtemplateに紐付けていくことになります。
Poppo/views.py を開き、次のコードを入力します。
from django.http import HttpResponse

def index(request):
    return HttpResponse("Hello, world. You're at the polls index.")
次に、urls.py という名前の新しいファイルを Poppo ディレクトリに追加し
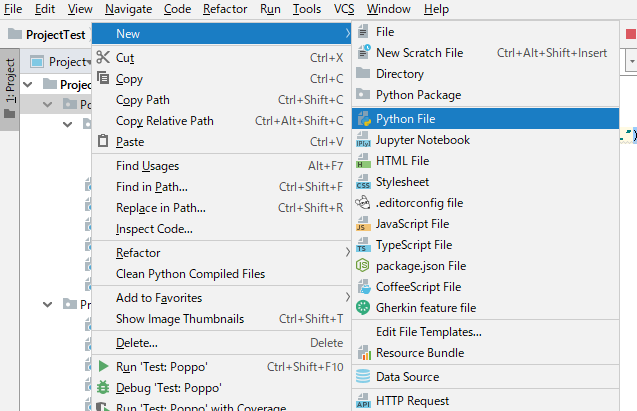
次のコードを入力します。
from django.conf.urls import url
from . import views
urlpatterns = [
    url(r'^$', views.index, name='index'),
]
最後に ProjectTest/urls.py (PyCharmがすでに作成している)を編集し、インデックスページのURLを末尾に追加します。
from django.conf.urls import include, url
from django.contrib import admin
urlpatterns = [
    url(r'^Poppo/', include('Poppo.urls')), #this line added
    url(r'^admin/', admin.site.urls),
]
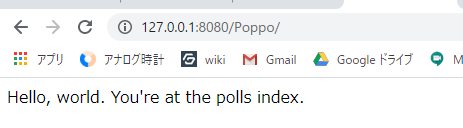
127.0.0.1:8000/Poppo/ を開いてみると・・・
次により多くのViewを追加してみます。
再度、Poppo/views.pyに次のコードを追加します。
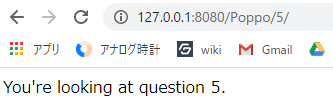
def detail(request, question_id):
return HttpResponse("You're looking at question %s." % question_id)
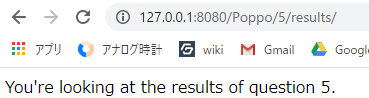
def results(request, question_id):
response = "You're looking at the results of question %s."
return HttpResponse(response % question_id)
def vote(request, question_id):
return HttpResponse("You're voting on question %s." % question_id)
次の url() 呼び出しを追加する新しいViewを Poppo/urls.py モジュールに配線(末尾に追記)します。
from django.conf.urls import url
from . import views

urlpatterns = [
url(r'^$', views.index, name='index'),
# ex: /Poppo/5/
url(r'^(?P<question_id>[0-9]+)/$', views.detail, name='detail'),
# ex: /Poppo/5/results/
url(r'^(?P<question_id>[0-9]+)/results/$', views.results, name='results'),
# ex: /Poppo/5/vote/
url(r'^(?P<question_id>[0-9]+)/vote/$', views.vote, name='vote'),
]
ブラウザで対応するページを開くと、次のように表示されます。
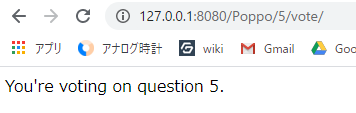
Djangoテンプレートの作成
以上の通り、これらのページのデザインはビューにハードコードされています。
読みやすくするために、対応するPythonコードを編集する必要があります。
次に、Pythonからの出力の視覚的表現を分離しましょう。
そうするために、templateを作成しましょう。
Poppo/views.py を開き、その内容を次のコードに置き換えます。
from django.http import HttpResponse, HttpResponseRedirect
from django.shortcuts import get_object_or_404, render
from django.urls import reverse

from .models import Question, Choice


def index(request):
    latest_question_list = Question.objects.order_by('-pub_date')[:5]
    context = {'latest_question_list': latest_question_list}
    return render(request, 'Poppo/index.html', context)


def detail(request, question_id):
    question = get_object_or_404(Question, pk=question_id)
    return render(request, 'Poppo/detail.html', {'question': question})


def results(request, question_id):
    question = get_object_or_404(Question, pk=question_id)
    return render(request, 'Poppo/results.html', {'question': question})


def vote(request, question_id):
    question = get_object_or_404(Question, pk=question_id)
    try:
        selected_choice = question.choice_set.get(pk=request.POST['choice'])
    except (KeyError, Choice.DoesNotExist):
        return render(request, 'Poppo/detail.html', {
            'question': question,
            'error_message': "You didn't select a choice.",
        })
    else:
        selected_choice.votes += 1
        selected_choice.save()
        return HttpResponseRedirect(reverse('Poppo:results', args=(question.id,)))
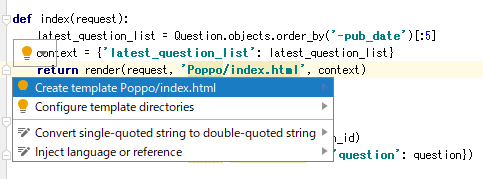
ここで作成していないindex.htmlページを参照していることに気付くと思います。
PyCharmはクイックフィックスという機能があります。
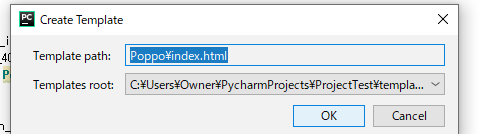
電球をクリックするか Alt+Enterを押すと、対応するテンプレートファイルがtemplatesフォルダーに作成されます(PyCharmはこのテンプレートが存在するはずのディレクトリ Poppo も作成します)。

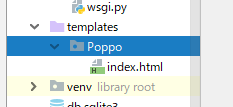
同様にしてdetail.htmlとresults.htmlも作成します。
今のところ index.html は空です。次のコードを追加します。
{% load static %}
<link rel="stylesheet" type="text/css" href="{% static 'Poppo/style.css' %}" />
{% if latest_question_list %}
           <ul>
    {% for question in latest_question_list %}
           <li><a href="{% url 'detail' question.id %}">{{ question.question_text }}</a></li>
    {% endfor %}
       </ul>
{% else %}
           <p>No polls are available.</p>
{% endif %}
スタイルシートの作成
Viewファイル index.htmlに見られるように、スタイルシート(.cssファイル)の参照があり、そしてまだ作成していません。
次のように作成します。
-
ディレクトリを作成します。これを行うには、プロジェクトビューで、Pythonパッケージ Poppo を選択し、Alt+Insertを押します。
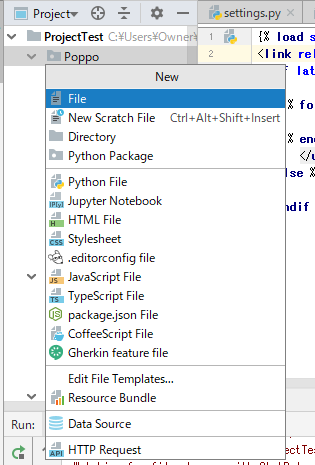
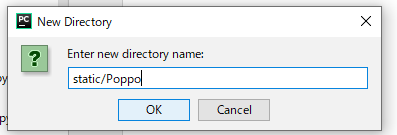
-
表示されるポップアップメニューでディレクトリを選択し、ディレクトリ構造 static/Poppoを指定します。
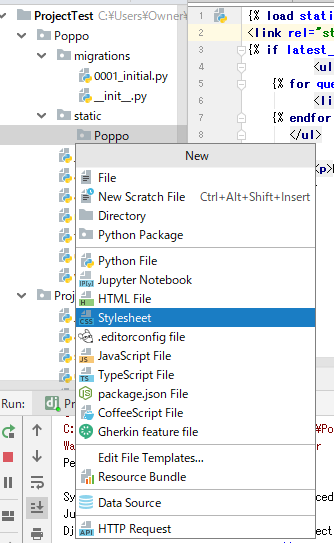
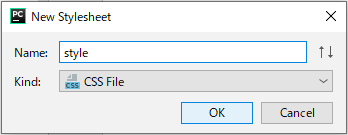
-
次に、このディレクトリにスタイルシートを作成します。これを行うには、最も内側のディレクトリ Poppo/static/Poppoを選択し、Alt+Insertを押し、Stylesheetを選択して、表示されるダイアログでstyleを入力します。
- 好みに応じて、作成されたスタイルシートに下記のコードを追加(例:質問のリストを緑色の文字で表示)。
li a {
color: green;
}
実行結果の確認
Runボタンをクリックしブラウザの
http://127.0.0.1:8080/admin/を
http://127.0.0.1:8080/Poppo/に変更し入力して確認してみましょう。
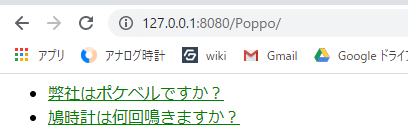
出来ました。
これを参考に自分のページを育ててみましょう🌱