記事の目的
フロントエンドエンジニアとして
エンドツーエンド (E2E) テストをTestCafeで書く機会があった
E2Eテストの自動化は初めての経験だったので
これをまとめ、紹介および備忘録とする
記事の対象者
- NuxtやVueに実際に触れたことがある人
- フロントエンドエンジニアとして実装経験のある人
- TestCafe に興味がある人
- e2eは全然わからないけどやってみたいという人
開発環境
- MacBook Pro (Retina, 13-inch, Early 2015)
- OS:macOS Mojava 10.14.6
- サーバサイドJavaScript:node v12.14.1
- パッケージマネージャー: yarn v1.22.4
- フレームワーク: nuxt v2.0.0
- JavaScriptライブラリ: Vue v2.6.11
- UIライブラリー: @nuxtjs/vuetify v1.11.2
目次
- Nuxtの導入とサンプル作成
- E2Eテスト作成(TestCafe
Nuxtの導入とサンプル作成
Githubからこの記事で作成したサンプルをダウンロード可能
https://github.com/shiho-hoshino/e2e-sample
Nuxtの導入
実際のプロジェクトと同じようにyarnでNuxtをインストール
インストールの初期設定は以下の通り
$ yarn create nuxt-app e2e-sample

Project name: e2e-sample
Programming language: JavaScript
Package manager: Yarn
UI framework: Vuetify.js
Nuxt.js modules: Axios
Linting tools: ESLint, Prettier, StyleLint
Testing framework: Jest
Rendering mode: Single Page App
Deployment target: Static (Static/JAMStack hosting)
Development tools: #無選択
VueとVuetifyを使ったサンプル用ページの作成
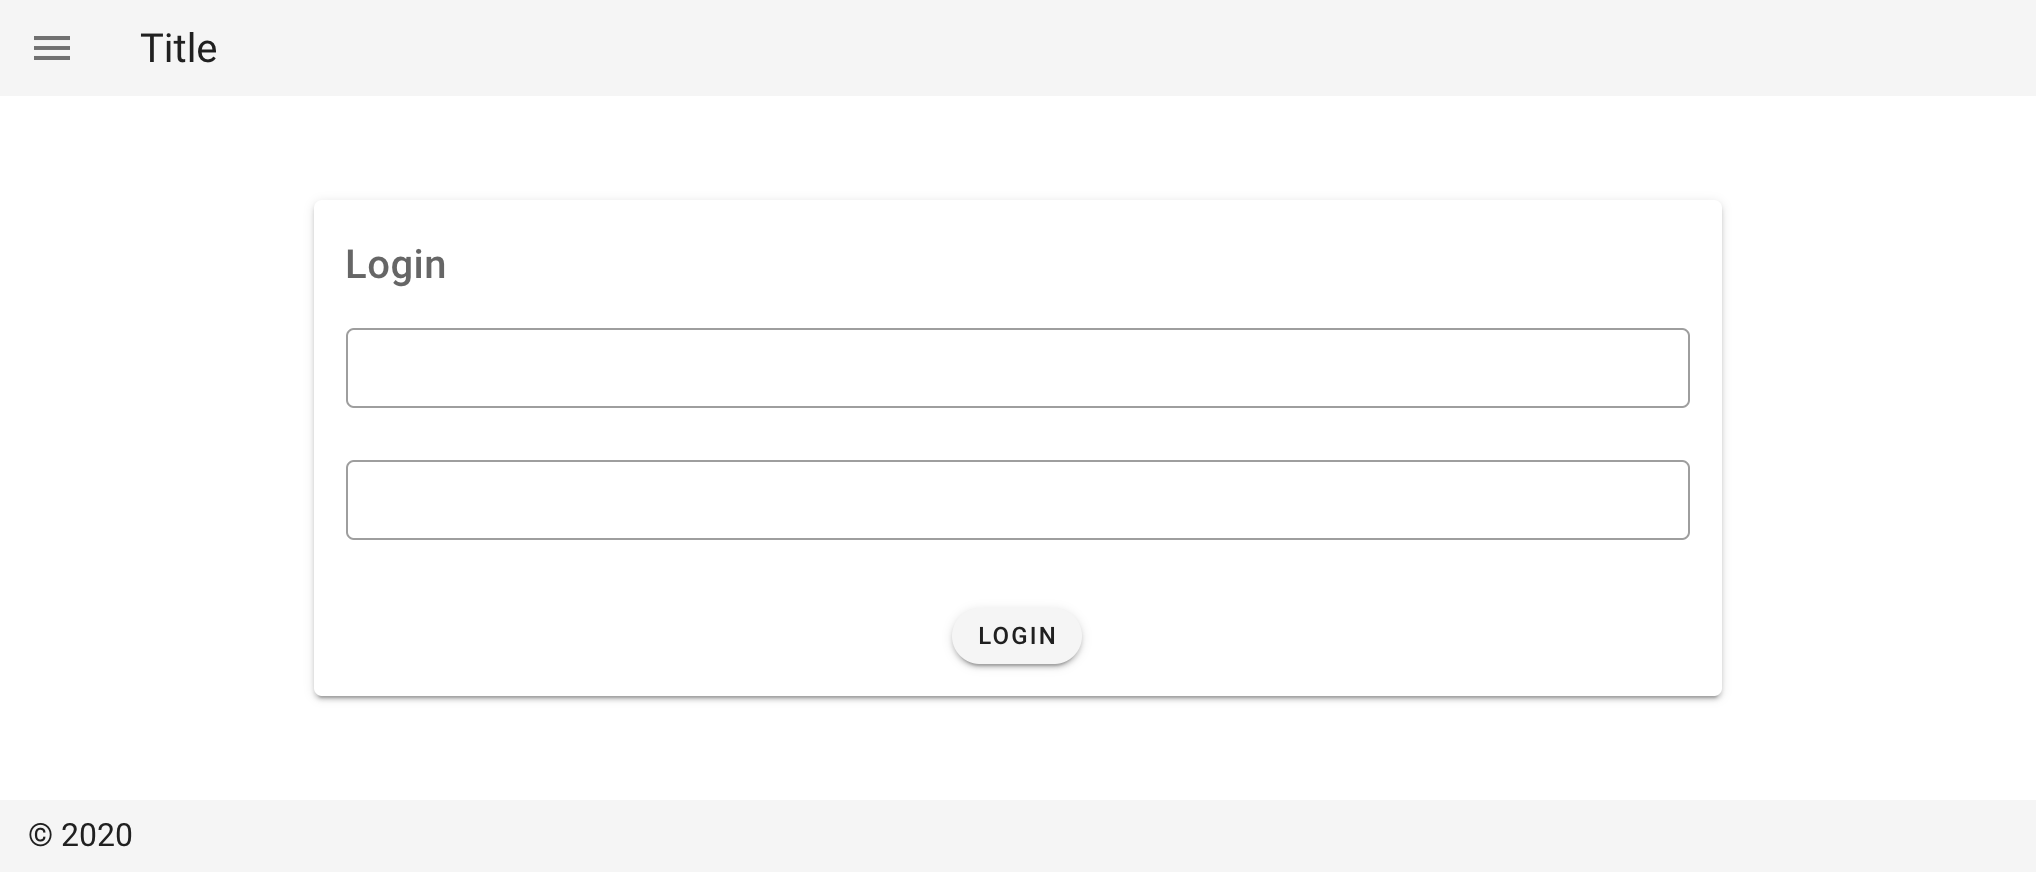
e2eのテストとしてわかりやすくログインページのサンプルを作成
サンプルの状態はこのようにしました
- 入力欄が二つと、ログインボタンのみ
- ログインの認証処理などは含んでいない
- ボタンクリックでHOME画面に遷移する
実際の案件と同じくVueとVuetifyを使用している
サンプルの環境はeslintの設定も追加・変更済み
package.jsonをinstallし起動
$ yarn install
$ yarn run dev
http://localhost:3000/login
起動後にログインページを確認

E2Eテスト作成とローカル実行(TestCafe)
ログイン処理のテストコードを作成する
testcafeをインストール
$ yarn add testcafe
サンプルページにテスト用のIDを追加
サンプルで作成した page/login.vue テンプレートに
以下の対応を追加。
テストしたい要素にカスタムデータ属性「data-testid」を付ける
後ほどTestCafeでIDを指定して操作する
<template>
  <div>
    <v-card>
      <v-card-text>
        <h1 class="title mb-4">
          Login
        </h1>
        <v-text-field
          data-testid="login.email"
          v-model="data.email"
          single-line
          outlined
          dense
        />
        <v-text-field
          data-testid="login.password"
          v-model="data.password"
          single-line
          outlined
          dense
        />
        <div class="mt-2 d-flex justify-center">
          <v-btn
            data-testid="login.btn"
            small
            rounded
            @click="login()"
          >
            Login
          </v-btn>
        </div>
      </v-card-text>
    </v-card>
  </div>
</template>
テストコードの作成(TestCafe)
test/e2e/Login.js に以下のコードを記載
Loginテストの流れは以下の通り
- testcafeから必要な関数をimport
- 最初に開くページを「Getting Started」で設定
ローカルでのテスト前提のため、パスは「http://localhost:3000/login/」 - 作成したログインページの入力欄にEmailを入力
- 作成したログインページの入力欄にパスワードを入力
- スクリーンショットを撮影
- ログインボタンをクリック
- TOPに遷移したか確認
import {Selector, ClientFunction} from 'testcafe';

fixture`Getting Started`.page`http://localhost:3000/login/`;
const getWindowLocation = ClientFunction(() => window.location);

test('Login', async (targetPage) => {
  let location;
  // 現在のURLを取得
  location = await getWindowLocation();
  // パスが想定通りか確認
  location.pathname.match('/login/');
  await targetPage
      // Emailを入力
      .typeText(Selector('[data-testid="login.email"]'), 'user@email.com')
      // パスワードを入力
      .typeText(Selector('[data-testid="login.password"]'), 'userpass')
      // Screenshotを保存
      .takeScreenshot('e2e/login.png'),
      // ログインボタンをクリック
      .click(Selector('[data-testid="login.btn"]'));
  // 現在のURLを取得
  location = await getWindowLocation();
  // パスが想定通りか確認
  location.pathname.match('/');
});
実行
2つのターミナルを使用する
1のターミナルでサーバーを起動した状態で
2のターミナルでテストコマンドを実行する
サーバーが起動した状態でなければ
指定のサーバーが存在しない状態になるのでテストは走らない
[1] ローカルでnuxtを起動する
$ yarn run dev
[2] テストを実行する
$ yarn testcafe chrome test/e2e/Login.js
※ Testcafeの対象ブラウザ
https://devexpress.github.io/testcafe/documentation/guides/concepts/browsers.html#locally-installed-browsers
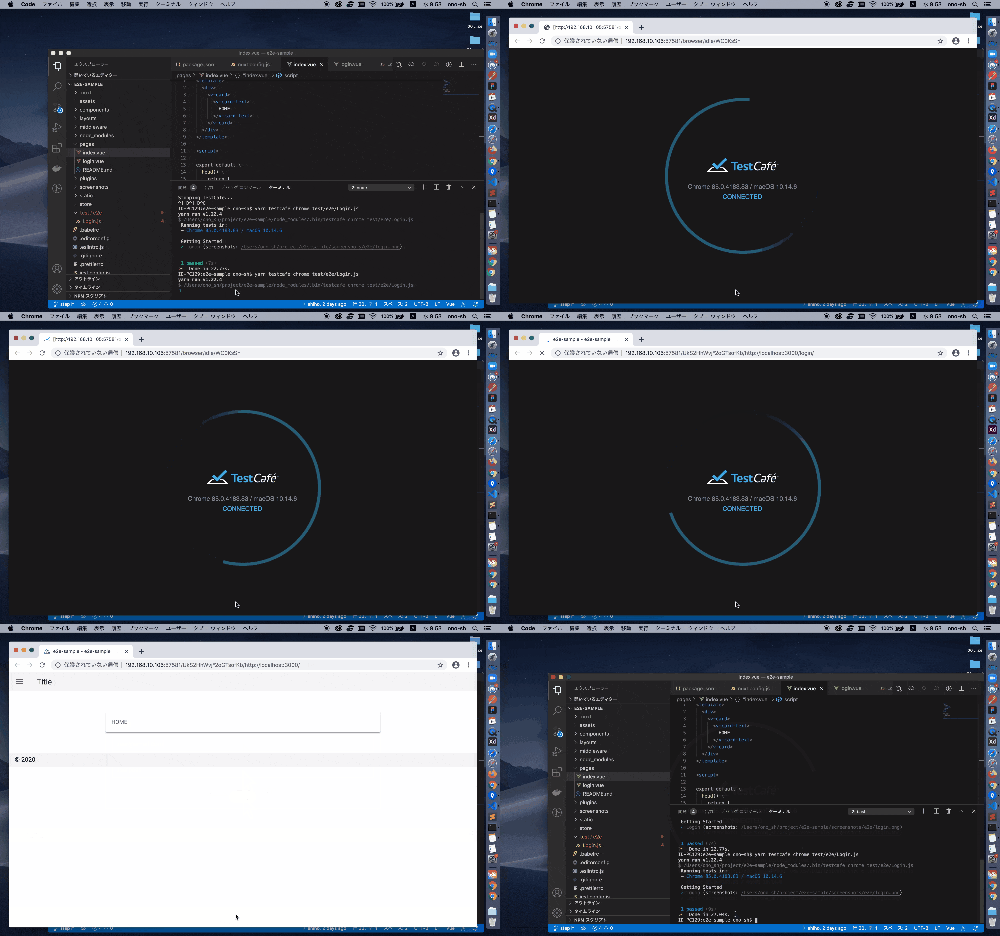
実行すると以下のように指定のブラウザが起動して
テストコード通りに自動で操作処理が走る
処理が終わると以下のようにパスしたテスト数と
かかった時間が表示されます
$ 1 passed (9s)
まとめ
未経験でも環境構築が容易
シンプルでわかりやすく簡単にテストコードが書けた
本記事では紹介していないが
BrowserstackとTestCafeを連携すれば
自分の所持していないブラウザや環境でも
テストを行うことが可能になる
ローカルホストのテストは行えないため
テスト用のサーバーなどを用意して
テストを走らせるのが良い
Browserstackについて調査後、記事にまとめる予定
以上 TestCafeを使ったE2Eテスト 基礎編
