はじめに
今回はメモを追加、編集、削除ができるメモアプリを作りました。
まずは下記のコマンドでアプリの雛形を作成しましょう。{sample}には好きなアプリ名を入れてください。今回はsampleとして進めていきます。
$ laravel new {sample}
※ $laravel new するも-bash: laravel: command not found と返されてしまった場合はcomposerコマンドを使ってください。
$ composer create-project laravel/laravel sample --prefer-dist "6.*"
MAMPサーバーを立てて表示を確認
※ MAMPのインストール方法はこちら
アプリを開き、右上のstartボタンを押してパスワードを入力したらstopボタンに変わります。

次にターミナルから作成したアプリのフォルダがある /Applications/MAMP/htdocs/sampleに移動し下記のコマンドを入力してください。
$ php artisan serve
このコマンドは開発サーバーの起動するためのartisanコマンドです。他のコマンドが見たい方はこちらの記事をご覧ください
上記のコマンドをターミナルで入力すると、http://127.0.0.1:8000が表示されるのでコピペしてサイトを開いてみましょう。
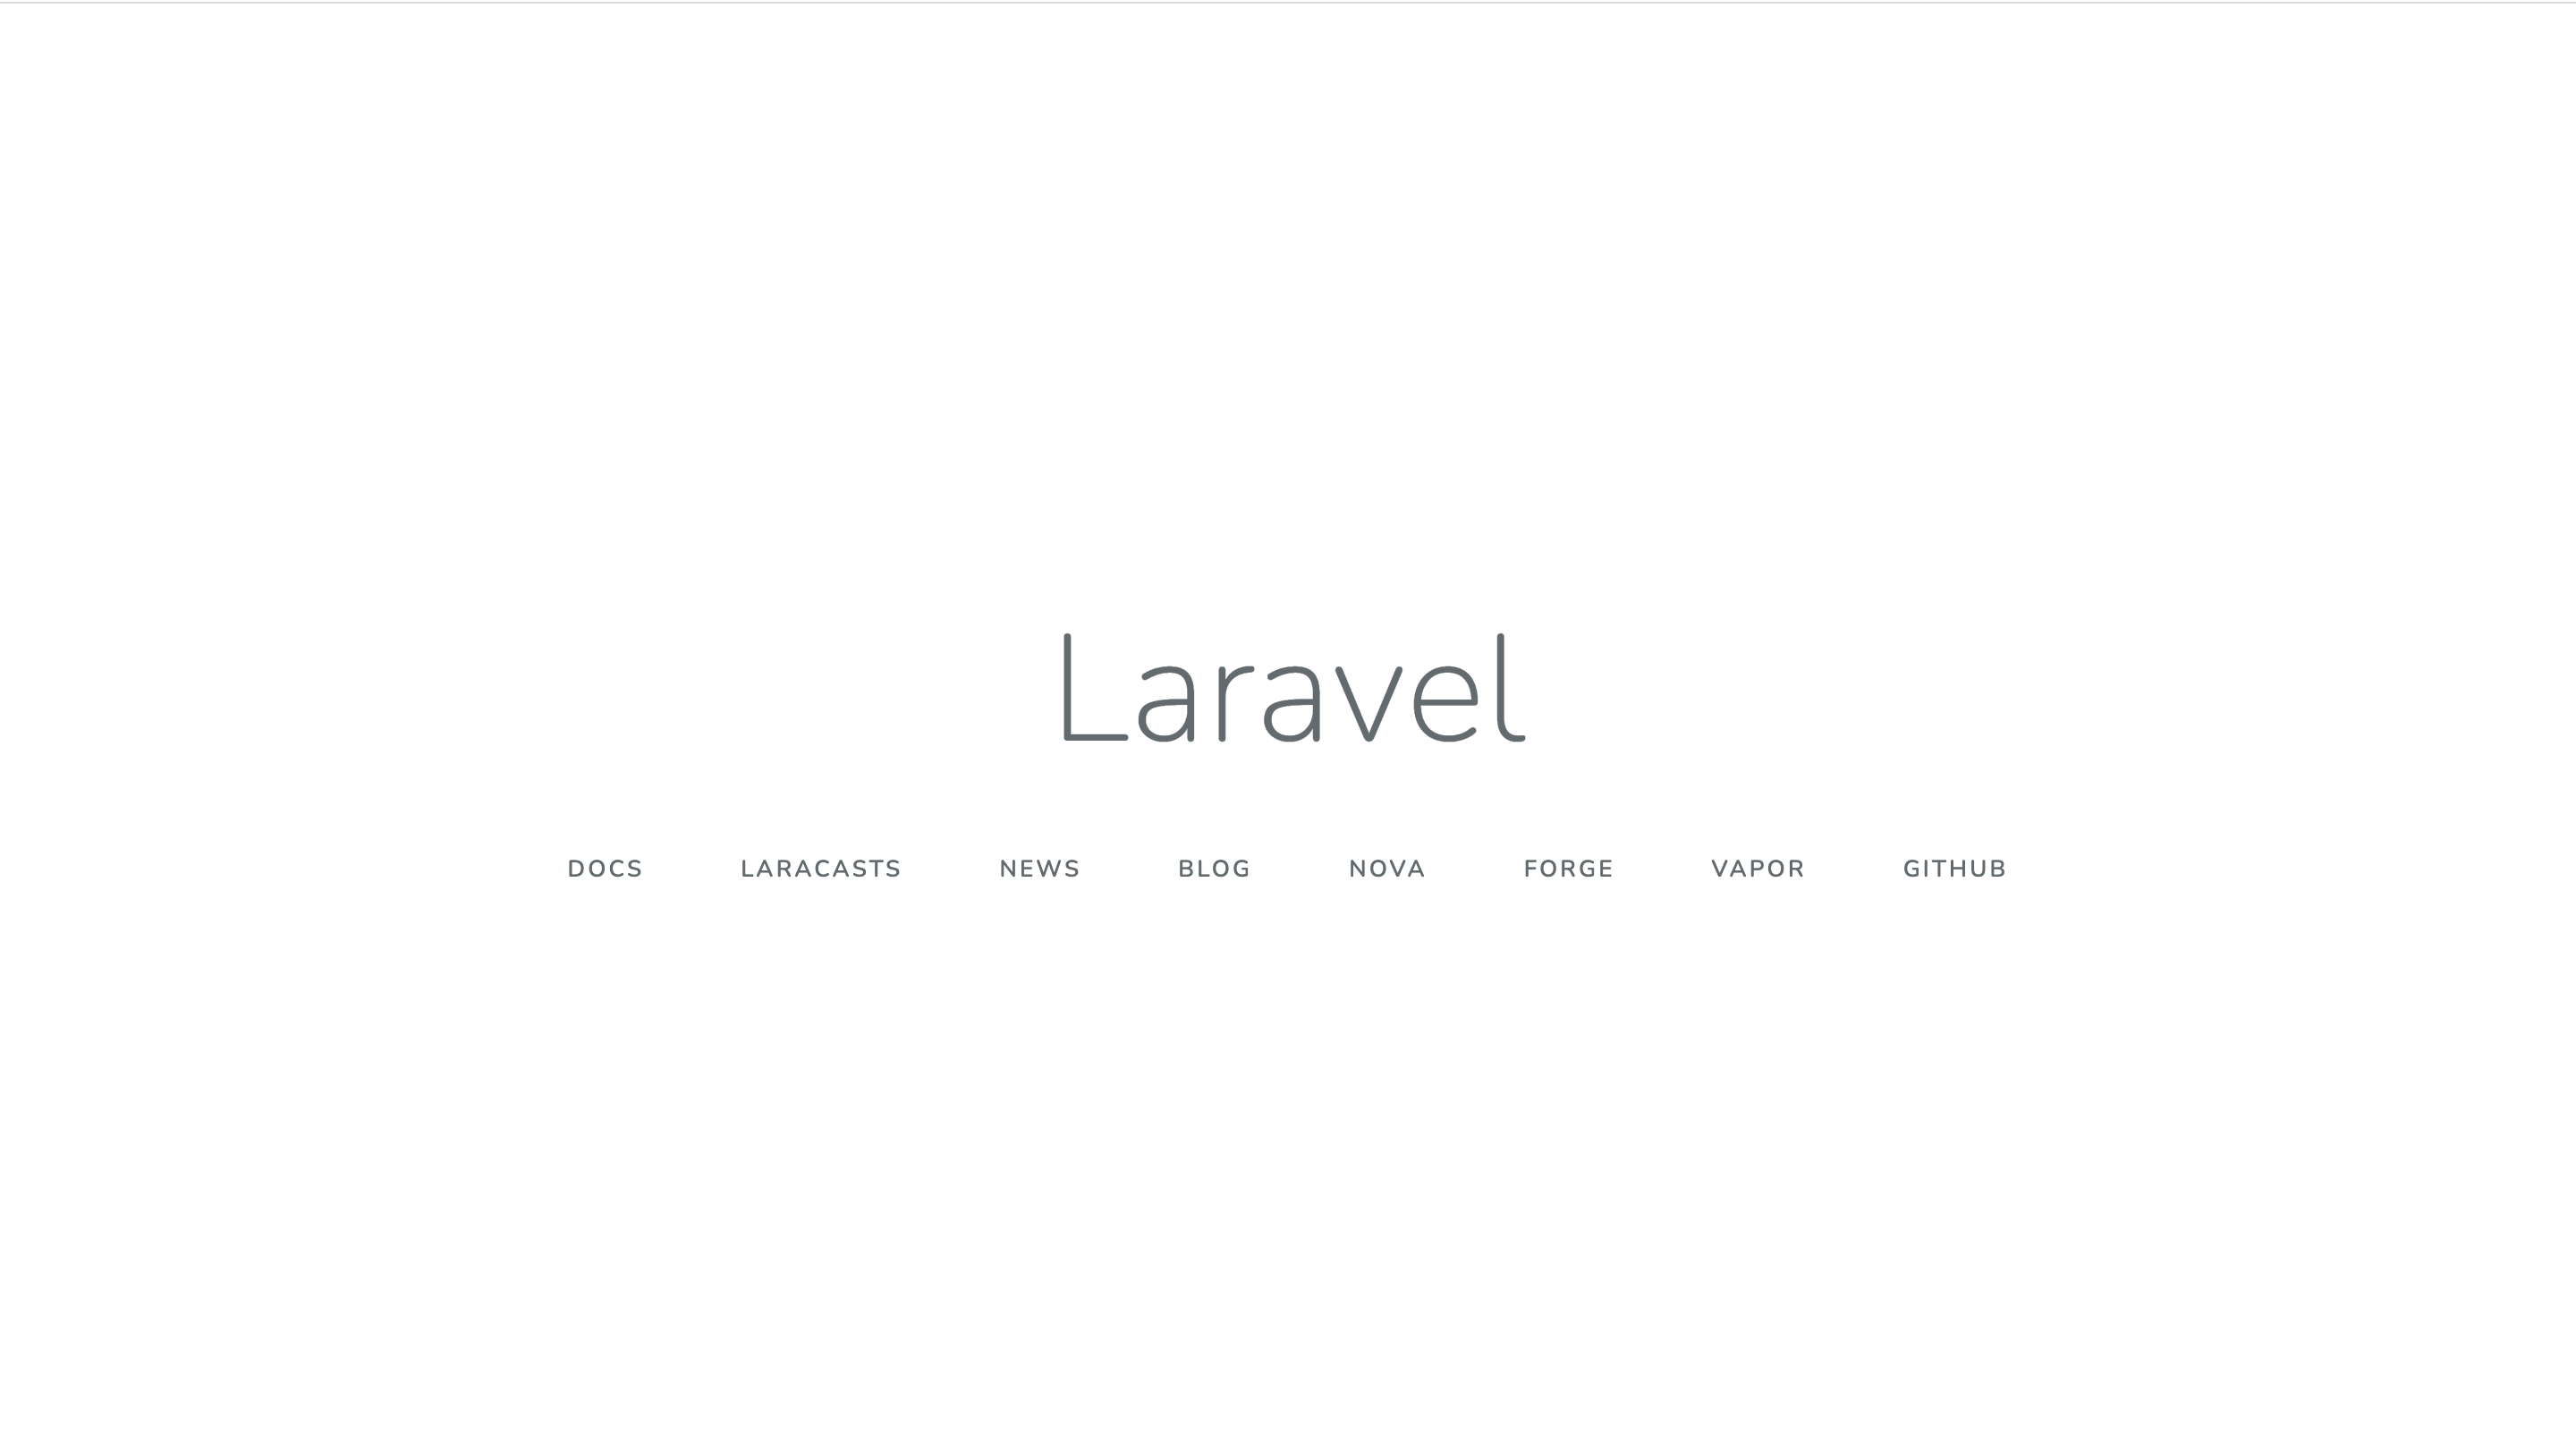
上記の画面が出たらokです。開発を進めていきましょう。
っとその前に以下のlaravelでルーティングで指定できる6つのHTTPメソッドを記載しておきます。後で出てくるので目を通しておいた方が良いです。
GET :(データを取得する基本的なもの)
POST :(データの追加に使用)
PUT : (データの更新に使用)
PATCH : (ほぼPUTと同じですが、ごく一部を更新)
DELETE : (データの削除に使用)
OPTIONS : (使えるメソッド一覧を表示)
気を取り直して。
データーベースの作成
MAMPのphpMyAdminでデーターベースを作成しましょう(MySQLを使います)
先ほどのMAMPの画面の右上にある、Webstartボタンを押して下記の画面を開いたら、トップバーのTools→phpMyadminを開きましょう。
画面を開いたら、新規作成→データーベース名を入力→作成
すると下記の画像のように追加されているのが分かります。

マイグレーションファイルの作成と処理を記述
ターミナルを開き、下記のコマンドを入力しマイグレーションファイルを作成します。その作成したファイルでアプリケーションのテーブルの定義(カラム名、制約、データ型など)を指定できます。
$ php artisan make:migration create_sample_table --create=sample
次にdatebase/migrationsフォルダにある作成した日付が記載されている、マイグレーションファイルを開いて、contentカラムをstring型で指定して追加します。
<?php

use Illuminate\Database\Migrations\Migration;
use Illuminate\Database\Schema\Blueprint;
use Illuminate\Support\Facades\Schema;

class CreateSampleTable extends Migration
{
    /**
     * Run the migrations.
     *
     * @return void
     */
    public function up()
    {
        Schema::create('sample', function (Blueprint $table) {
            $table->bigIncrements('id');
            $table->string('content','300');
            $table->timestamps();
        });
    }

    /**
     * Reverse the migrations.
     *
     * @return void
     */
    public function down()
    {
        Schema::dropIfExists('sample');
    }
}
編集ができたら下記コマンドを入力しmigrationを実行してください
※.envファイルからデーターベース名とパスワード名をDB_DATABASE=sampleとDB_PASSWORD=root
に変更してください。
$ php artisan migrate
マイグレーションが完了したらサンプルデータをphpMyadminで追加してみましょう。
モデルの作成
モデルとはMVCのMにあたる部分で、主にデータベースとの連携を行なっております。
LaravelにおけるModelは、Eloquentの機能とビジネスロジックを持ったクラスになります。
では下記のコマンドを実行してモデルを作成していきましょう。
$ php artisan make:model Models/sample
Models/とすることでModelsフォルダが作成されて、その配下にファイルが置かれます。
メモ一覧機能
まず初めにメモの一覧機能の実装をしていきます。
コントローラー作成
コントローラーとはユーザーからの入力をモデルに渡したり、モデルから渡されたデータをビューに渡し画面に表示する役割を担う、司令塔のうよな役割です。
下記のコマンドを実行してコントローラーを作成していきましょう
$ php artisan make:controller SamplesController
viewの作成
viewとは文字通りユーザー側の目に見えるフロントの部分を表します。
今回はlaravel newをした際に作成されたwelcom.blade.phpファイル名をlayout.blade.phpに変更し、以後作ったファイルを継承していきます。
<!DOCTYPE html>
<html lang="{{ str_replace('_', '-', app()->getLocale()) }}">
    <head>
        <meta charset="utf-8">
        <meta name="viewport" content="width=device-width, initial-scale=1">

        <title>Laravel</title>

        <!-- Fonts -->
        <link href="https://fonts.googleapis.com/css2?family=Nunito:wght@200;600&display=swap" rel="stylesheet">

        <!-- Styles -->
        <style>
            html, body {
                background-color: #fff;
                color: #636b6f;
                font-family: 'Nunito', sans-serif;
                font-weight: 200;
                height: 100vh;
                margin: 0;
            }

            .full-height {
                height: 100vh;
            }

            .flex-center {
                align-items: center;
                display: flex;
                justify-content: center;
            }

            .position-ref {
                position: relative;
            }

            .top-right {
                position: absolute;
                right: 10px;
                top: 18px;
            }

            .content {
                text-align: center;
            }

            .title {
                font-size: 84px;
            }

            .links > a {
                color: #636b6f;
                padding: 0 25px;
                font-size: 13px;
                font-weight: 600;
                letter-spacing: .1rem;
                text-decoration: none;
                text-transform: uppercase;
            }

            .m-b-md {
                margin-bottom: 30px;
            }
        </style>
    </head>
    <body>
        <div class="flex-center position-ref full-height">
            @if (Route::has('login'))
                <div class="top-right links">
                    @auth
                        <a href="{{ url('/home') }}">Home</a>
                    @else
                        <a href="{{ route('login') }}">Login</a>

                        @if (Route::has('register'))
                            <a href="{{ route('register') }}">Register</a>
                        @endif
                    @endauth
                </div>
            @endif

            <div class="content">
                <div class="title m-b-md">
                    Laravel
                </div>

                <div>
                  @yield('content');
                </div>
            </div>
        </div>
    </body>
</html>
laravelでは親ビュー、子ビューというものが存在します。
まず@sectionと@yieldと@extendsの解説を簡単にしましょう。
@section
-
@yieldと@extendsと一緒に使用できるディレクティブ - 子ビューで定義したデータを、親ファイルで呼び出すことができる
@yield
- 主にレイアウトのセクションを定義するために使用されます。
@extends
- 親ビューを継承する際に宣言する
定義方法
-
@section('セクション名'、'データ') -
@section('セクション名') ~@endsection -
@section('セクション名') ~@stop
使用手順
- 子ビューに
@sectionでデータを定義する - 親ビューにデータを受け取る場所を定義する
@yield(セクション名) -
@extendsで親ビューを読み込む
コントローラーの記述(SamplesContoroller.php)
先ほど作成したSamplesContoroller.phpに下記の内容を記述しましょう。
<?php

namespace App\Http\Controllers;

use Illuminate\Http\Request;

use App\sample;

class SamplesController extends Controller
{
    public function index ()
    $samples = Sample::orderBy('created_at','desc')->get();
    return view('index', ['samples' => $samples]);
    }

}
中身の説明をしていきます。
まず3行目と4行目に記載されているuseが何をしているかというと、一言でに言うと中で使うクラスを宣言しています。
書き方は、use {使うクラス}です。
次にSamplesControllerクラスのindex関数を見てみます。
$samples = Sample::orderBy('created_at','desc')->get();
orderByメソッドで作成日時を最新のものに並び替えをし、get()メソッドでレコードを取得し$samplesに代入する。
その後、
return view('index', ['samples' => $samples]);
viewメソッドで$samplesのデータを渡し、index.blade.phpをレンダリングしreturnで返します。
※レンダリングとはテンプレートを読み込んで情報をはめ込む作業のことです。
viewを作成、記述
index.blade.phpを作成し中身を記述していきましょう。
@extends('layout')

@section('content')

    @foreach (@samples as @sample)
    <div>
        <span> {{ $samples->content }}
    </div>
    @endforeach


@endsection
中身の説明をしていきます。
@foreach (@samples as @sample) 〜〜 @endfoeach
SamplesControllerのindex関数内でviewメソッドに配列で渡した$samplesのデータを、foreachで一つづつ取り出しcontentの中身を表示する。
ルーティングの記述(web.php)
ルーティングとはクライアントからのアクセスをどのように処理するか決めることです。
以下のコードをご覧ください
<?php

use illuminate\Http\Request;
use App\Sample;
/*
|--------------------------------------------------------------------------
| Web Routes
|--------------------------------------------------------------------------
|
| Here is where you can register web routes for your application. These
| routes are loaded by the RouteServiceProvider within a group which
| contains the "web" middleware group. Now create something great!
|
*/

Route::get('/','SamplesController@index')->name('index');
getメソットでpathを指定し、SamplesControllerのindex関数を呼び出しています。
一旦以上の手順を踏まえた結果を、ターミナルで$ php artisan serveと実行し画面を確認してみましょう。
先ほどDBに保存したcontentが表示されたらOKです。
メモの追加機能
メモの一覧が実装できたので、次にメモの追加機能の実装をしていきます。
viewファイル(create.blade.php)の追加、記述
@extends('layout')

@section('content')

    <form method = "post" action = "{{ route('store') }}">
        @csrf
        <textarea name = "content" rows="4"></textarea>
        <button type="submit">追加</button>
        <a href = "{{route('index')}}">キャンセル</a>
    </form>
@endsection
中身の説明をします。
<form method = "post" action = "{{ route('store') }}">
こちらの記述はstoreアクションで追加できるように追加フォームを記述しています。ルーティングとコントローラーはまだ追加していないため後ほど記載いたします。
@csrfの記述はクロスサイトリクエストフォージェリ(CSRF)というアプリケーションへの攻撃を簡単に守ってくれる記述です。postリクエストを送る際にこの記述がないとエラーになります。
CSRFとは
・Web アプリケーションのユーザー(利用者)に意図しない通信リクエストを送信させ、利用者の意図しない処理をサービスに実行させることが可能となる脆弱性、またはその脆弱性を利用した攻撃手法を指す。
CSRFを具体的に知りたい方はこちらの記事をご覧ください。
<a href = "{{route('index')}}">キャンセル</a>
こちらの記述はキャンセルボタンをクリックすることで、indexパスが実行されSamplesControllerのindex関数が呼び出され、メモ一覧画面に推移されます。
コントローラーの記述(SamplesController.php)
<?php

namespace App\Http\Controllers;

use Illuminate\Http\Request;

use App\Models\Sample;

class SamplesController extends Controller
{
    public function index(){
        $samples = Sample::orderBy('created_at','desc')->get();

        return view('index', ['samples' => $samples]);
    }

    public function create(){
        return view('create');
    }

    public function store(Request $request){
        $content = $request->validate(['content' => 'required|max:300']);
        Sample::create($content);
        return redirect()->route('index');
    }
}
中身の説明をしていきます。
create関数の記述はcreate.blade.phpをレンダリングする記述です。
store関数の記述はcontent内のバリデーションが通ったら$contentに代入しcreateメソッドでDBに登録します。
その後にルートindexを指定して一覧ページにリダイレクトしています。
モデルの記述(Sample.php)
<?php

namespace App\Models;

use Illuminate\Database\Eloquent\Model;

class Sample extends Model
{
    protected $fillable=['content'];
}
fillableを指定してDBへ保存ができます。
次にルーティングの記述をしていきます。
<?php

use illuminate\Http\Request;
use App\Sample;
/*
|--------------------------------------------------------------------------
| Web Routes
|--------------------------------------------------------------------------
|
| Here is where you can register web routes for your application. These
| routes are loaded by the RouteServiceProvider within a group which
| contains the "web" middleware group. Now create something great!
|
*/

Route::get('/','SamplesController@index')->name('index');

Route::get('/create','SamplesController@create')->name('create');
Route::post('/store','SamplesController@store')->name('store');
createパスとstoreパスの記述をして、storeパスはpostメソッドを指定しましょう。
最後にindex.blade.phpにメモ追加画面のcreate.blade.phpに飛ぶようにリンクの追加をしていきましょう。
index.blade.phpのforeach文の上に<a href = "{{route('create') }}">メモを作成</a>を記述してください。create関数では、create.blade.phpをレンダリングして返すのでこのリンクから飛べます。
以上でメモの追加機能の実装は終わりです。
メモの編集機能
viewファイルの作成、記述(edit.blade.php,index.blade.php)
まずedit.blade.phpを作成して以下の記述をしましょう。
@extends('layout')

@section('content')

    <form method = "post" action = "{{route('update',['id=>$sample->id])}}">
        @csrf
        <textarea name = "content" rows="4">{{$sample->content}}</textarea>
        <button type="submit">編集</button>
        <a href = "{{route('index')}}">キャンセル</a>
    </form>
@endsection
{{$sample->content}}で編集の対象データを表示しする。
"{{route('update',['id=>$sample->id])}}"でidが渡されるので、update関数で対象レコードが判断できるようになります。(update関数は後ほど記載)
@extends('layout')

@section('content')

<a href = "{{route('create') }}">メモを作成</a>
    @foreach ($samples as $sample)
    <div>
        <span> {{ $sample->content }}</span>
        <a href="{{route('edit',['id'=>$sample->id])}}">編集</a>
    </div>
    @endforeach


@endsection
ルート関数の第二引数にidを渡すように記述しましょう。
ルーティングの記述(web.php)
次にgetアクションでeditパスを指定して、ルーティングの記述をしていきましょう。
<?php

use illuminate\Http\Request;
use App\Sample;
/*
|--------------------------------------------------------------------------
| Web Routes
|--------------------------------------------------------------------------
|
| Here is where you can register web routes for your application. These
| routes are loaded by the RouteServiceProvider within a group which
| contains the "web" middleware group. Now create something great!
|
*/

Route::get('/','SamplesController@index')->name('index');

Route::get('/create','SamplesController@create')->name('create');
Route::post('/store','SamplesController@store')->name('store');
Route::get('/edit','SamplesController@edit')->name('edit');
コントローラーの記述(SamplesController.php)
次にedit関数を追加し、記述していきます。
<?php

namespace App\Http\Controllers;

use Illuminate\Http\Request;

use App\Models\Sample;

class SamplesController extends Controller
{
    public function index(){
        $samples = Sample::orderBy('created_at','desc')->get();

        return view('index', ['samples' => $samples]);
    }

    public function create(){
        return view('create');
    }

    public function store(Request $request){
        $content = $request->validate(['content' => 'required|max:300']);
        Sample::create($content);
        return redirect()->route('index');
    }

    public function edit(Request $request){
        $sample = Sample::find($request->id);
        return view('edit',['sample'=>$sample]);
    }
}
中身の説明をしていきます。
まずidを用いてfindメソッドで編集対象レコードを検索し、データを$sampleに代入します。
そして、edit.blade.phpをレンダリングしてreturnします。
編集内容をupdateをする
次に編集した内容をupdateする記述を書いていきましょう。
ルーティングの記述(web.php)
postアクションでupdateパスを記述しましょう。
<?php

use illuminate\Http\Request;
use App\Sample;
/*
|--------------------------------------------------------------------------
| Web Routes
|--------------------------------------------------------------------------
|
| Here is where you can register web routes for your application. These
| routes are loaded by the RouteServiceProvider within a group which
| contains the "web" middleware group. Now create something great!
|
*/

Route::get('/','SamplesController@index')->name('index');

Route::get('/create','SamplesController@create')->name('create');
Route::post('/store','SamplesController@store')->name('store');
Route::get('/edit','SamplesController@edit')->name('edit');
Route::post('/update','SamplesController@update')->name('update');
コントローラーの記述(SamplesController.php)
次にSamplesControllerにupdate関数を追加して記述をしていきましょう。
<?php

namespace App\Http\Controllers;

use Illuminate\Http\Request;

use App\Models\Sample;

class SamplesController extends Controller
{
    public function index(){
        $samples = Sample::orderBy('created_at','desc')->get();

        return view('index', ['samples' => $samples]);
    }

    public function create(){
        return view('create');
    }

    public function store(Request $request){
        $content = $request->validate(['content' => 'required|max:300']);
        Sample::create($content);
        return redirect()->route('index');
    }

    public function edit(Request $request){
        $sample = Sample::find($request->id);
        return view('edit',['sample'=>$sample]);
    }

    public function update(Request $request){
        $sample = Sample::find($request->id);
        $content = $request->validate(['content'=>'required|max:500']);
        $sample->fill($content)->save();
        return redirect()->route('index');

    }

}
それではupdate関数の中身の説明をしていきます。
まず、idを使ってfindメソッドで対象レコードを検索し、$sampleに代入します。
次にcontentのバリデーションが通ったら、$contentに代入します。
そして、fillメソッドで値をセットし、save()します。
最後に、ルートindexを指定して一覧ページにリダイレクトしています。
メモの削除機能
最後にメモの削除機能を実装していきます。
まずweb.phpにgetアクションでupdateパスを記載しましょう。
<?php

use illuminate\Http\Request;
use App\Sample;
/*
|--------------------------------------------------------------------------
| Web Routes
|--------------------------------------------------------------------------
|
| Here is where you can register web routes for your application. These
| routes are loaded by the RouteServiceProvider within a group which
| contains the "web" middleware group. Now create something great!
|
*/

Route::get('/','SamplesController@index')->name('index');

Route::get('/create','SamplesController@create')->name('create');
Route::post('/store','SamplesController@store')->name('store');

Route::get('/edit','SamplesController@edit')->name('edit');
Route::post('/update','SamplesController@update')->name('update');

Route::get('/delete','SamplesController@delete')->name('delete');
viewファイルの記述(index.blade.php)
先ほどの編集ボタンと同様にコンテントに対して削除ボタンを実装していきます。
@extends('layout')

@section('content')

<a href = "{{route('create') }}">メモを作成</a>
    @foreach ($samples as $sample)
    <div>
        <span> {{ $sample->content }}</span>
        <a href="{{route('edit',['id'=>$sample->id])}}">編集</a>
        <a href="{{route('delete',['id'=>$sample->id])}}">削除</a>
    </div>
    @endforeach


@endsection
編集ボタンと同様、ルート関数の第二引数にidを渡すように記述しましょう。
コントローラーの記述(Samples.Controller.php)
最後にSamples.Controller.phpにdelete関数の記述をしていきましょう。
<?php

namespace App\Http\Controllers;

use Illuminate\Http\Request;

use App\Models\Sample;

class SamplesController extends Controller
{
    public function index(){
        $samples = Sample::orderBy('created_at','desc')->get();

        return view('index', ['samples' => $samples]);
    }

    public function create(){
        return view('create');
    }

    public function store(Request $request){
        $content = $request->validate(['content' => 'required|max:300']);
        Sample::create($content);
        return redirect()->route('index');
    }

    public function edit(Request $request){
        $sample = Sample::find($request->id);
        return view('edit',['sample'=>$sample]);
    }

    public function update(Request $request){
        $sample = Sample::find($request->id);
        $content = $request->validate(['content'=>'required|max:500']);
        $sample->fill($content)->save();
        return redirect()->route('index');

    }

    public function delete(Request $request){
        $sample = Sample::find($request->id);
        $sample->delete();
        return redirect()->route('index');

    }

}
中身の説明をしていきます。
まず、findメソッドでidを使って対象レコードを検索して$sampleに代入しています。
そしてその値をdeleteメソッドで削除し、index.blade.phpいリダイレクトします。
以上でメモの作成、編集、削除機能を実装したメモアプリの完成です。
お疲れ様でした。
次は検索機能を実装していきます、、。